| (no illustration)
|
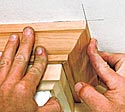
Use a C-clamp to fasten a ledger board to the the chop saw across the
front in such a way as to keep the molding from slipping. Consider the
horizontal base of the saw to be the ceiling during cutting. This is
tantamount to cutting the molding "upside-down" in the saw.
|
Outside corners are always mitered. Using chop saw, cut molding in mock
upside-down position at a 45° angle.
| (no illustration)
|
To do runs, always start at left* cutting left end to fit
previous structure as discussed below. Measure and cut to run the right
end into the next corner (since the next piece after that will be coped).
|
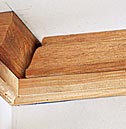
Miter left-hand end and cope to the clean edge made by the miter saw.
Cope steeply enough that the coped thickness will not prevent the edge
from fitting tightly into the piece to which it is being joined. Coping
like this, instead of attempting merely to miter, is what compensates
for inexact angles. This sole technique will enable you to install crown
at many different angles.
| (no illustration)
|
To join molding in mid run (not at a corner or fitted joint), do not cut
straight, but cut molding at 45° angle to its face and cut the next
length at the complementary 45° to join.
|
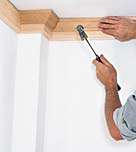
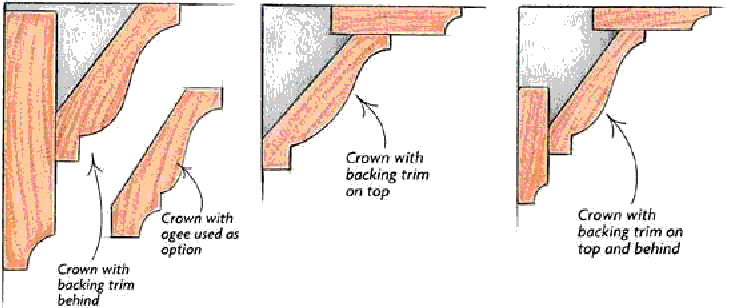
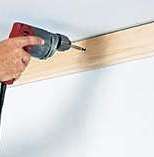
Variation: Backing trim can be added a) to enhance the look of your
crown molding and b) to more easily provide something to nail to:
| | | | | |