Here's a system built in September, 2014 that makes use of 24-Volt/128-Watt panels. I'm trying to leave nothing out. The components in the list are usually illustrated below. Shipping is free unless otherwise noted.
| Quantity | Description | Price | Total | Notes |
|---|---|---|---|---|
| 4 | Solar panel, Sharp NE-128AH 24-Volt / 128-Watt (Solar blvd) | $83.20 | $332.80 | Includes $159.52 for shipping |
| 4 | Battery, Interstate, 6-Volt, deep-cycle, golf-cart (from local Costco) | $15 core + $83.99 | $423.75 | Includes $24.75 sales tax |
| 1 | Charge controller, Renogy 30-Ampere PWM, 12/24-Volt, | $29.99 | $29.99 | |
| 1 | Inverter, Power Bright ML400-24, 24-Volt / 400-Watt to 110=Volt AC | $43.82 | $43.82 | |
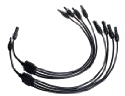
| 1 set | Panel Y Connectors, Signstek Y branch MC4 | $21.99 | $21.99 | |
| 1 set | MC4 Panel Connectors, Male/Female, 5 pairs | $8.30 | $8.30 | |
| 1 set | 4-AWG Battery Cable, Cobra heavy-duty cabling kit | $24.12 | $24.12 | |
| 1 | Fuse holder, Scoshe, single | $6.95 | $6.95 | |
| 4 sets | Panel mounting brackets, Renogy Z brackets | $12.99 | $51.96 | |
| 1 | Assembly tool, Renogy MC4 connector | $6.99 | $6.99 | |
| Total | $950.67 |
Notes
The solar panels are connected in parallel to retain their basic rating of 24 Volts; this is done using Y-connecting cables. Together, the solar panels put out 720 Watts (30 Amperes at 24 Volts). This is more than the inverter will endure—need to understand how to protect inverter so it's never asked to draw more than 400 Watts (3.3 Amperes). Do they make 3-Ampere breakers?
The batteries (4×6-Volts) are connected in series to make 24 Volts; this is done using 4AWG cable from post-to-post-to-post, etc. with positive and negative cables joining the charge controller.
Still needed
- mounting pins for roof
- mounting rails for roof
- aluminum mounting elements to pitch panels up at 33.5°
- cable to join Y-connecting cable through roof to long run to charge controller
Component illustrations
| Panel | |||||
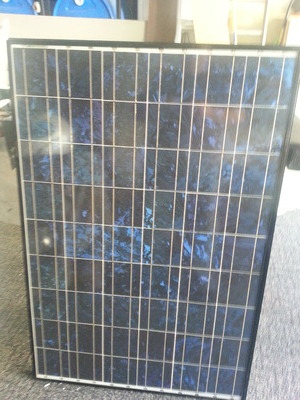 Sharp NE-128AH
128 Watt / 24 Volt solar panel; the panels measure 46¾" tall by 31¼" wide |
 Wiring detail, note connectors: these are useless.
Remove them and replace them with MC4 connectors to
mate with those at the end of the Signstek Y-branch
connector cables.
Wiring detail, note connectors: these are useless.
Remove them and replace them with MC4 connectors to
mate with those at the end of the Signstek Y-branch
connector cables.
|
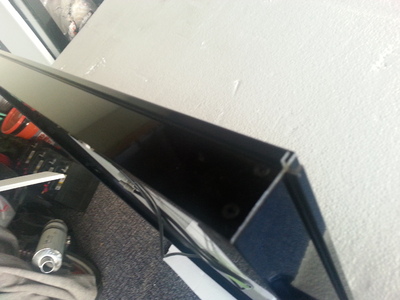 Top rail corner detail (1)
|
 Top rail corner detail (2).
|
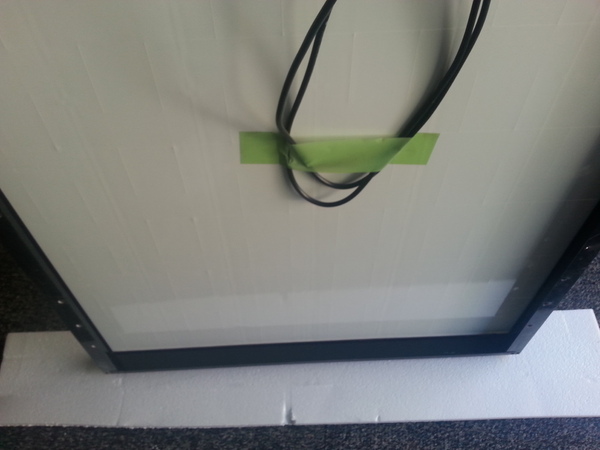 Bottom rail.
|
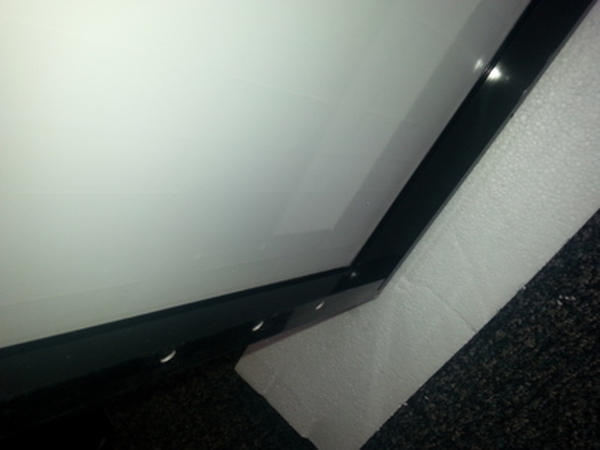 Bottom rail corner.
|
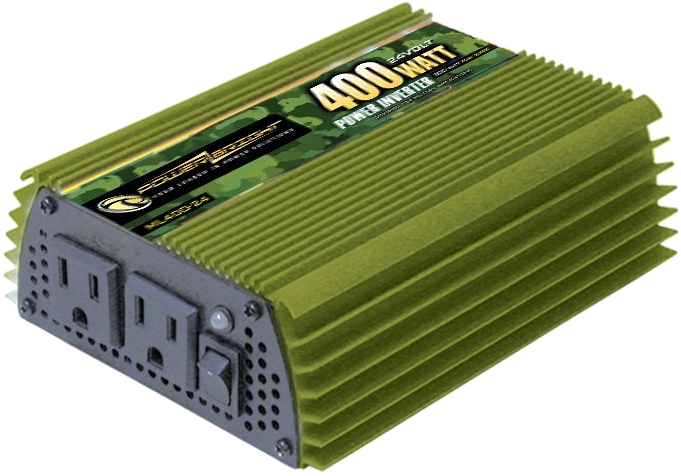
Power Bright ML400-24 |
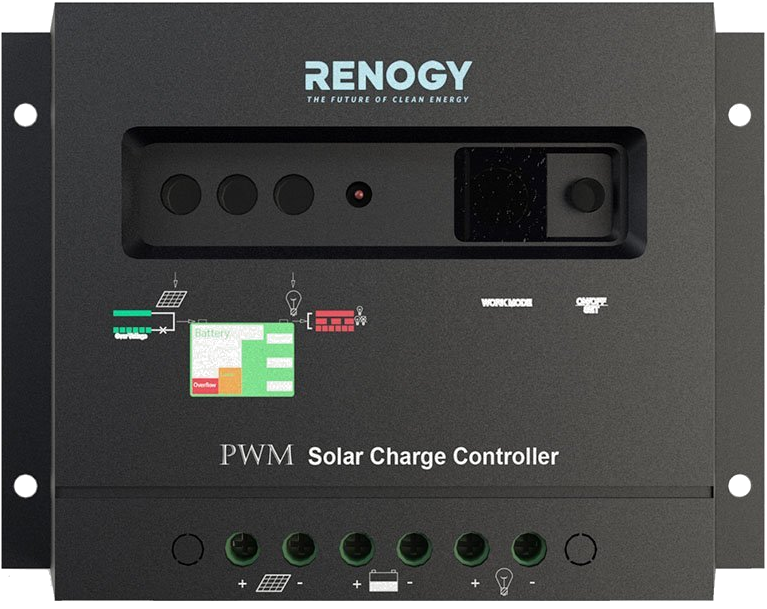
Renogy 30 Ampere PWM Charge Controller Regulator. This component is indispensable and is the heart of your system. |
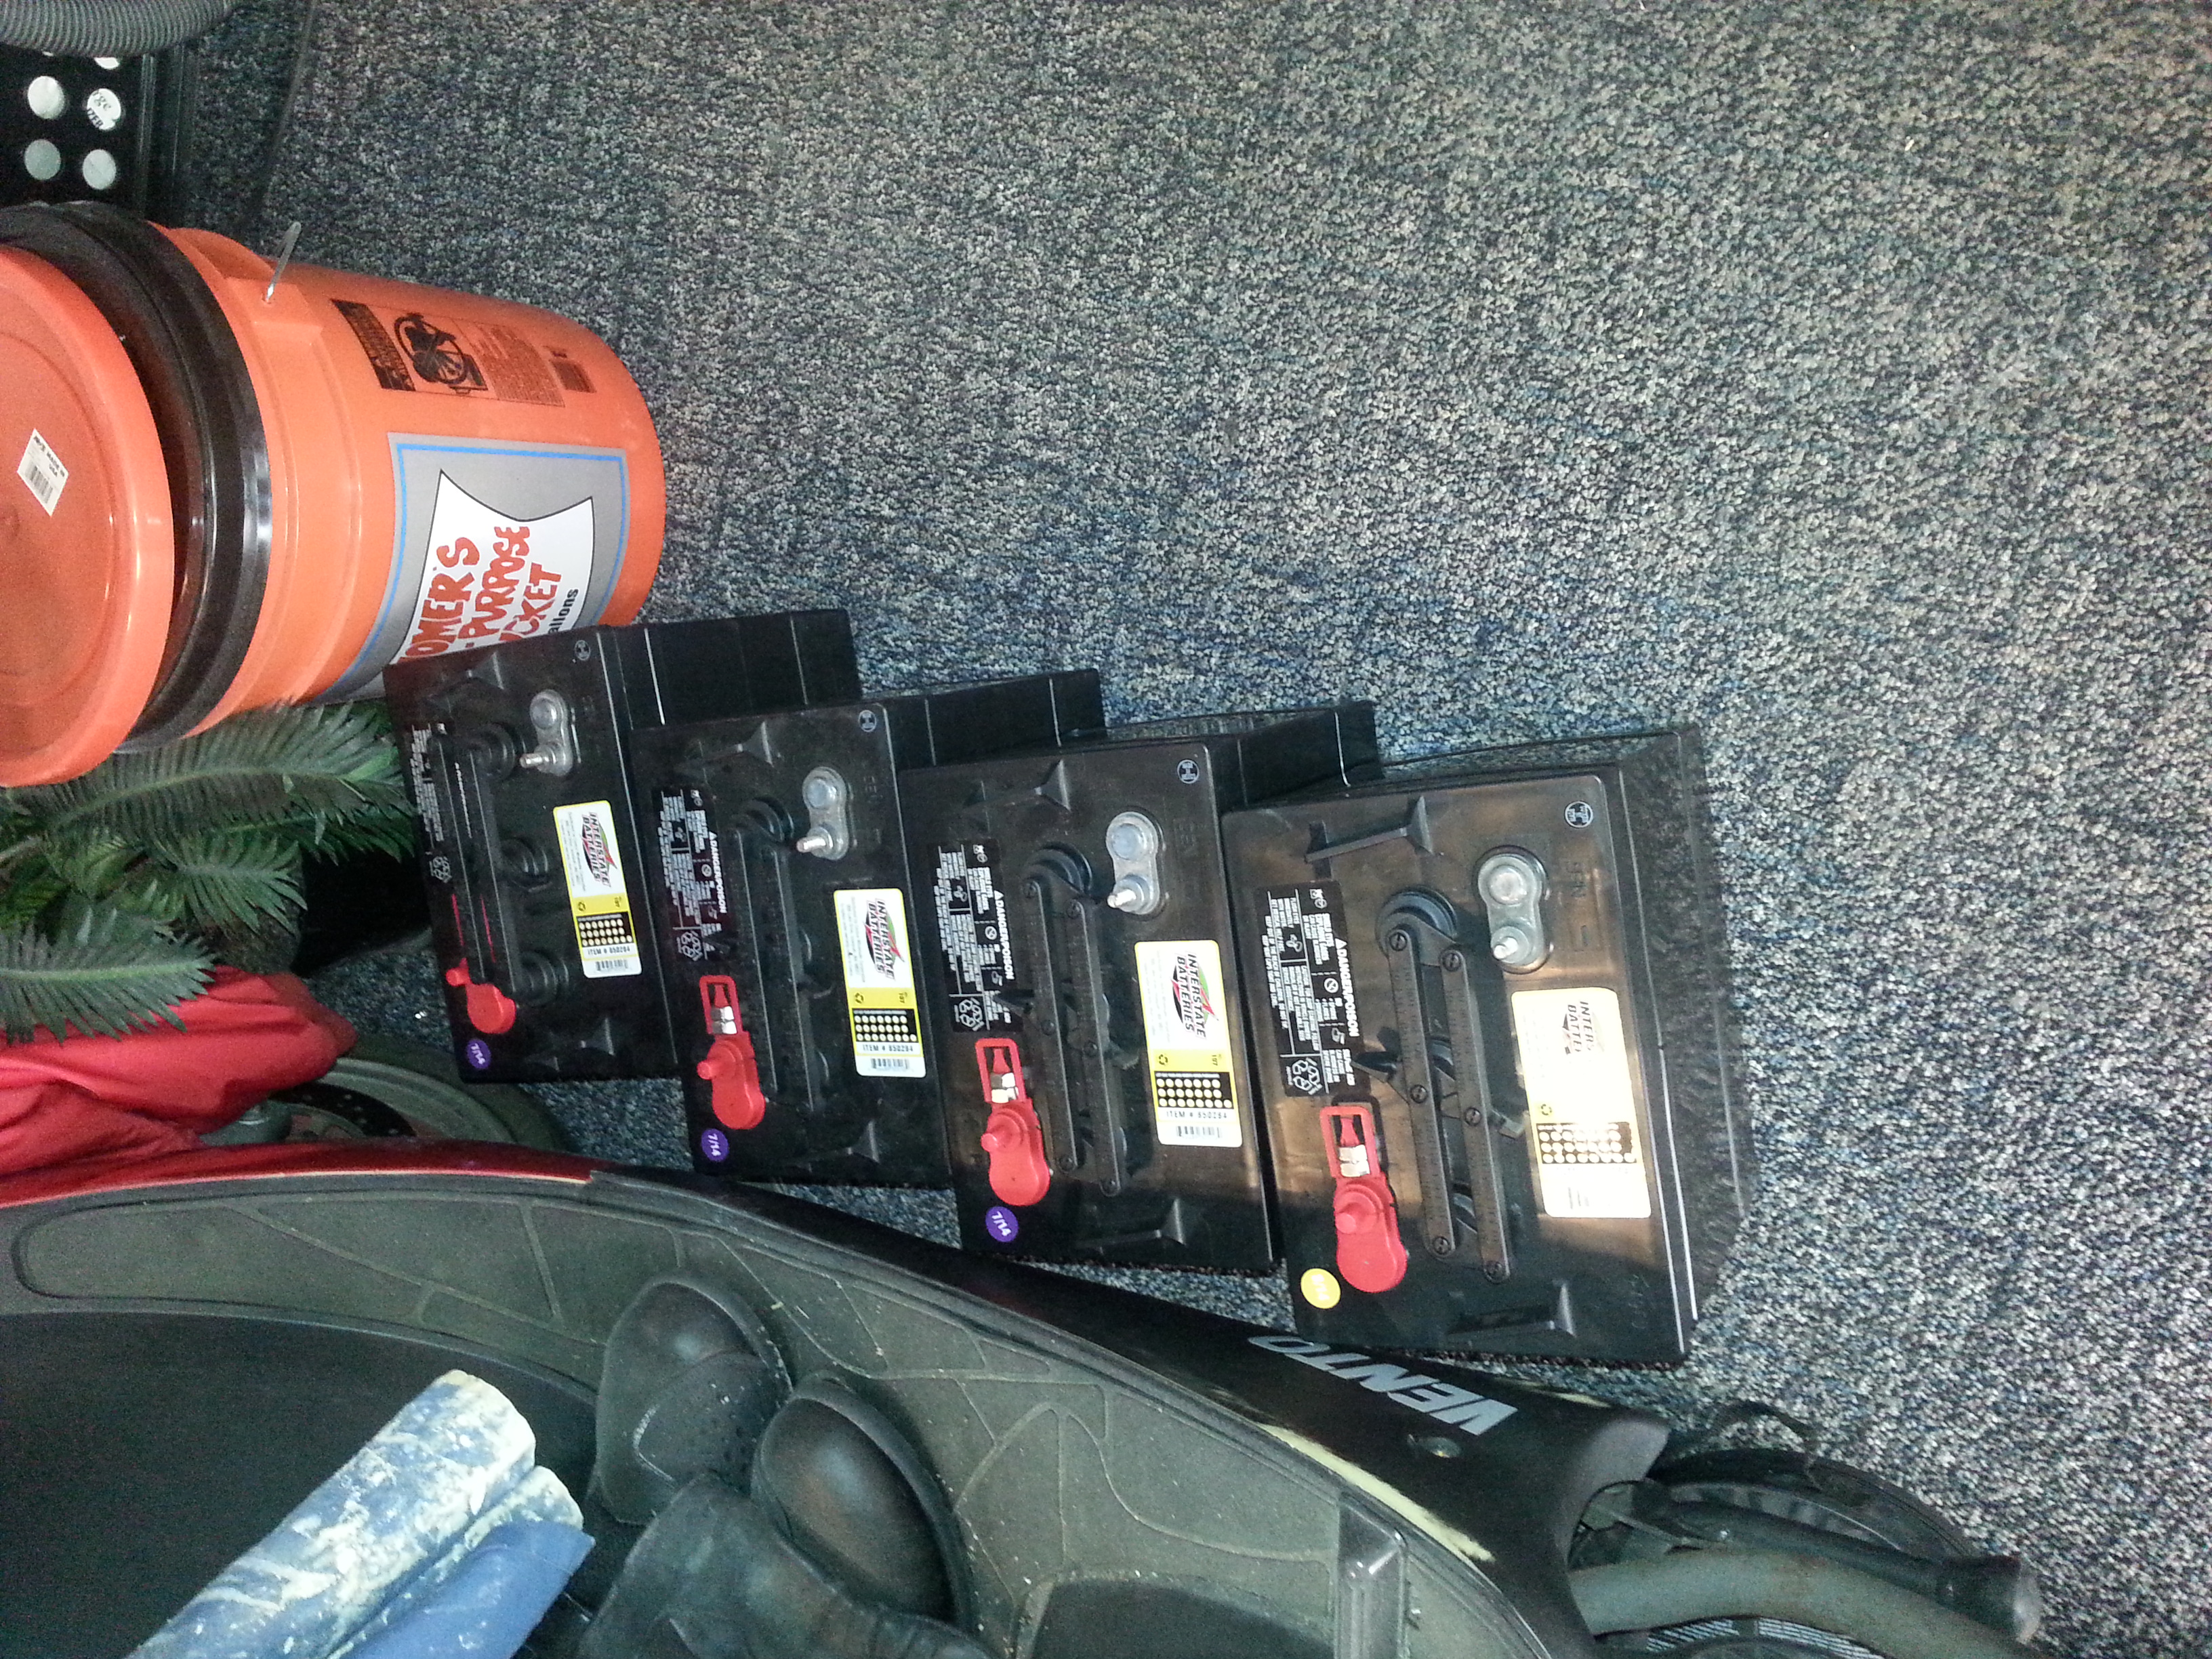 Interstate (Costco)
6 Volt, deep-cycle golf-cart batteries. |
Y-connecting cables for joining all panels in parallel. Absolutely indispensable. |
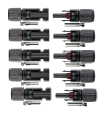 Solar panel MC4 connectors. These are absolutely indispensable.
|
|
Connect multiple batteries, − to +, in series (e.g.: four 6-Volt batteries to make 24-Volts). |
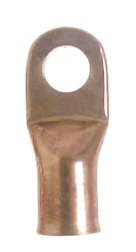
Battery cable lug. Solder at end of 8 AWG to connect charge controller to battery(ies). |
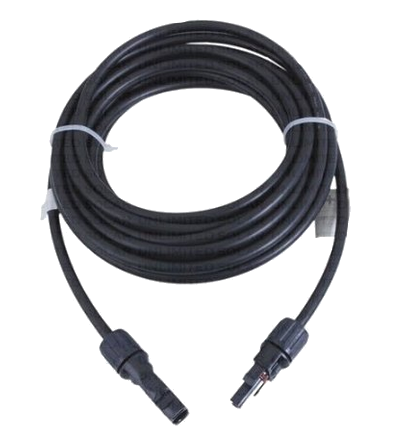 Solar photovoltaic cable with MC4 connectors on ends: cut in half,
connect to Signstek Y-branches and the naked ends to the charge
controller.
Solar photovoltaic cable with MC4 connectors on ends: cut in half,
connect to Signstek Y-branches and the naked ends to the charge
controller.
|
|||
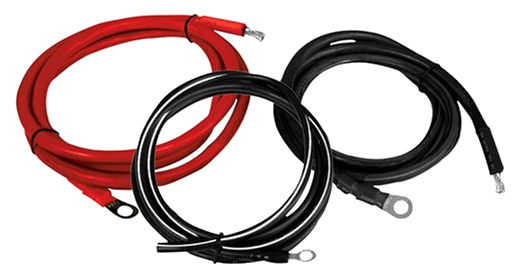
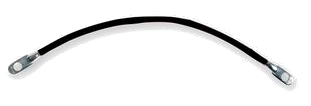
Heavy-gauge cable to join batteries and power inverter. Unneeded. I found it best to use 8 AWG between the charge controller, the batteries and the inverter. |
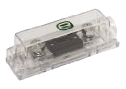
Fuse holder to isolate batteries in case of trouble. I found no utility for this fuse. The one place where a fuse is necessary is between the charge controller and the inverter. Most inverters already come with a fuse. Get spares for it. |
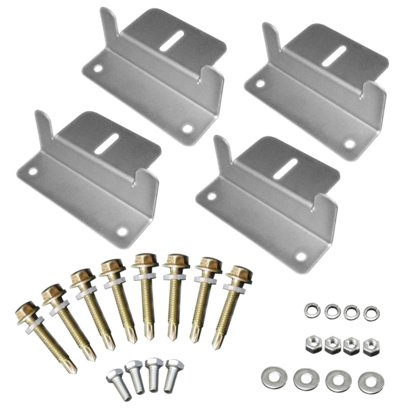 Z brackets for mounting solar panels. Do not purchase these.
They are the wrong solution.
Z brackets for mounting solar panels. Do not purchase these.
They are the wrong solution.
|
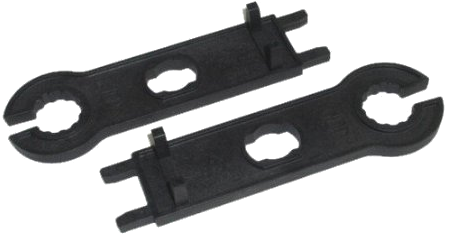
Renogy tool for assembling connectors. I found this tool unnecessary. |
||