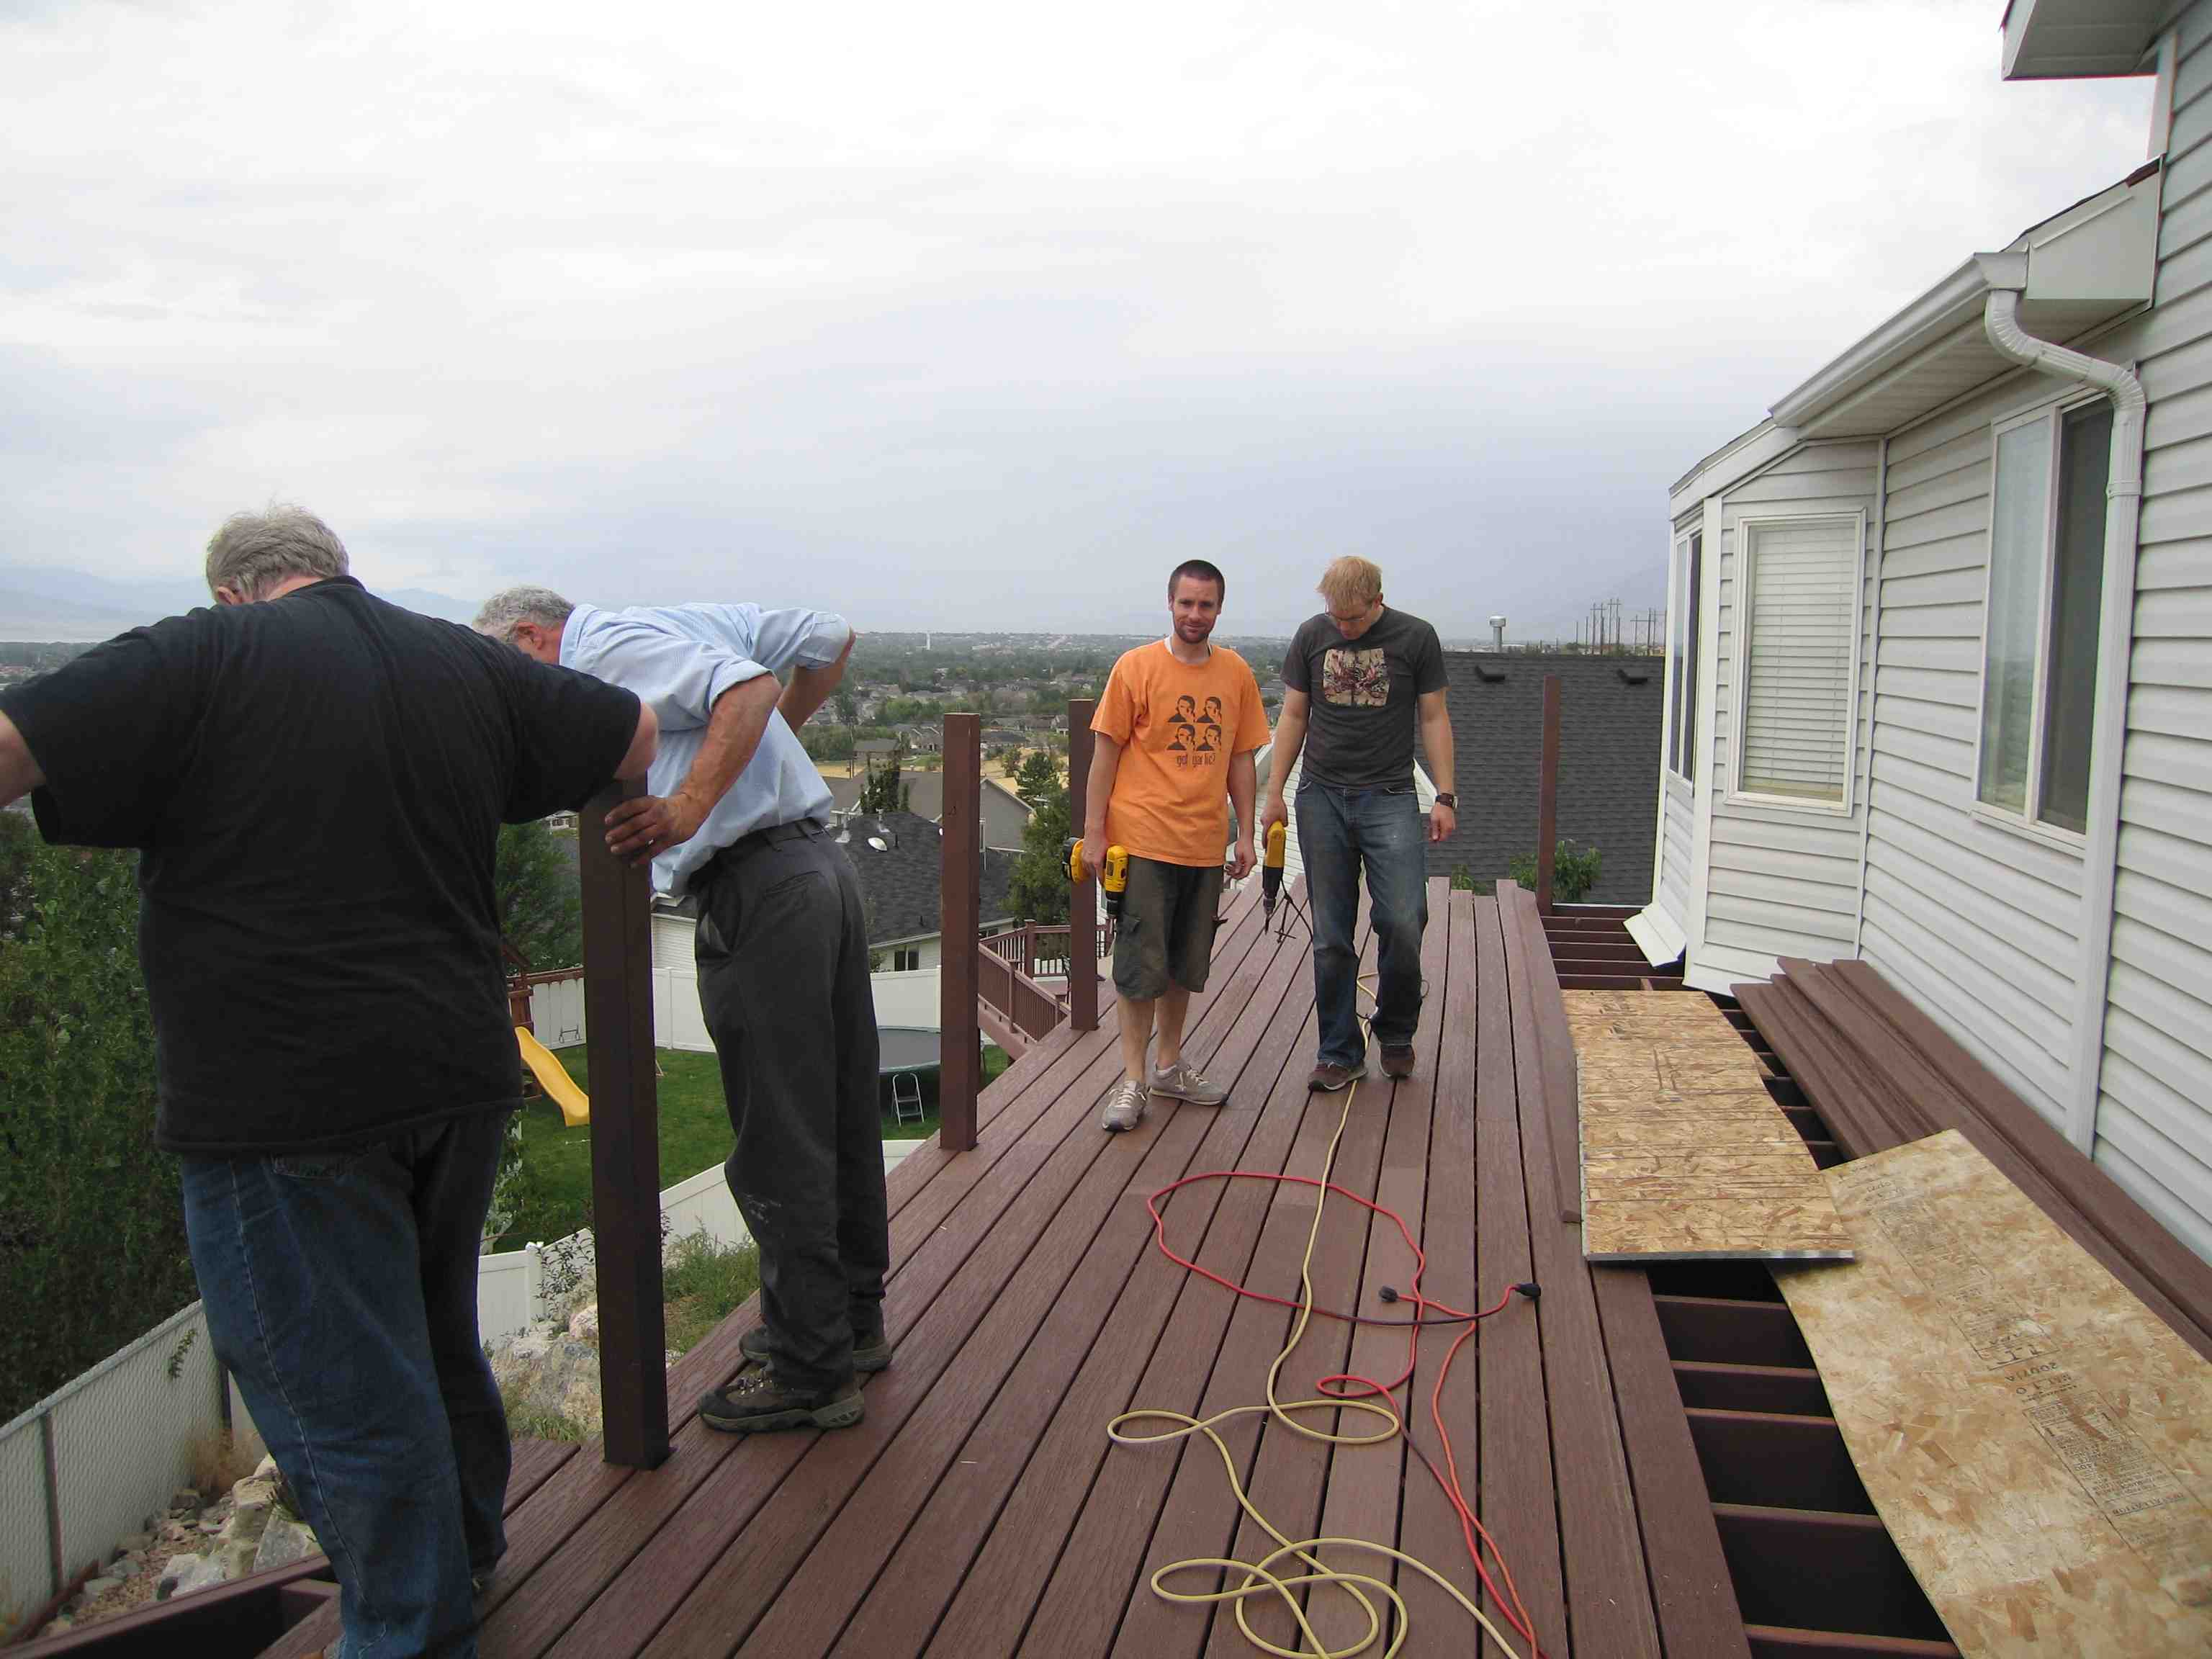
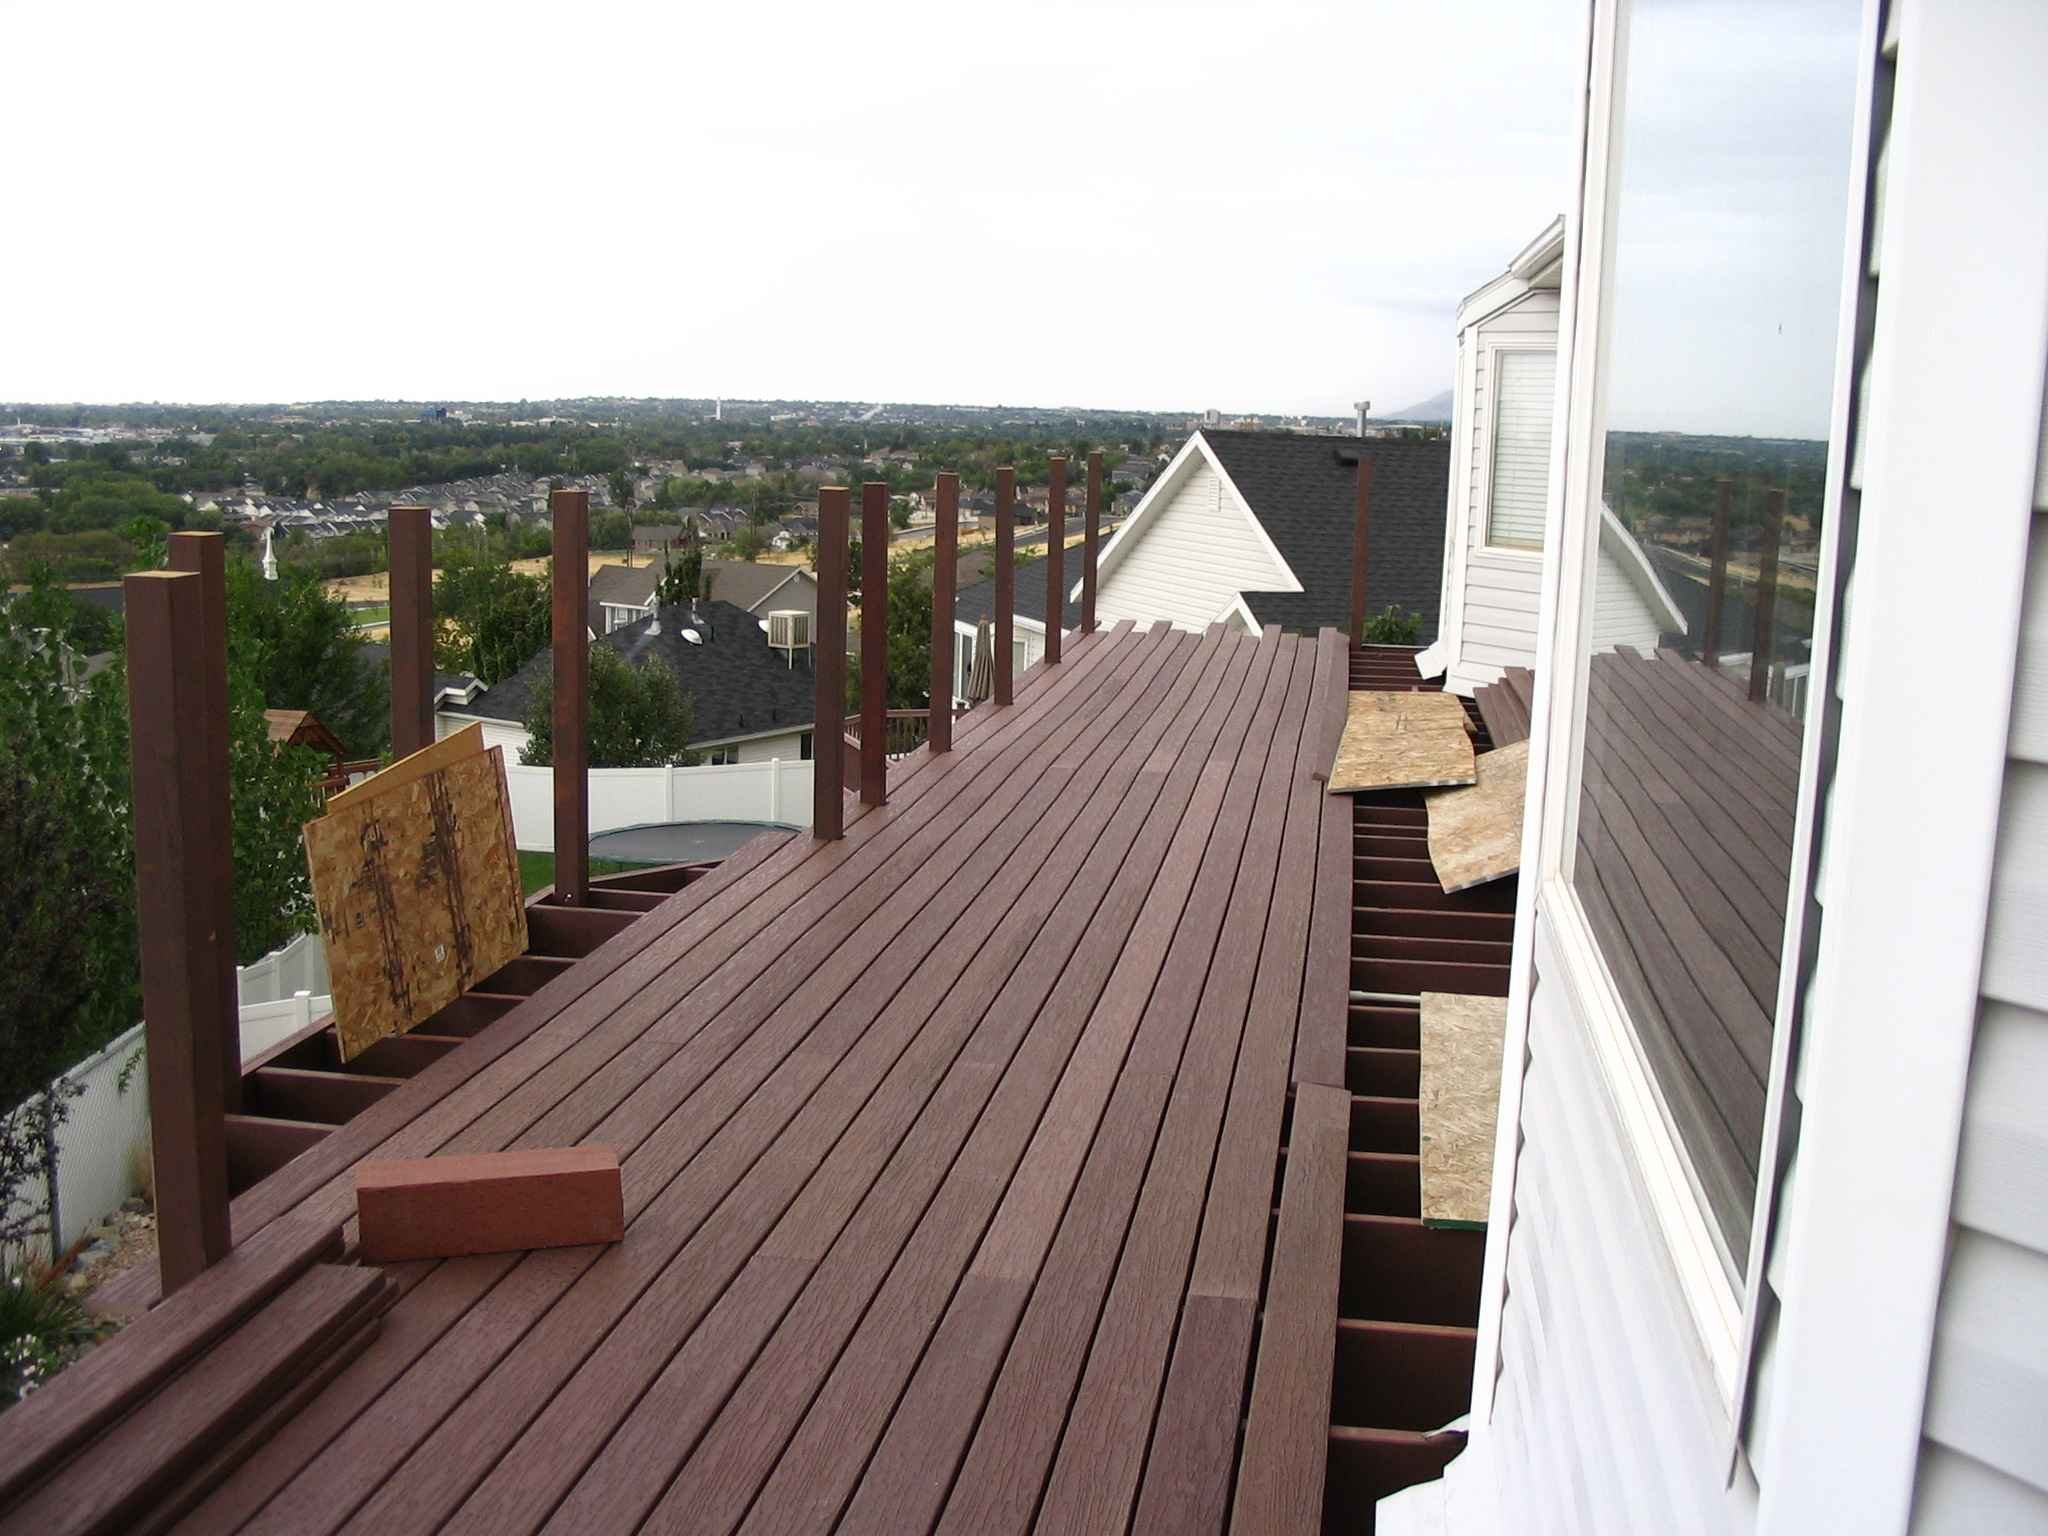
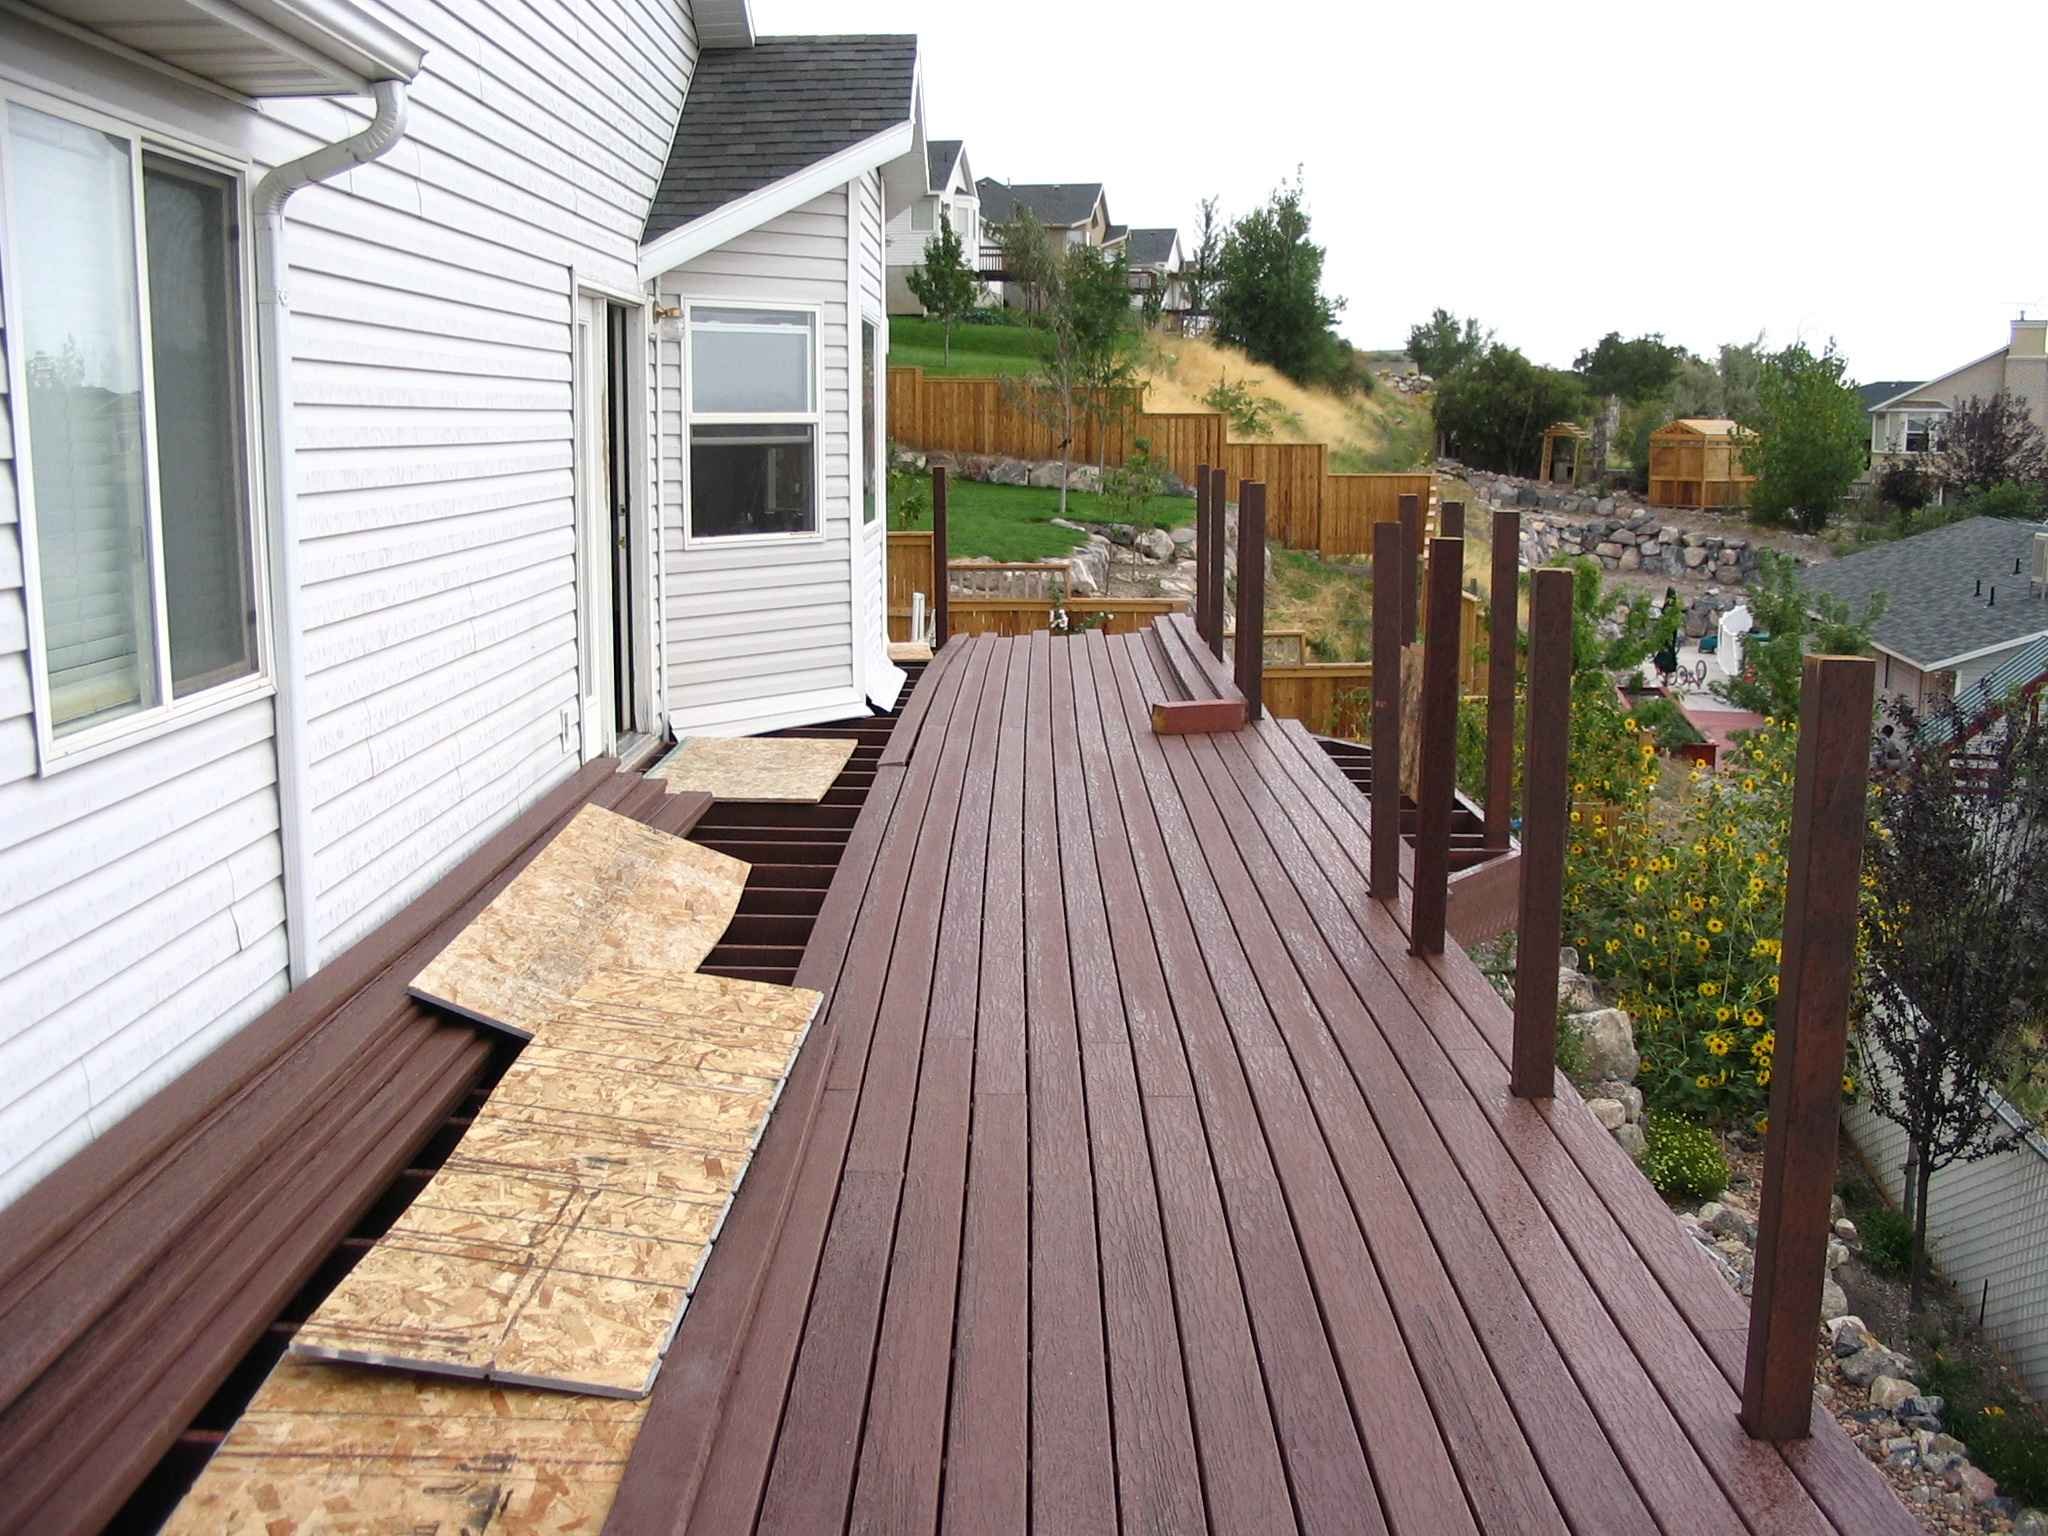
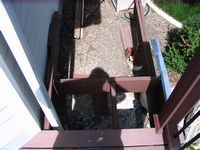
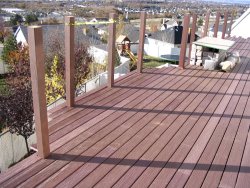
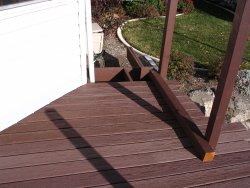
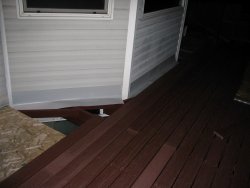
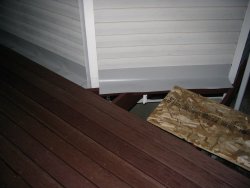
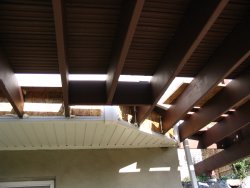
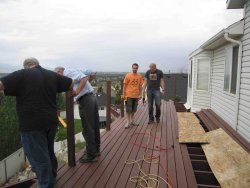
29 July 2011
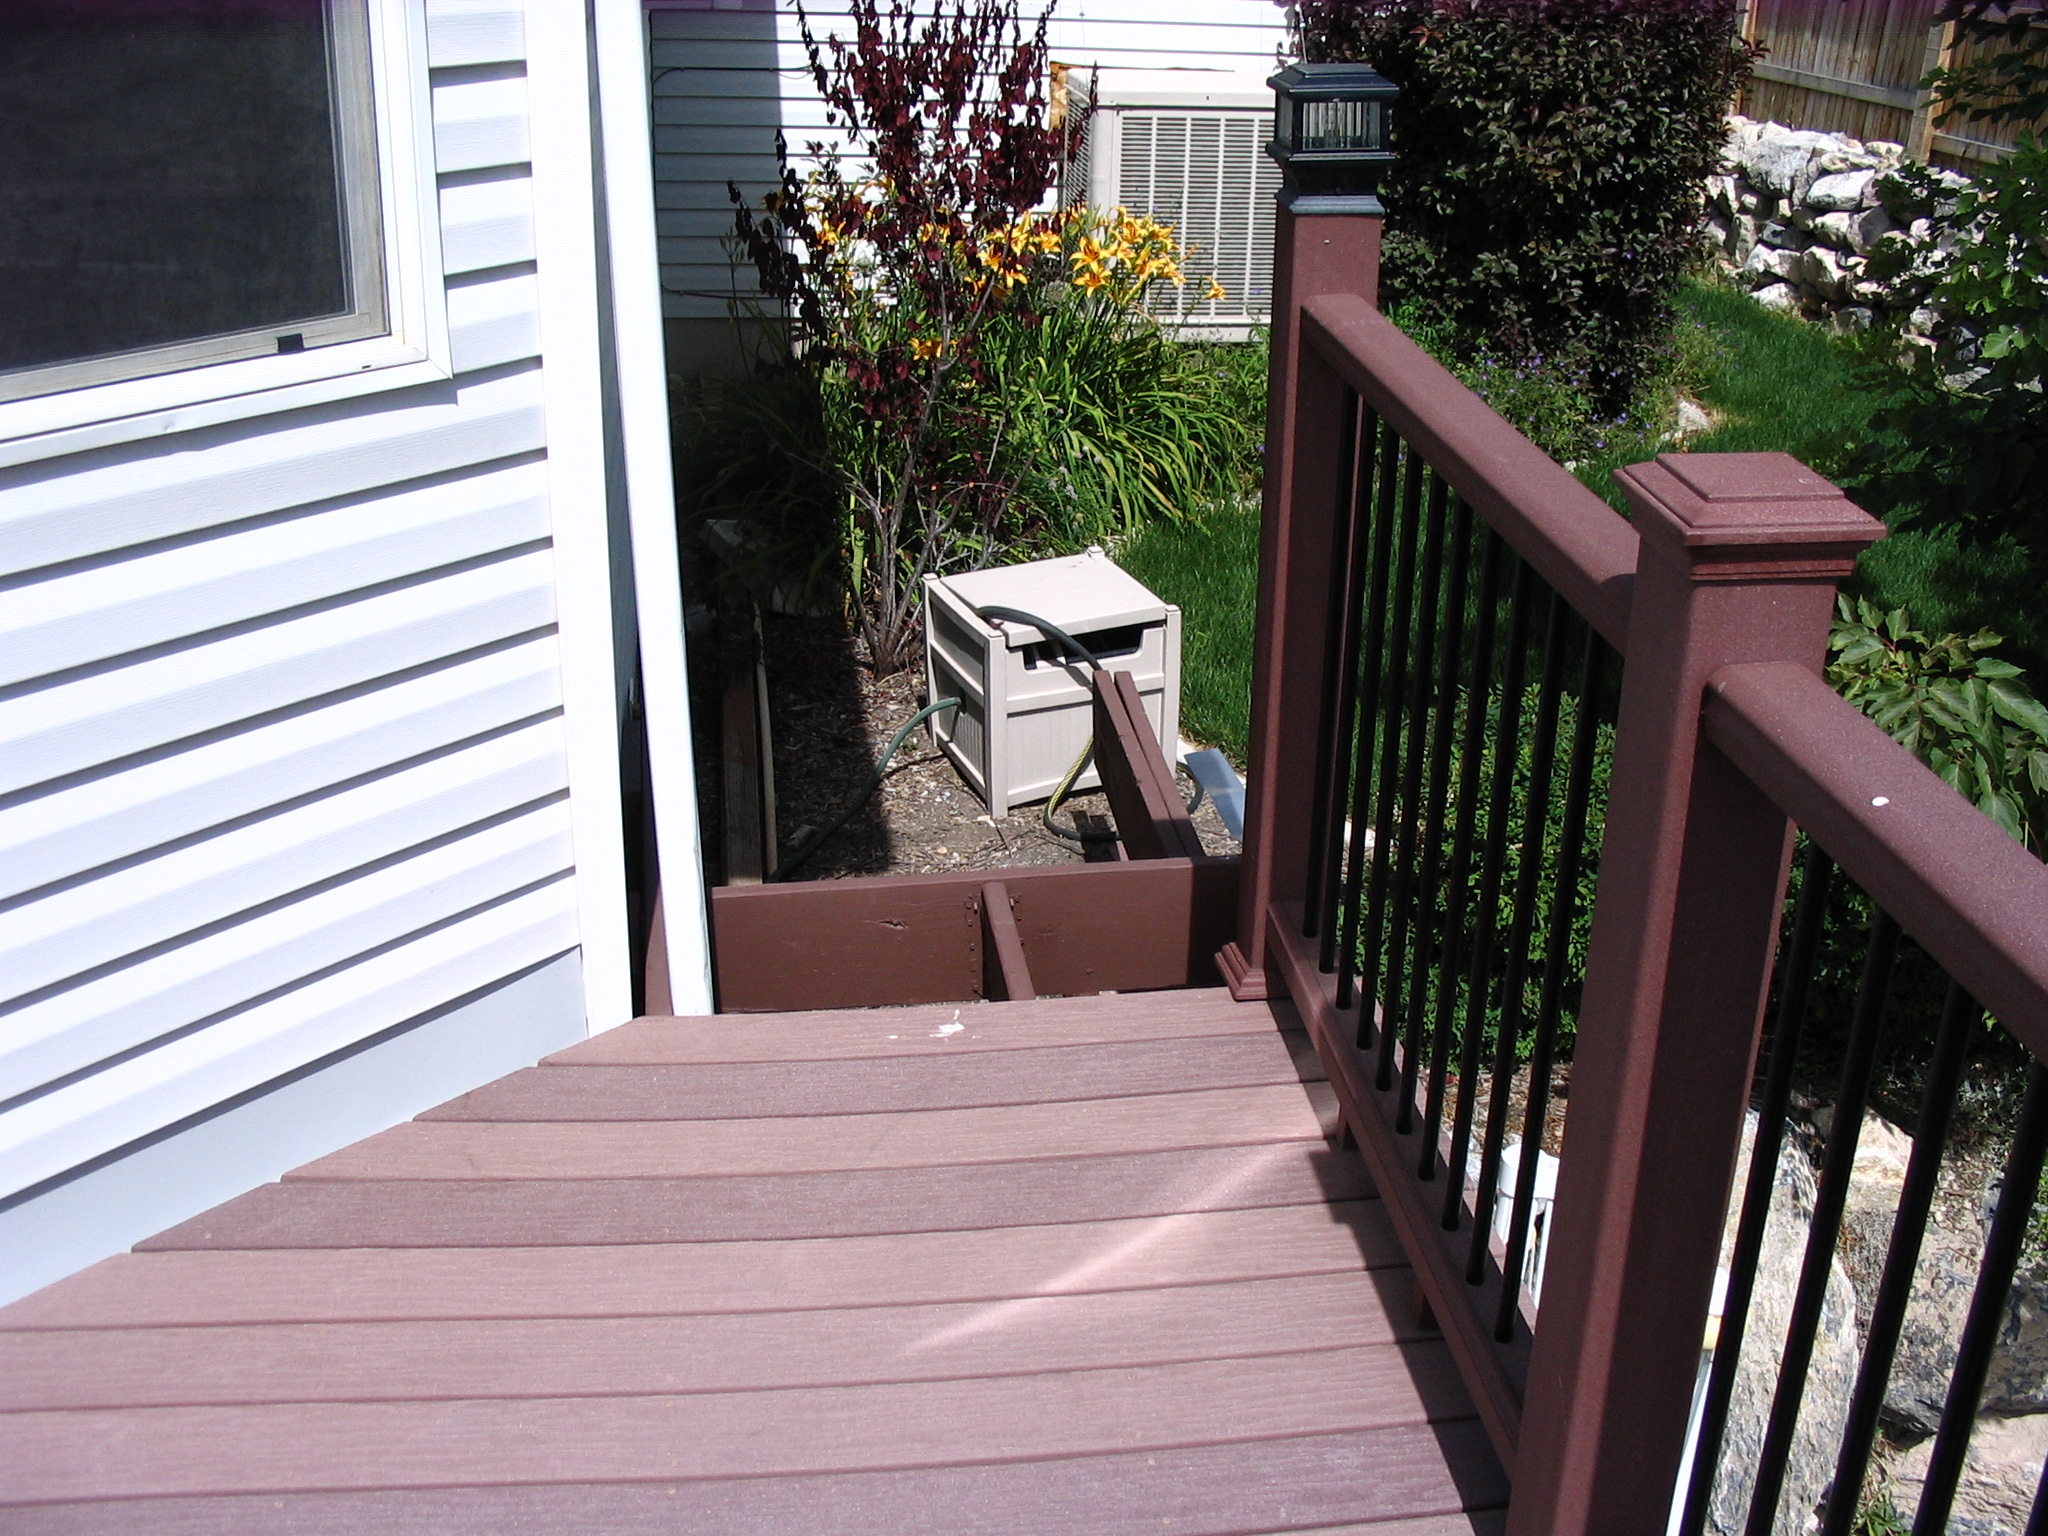
Here we lend treads to the steps, one piece of Trex had to be ripped narrower
and routed. The we began working on the balusters. Left the "oblique" balusters
for next year.
|
|

|
|
|
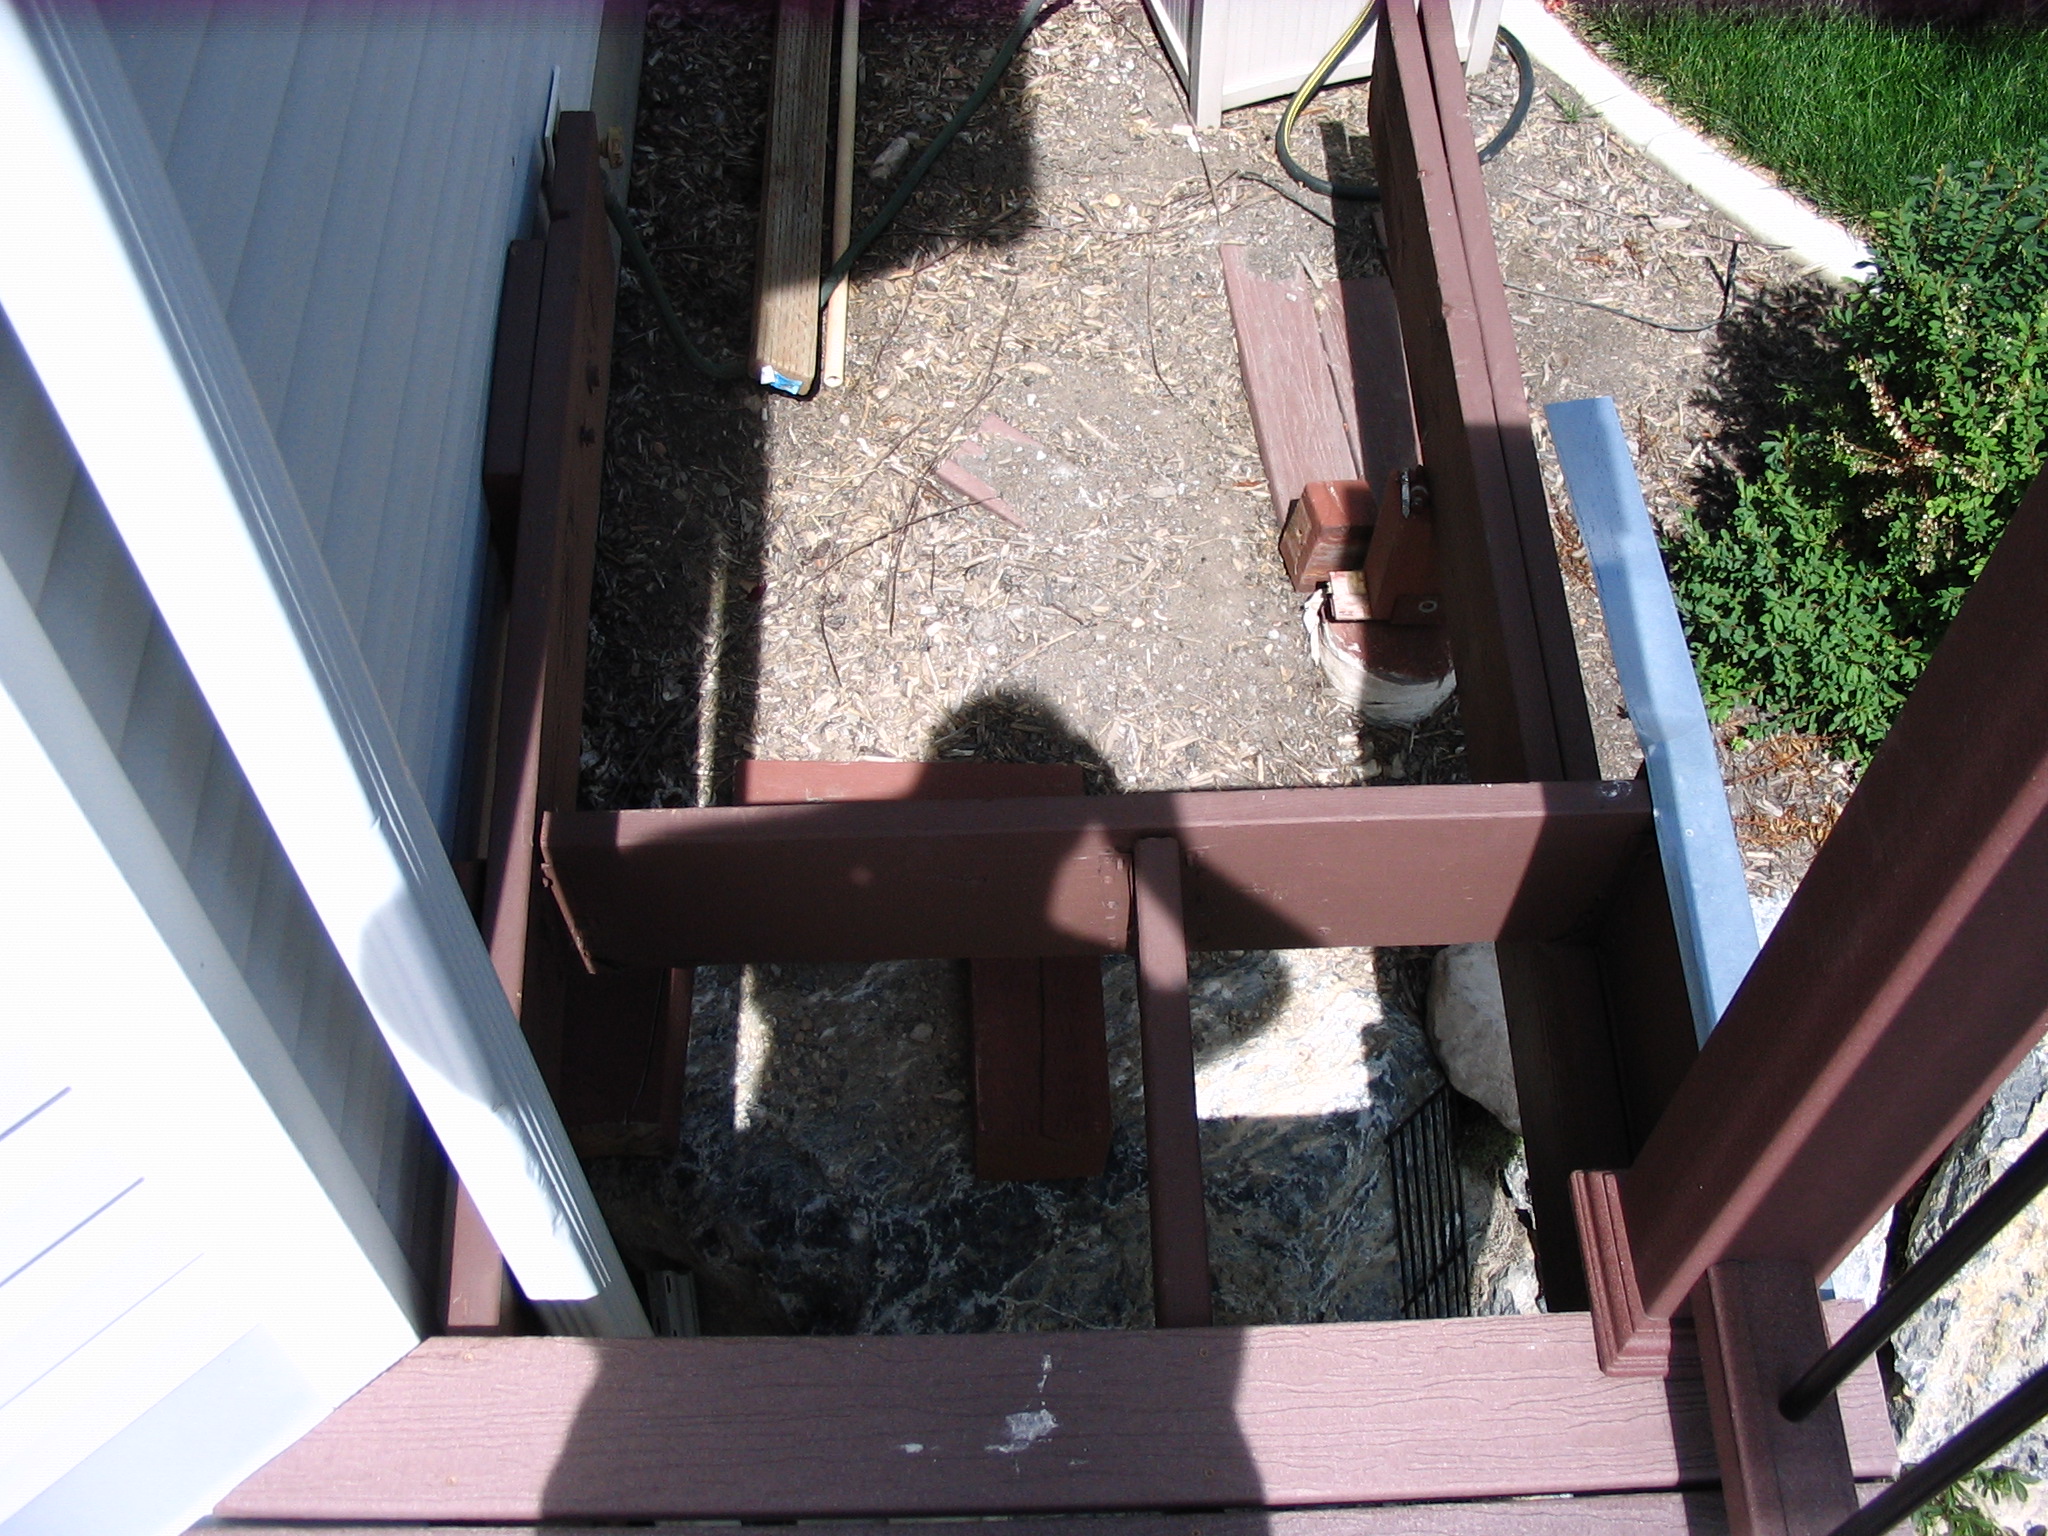
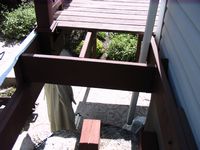
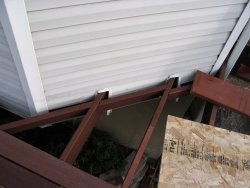
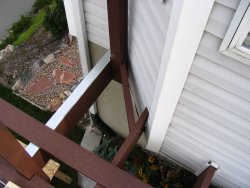
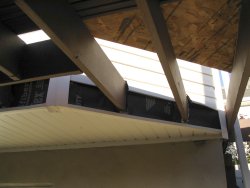
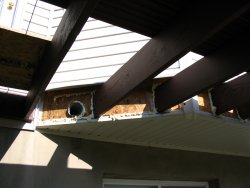
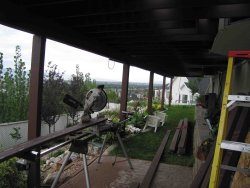
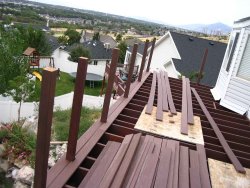
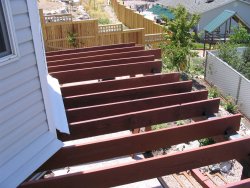
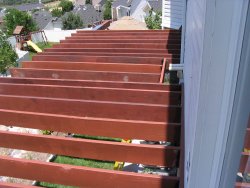
25 July 2011
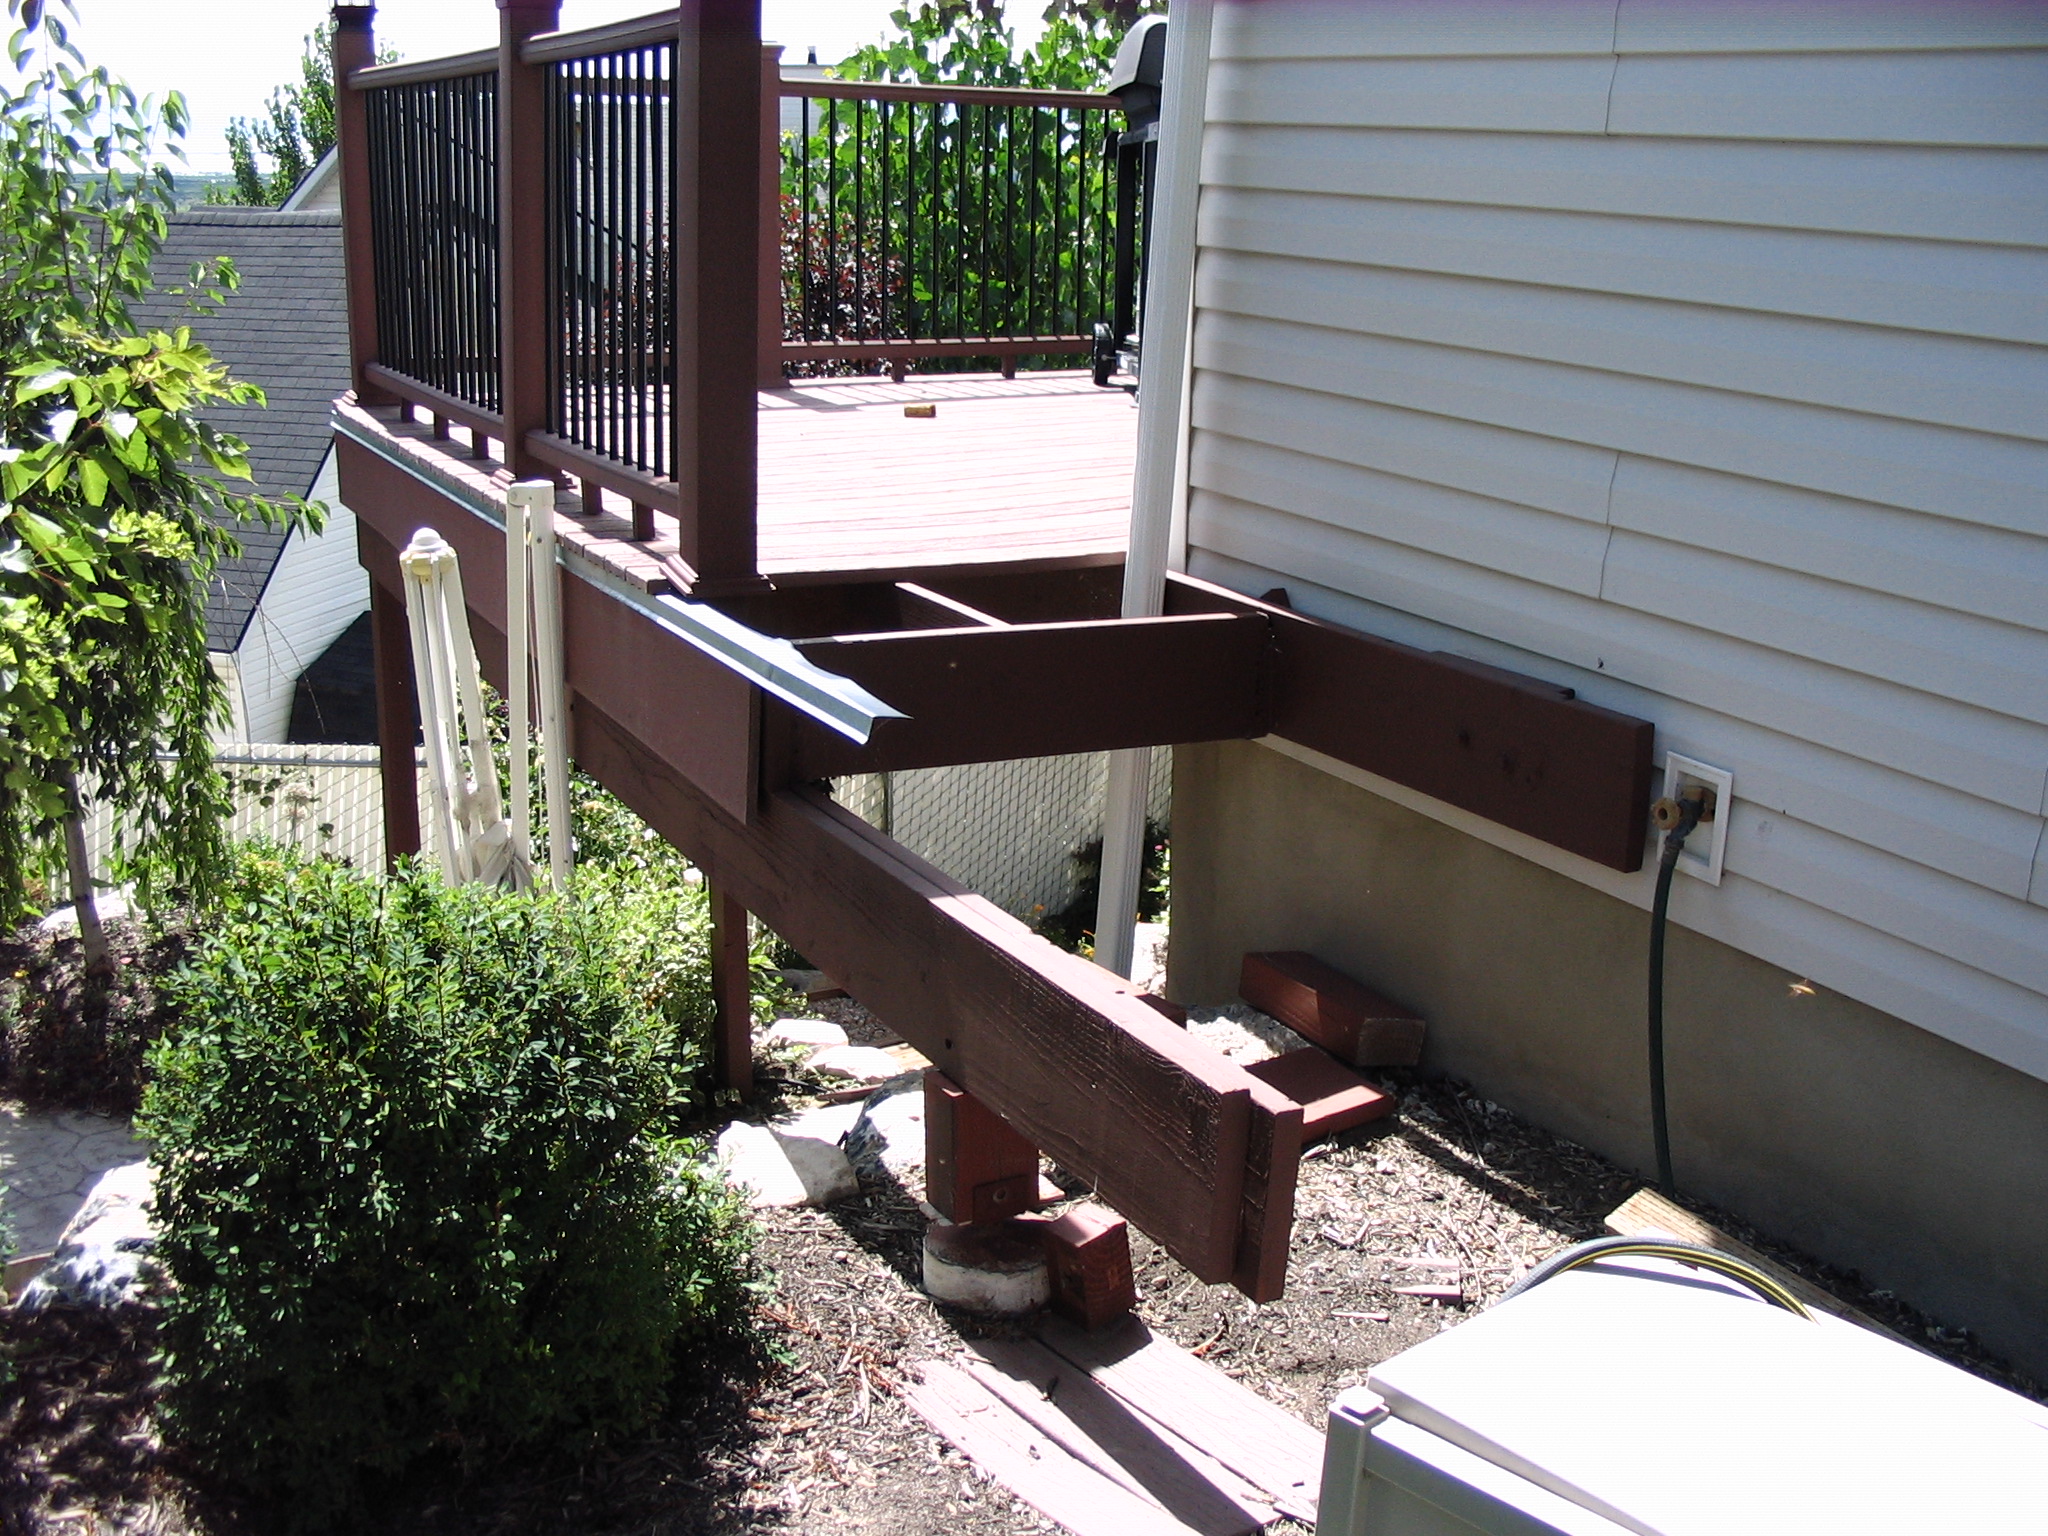
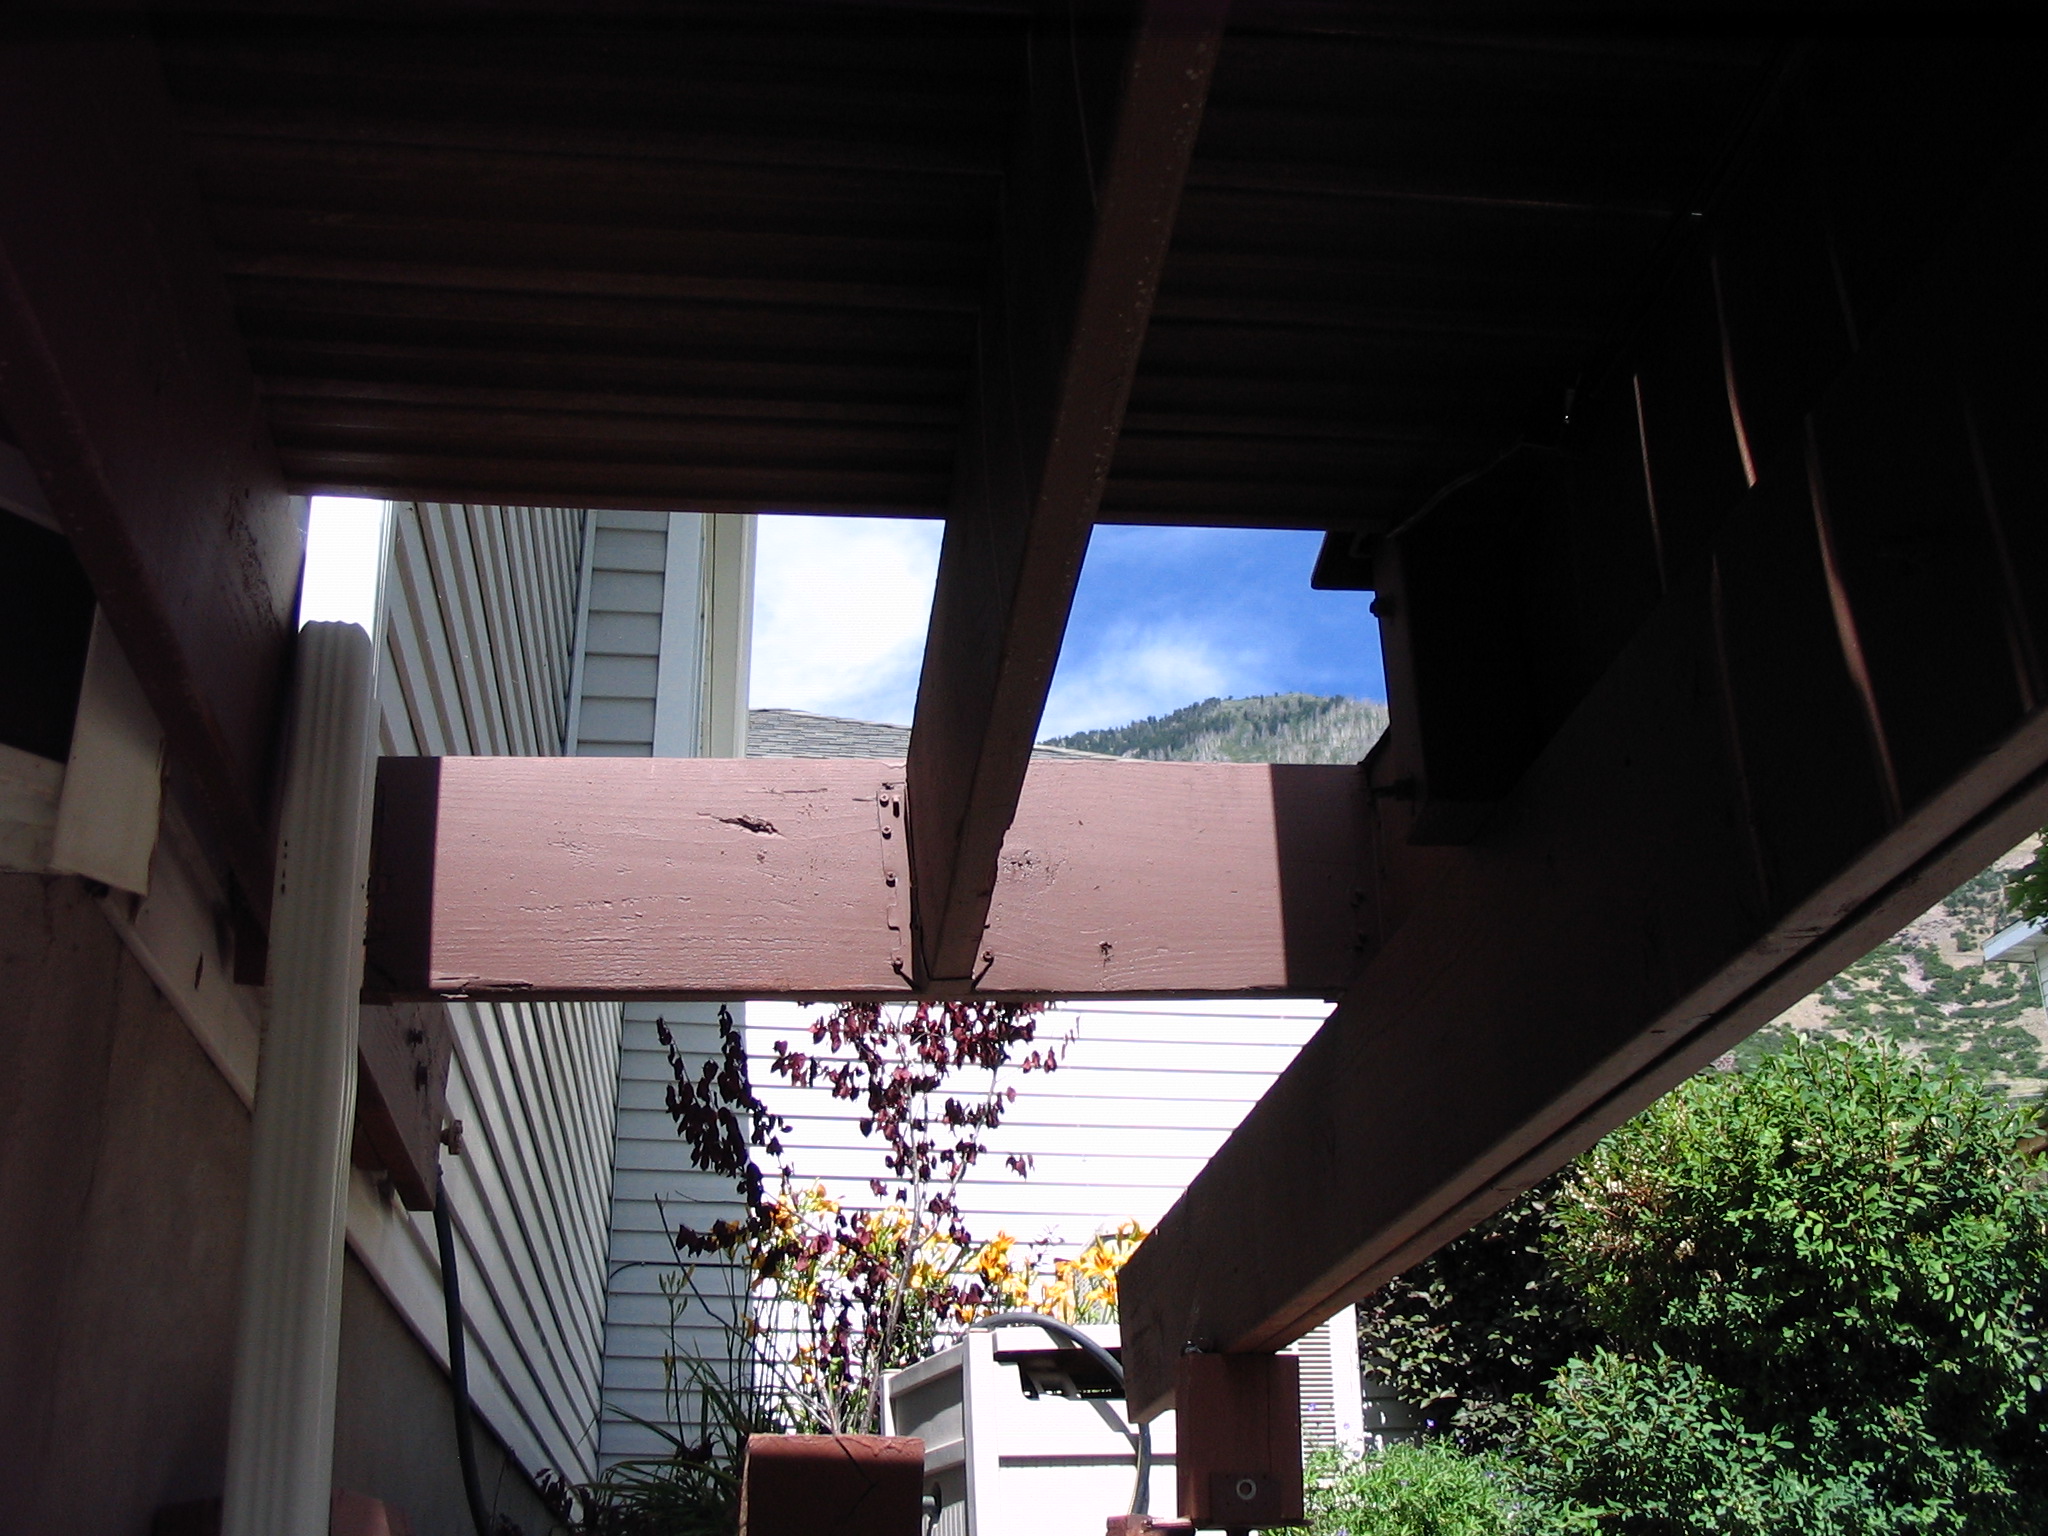
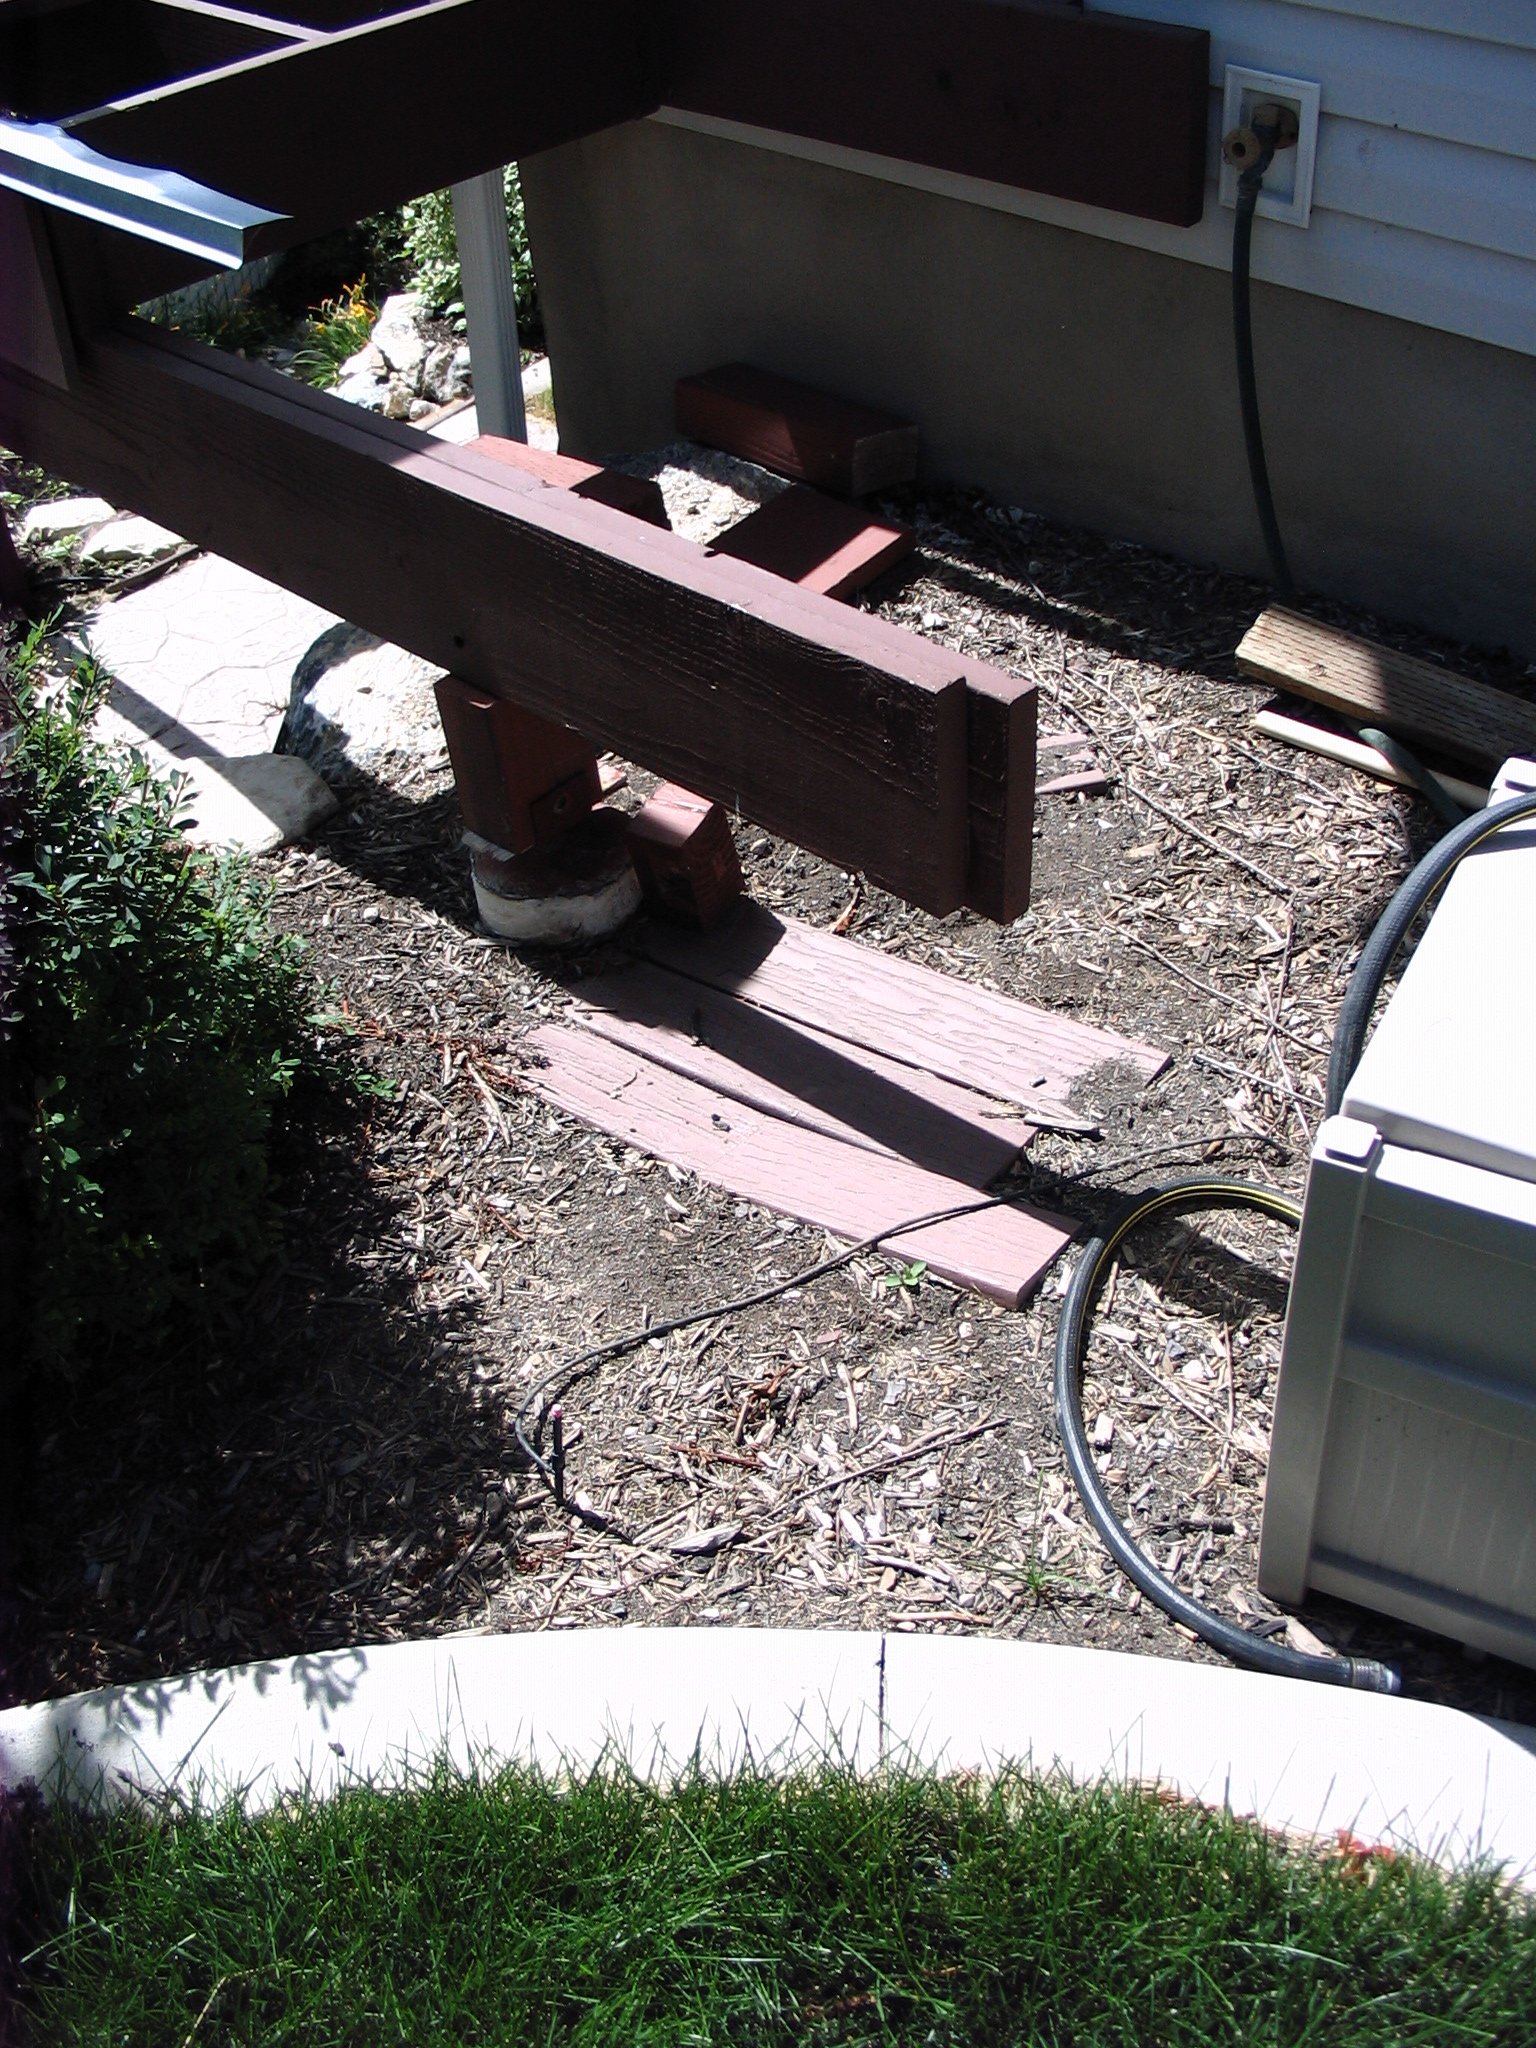
Uh (embarrassed), we finally get to the stairs...
At some point, we gave up on the stringer calculators out there and used trial
and error to craft one out of cardboard, then cut from 2×12 stock.
|

|
|
|
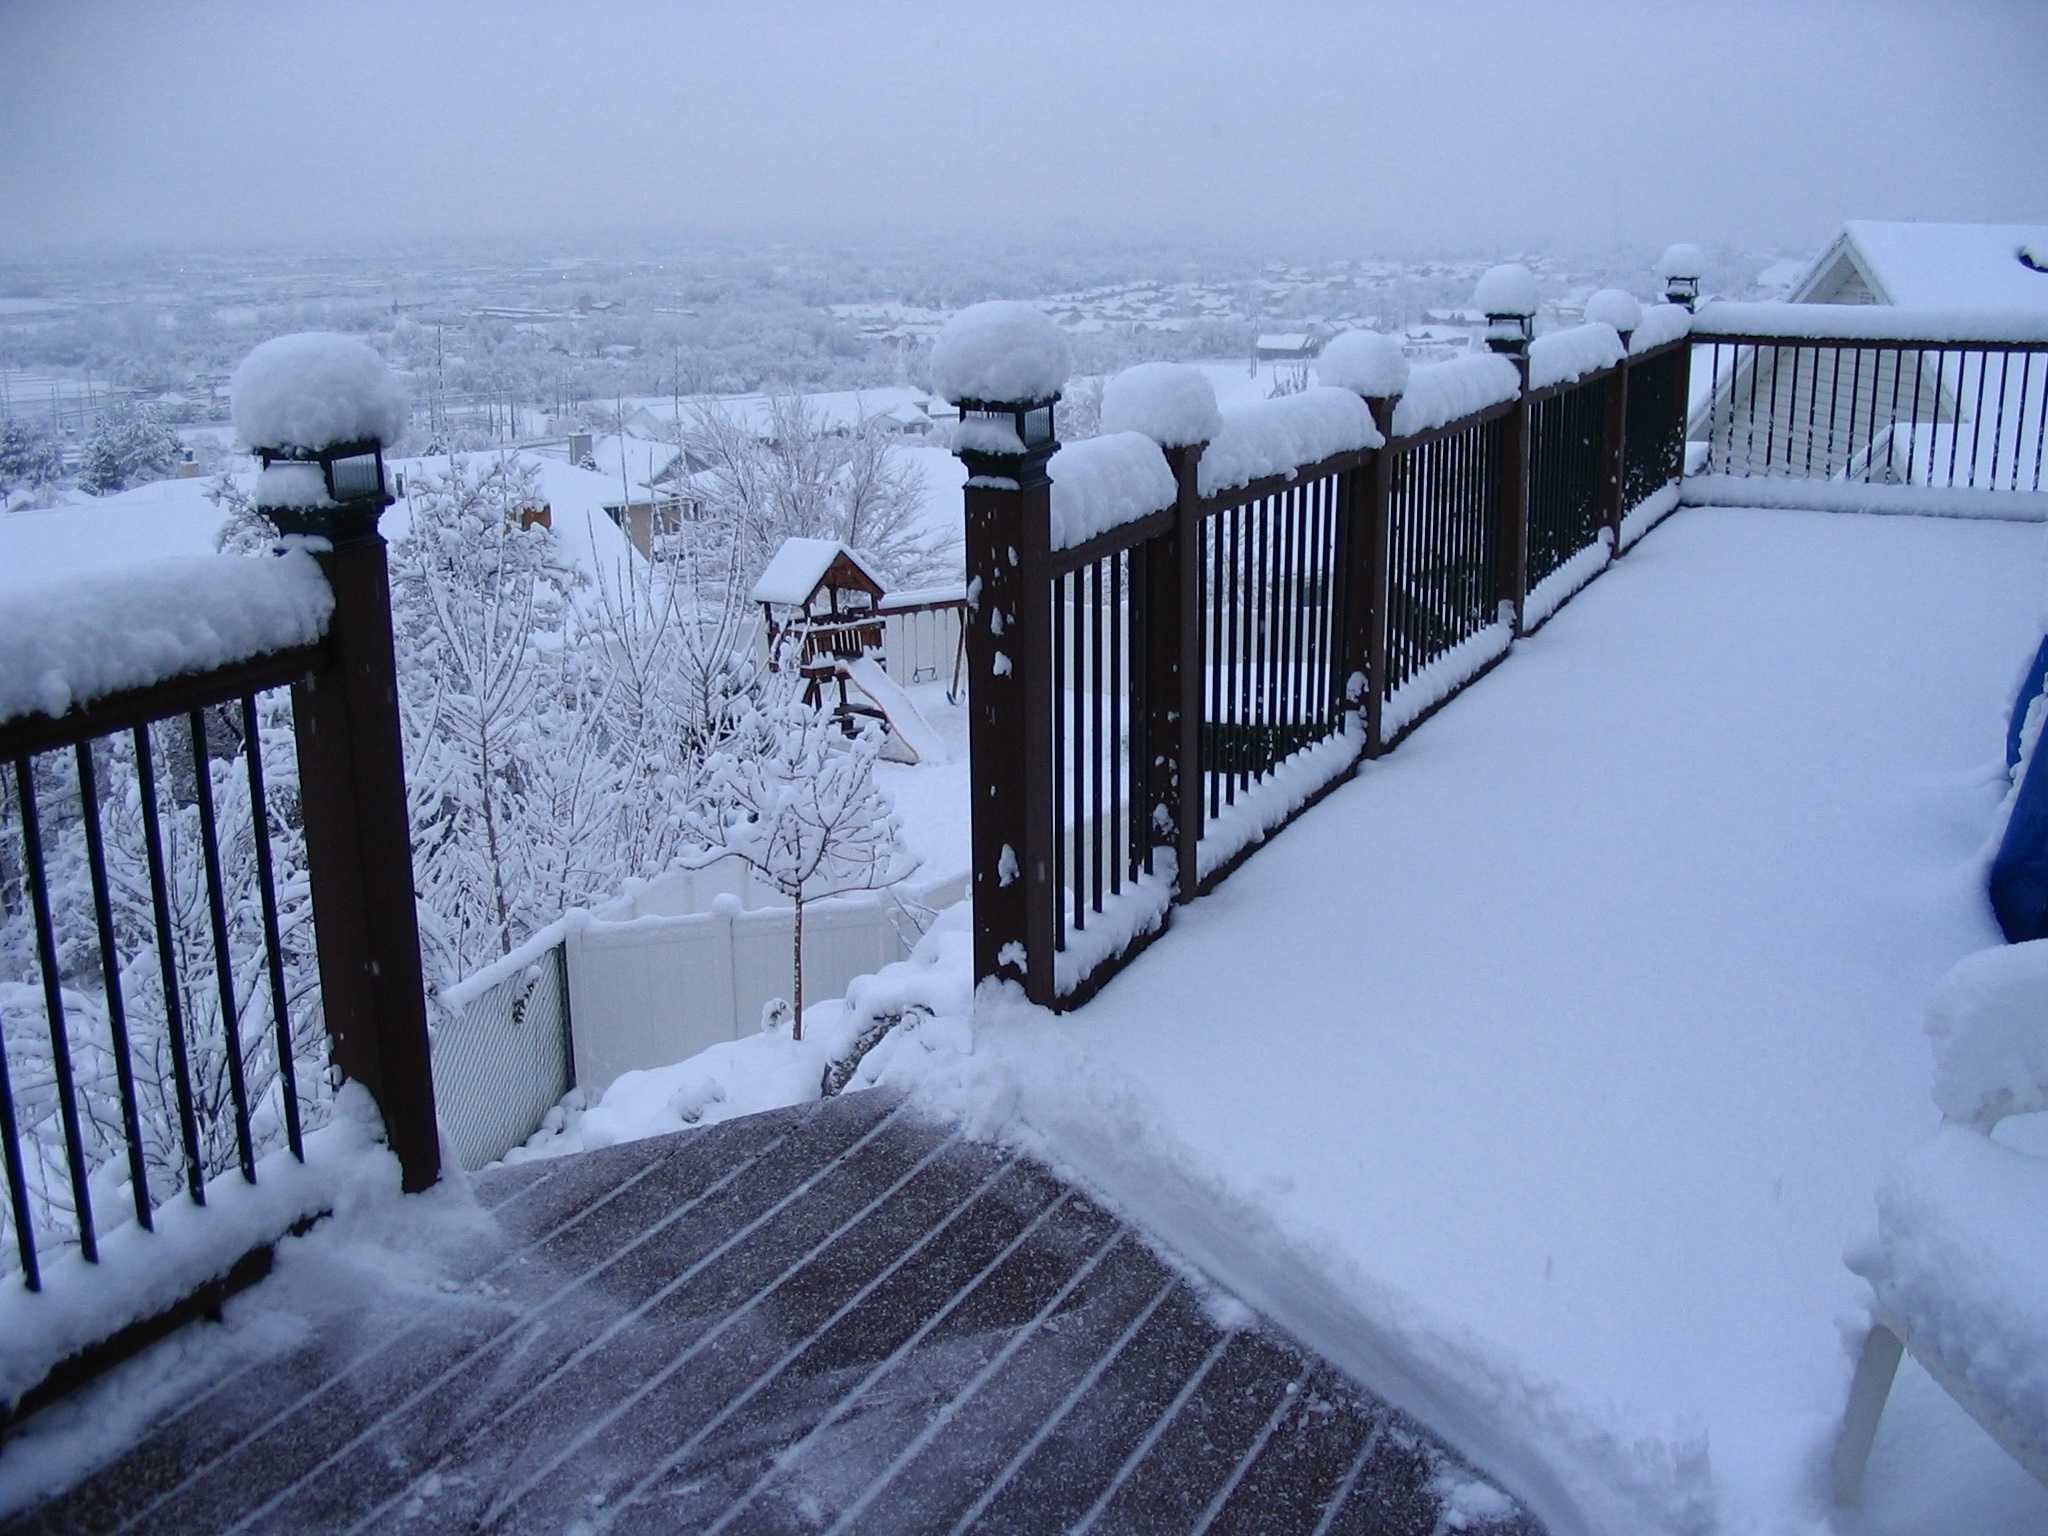
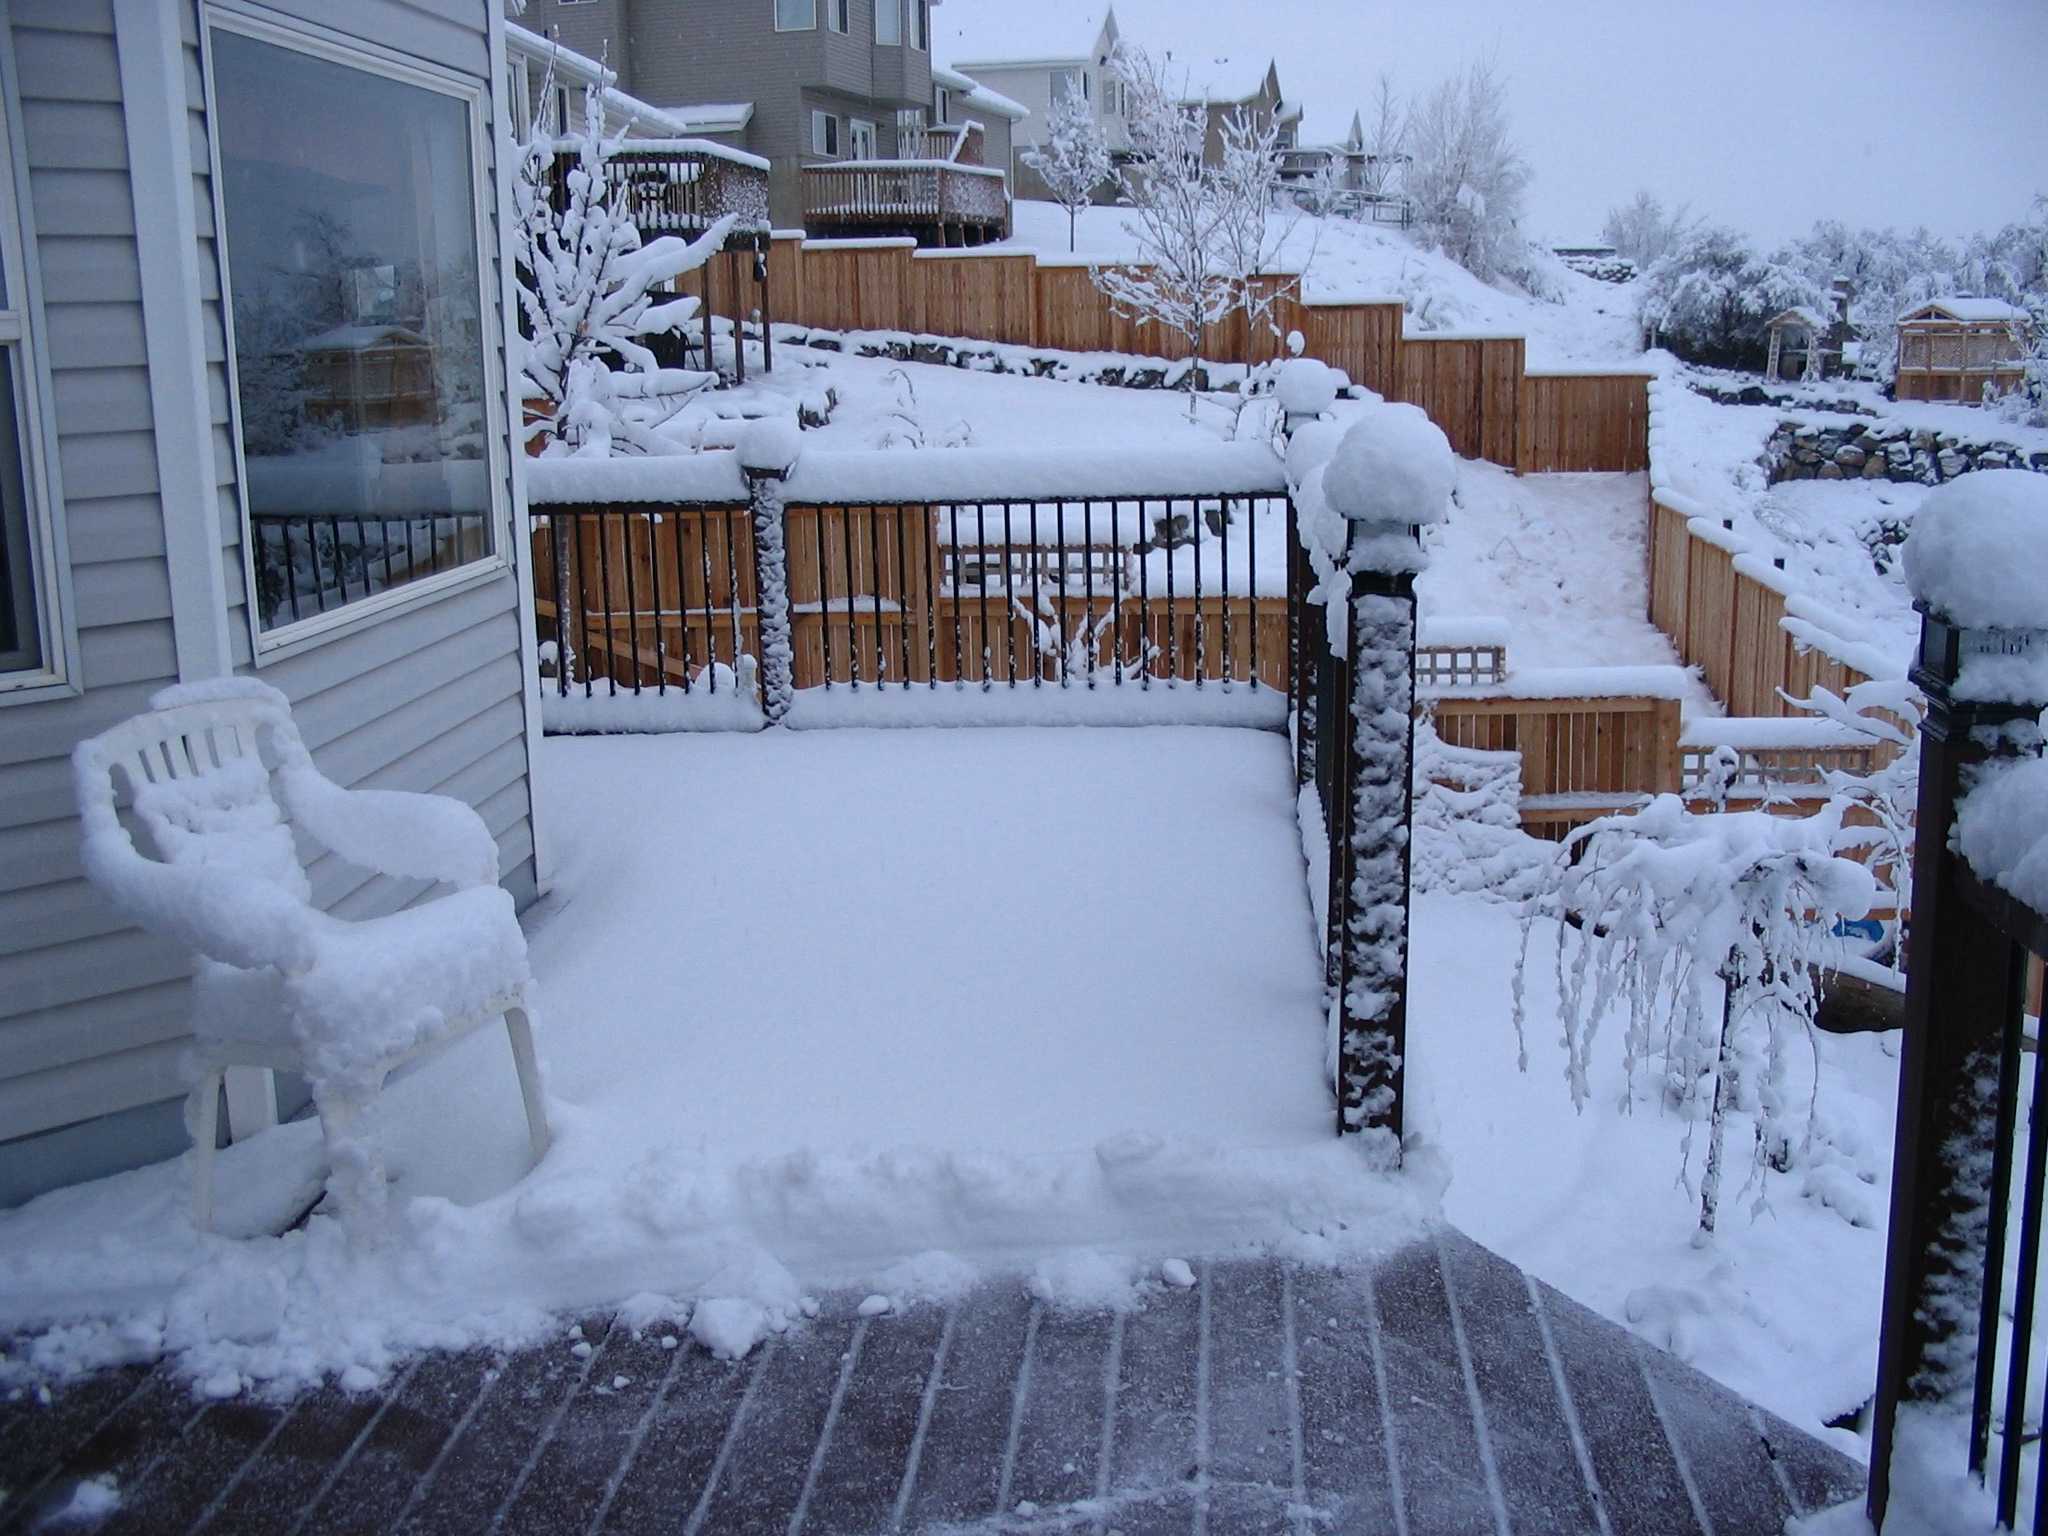
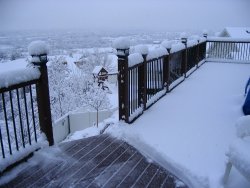
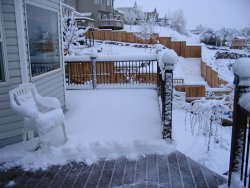
9 December 2007
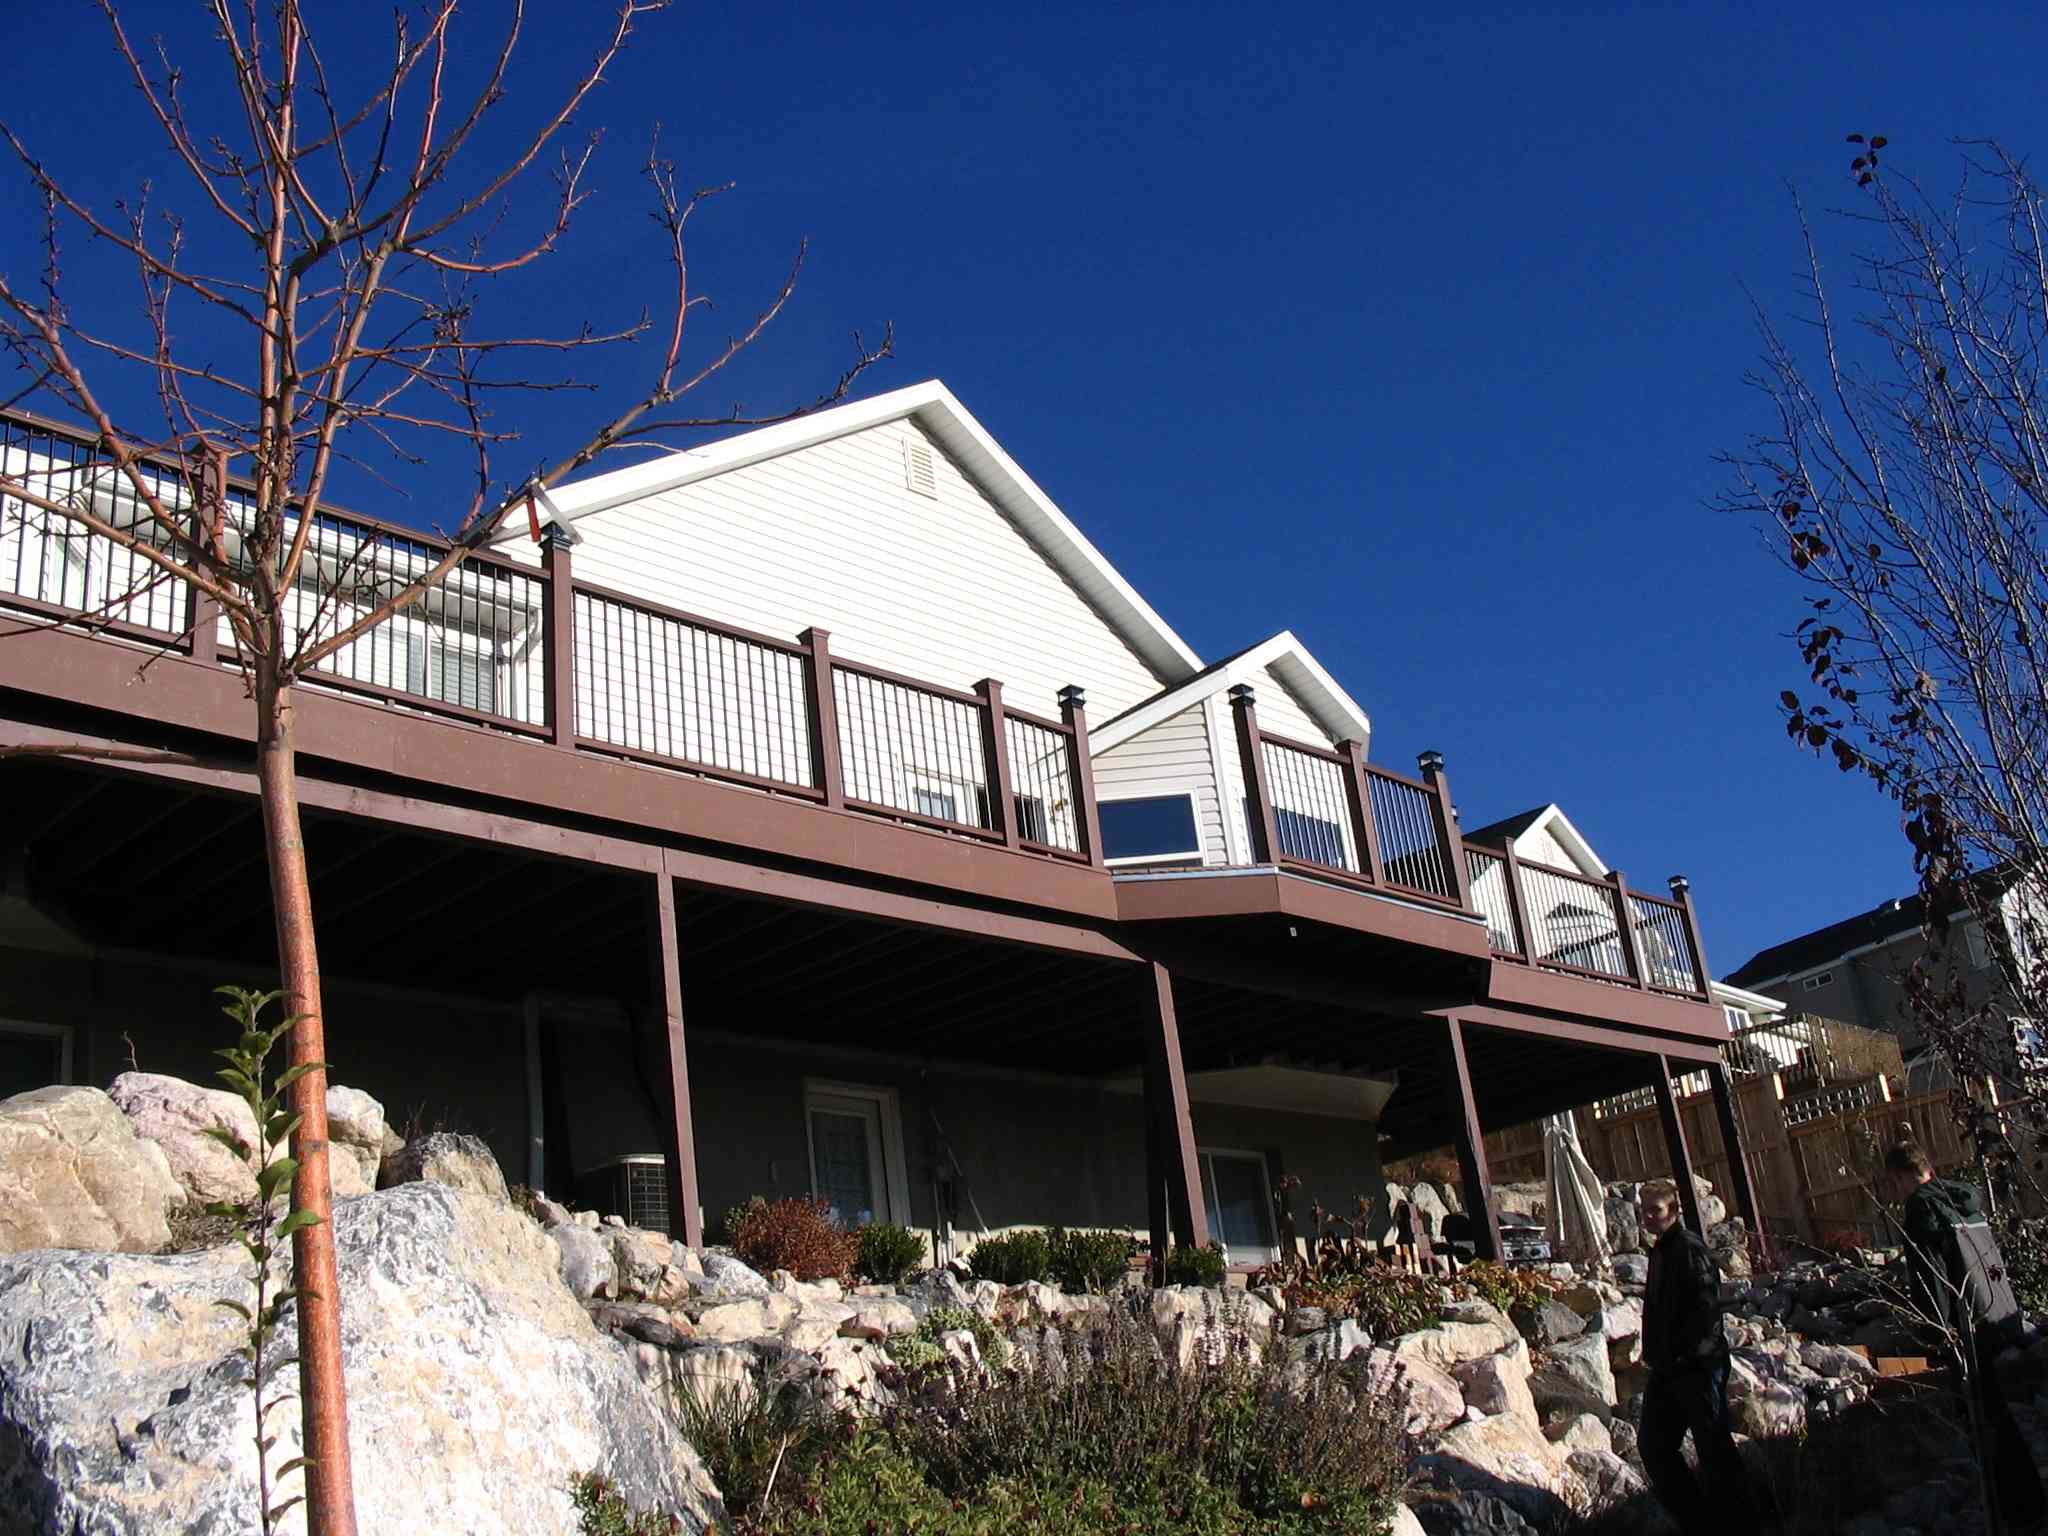
We stress-test our deck!
Last week, I went to Rock Springs to help my daughter put in new kitchen
counter tops. The weather has been very bad since the last time I worked on my
deck and winter has set in: I don’t know when I’ll be able to
finish it except to wait for spring.
|
|
|
|
|
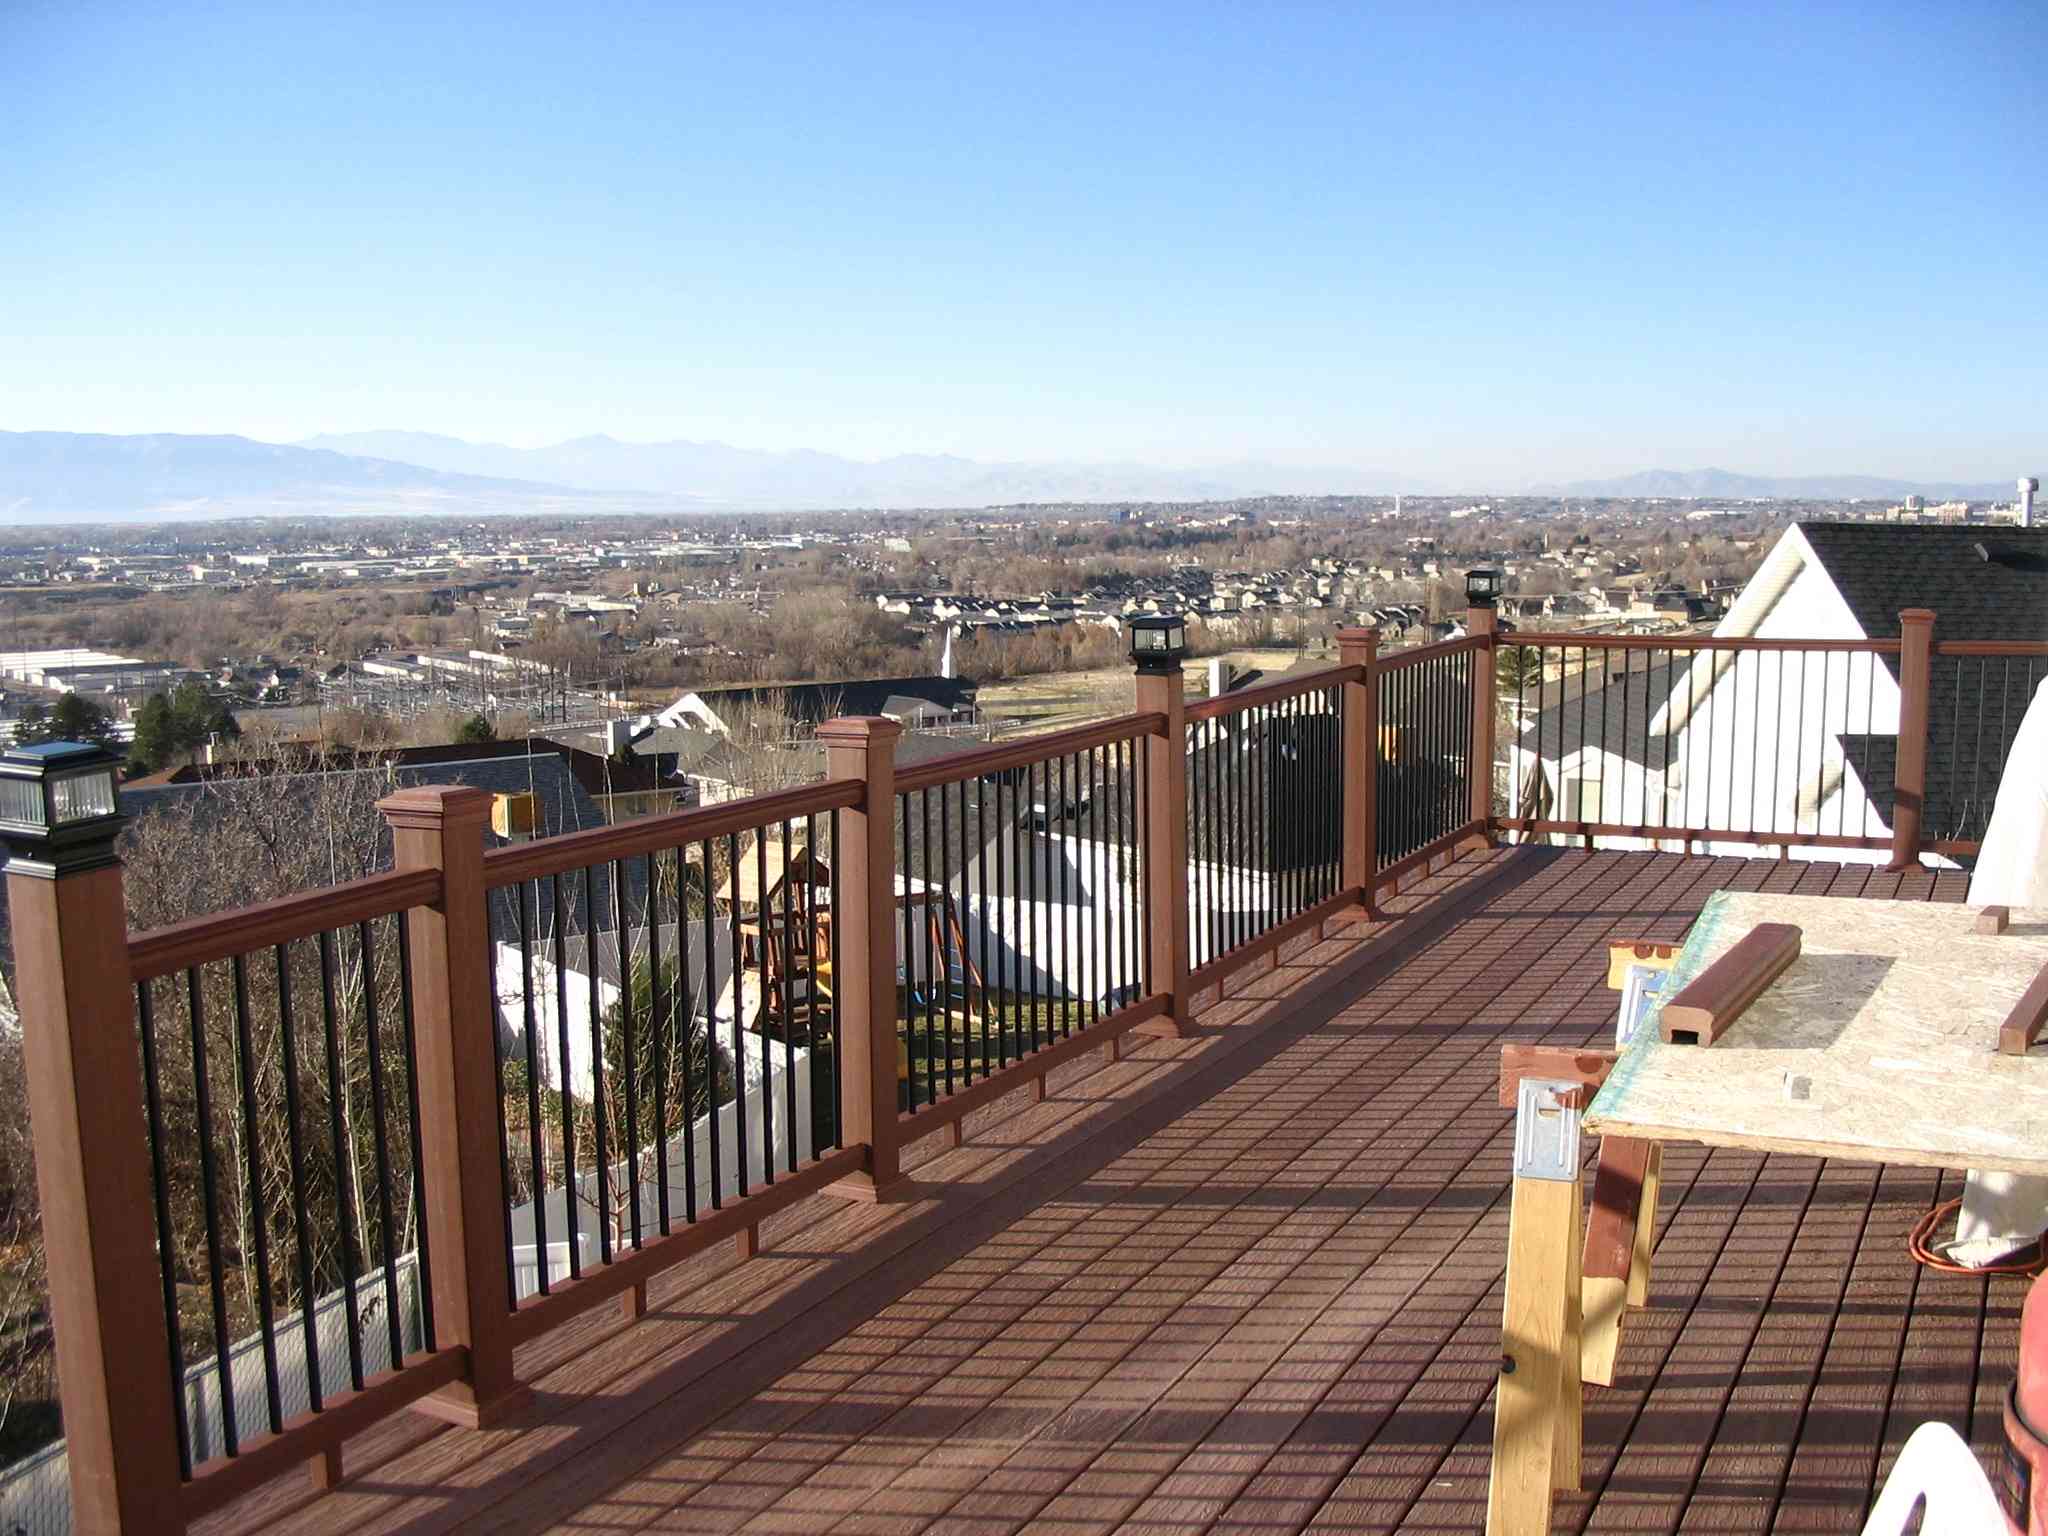
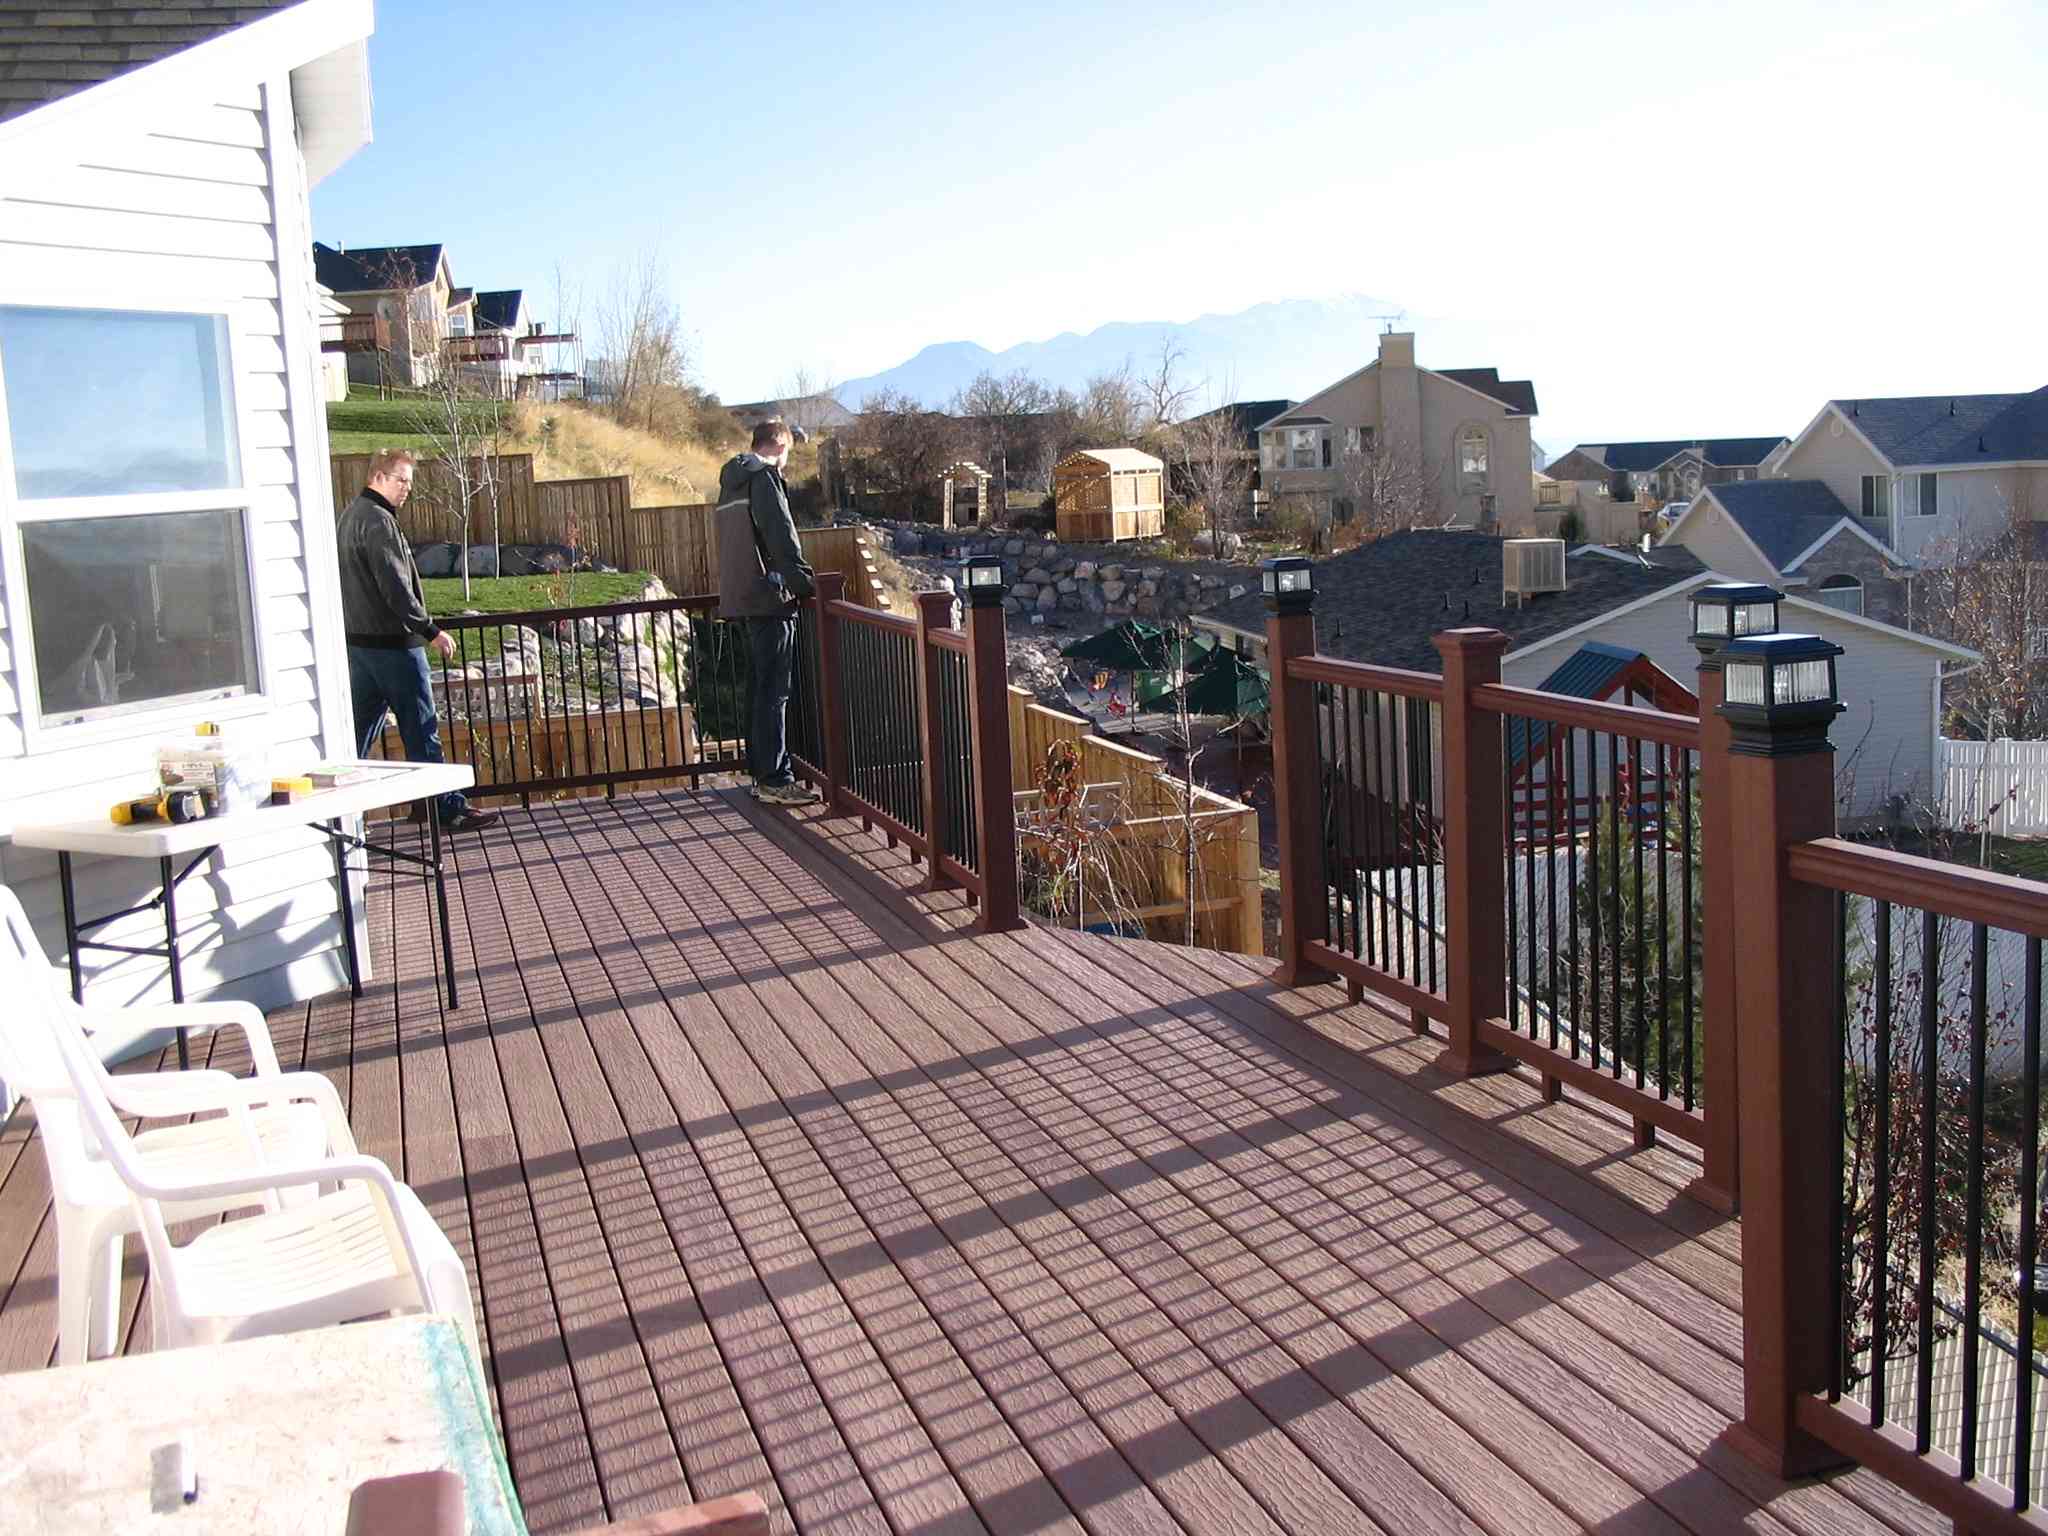
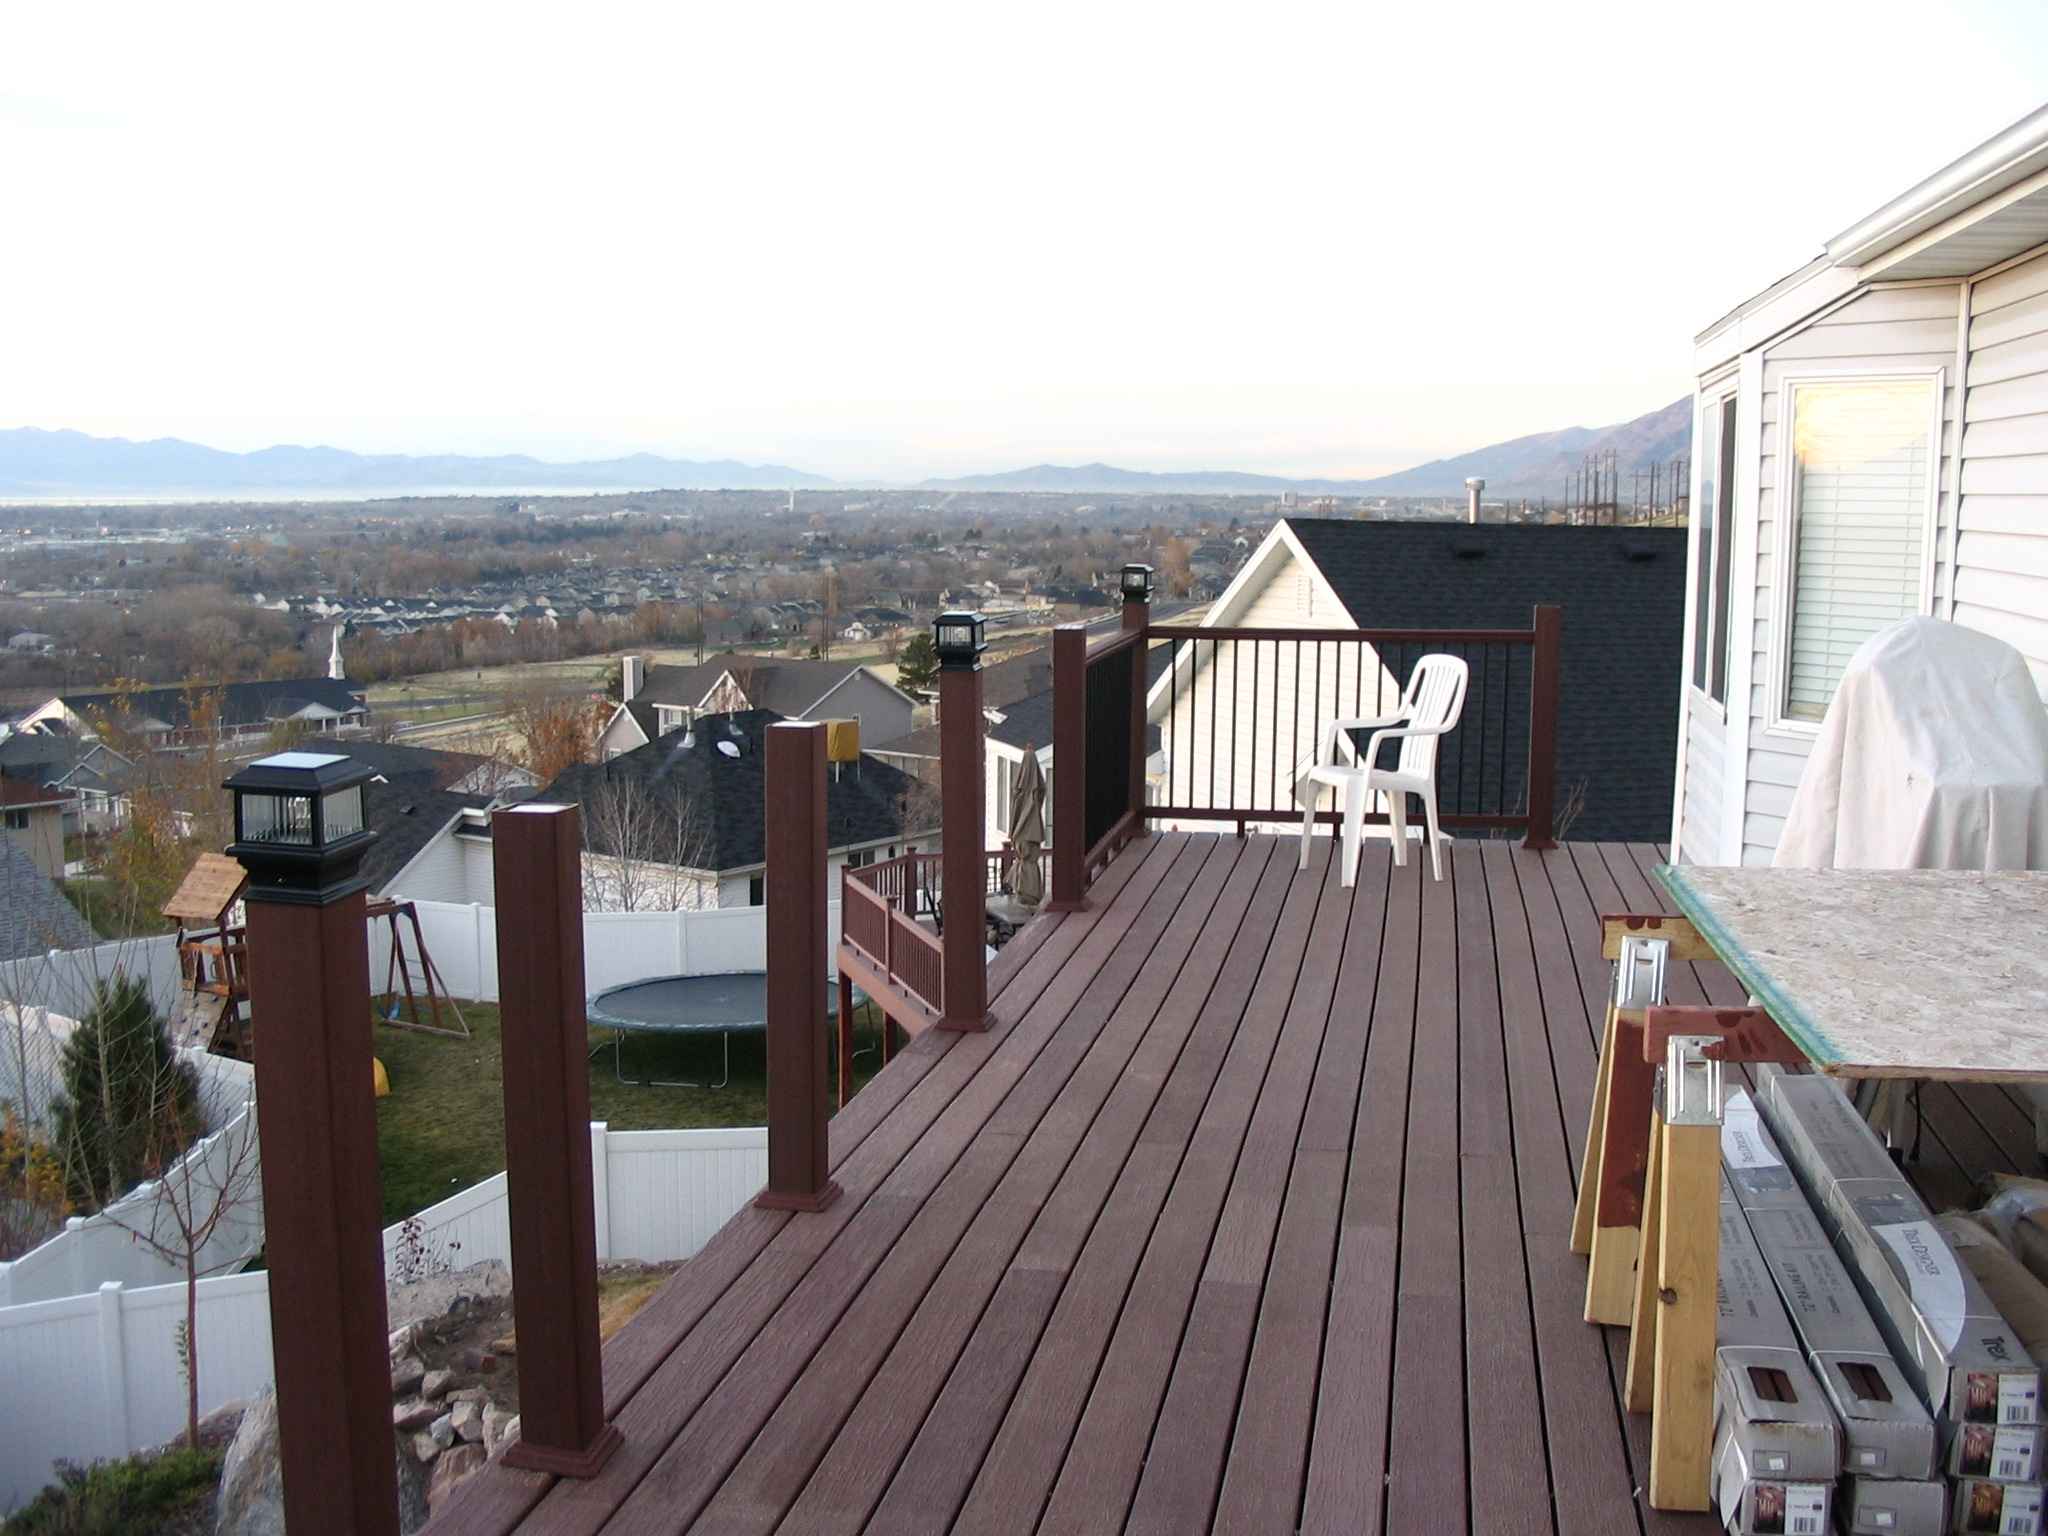
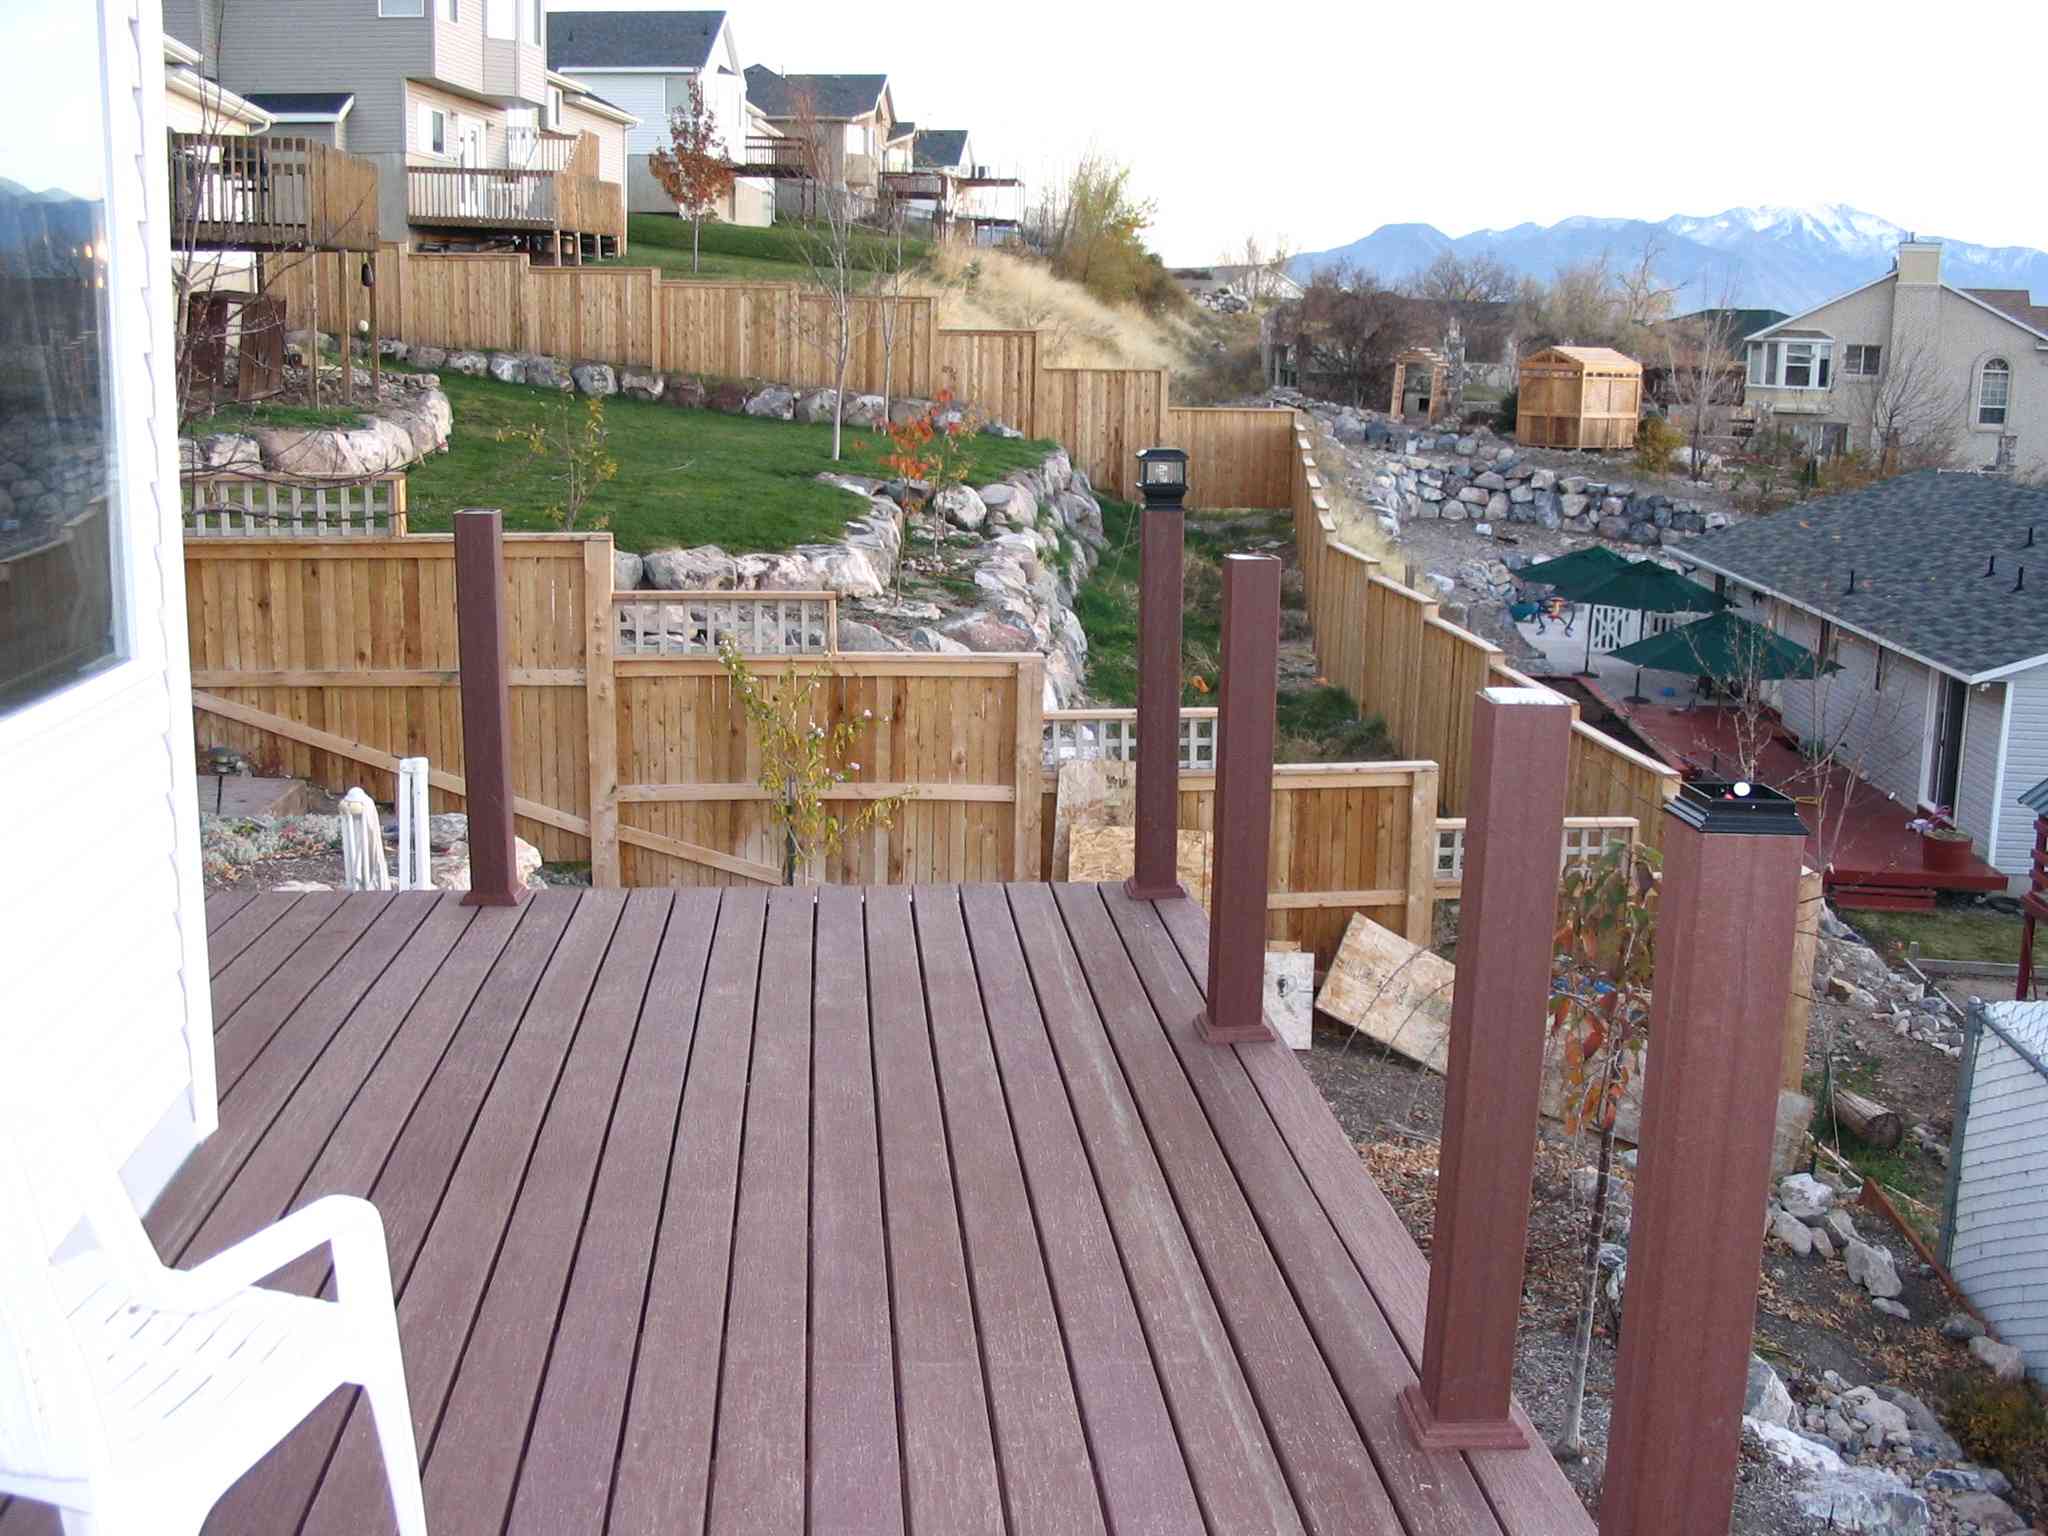
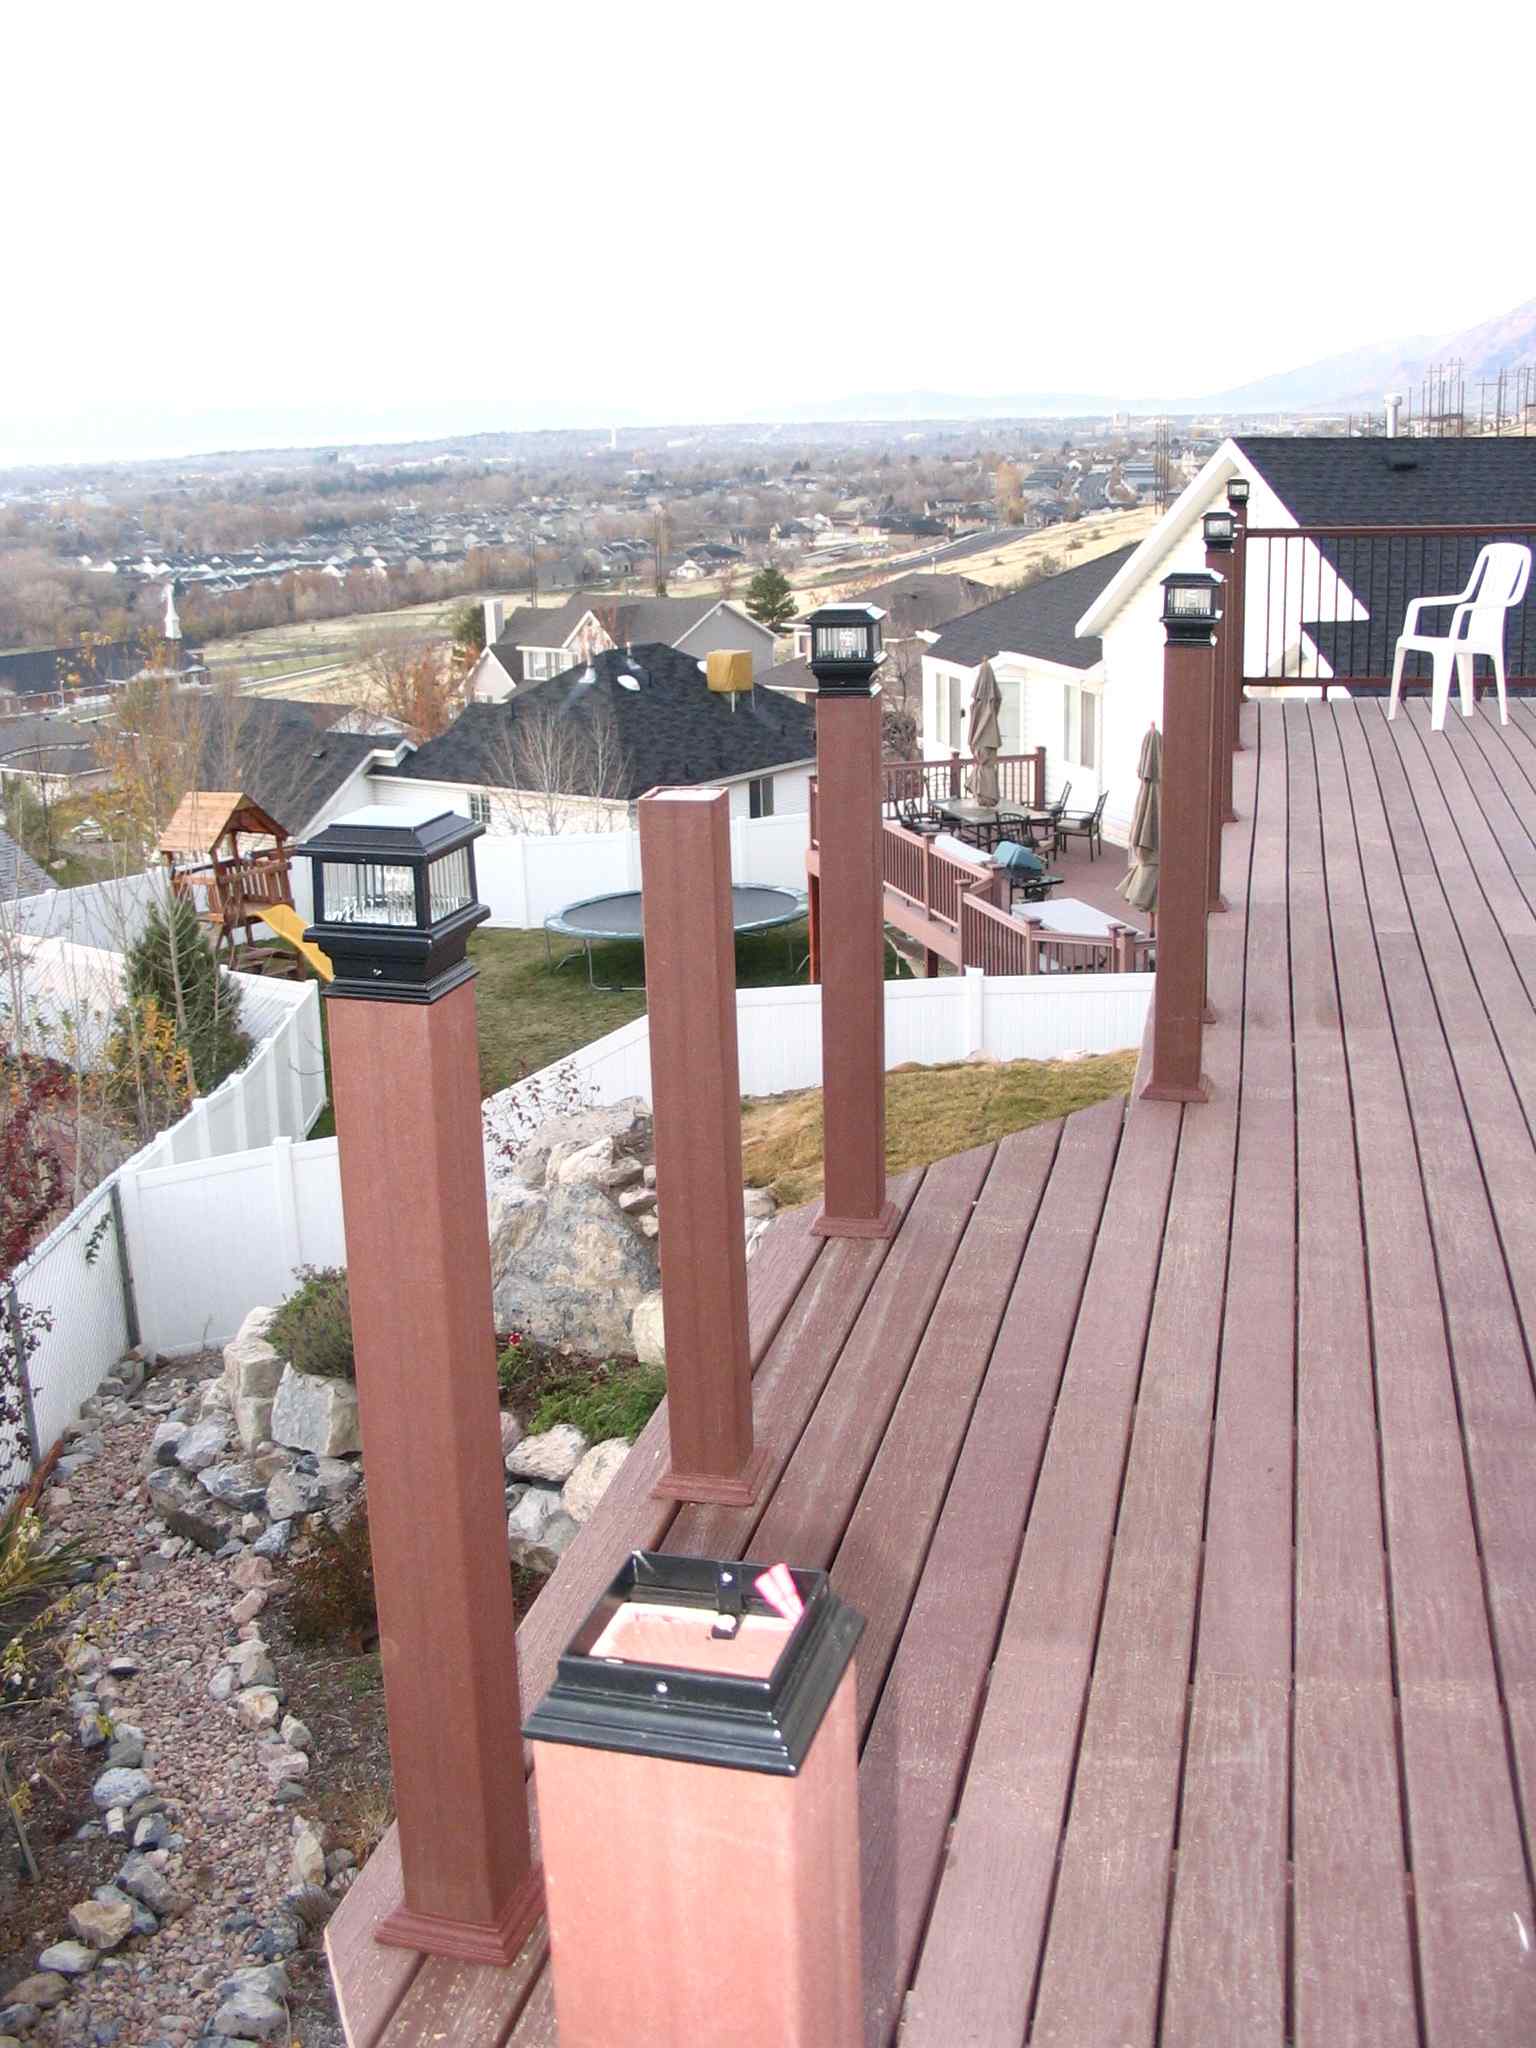
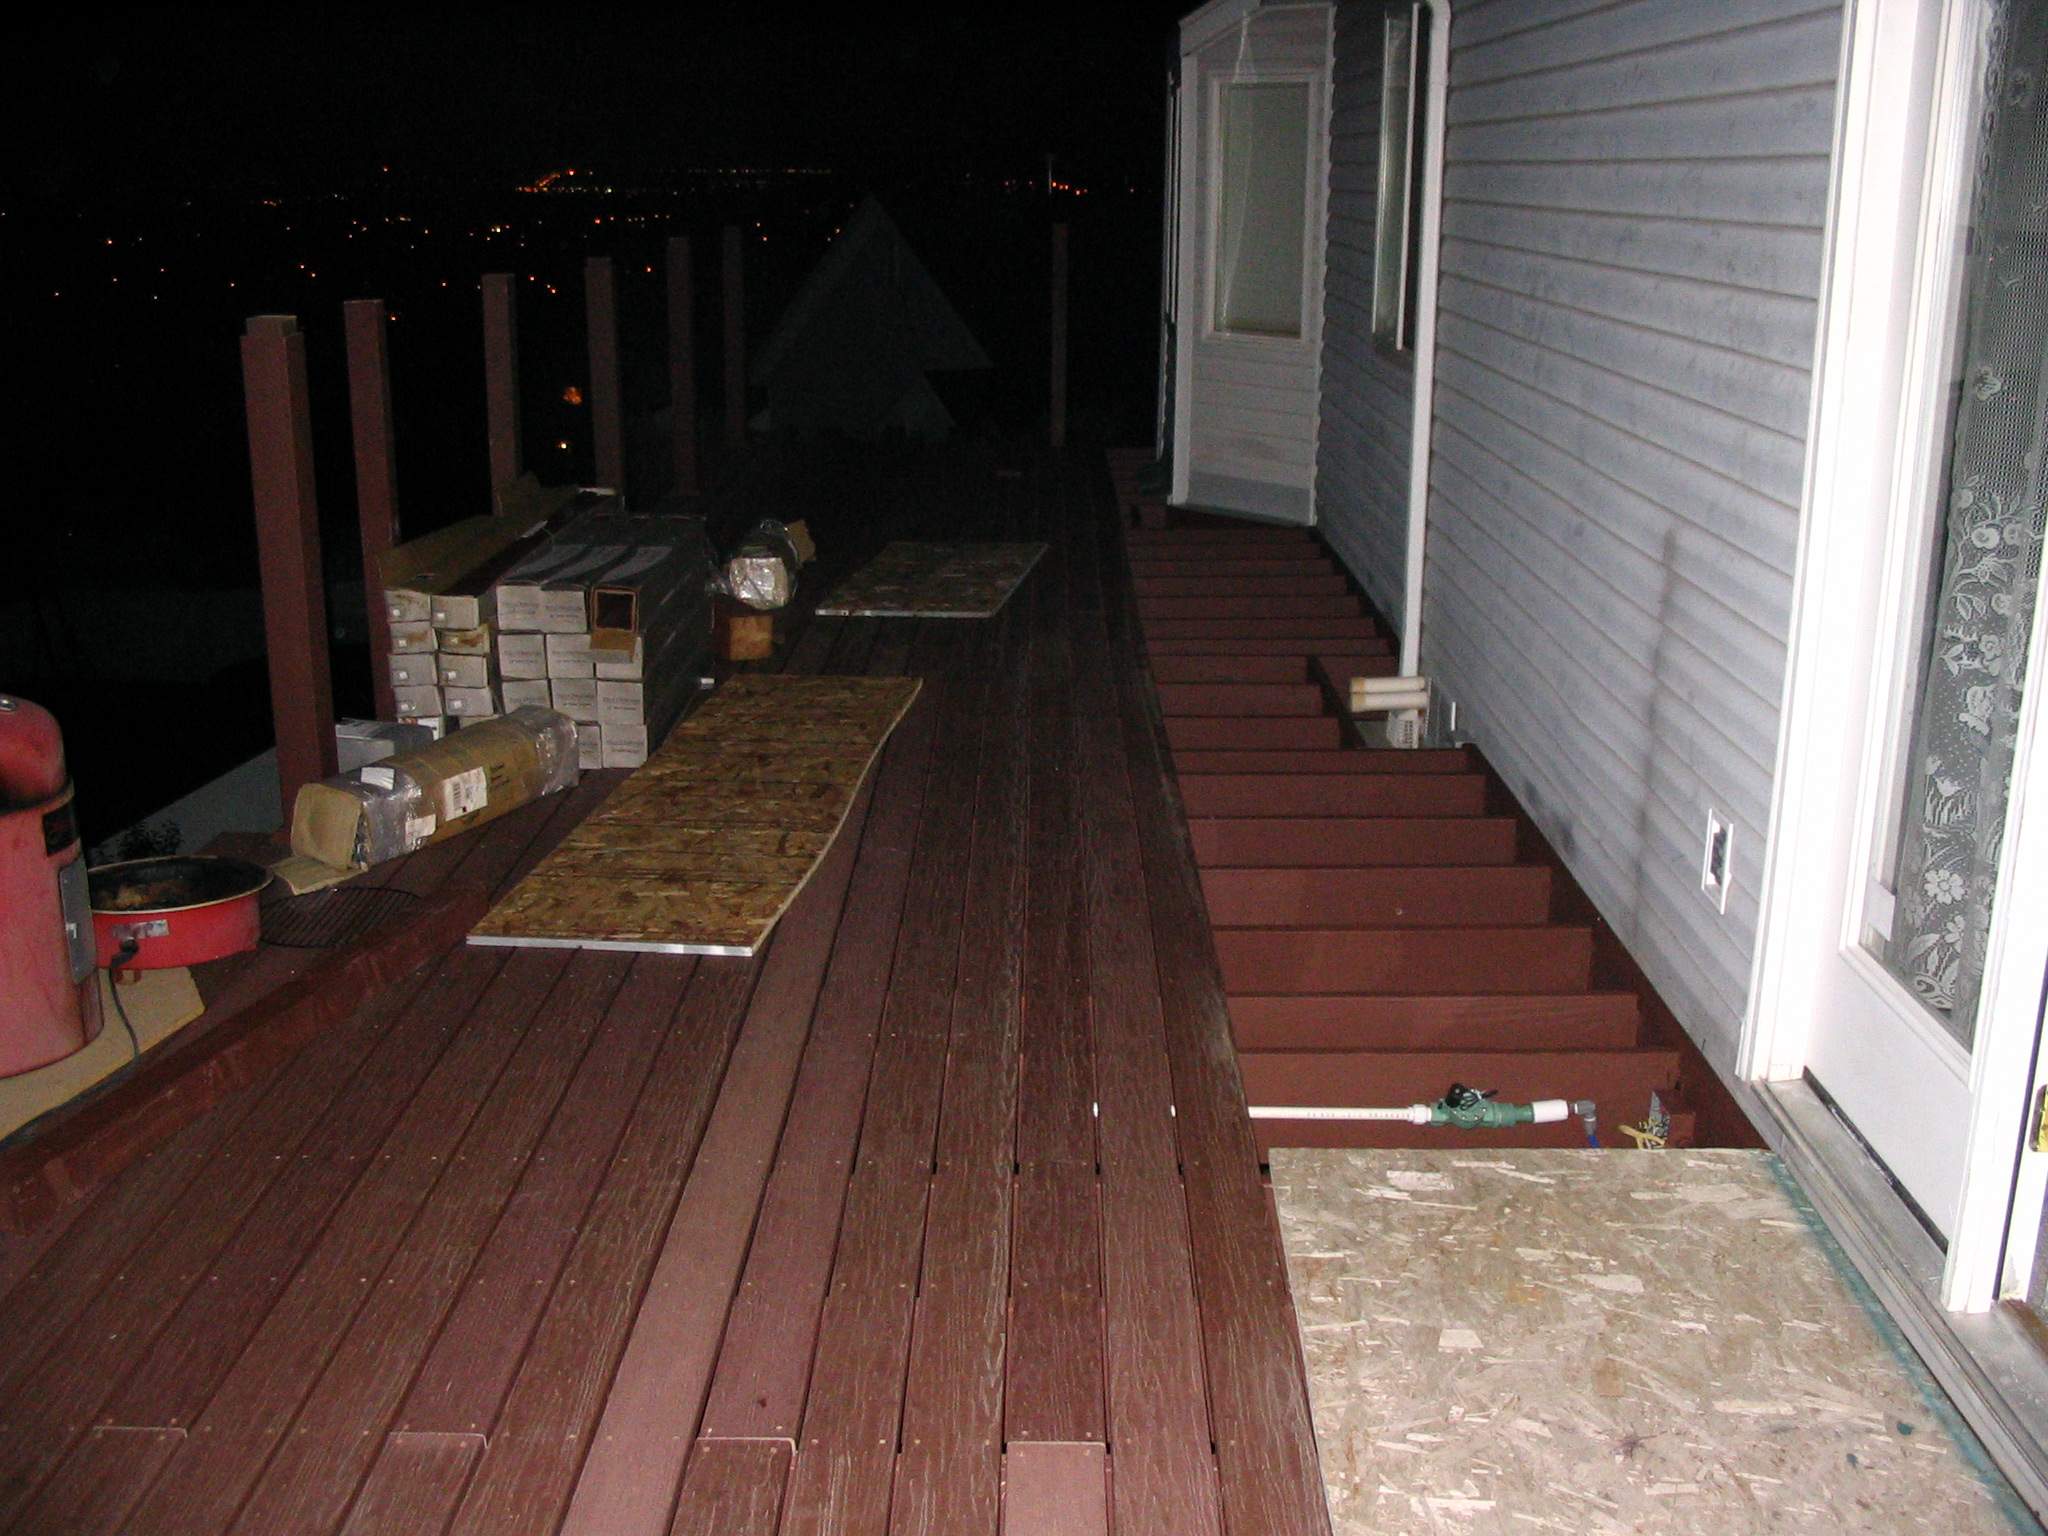
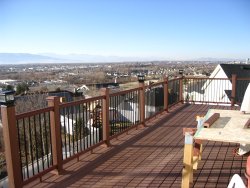
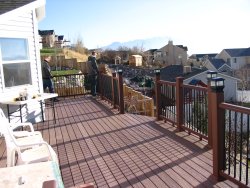
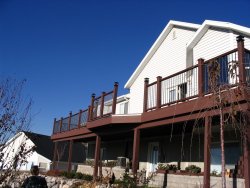
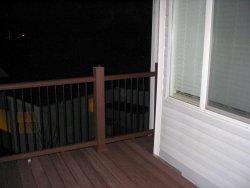
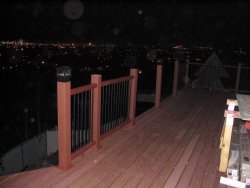
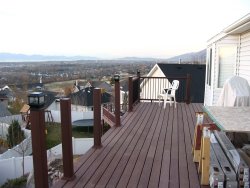
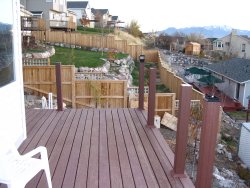
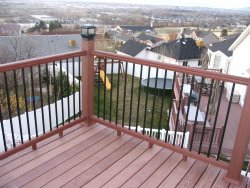
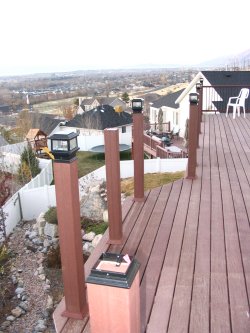
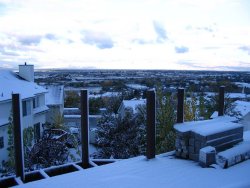
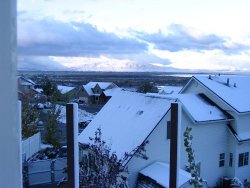
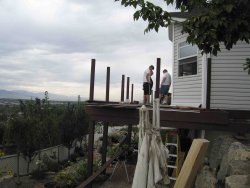
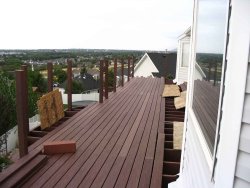
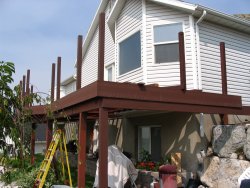
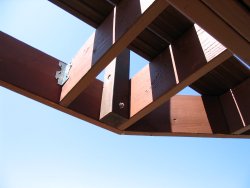
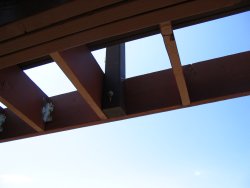
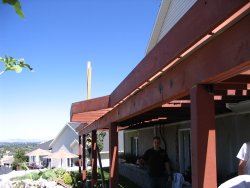
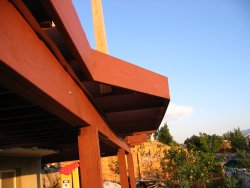
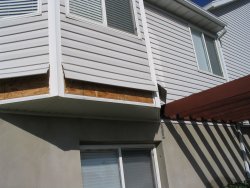
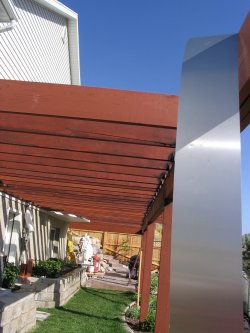
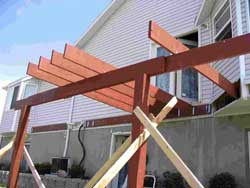
24 November 2007
Julene’s and my 14th anniversary and another shirt-sleeve day
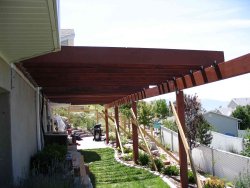
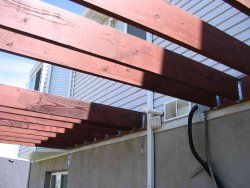
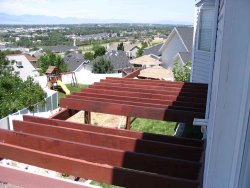
outside! We finished the deck except for the two angled rails for which
I’m out of railing. Brandon and Sam came over and we whipped out
something like 9 sections of railing in well under three hours! As you can see,
all the post lights and caps are in place.
|
|
|
|

|
|
|
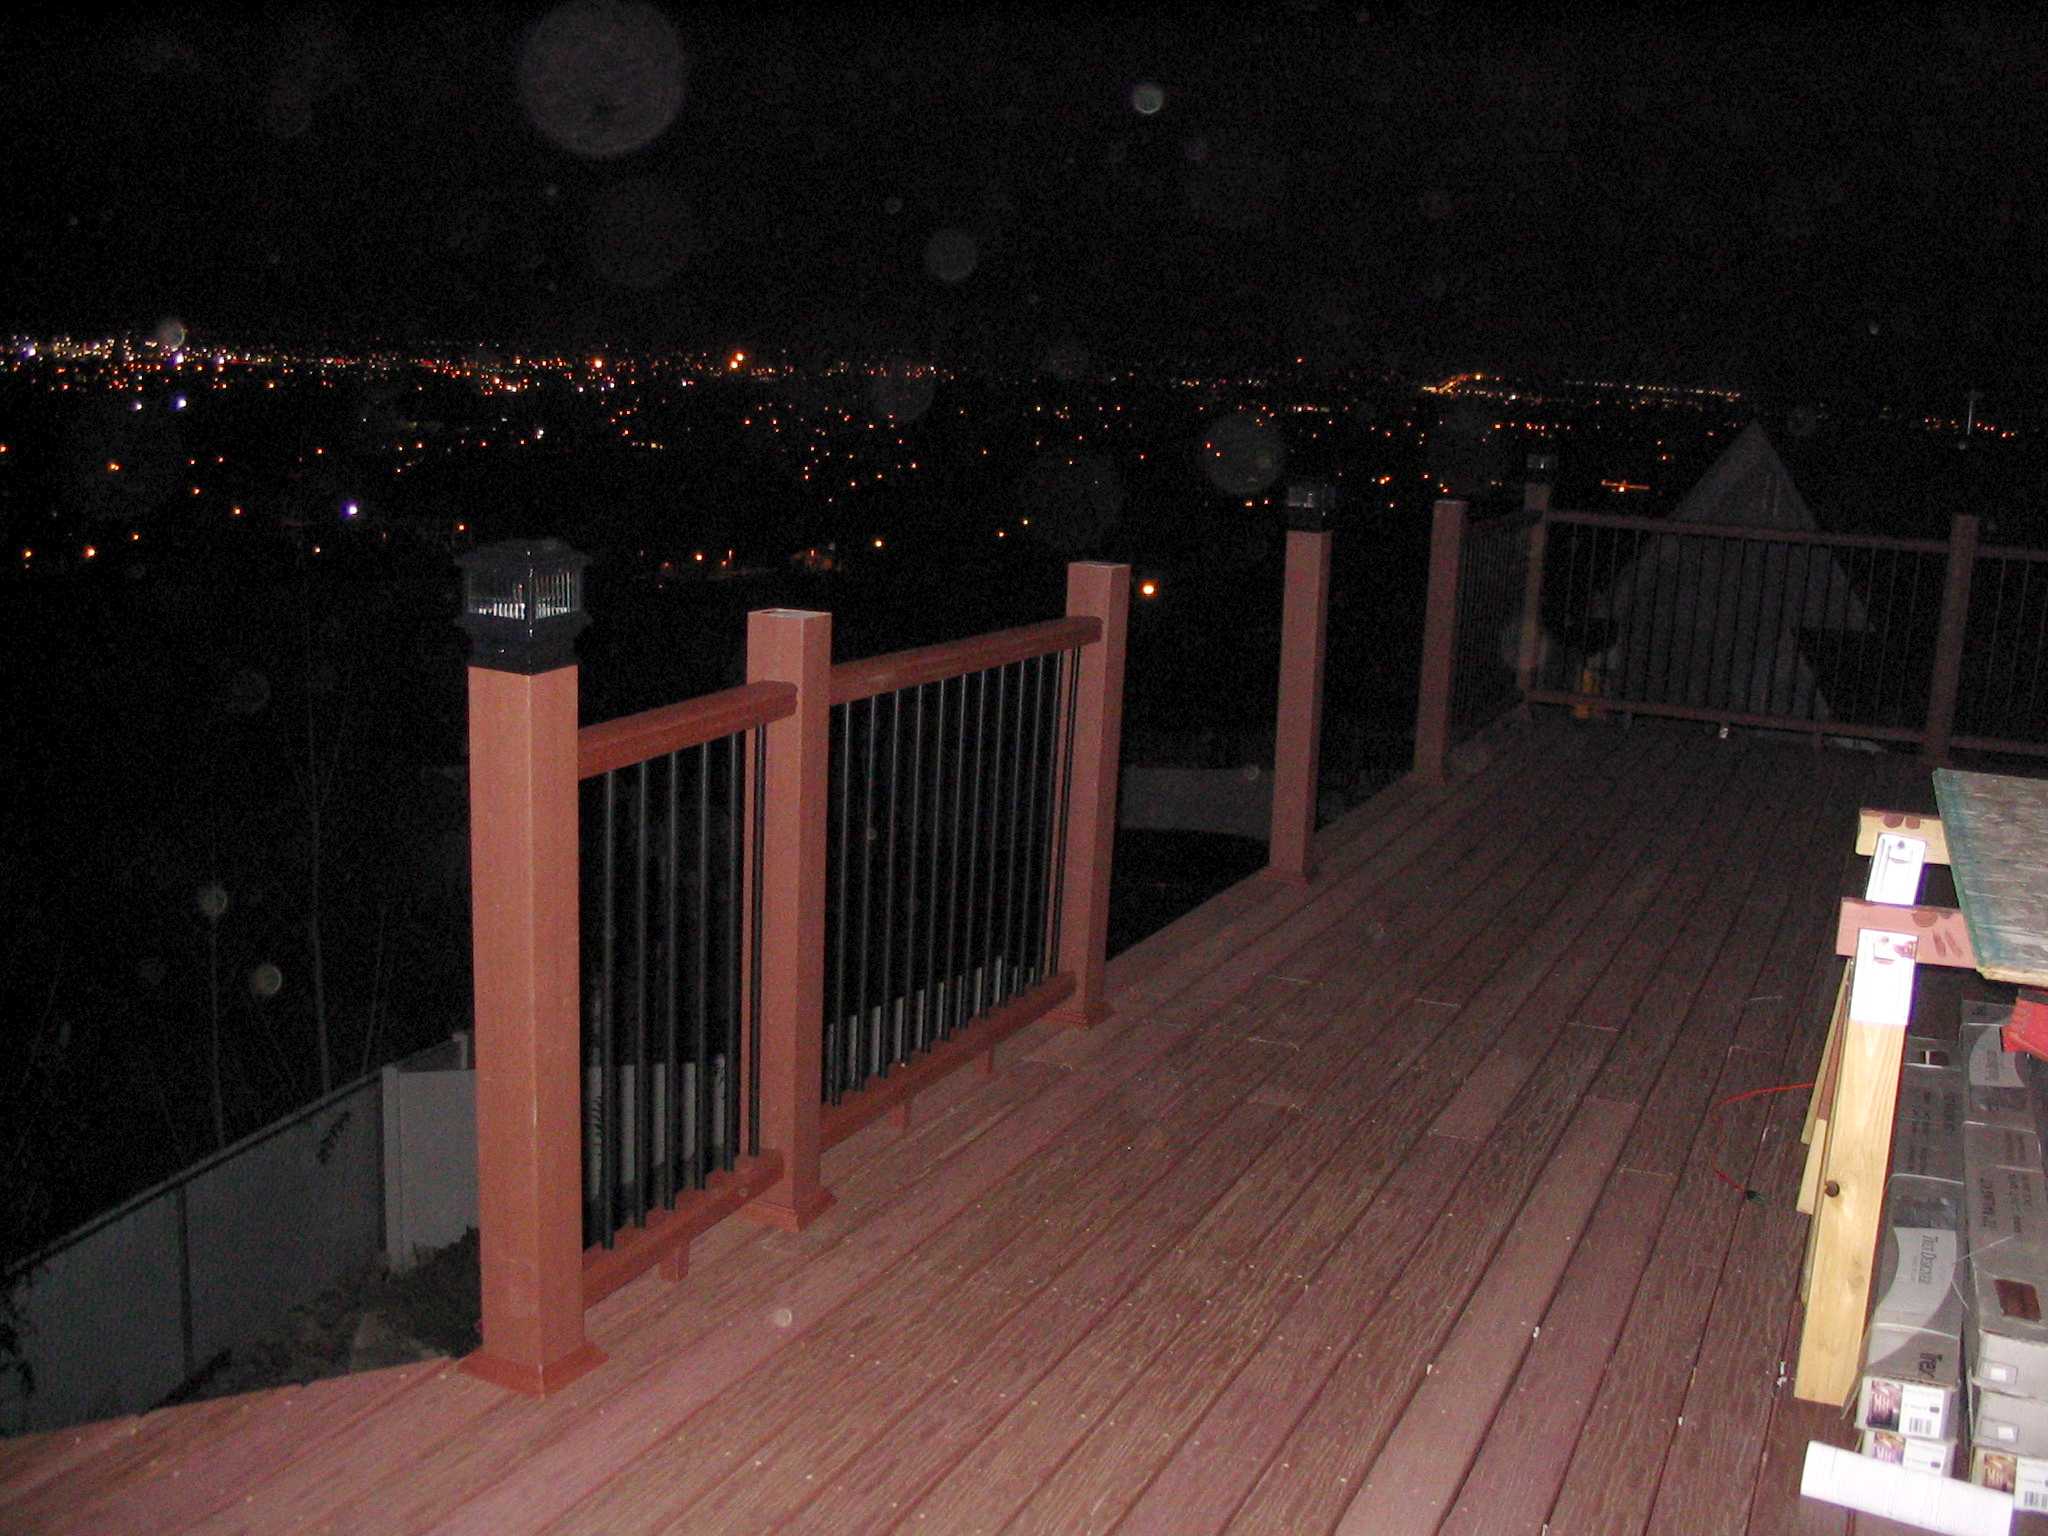
19 November 2007
Rushed home from work to start about 1700 (it gets dark now by 1730) to see if
I could do another rail section. At 1900, I had finished three more including
setting-up and setting-down my tools. The weatherman says there will be snow on
the ground tomorrow. It’s difficult to do it in the dark (with one
work-light), but the wind of the approaching storm arose and I risked losing
screws and other little parts, so I stopped.
|
|
|
|
|
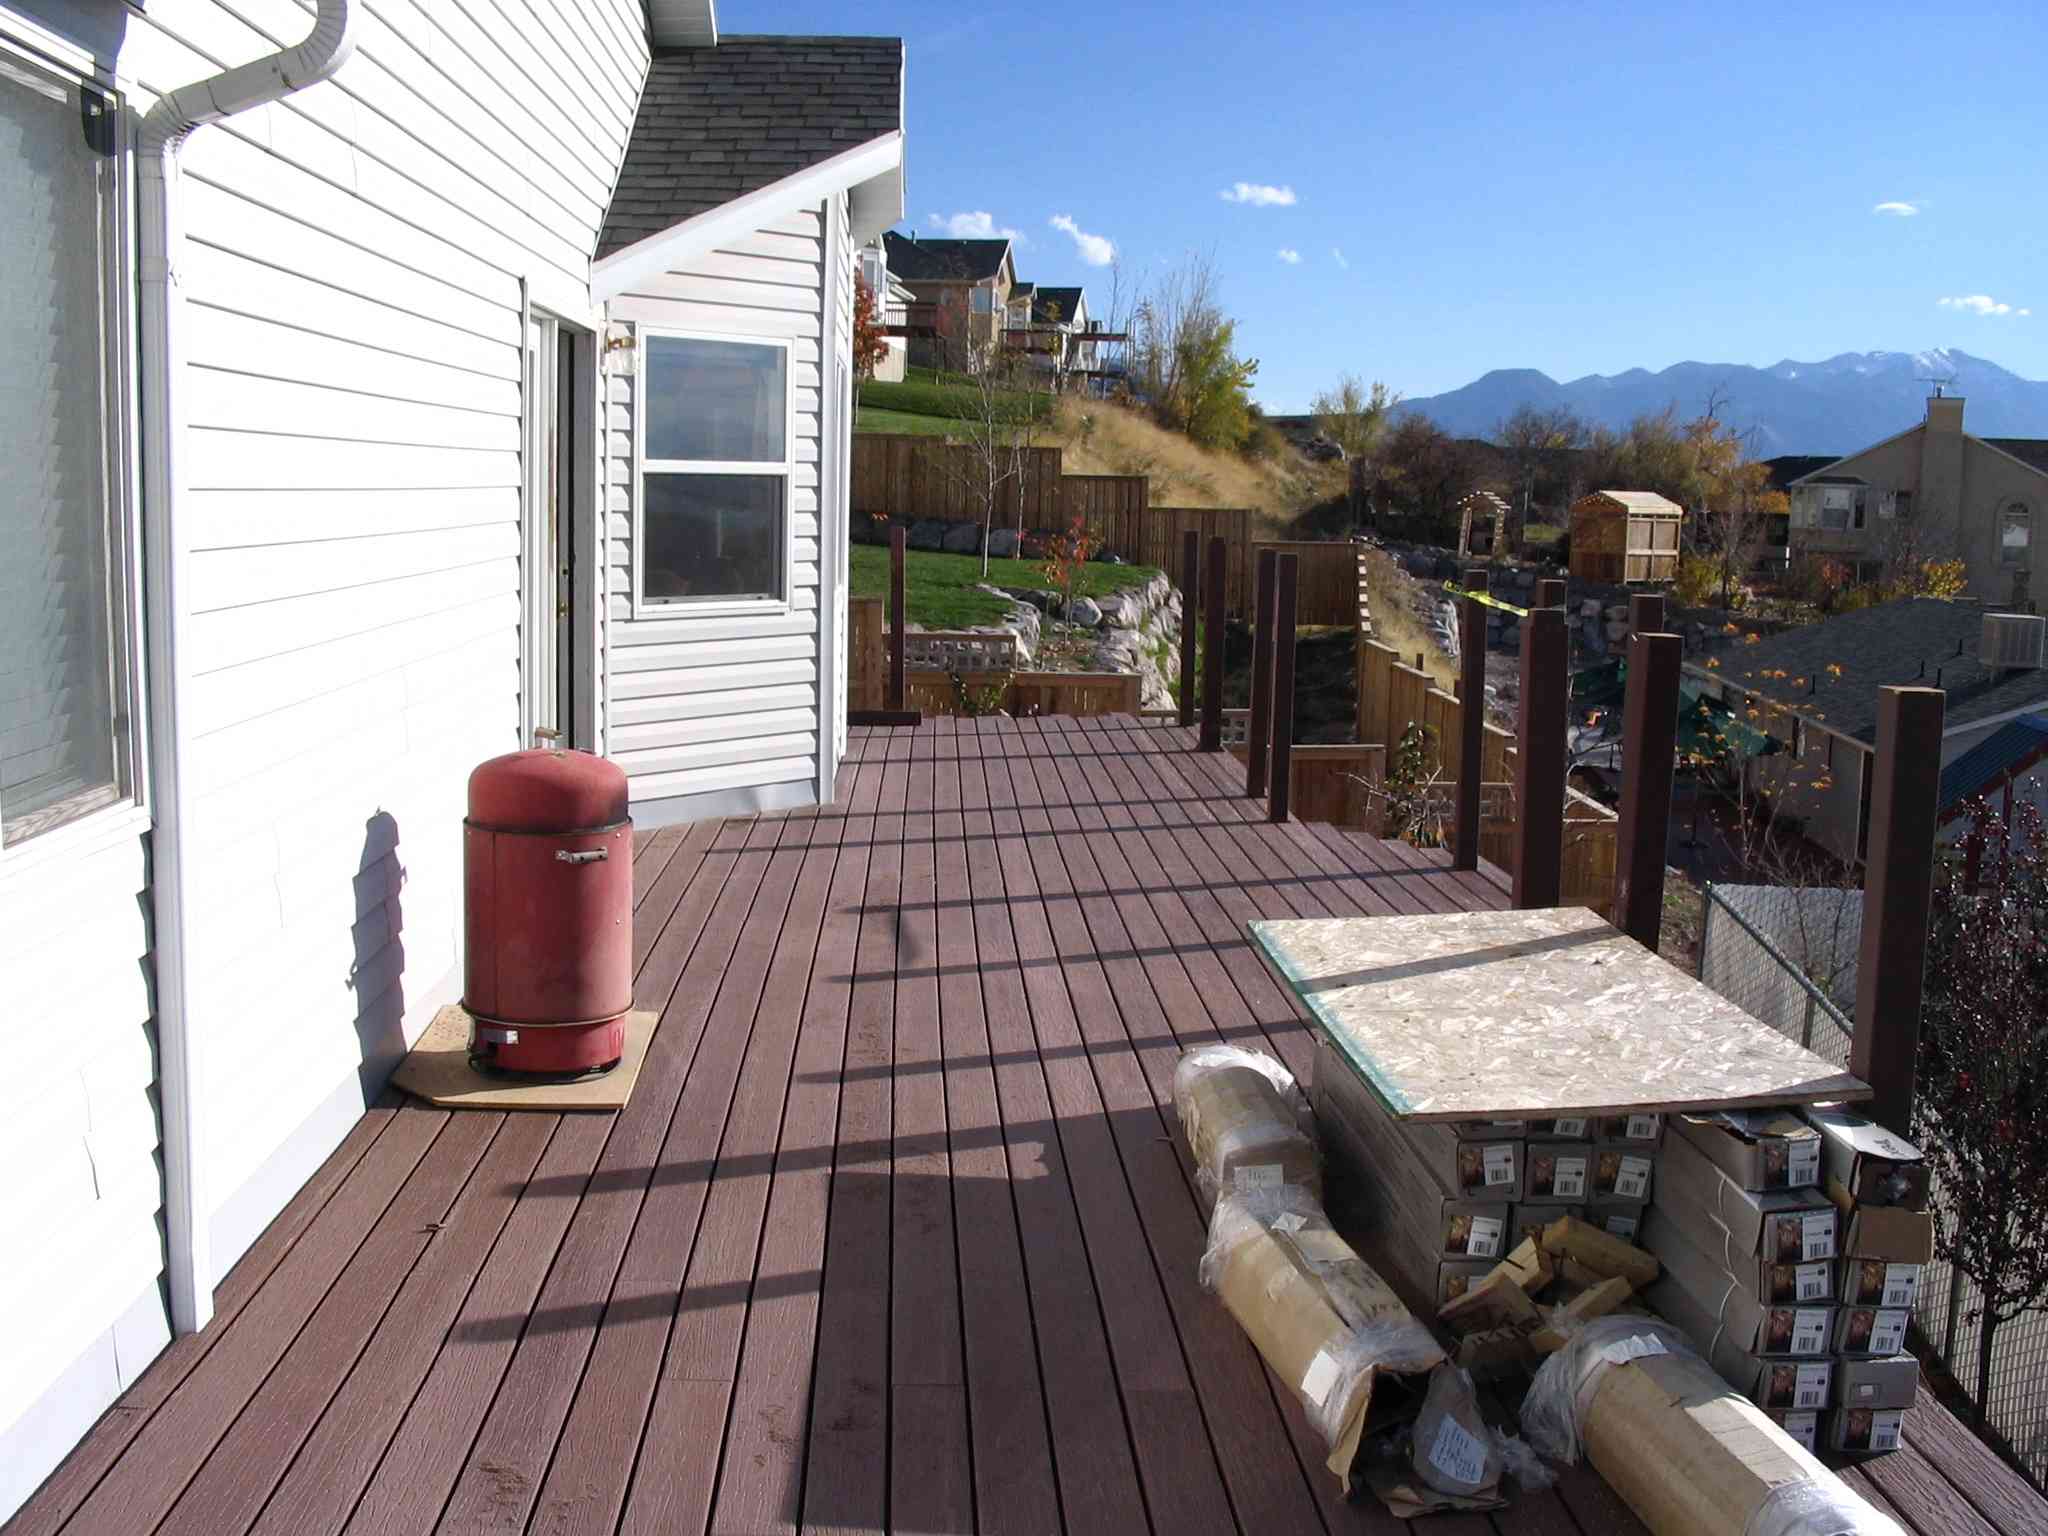
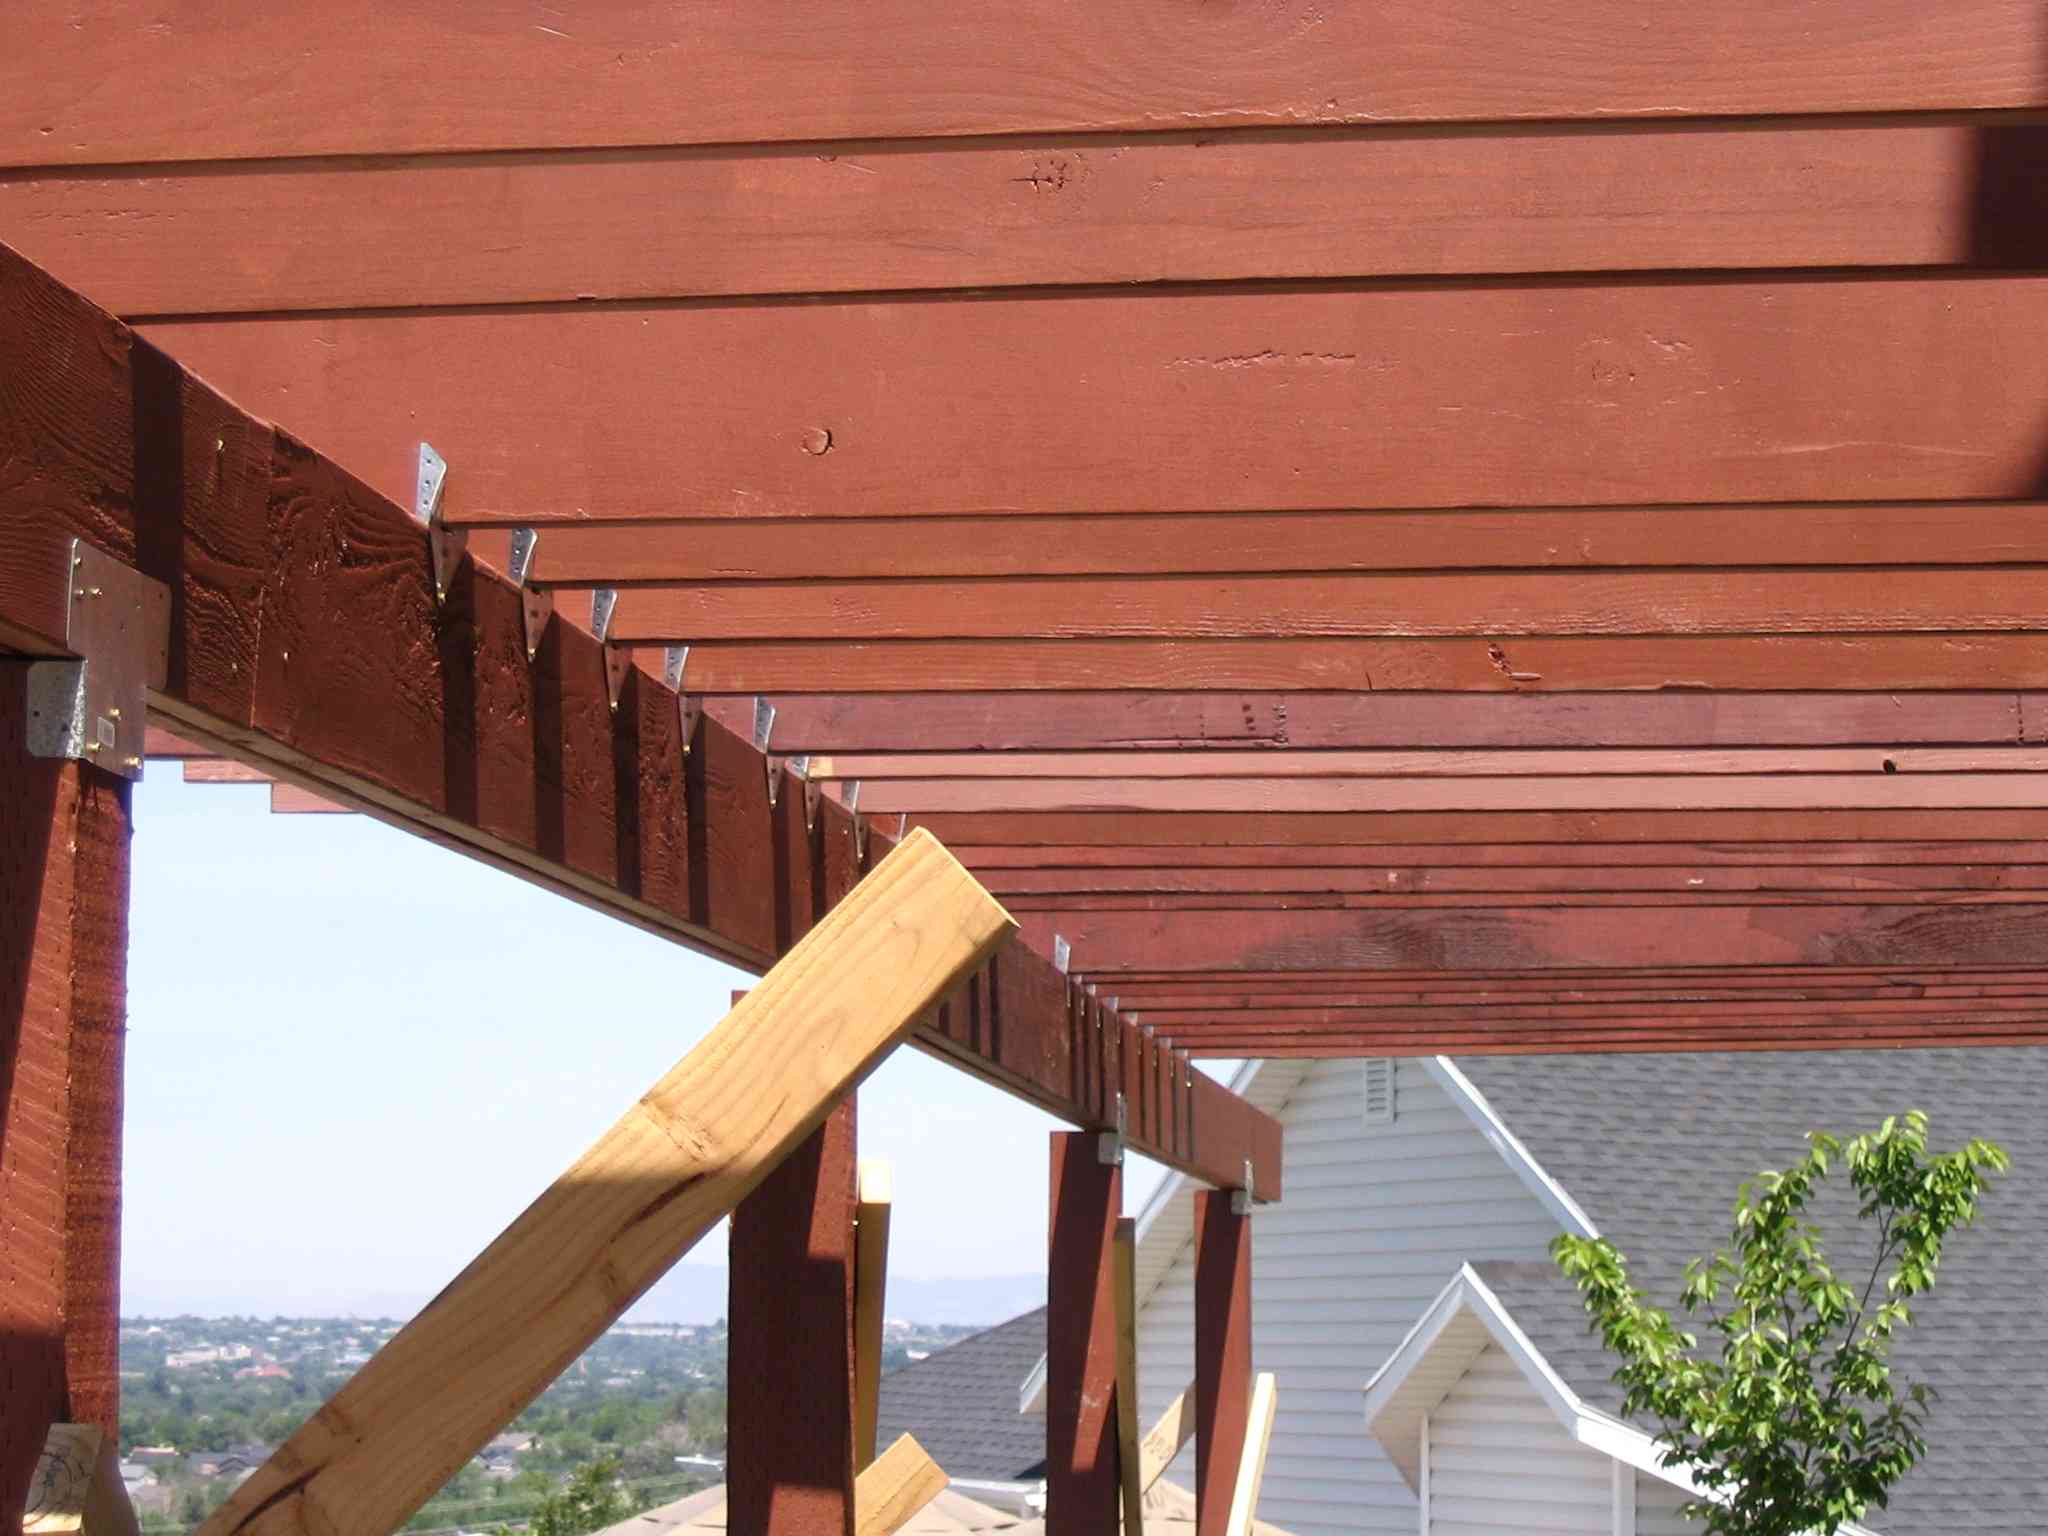
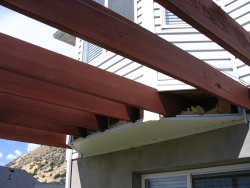
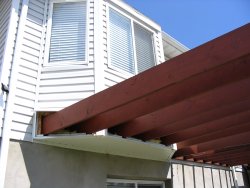
17 November 2007
Despite disconcerting maybes from the weatherman, it was a splendid and warm
day.
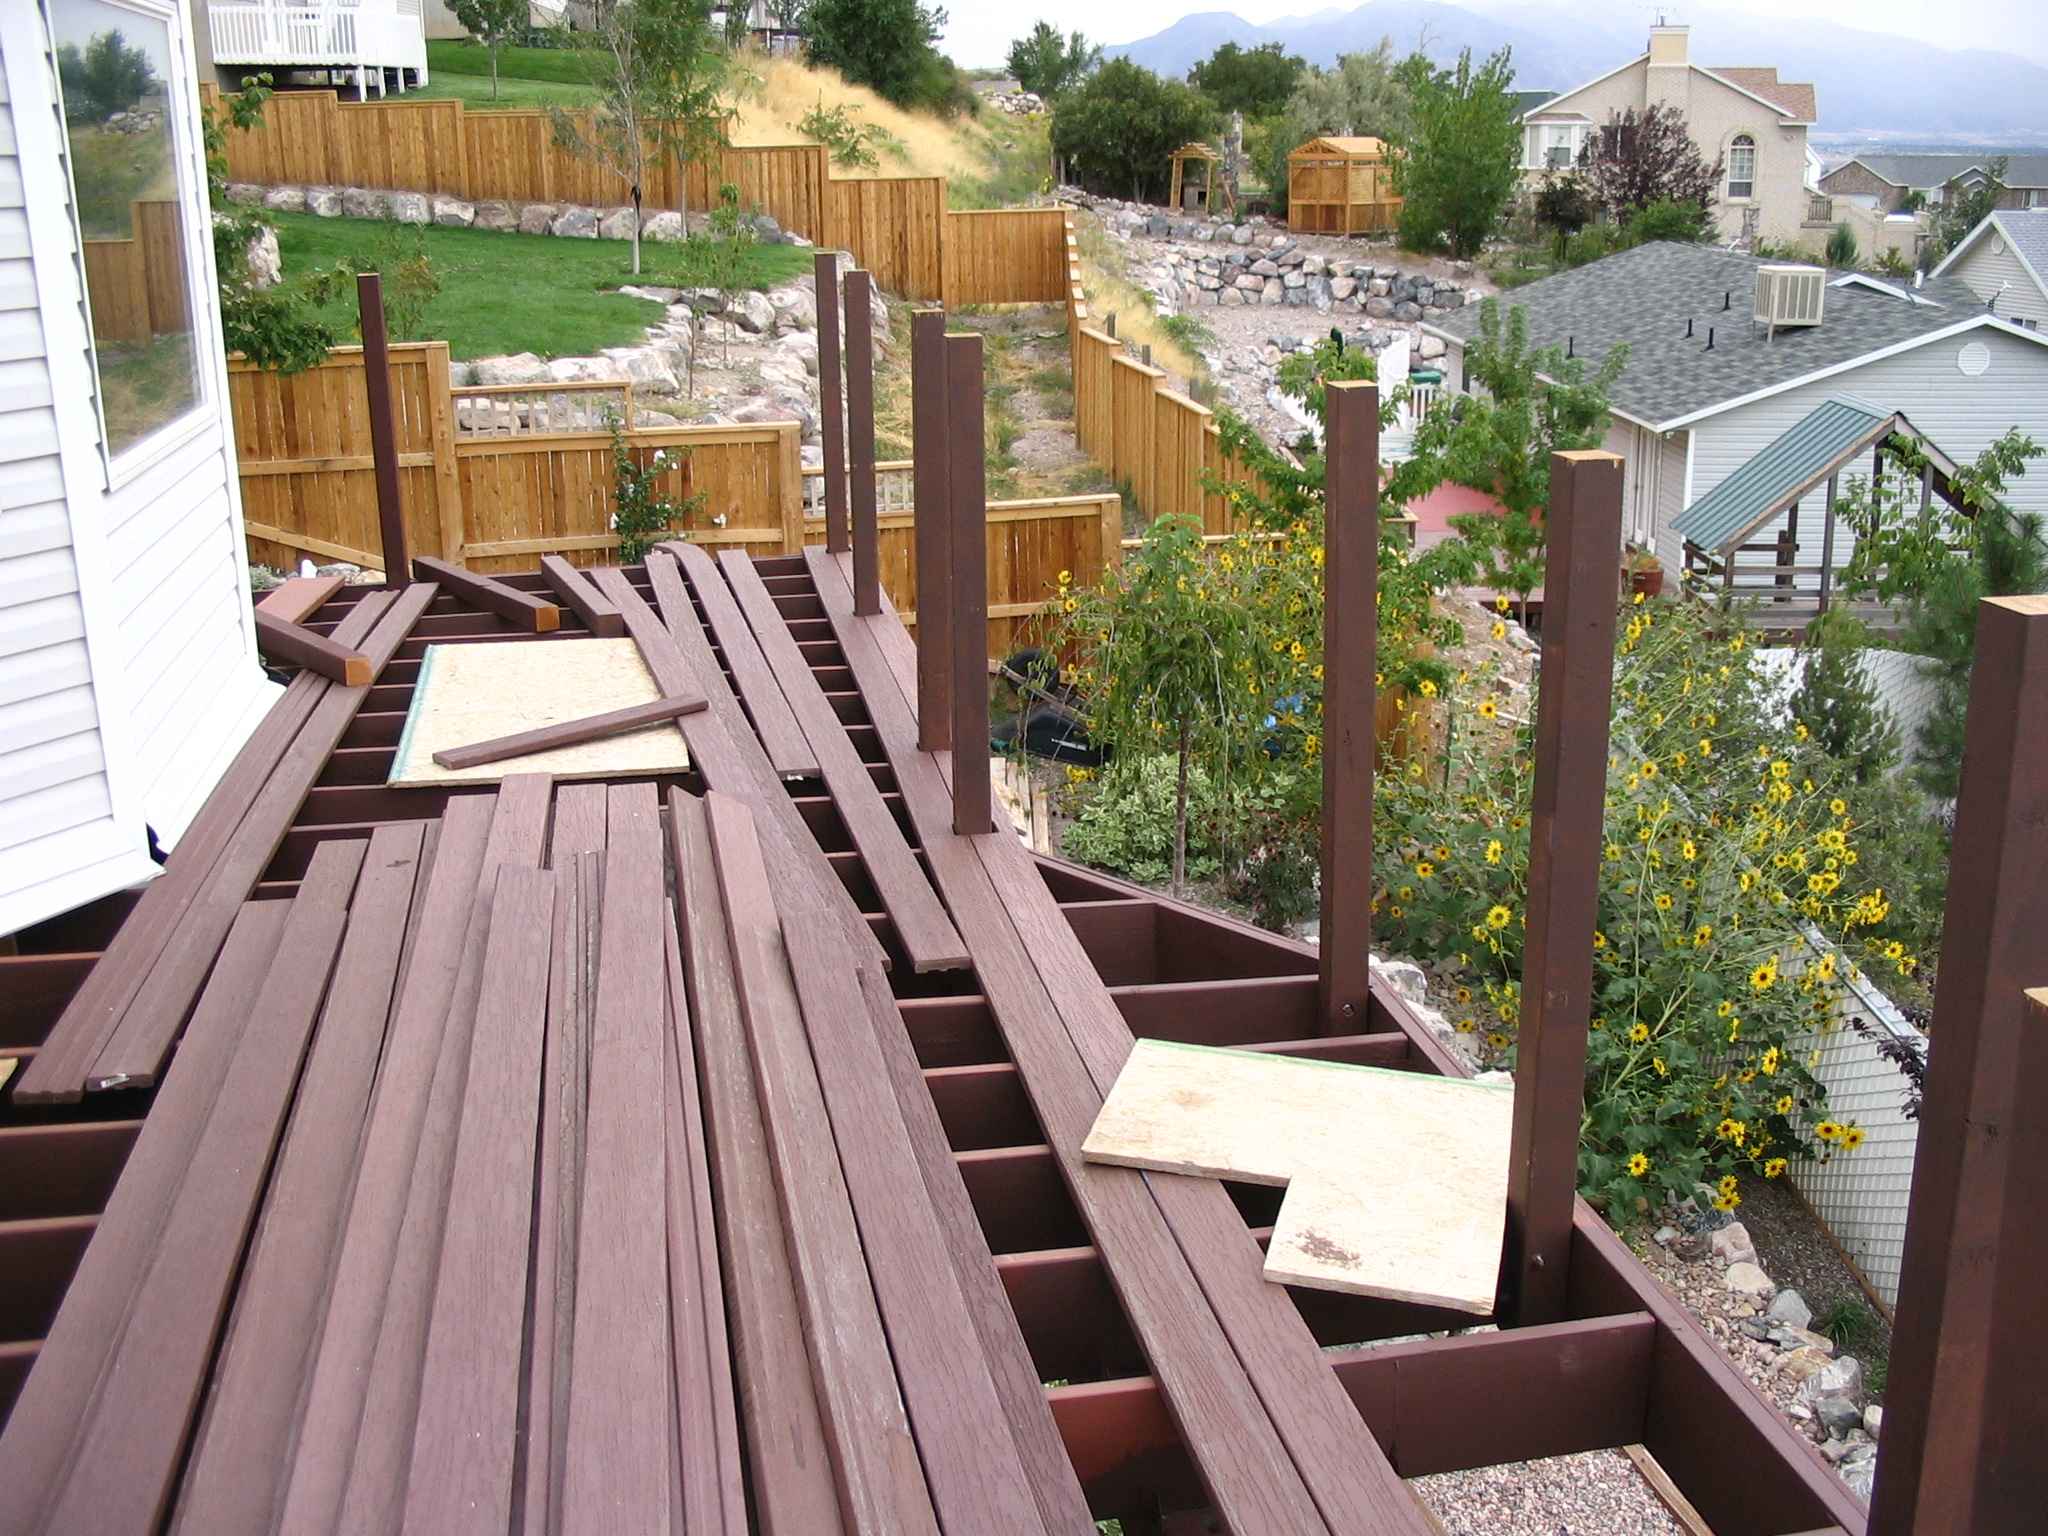
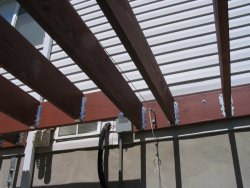
Alvero came over and helped me trim the excess Trex planking off either end and
the bay-out of the deck. I couldn’t snap the chaulkline alone. I routed
the ends to soften them.
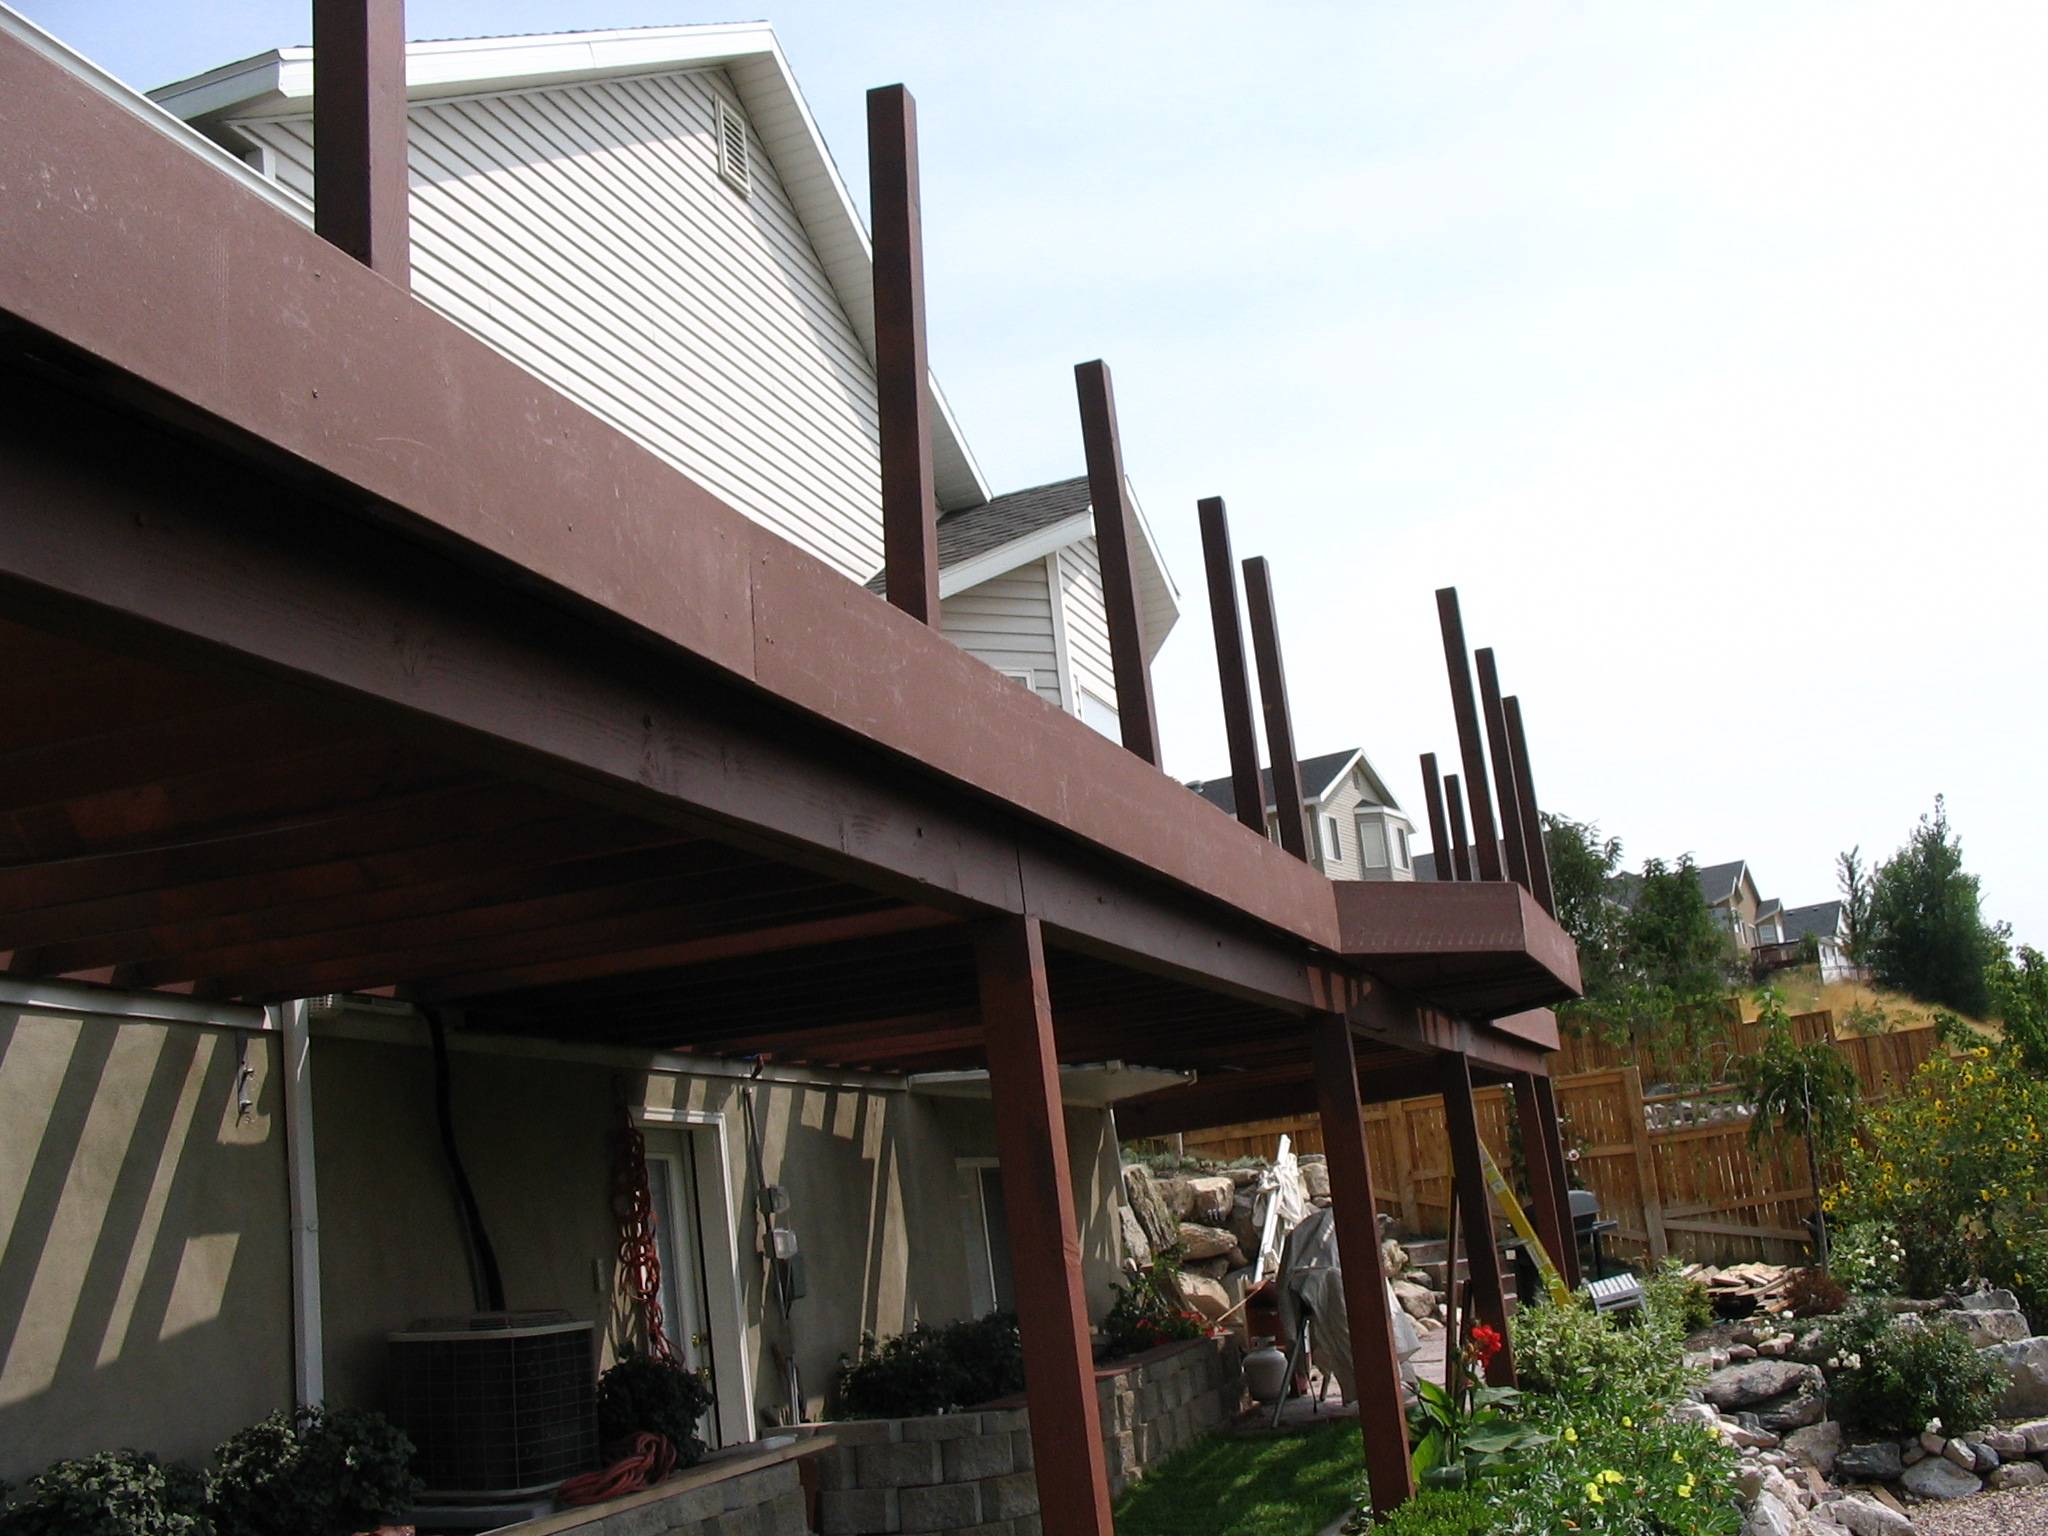
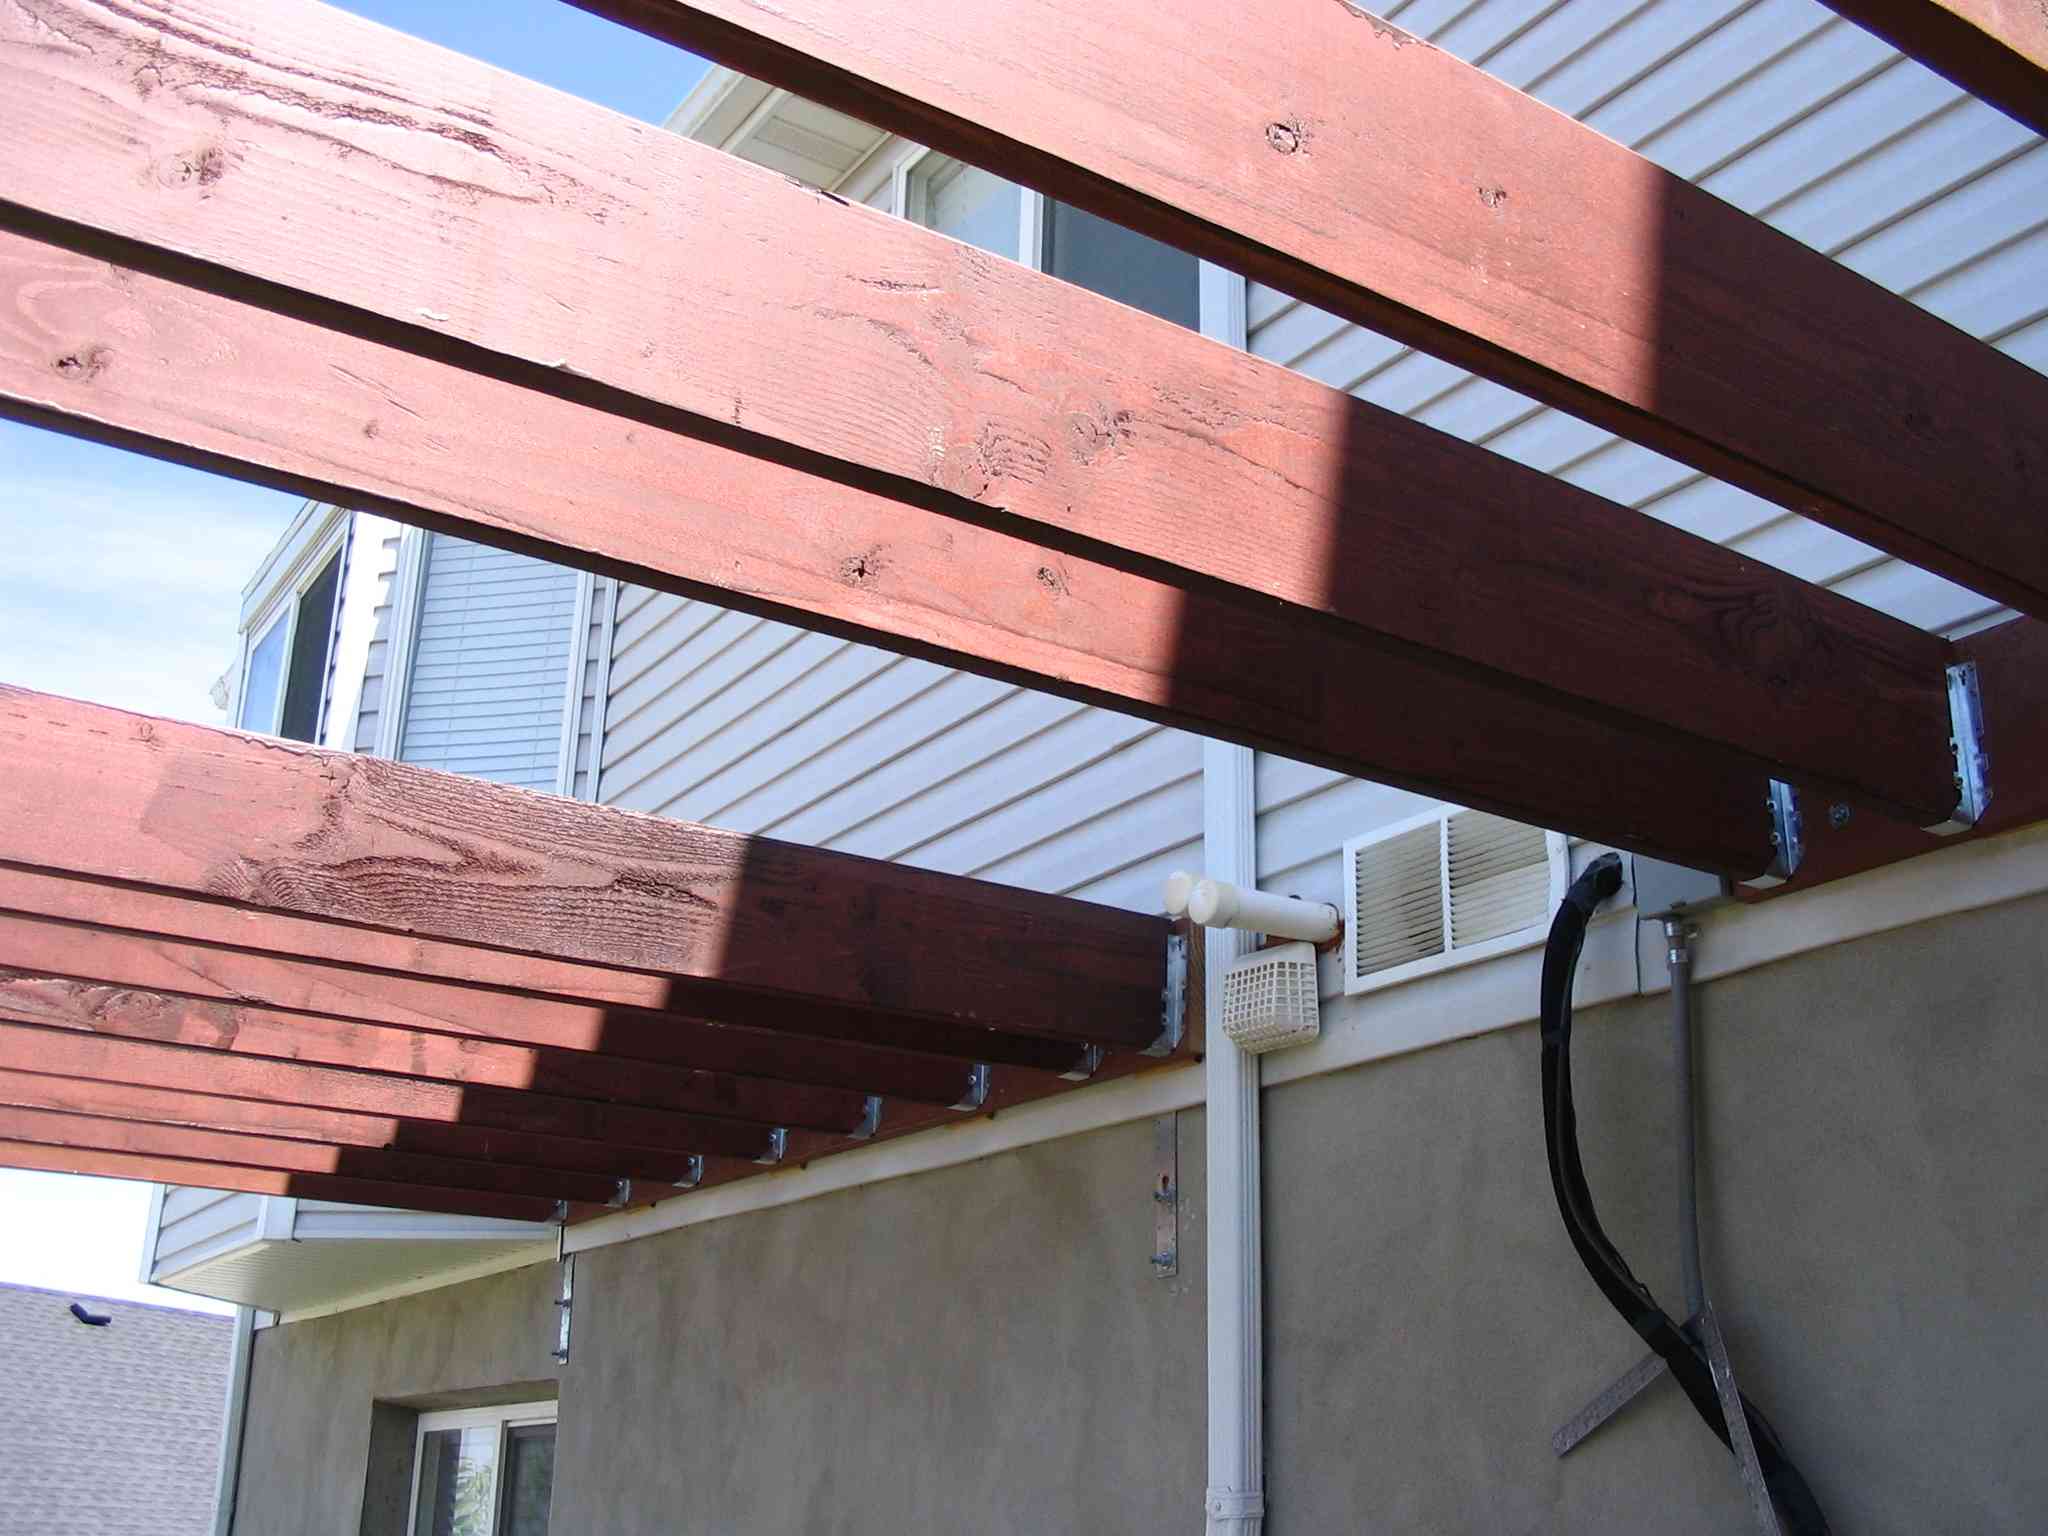
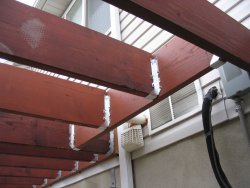
I worked on cutting all the posts to their finish height and installing what
lights I had. The remaining posts, for the most part, will be equipped with
simple caps. The lighted caps are powered via 12v cabling from a transformer.
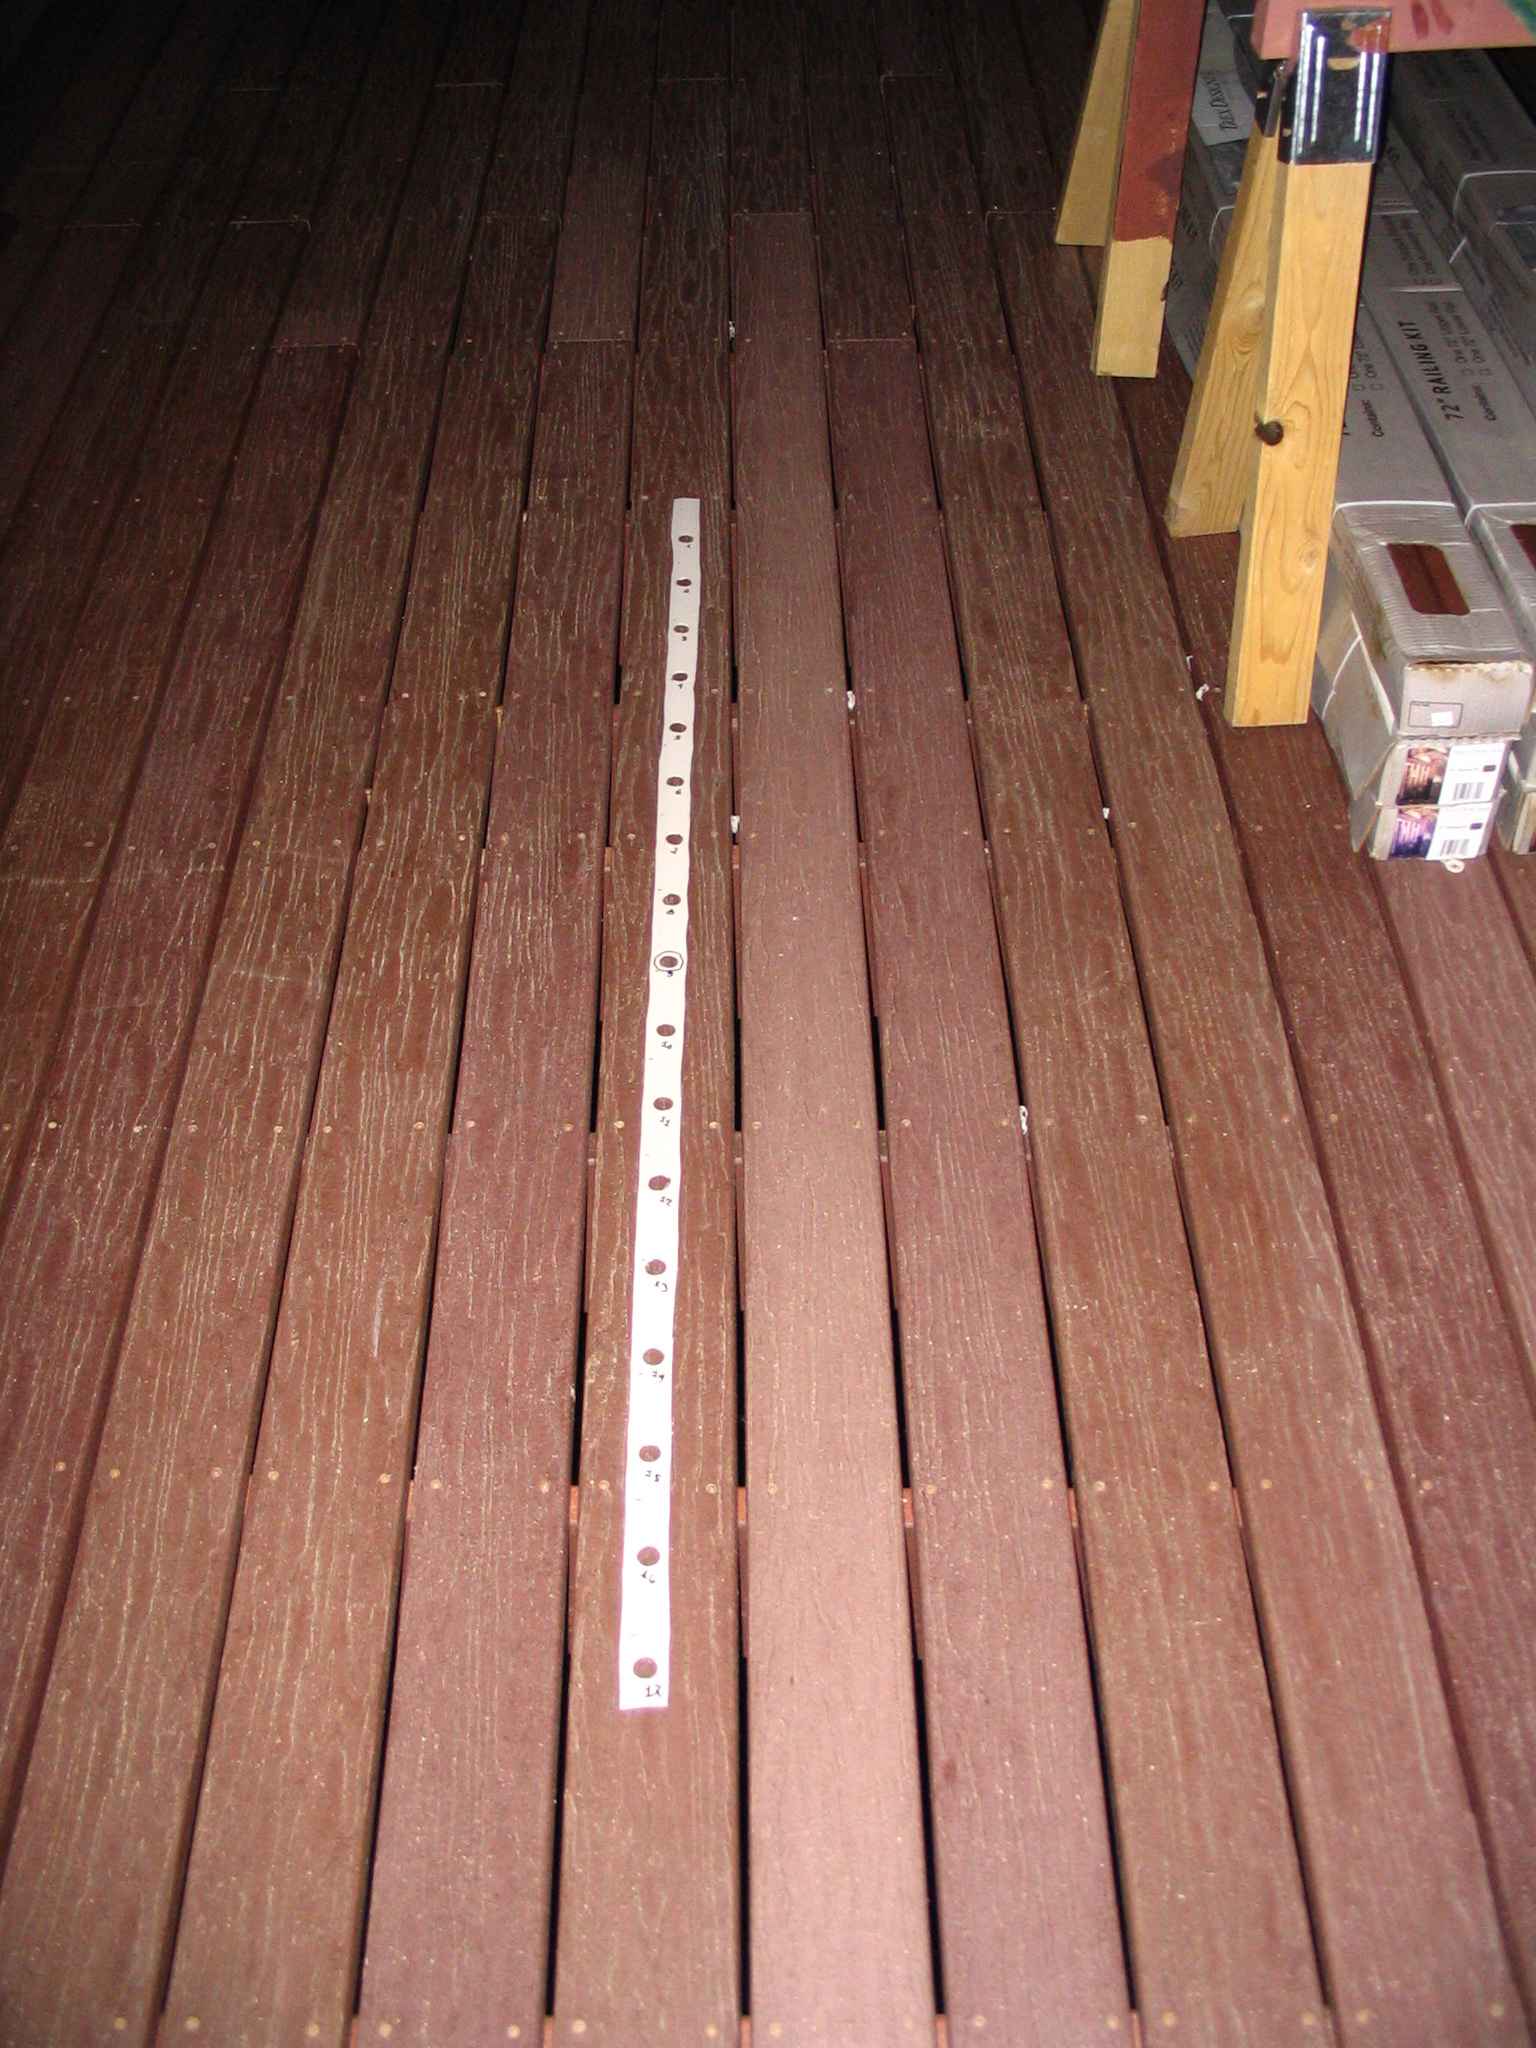
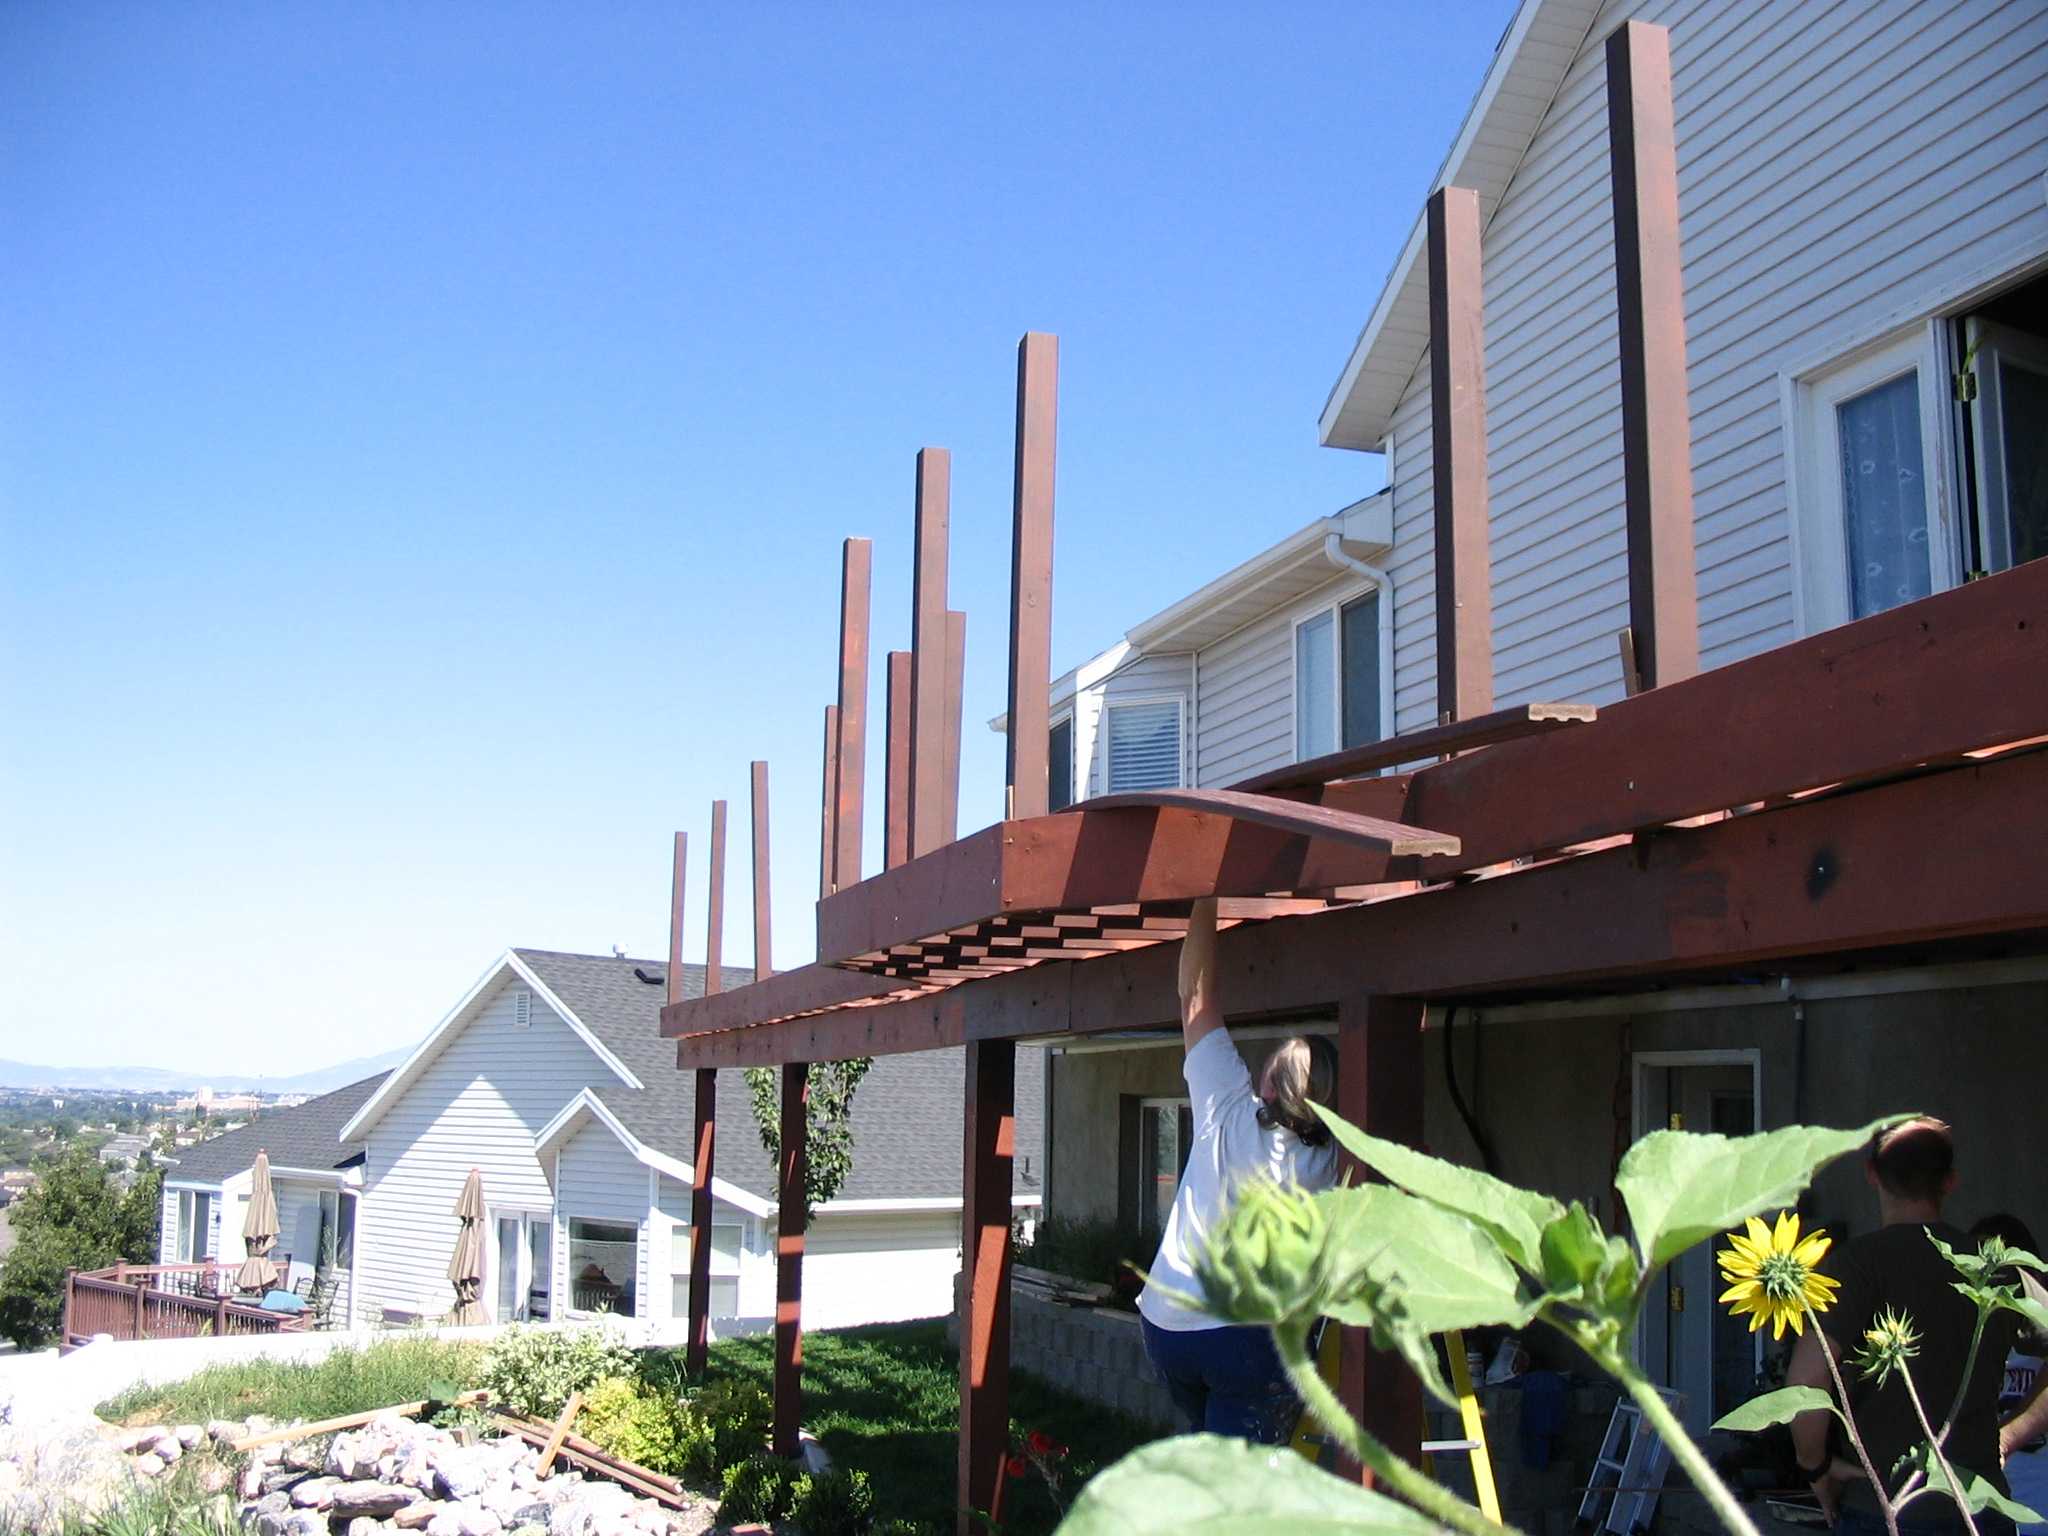
Brandon and Sam came later and we worked hard to come up with a system for
manufacturing the railing. I created a template (below) for the little nipples
that hold the aluminum balluster tubes between the rails. Just center it on
the bottom then top rail no matter how long (it doesn’t just fit either
of them, but the registration is pretty minimal), populate the holes with the
little nipples, insert stainless steel screws and tighten, and that’s it.
Here’s the entire procedure.
- Install rail mounting bracket at 4" above deck to inside of each post.
- Measure and cut bottom rail to length.
- Populate bottom rail with balluster tube attachment nipples;
install 4" long Trex (1½ × 1½) cripples vertically
using long deck screw through bottom rail down into cripple.
- Install bottom railing between posts and populate with ballusters,
tapping them down.
- Level with top of ballusters, mark and install rail mounting brackets
for top rail.
- Measure and cut top rail.
- Populate inside (underside) of top rail with nipples.
- Place top rail over ballusters; starting at one end, align/insert
balluster tubes tapping gradually as they seat until all are mated;
tap harder until finished seating.
- Attach top railing with screws through the brackets from underside
(there is no need to attach bottom railing—requires X-ray vision
anyway).
The first rail took about one hour with three of us working on it. Sam left and Brandon and I did the second rail in well under ½ hour. We have 14 more
such units to contruct in widths from 6' to 2'.
|
|
|
|
|

|

|
|
|
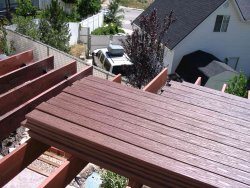
10 November 2007
Brandon and Sam came and we worked hard and long finishing all of the deck
planking except for a tiny corner on the north side near the bedroom bay and
the steps which I’m not undertaking until next spring.
Yesterday I came home from work early and did a couple of courses. Brandon came
over and we looked for and populated all the missing screws all over the deck.
I still need to reblade my skillsaw and make the clean cuts. However, today is
supposedly the last shirt-sleeve day of this year. It’s uncertain just
how much more I can do; the cold temperatures will make the materials different
to handle as well.
I’m imagining right now that, without those five Saturdays lost to rain,
we’d be able to do the railing and have the whole thing finished now
before winter. Bummer.
|
|
|
|
|
|
|
|
3 November 2007
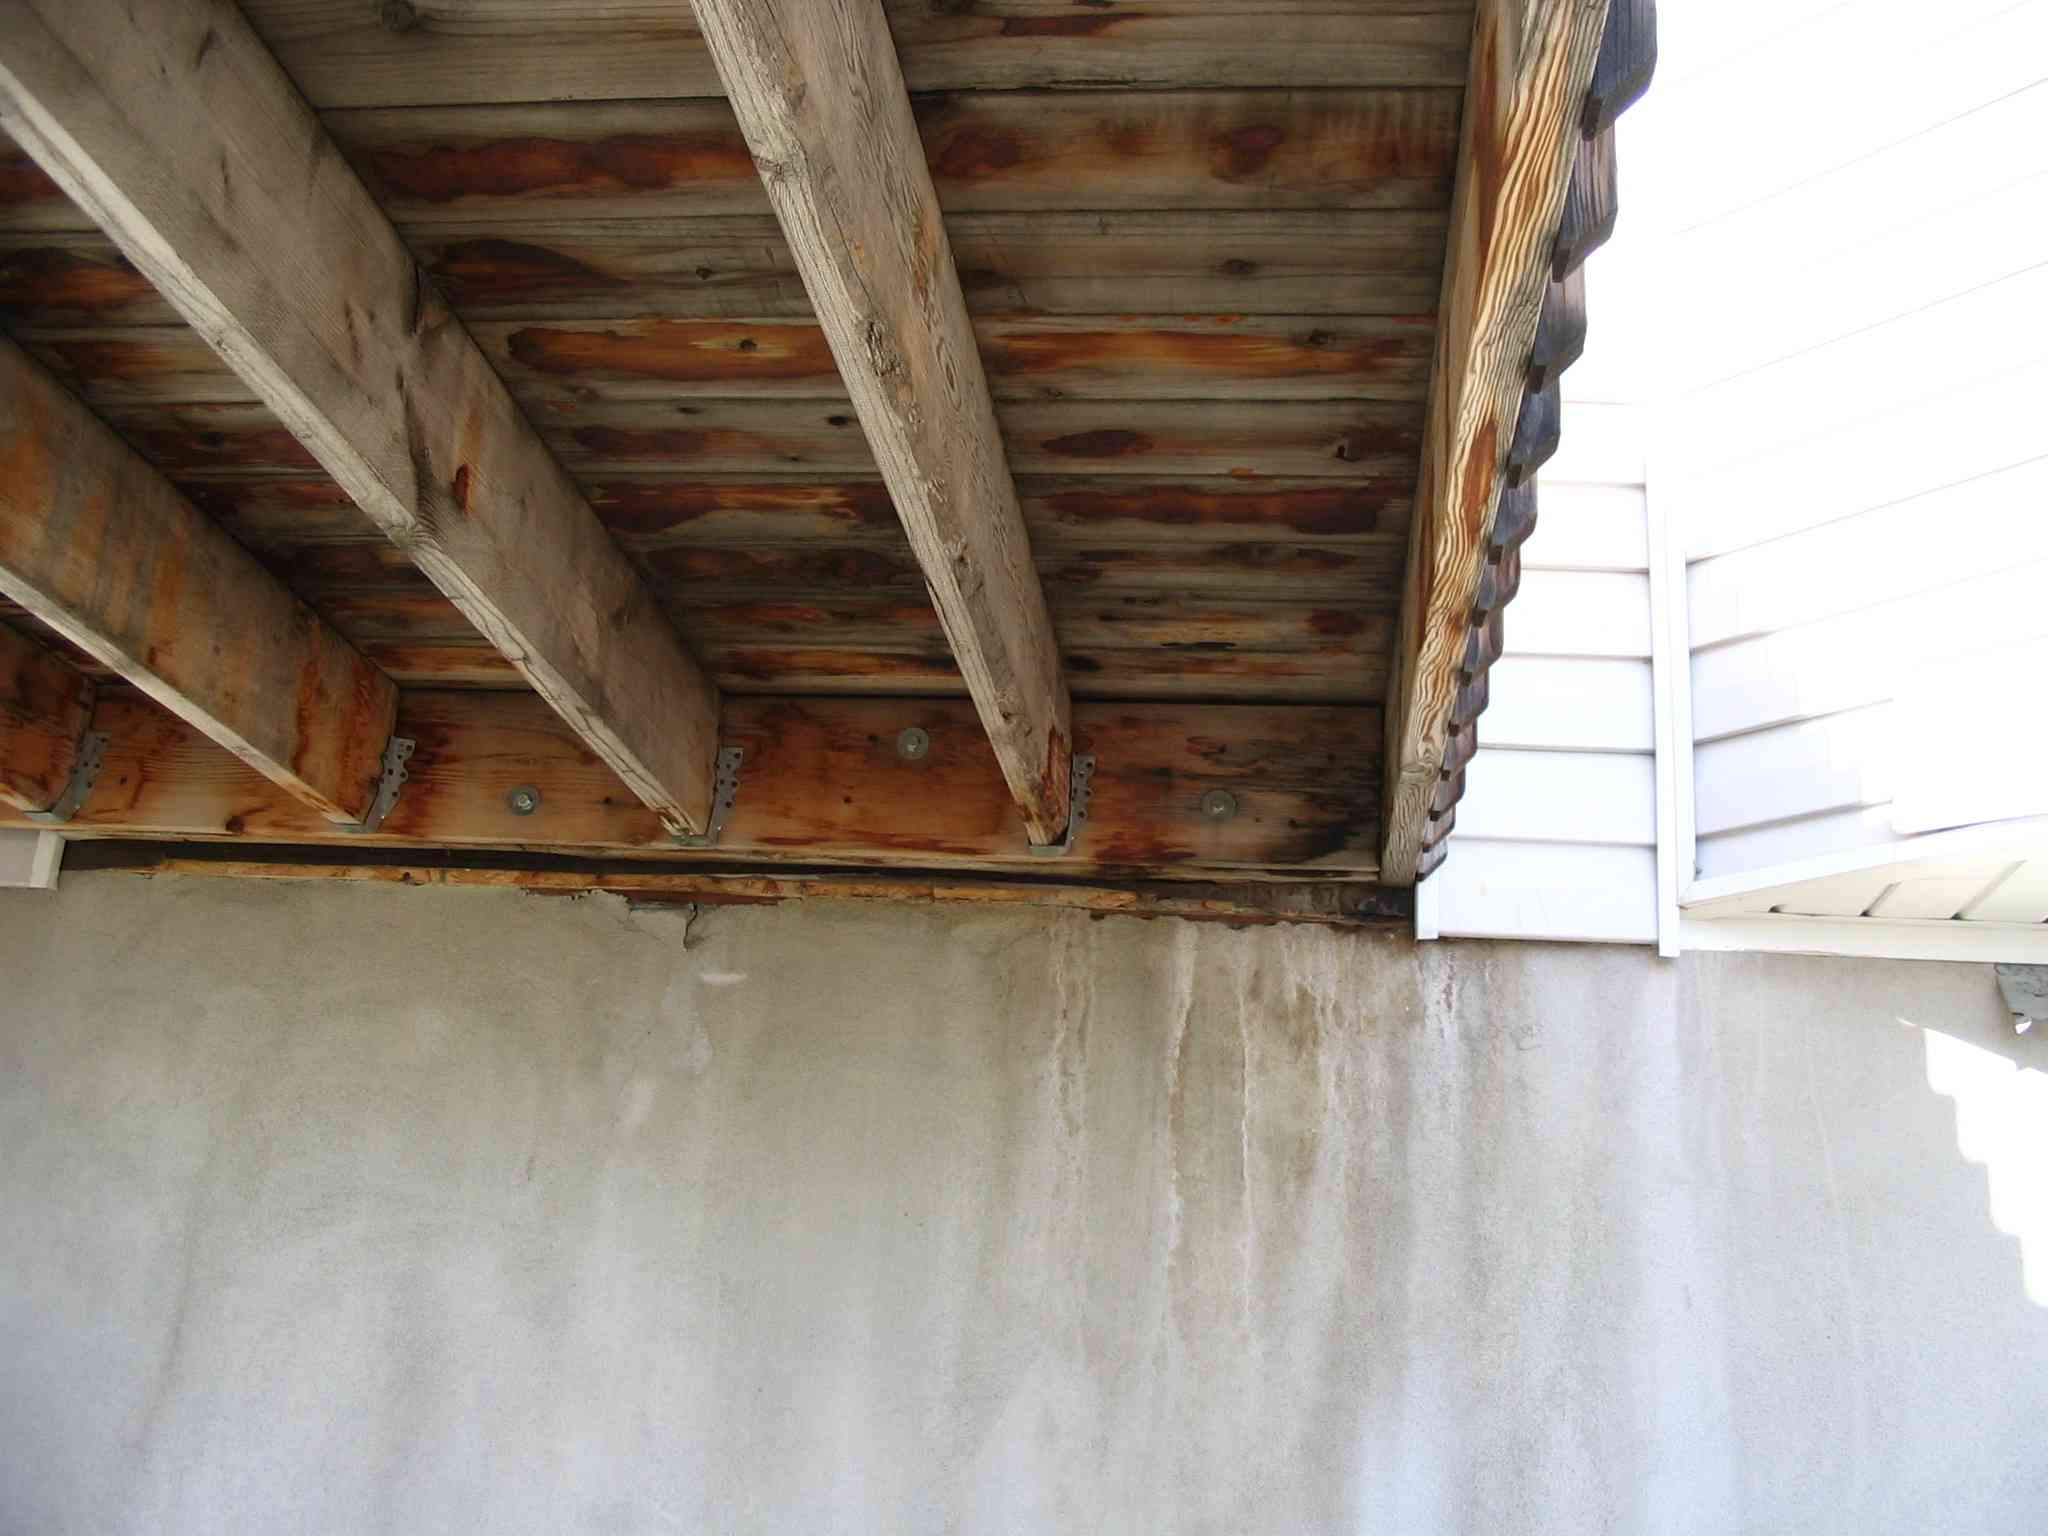
Sam helped me finish flashing the walls over the ledger board and with Alvaro,
Sarah and Jean, we did a couple of courses of Trex®; not enough to see.
|
|
|
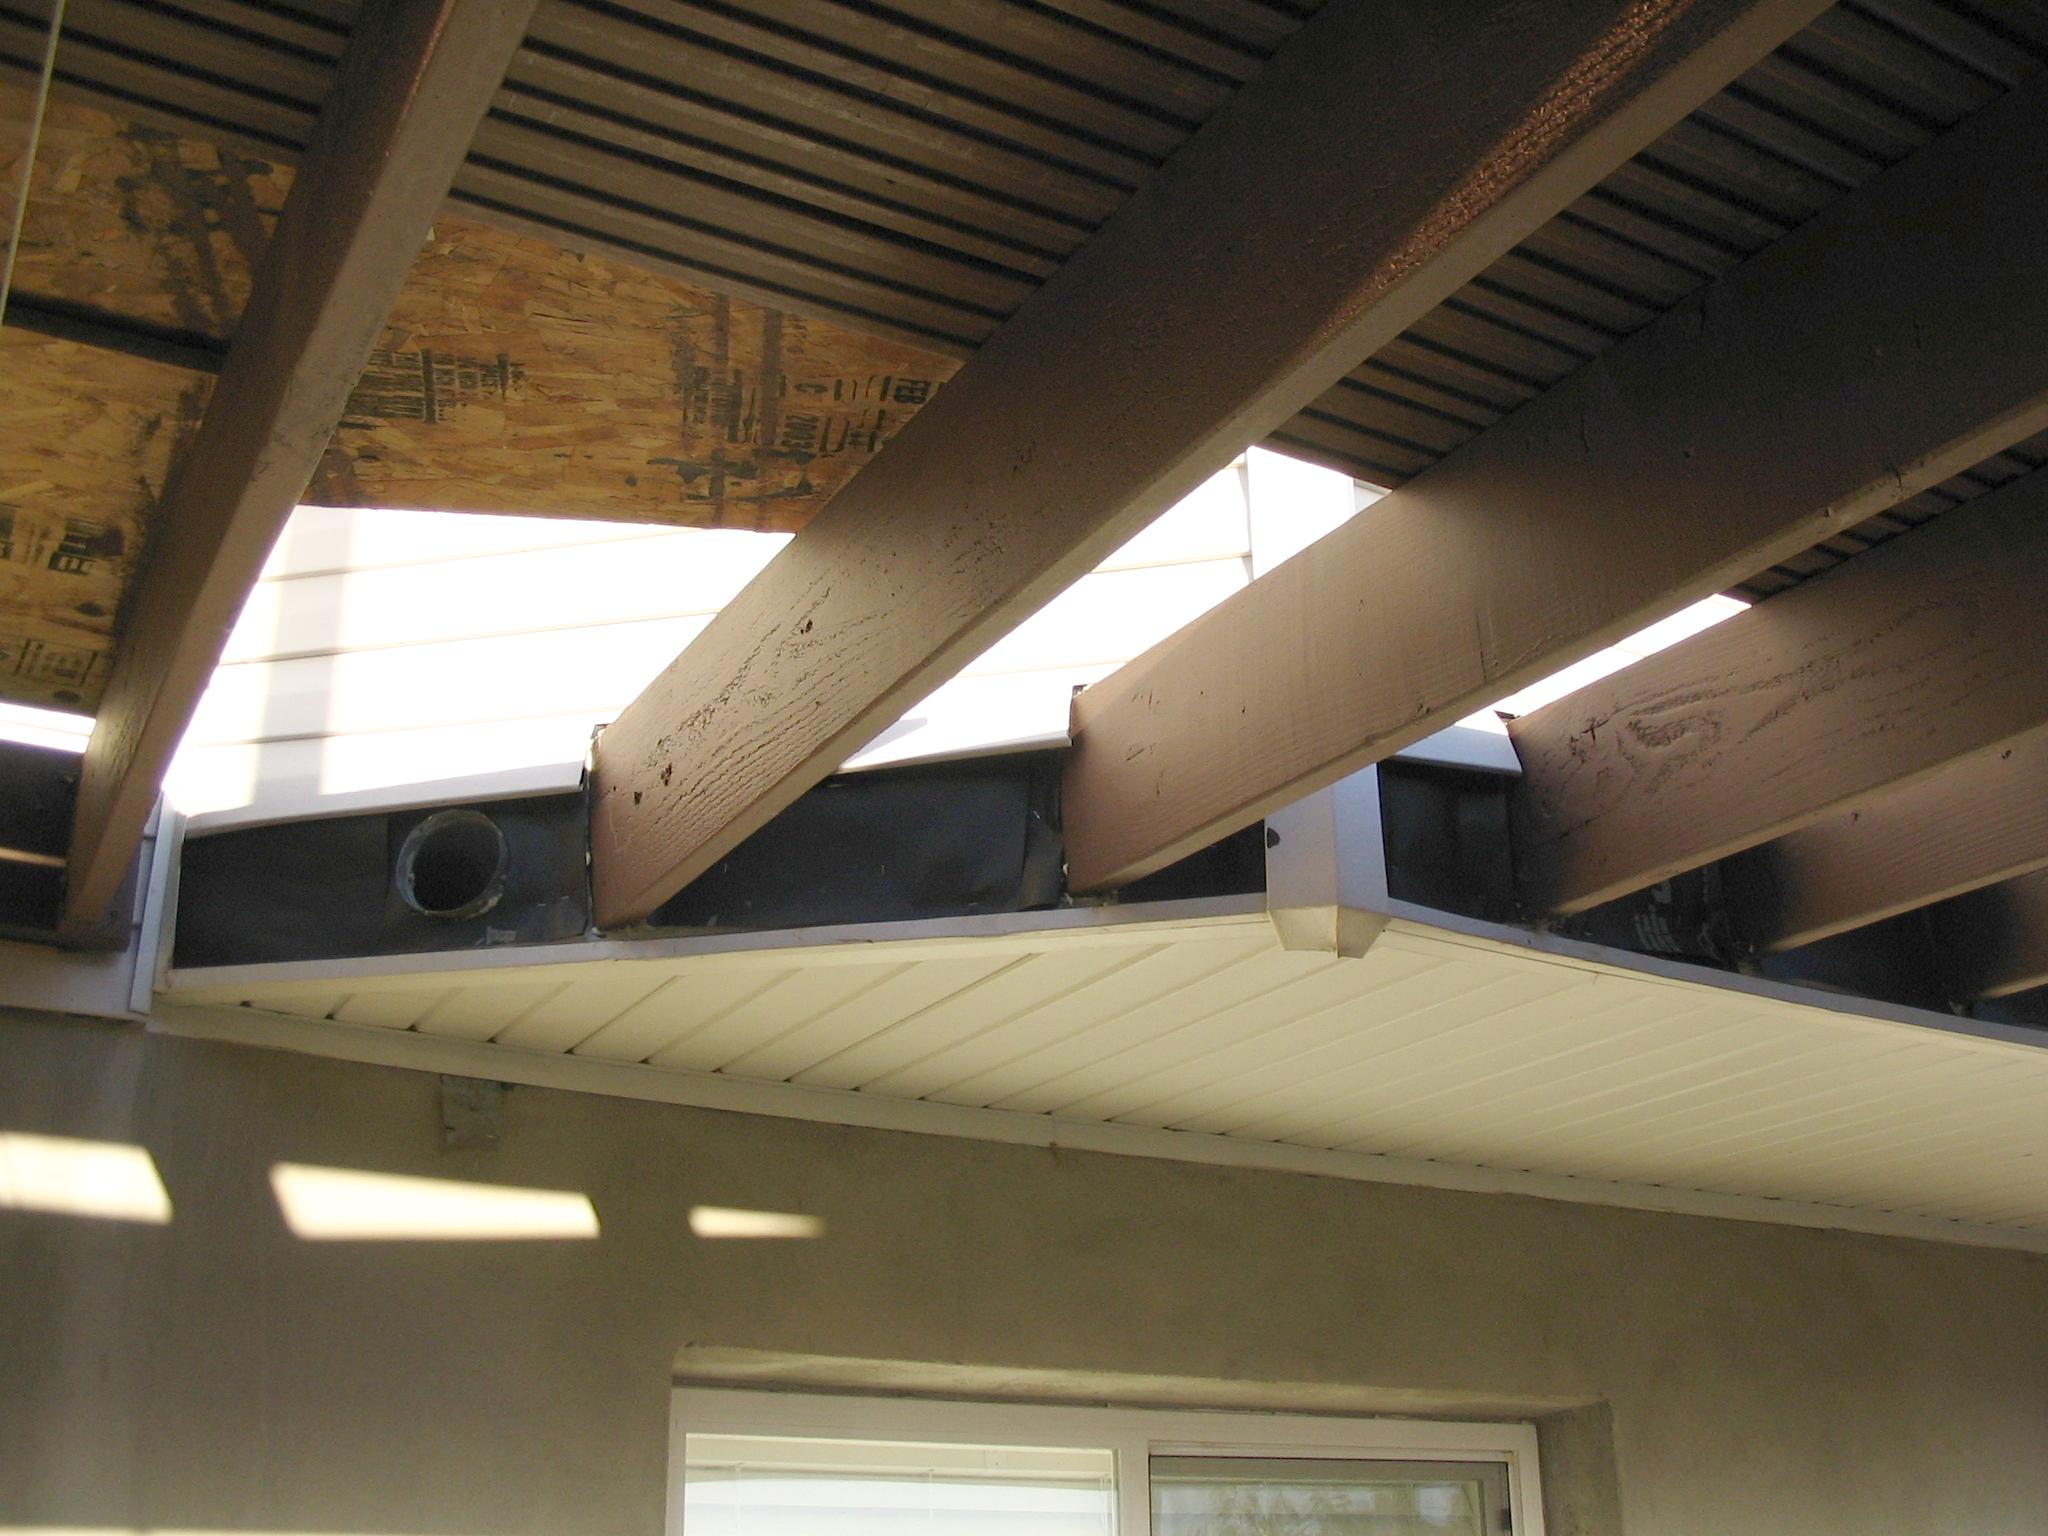
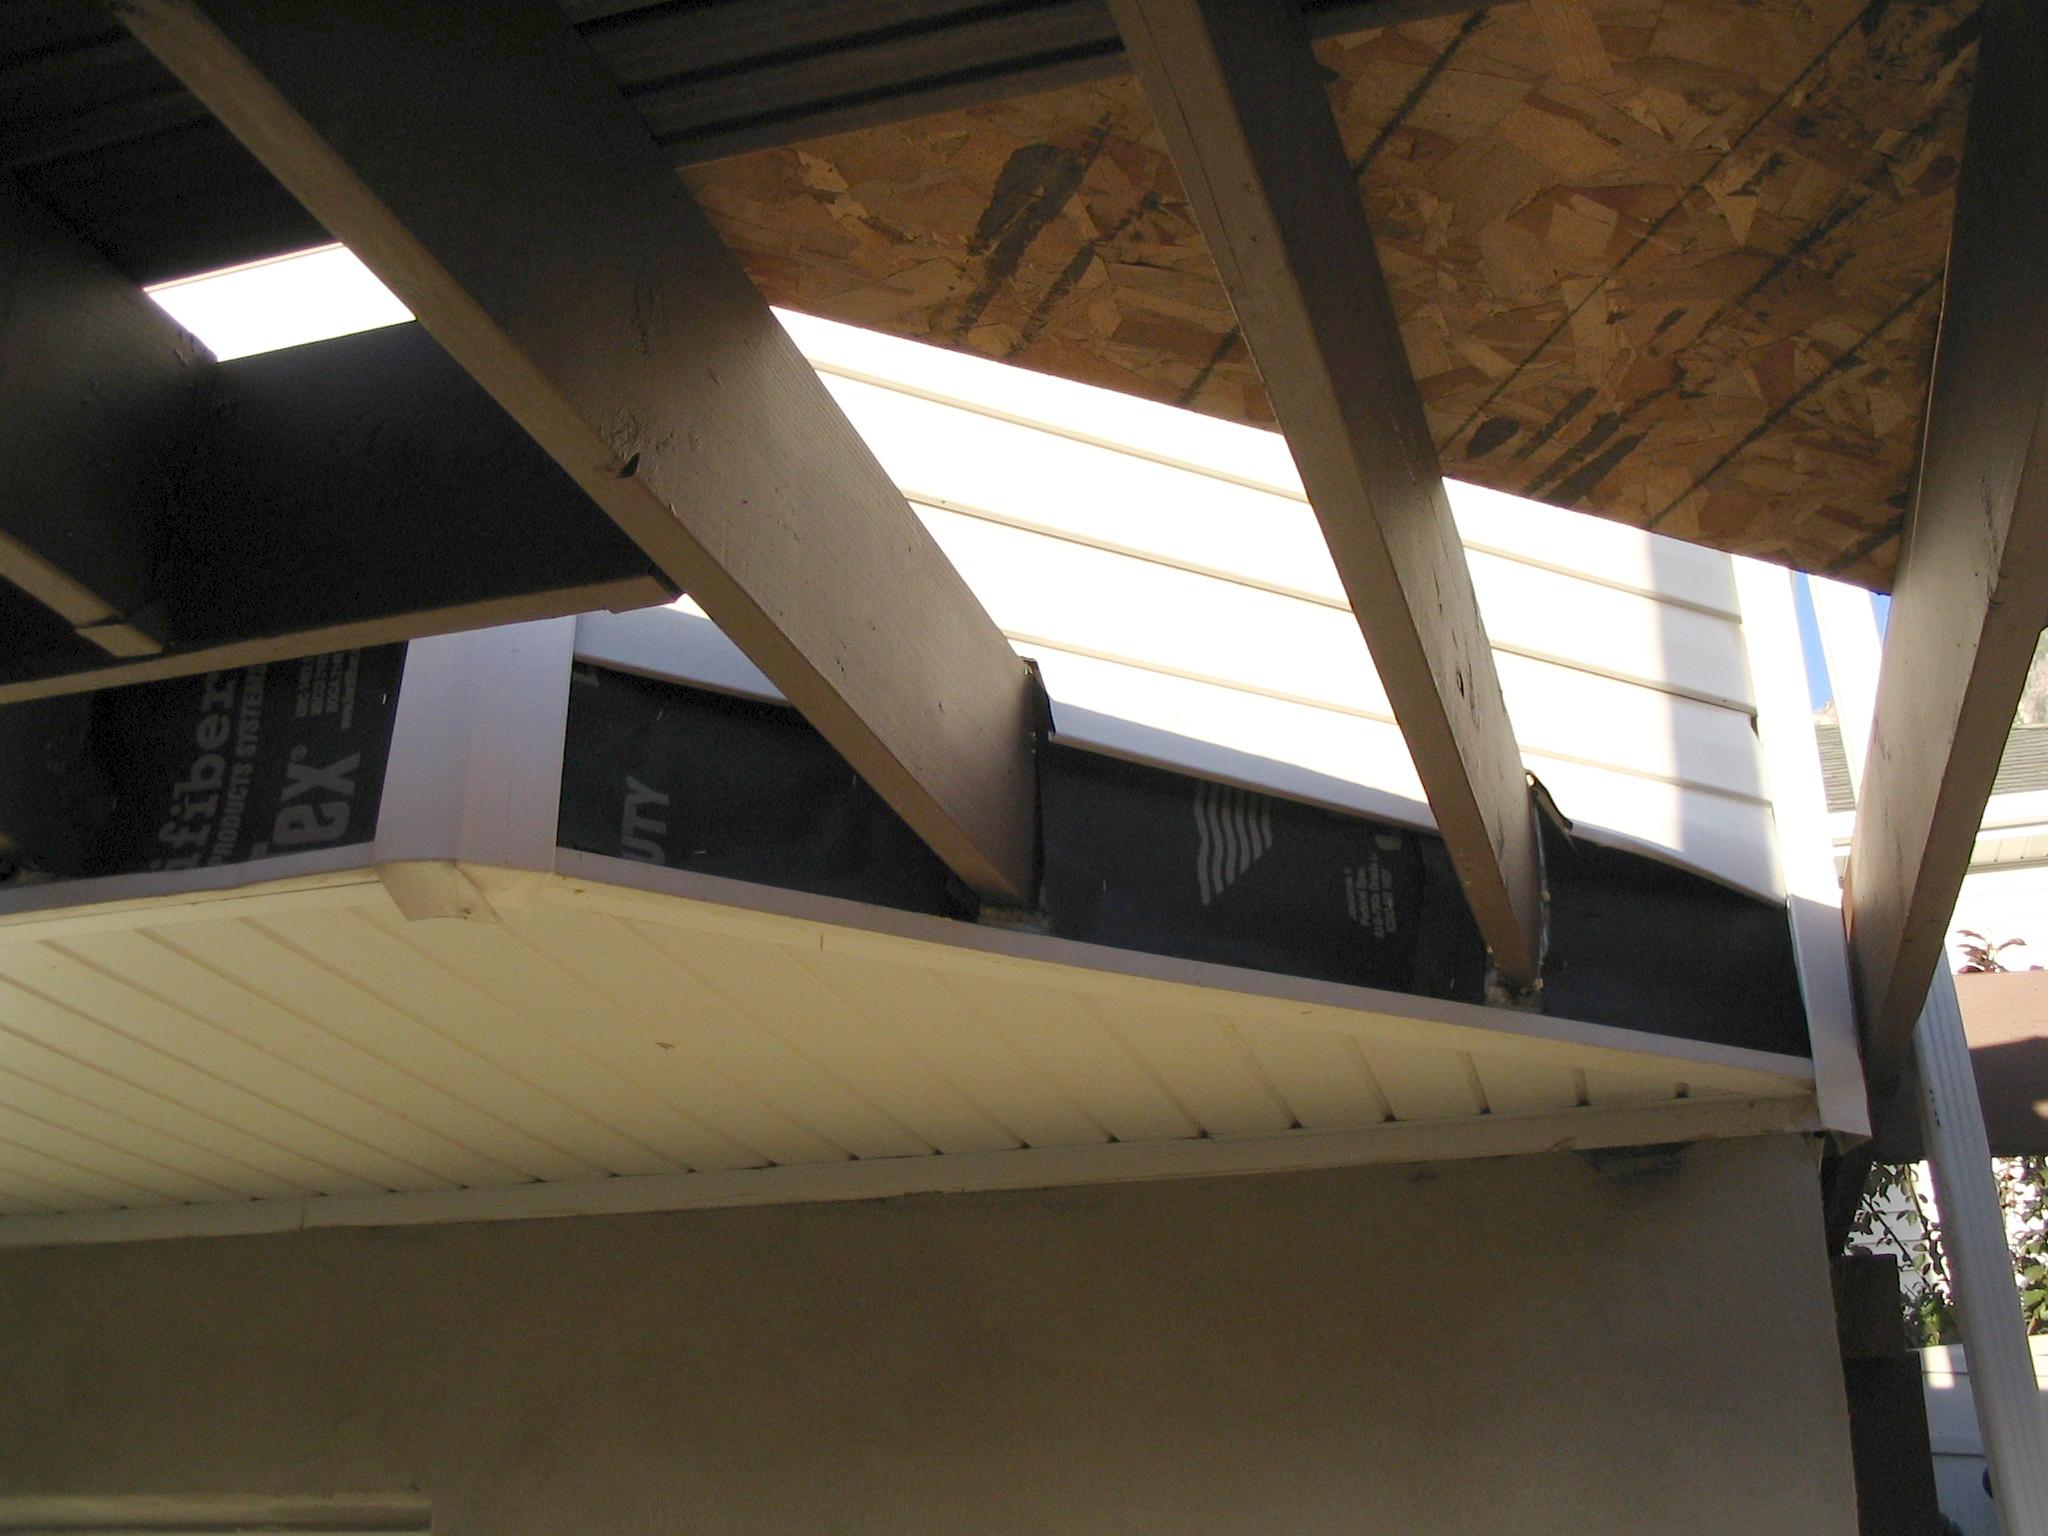
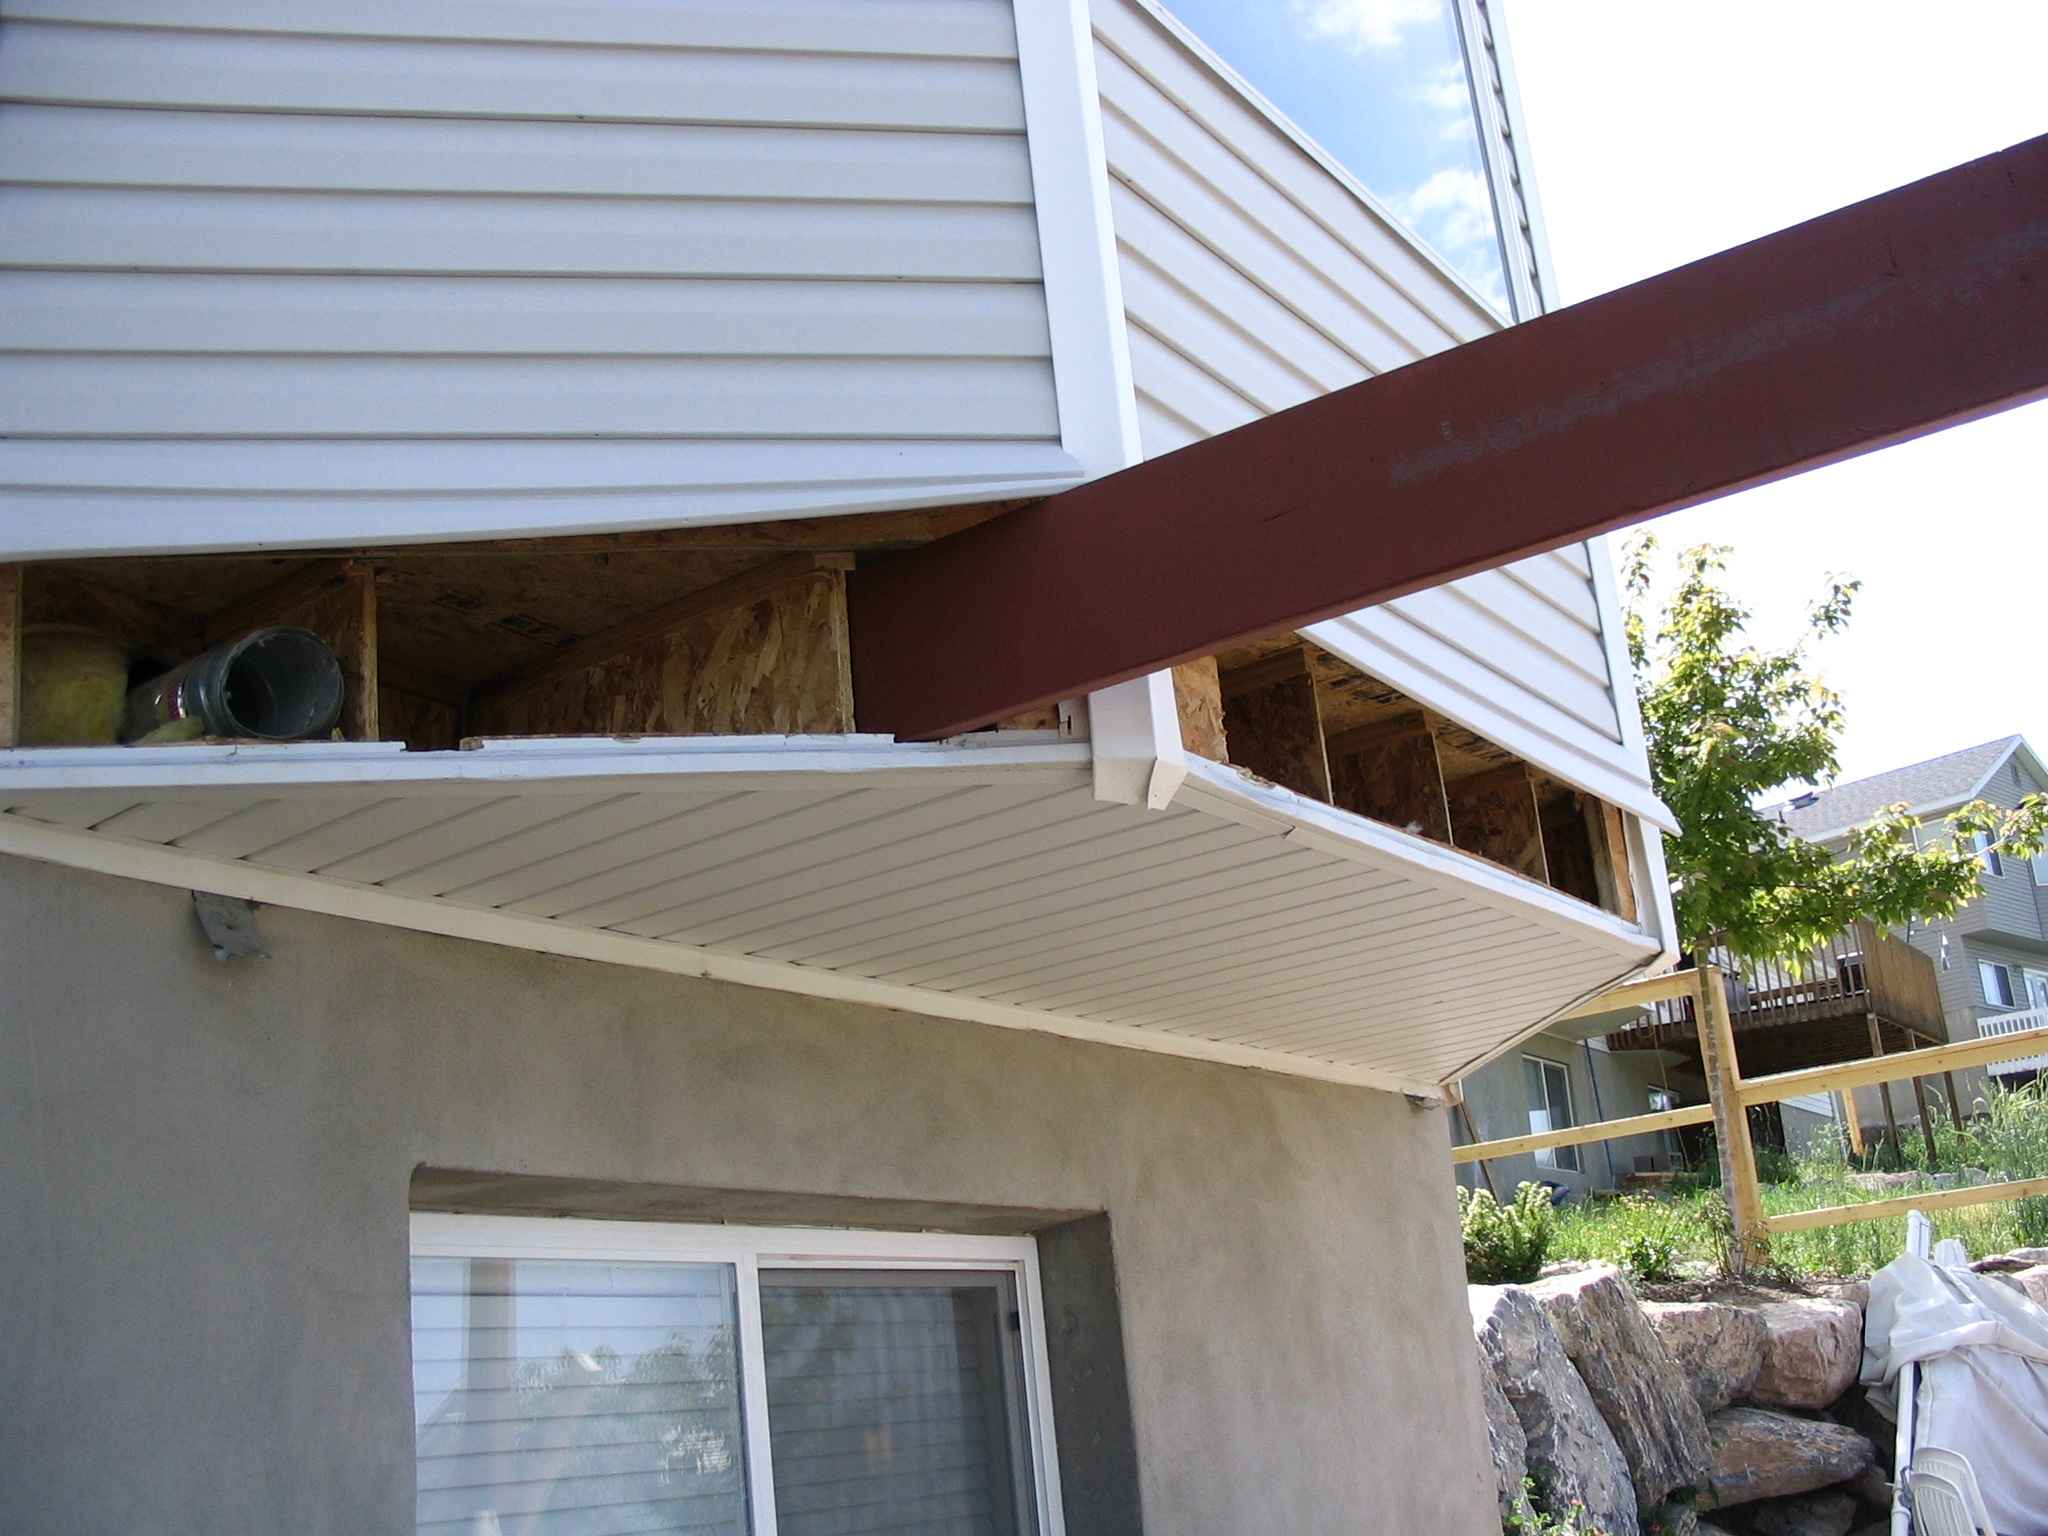
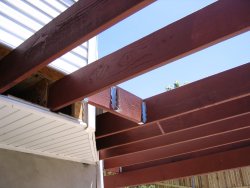
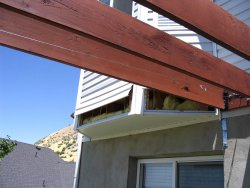
27 October 2007
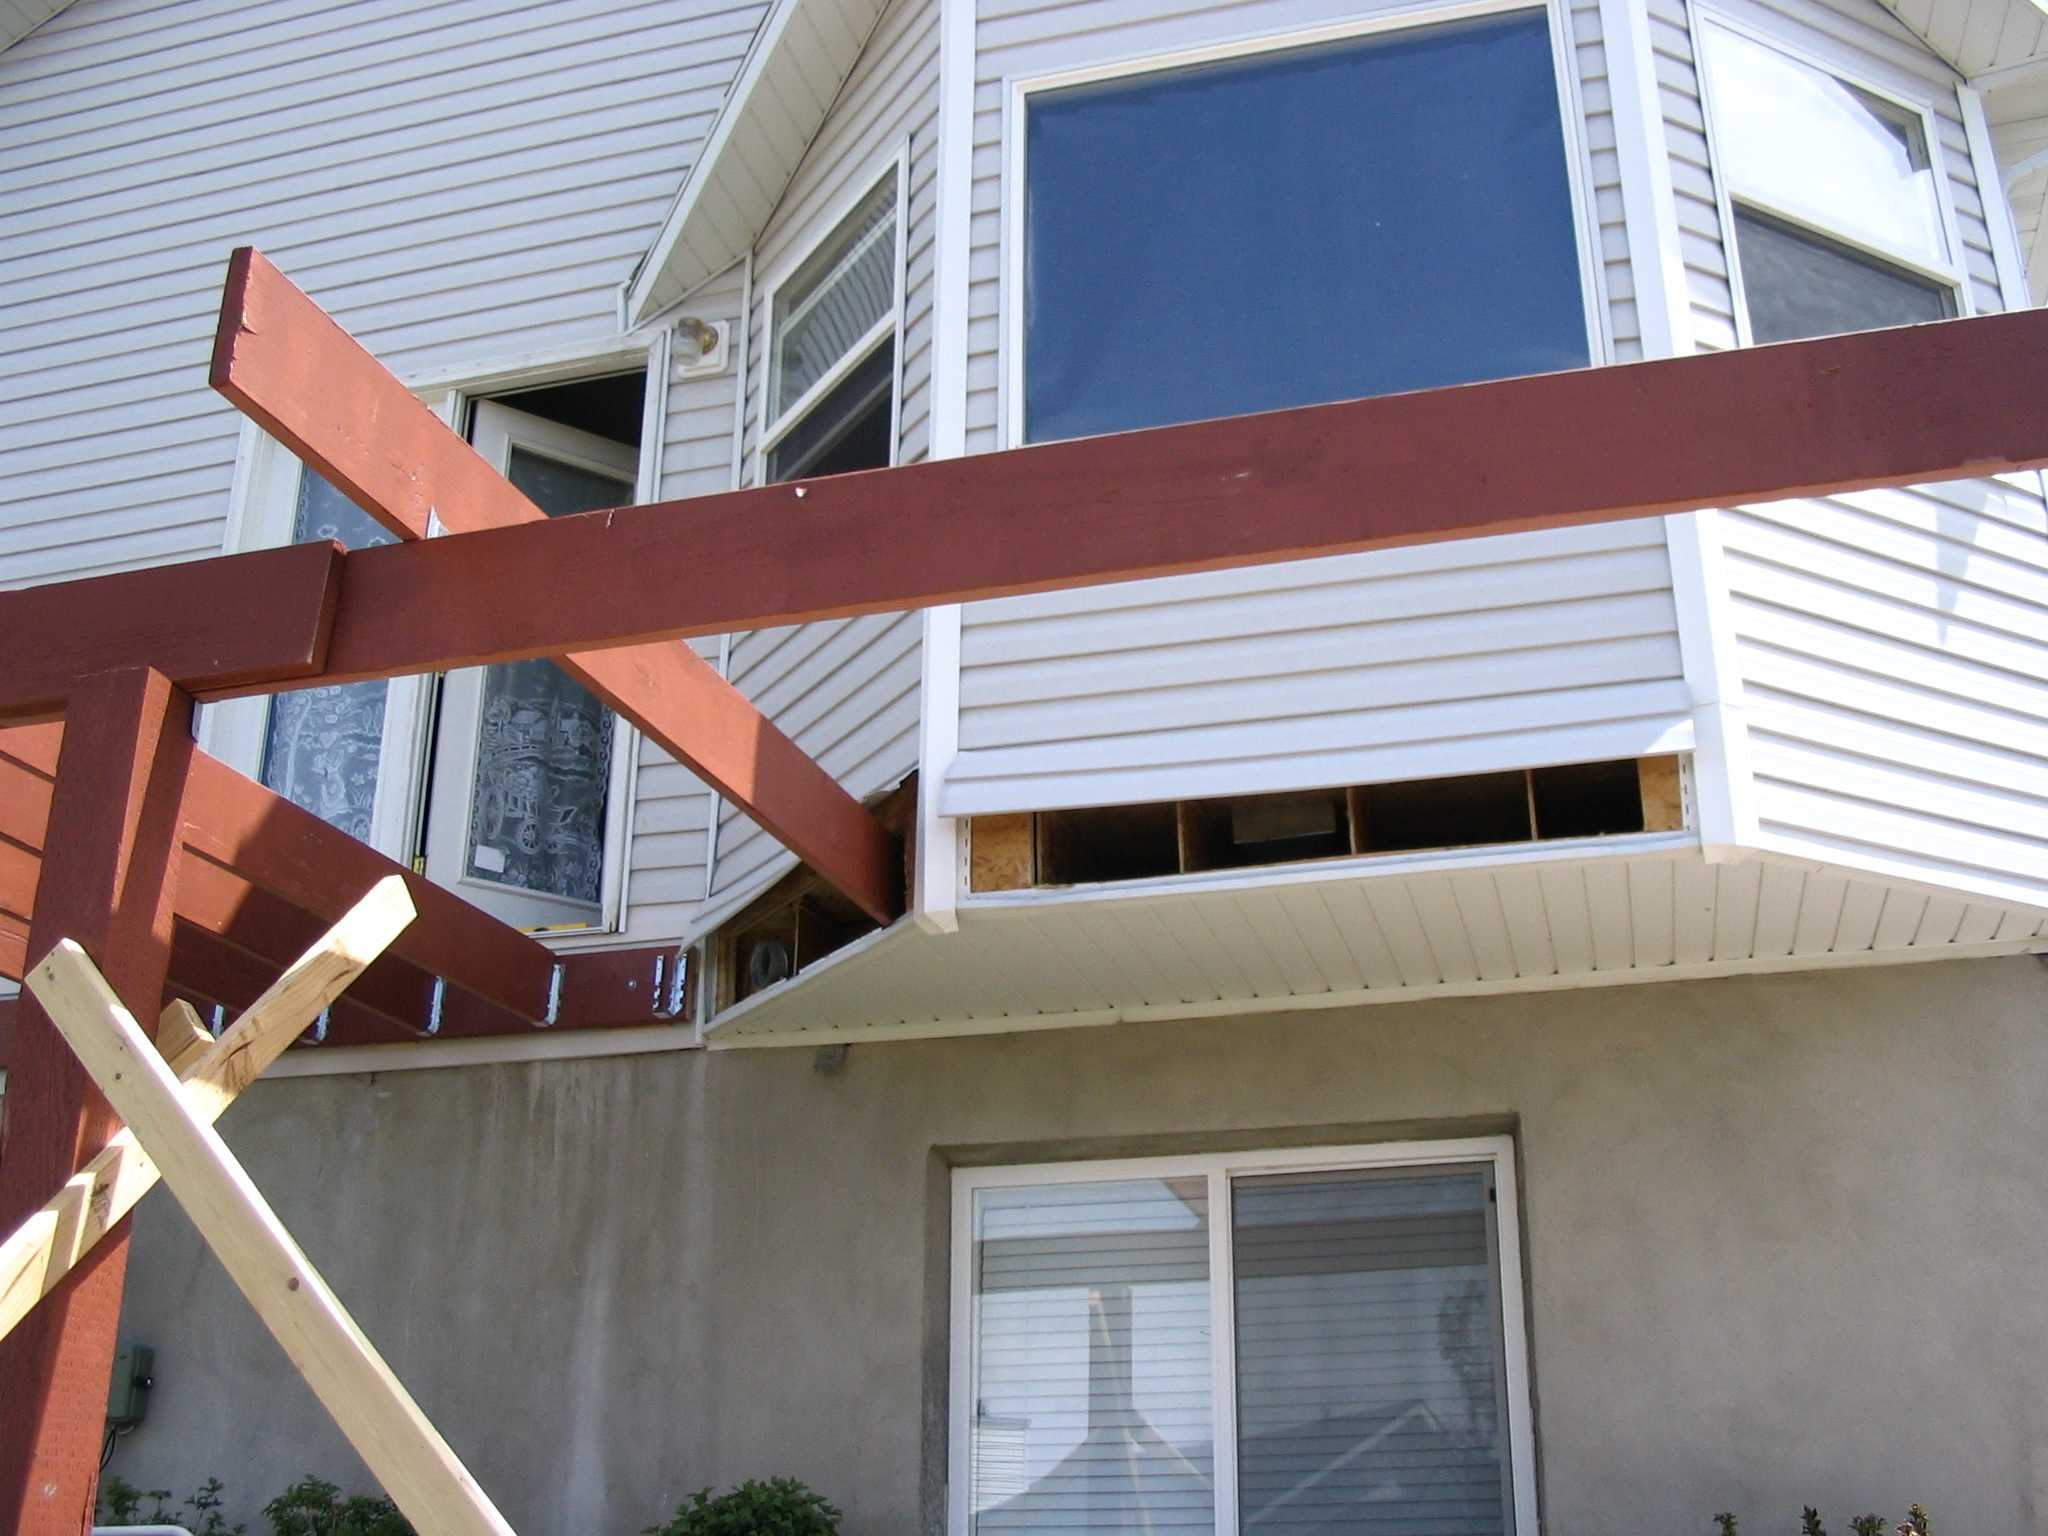
I worked some more under the bays including putting in bracing for the
diagonally cut end pieces that will jut up against the bay. They need to be
supported close to the house so they won’t flex.
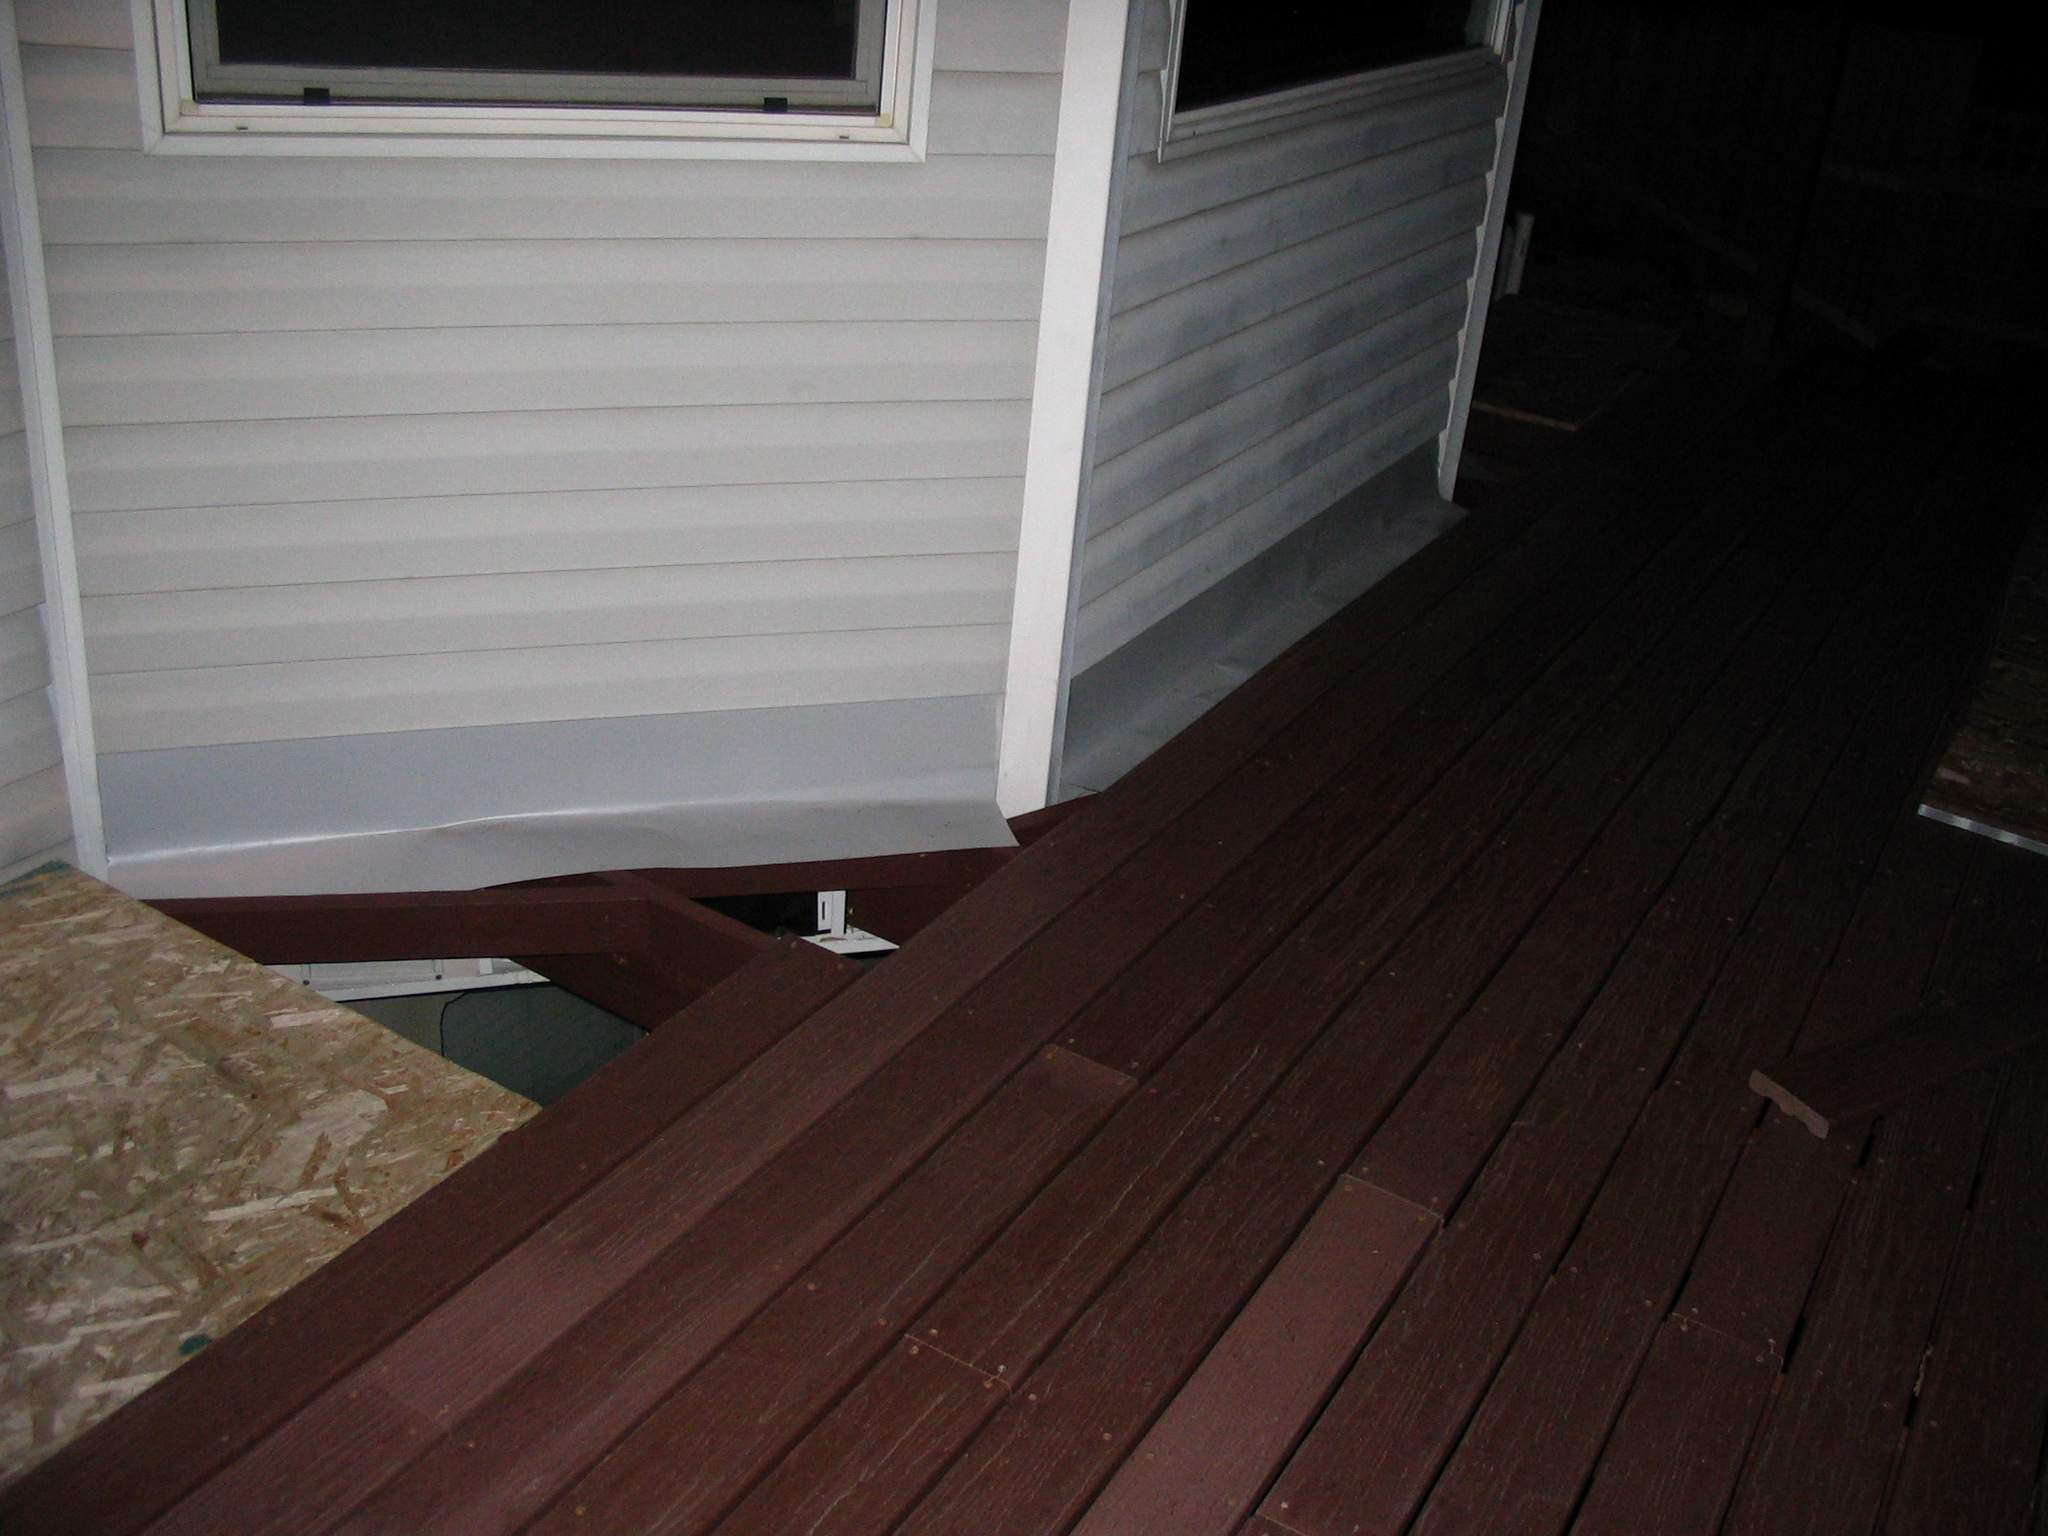
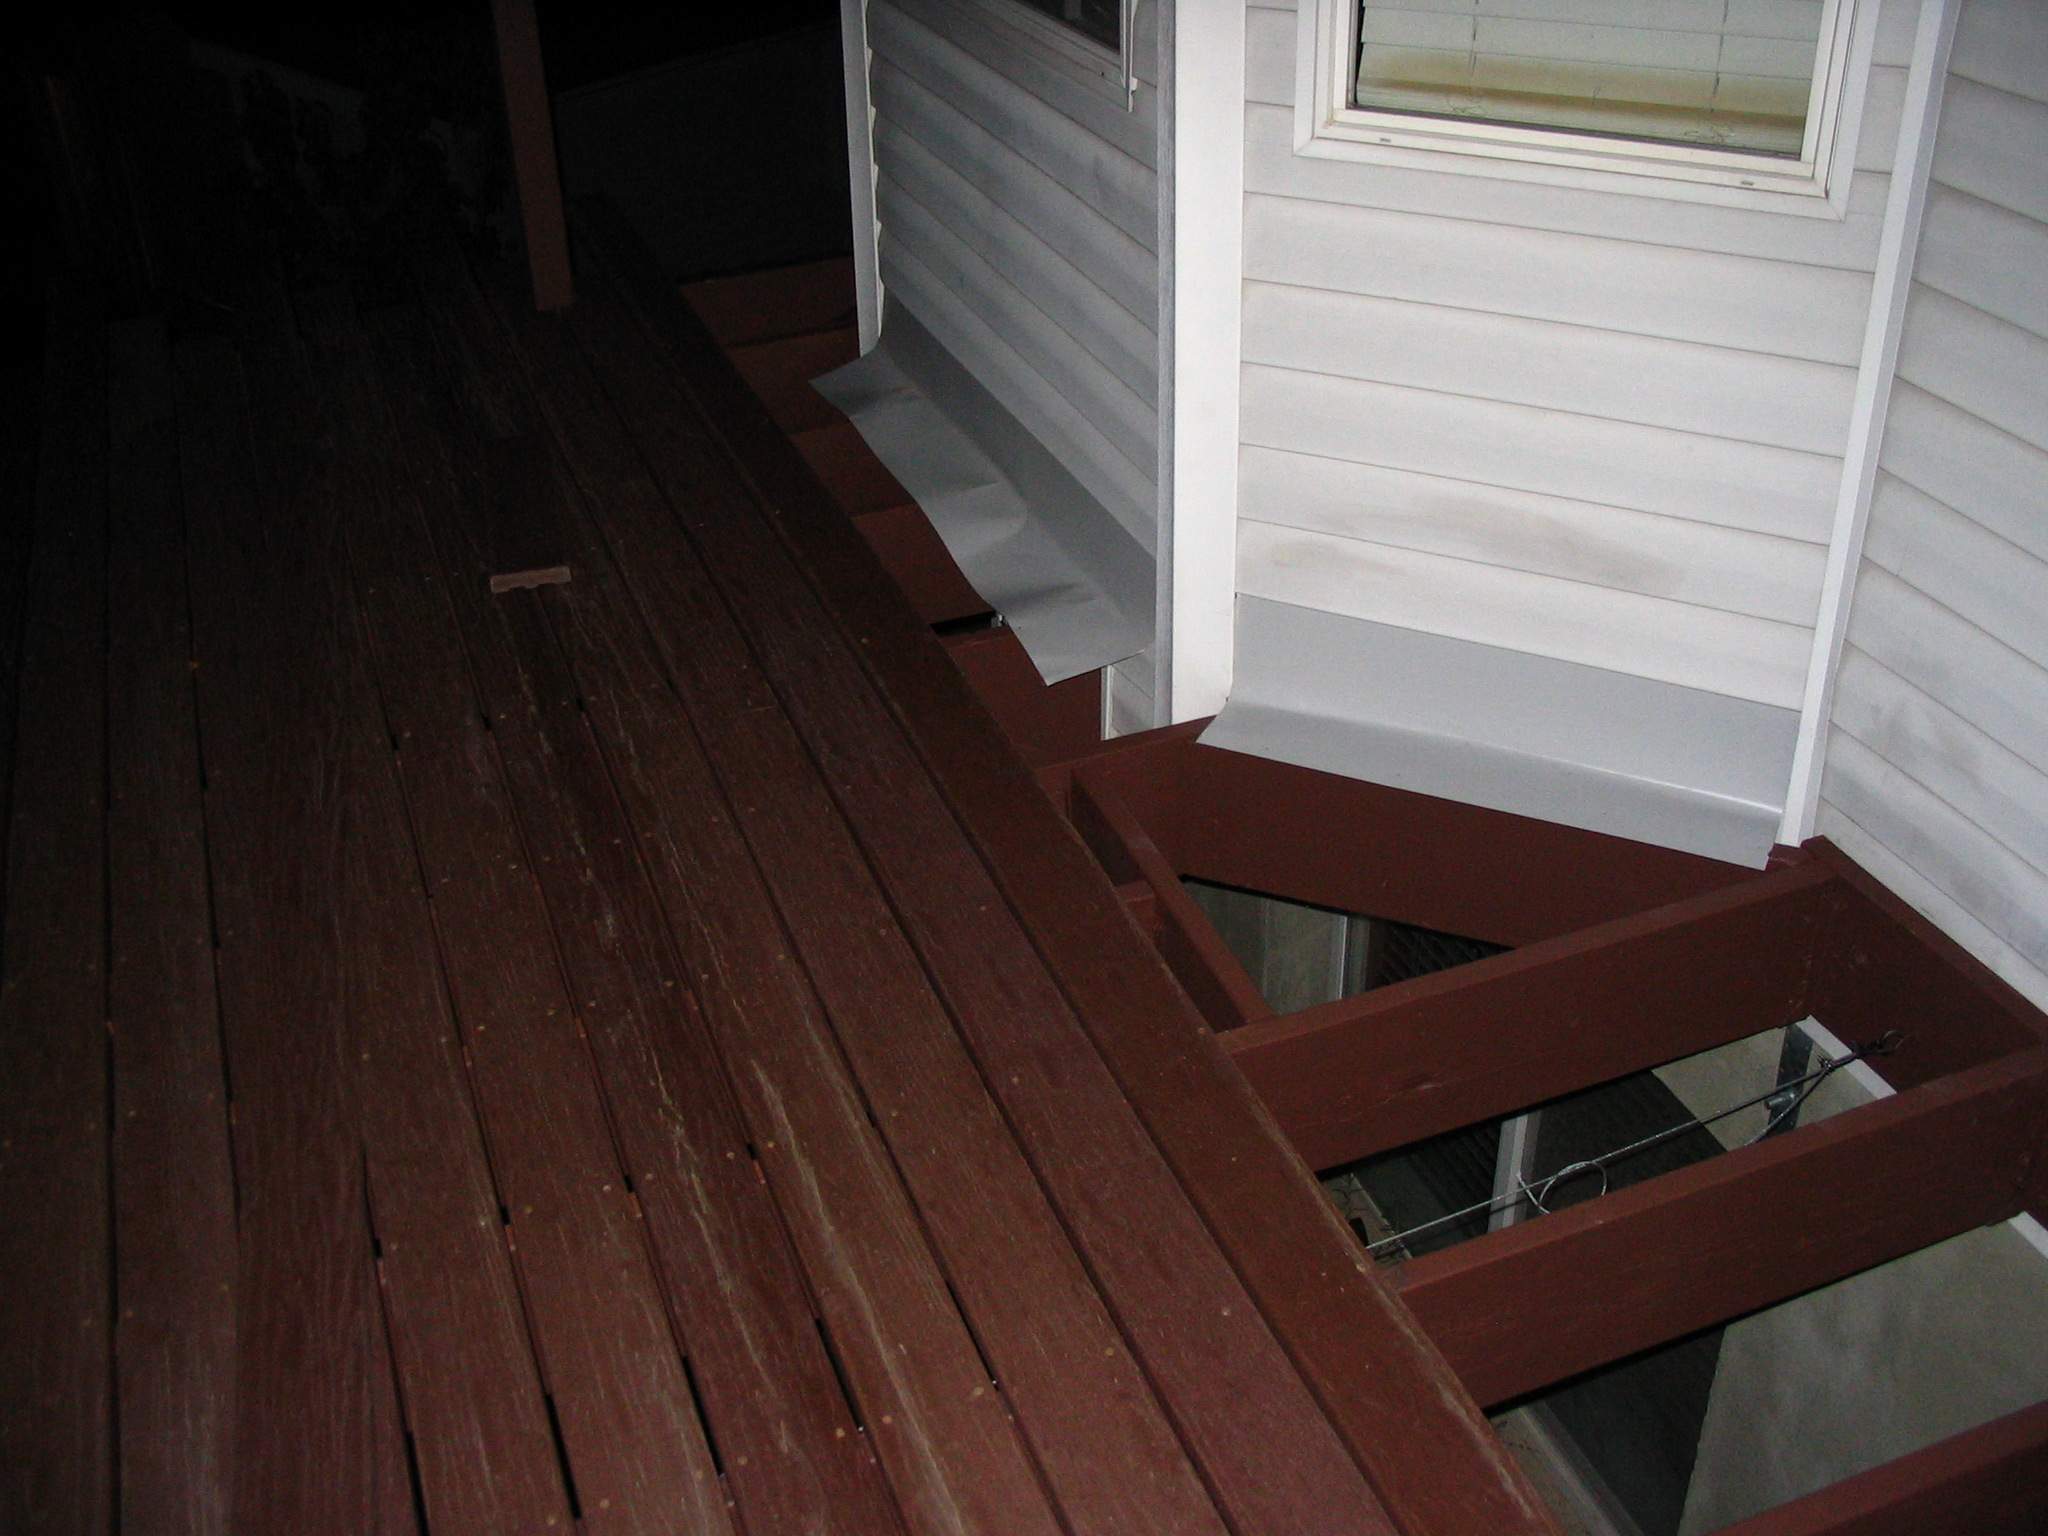
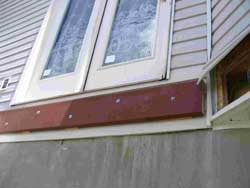
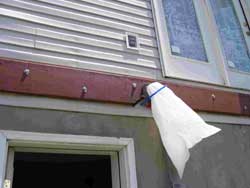
Then, while Brandon, Sam, Jean and Joe were laying down 3 new courses of deck
planking, I installed some grey aluminum flashing I bought to keep the water
from sheding off the house walls down into the bays and behind the leger
boards. I was going to cut holes in the Trex to let the water through, but I
discovered that getting the aluminum to bend to the wall (siding) created the
situation in which it’s deformed enough little water will get trapped
there. So we won’t be tediously drilling relief holes as planned.
The large roll of flashing got away from me and sliced the tip of my left
middle finger off. It wasn’t bad enough to keep me from finishing once
Julene had bandaged it so it wasn’t bleeding all over everything.
|

|
|

|
|
|

|
|

|
|
|
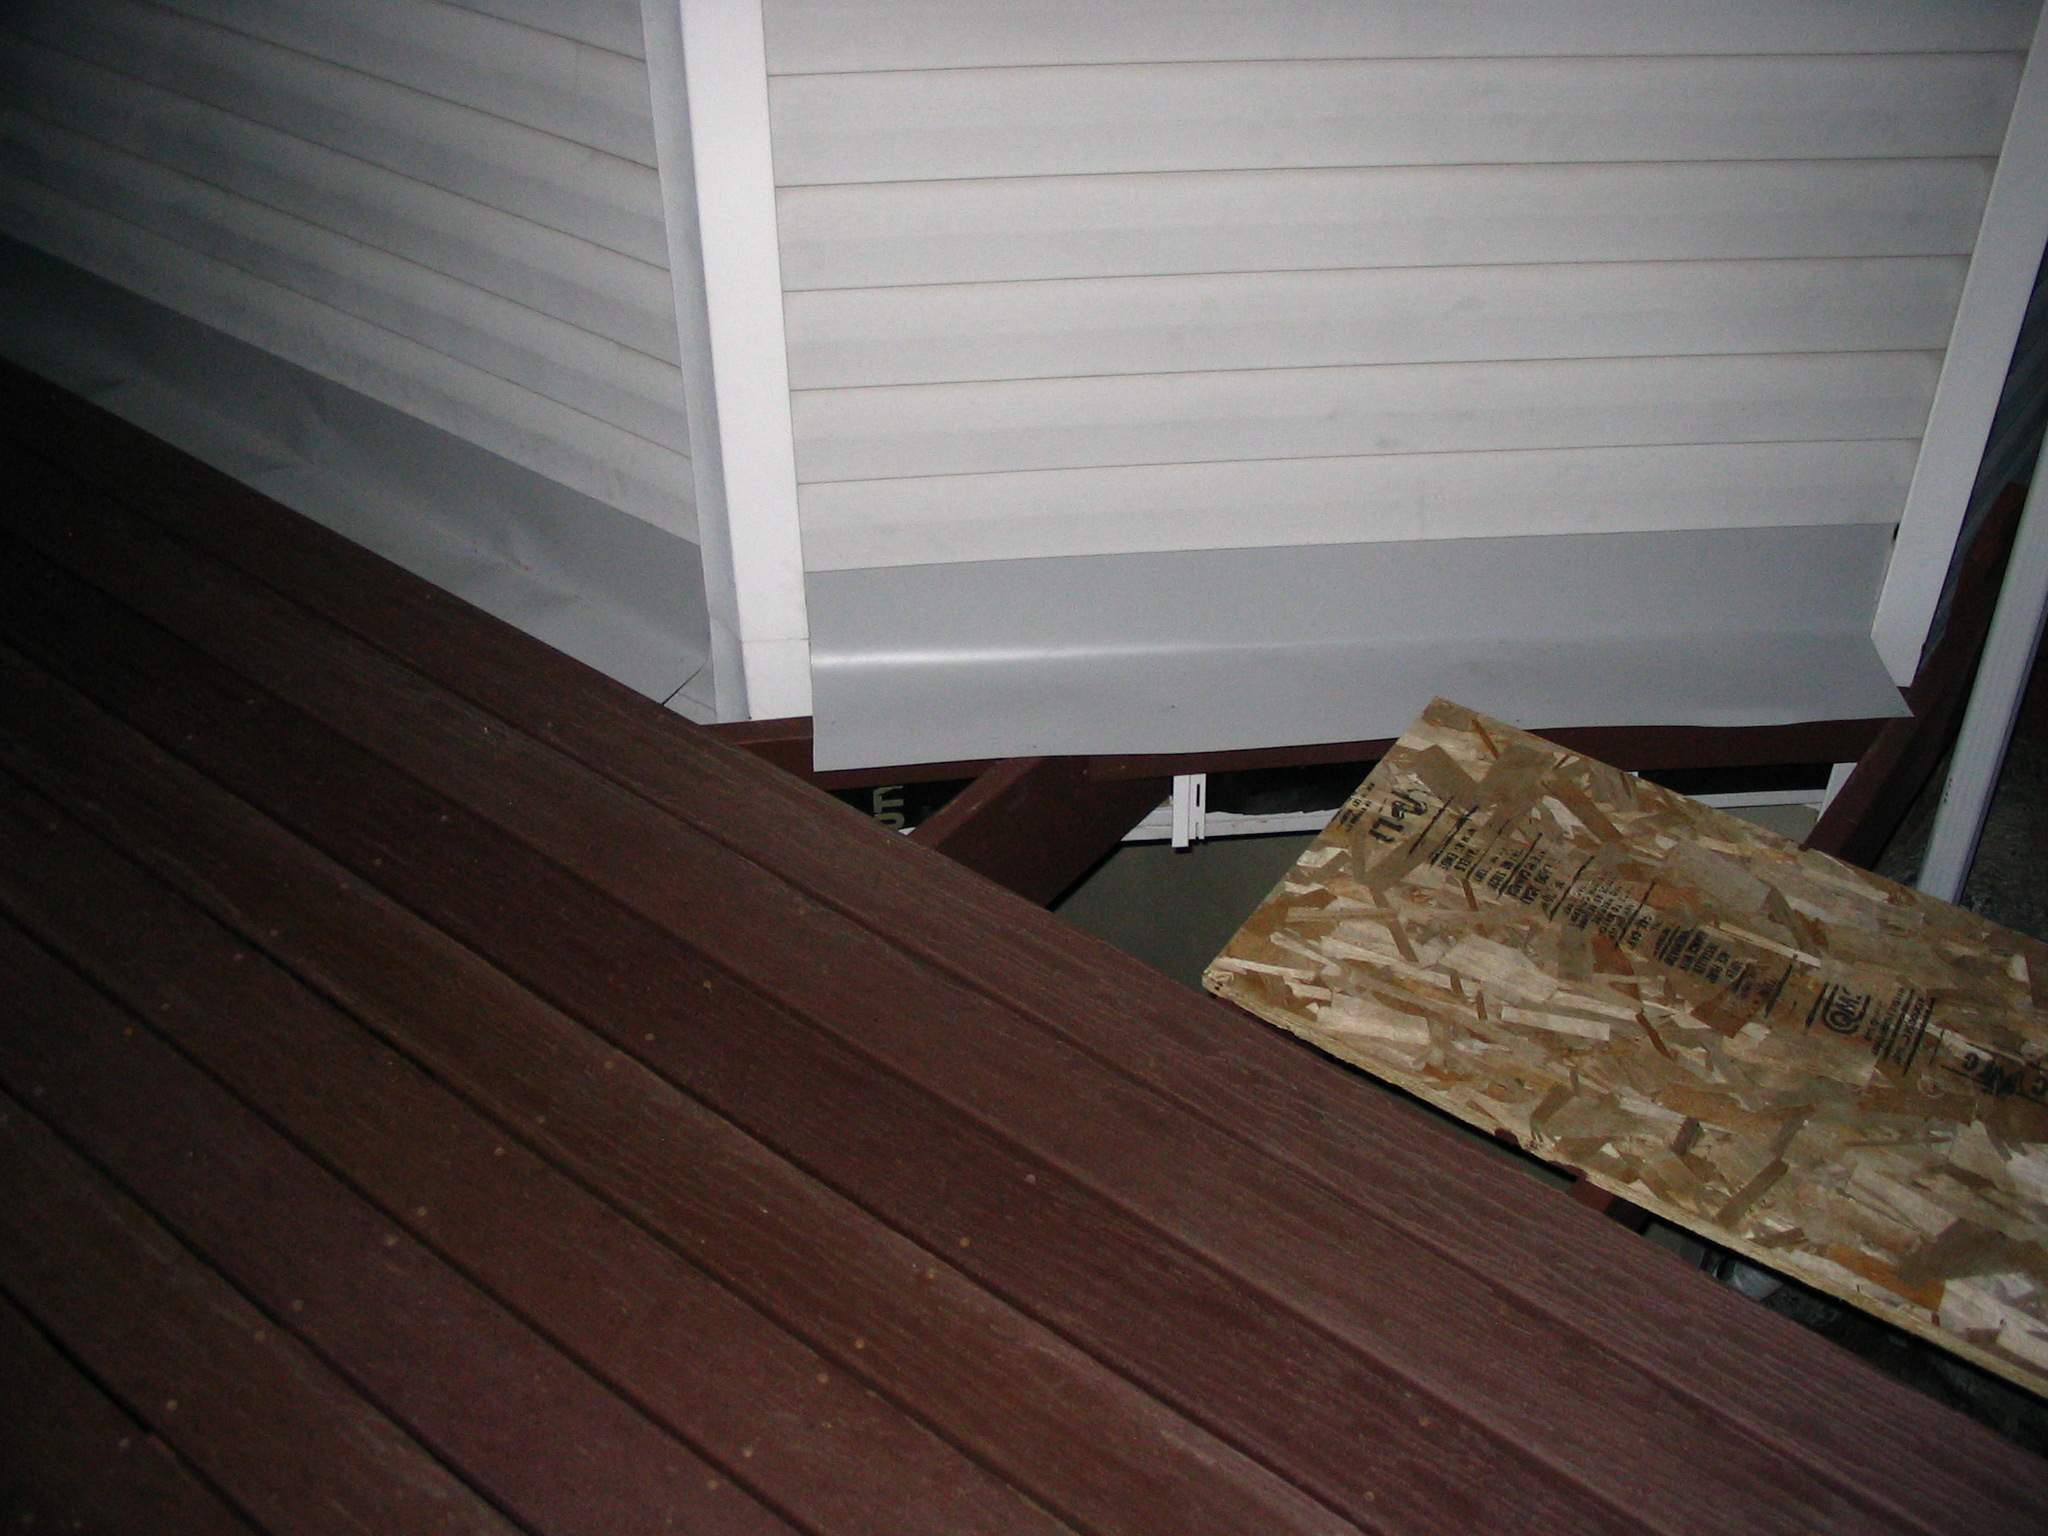
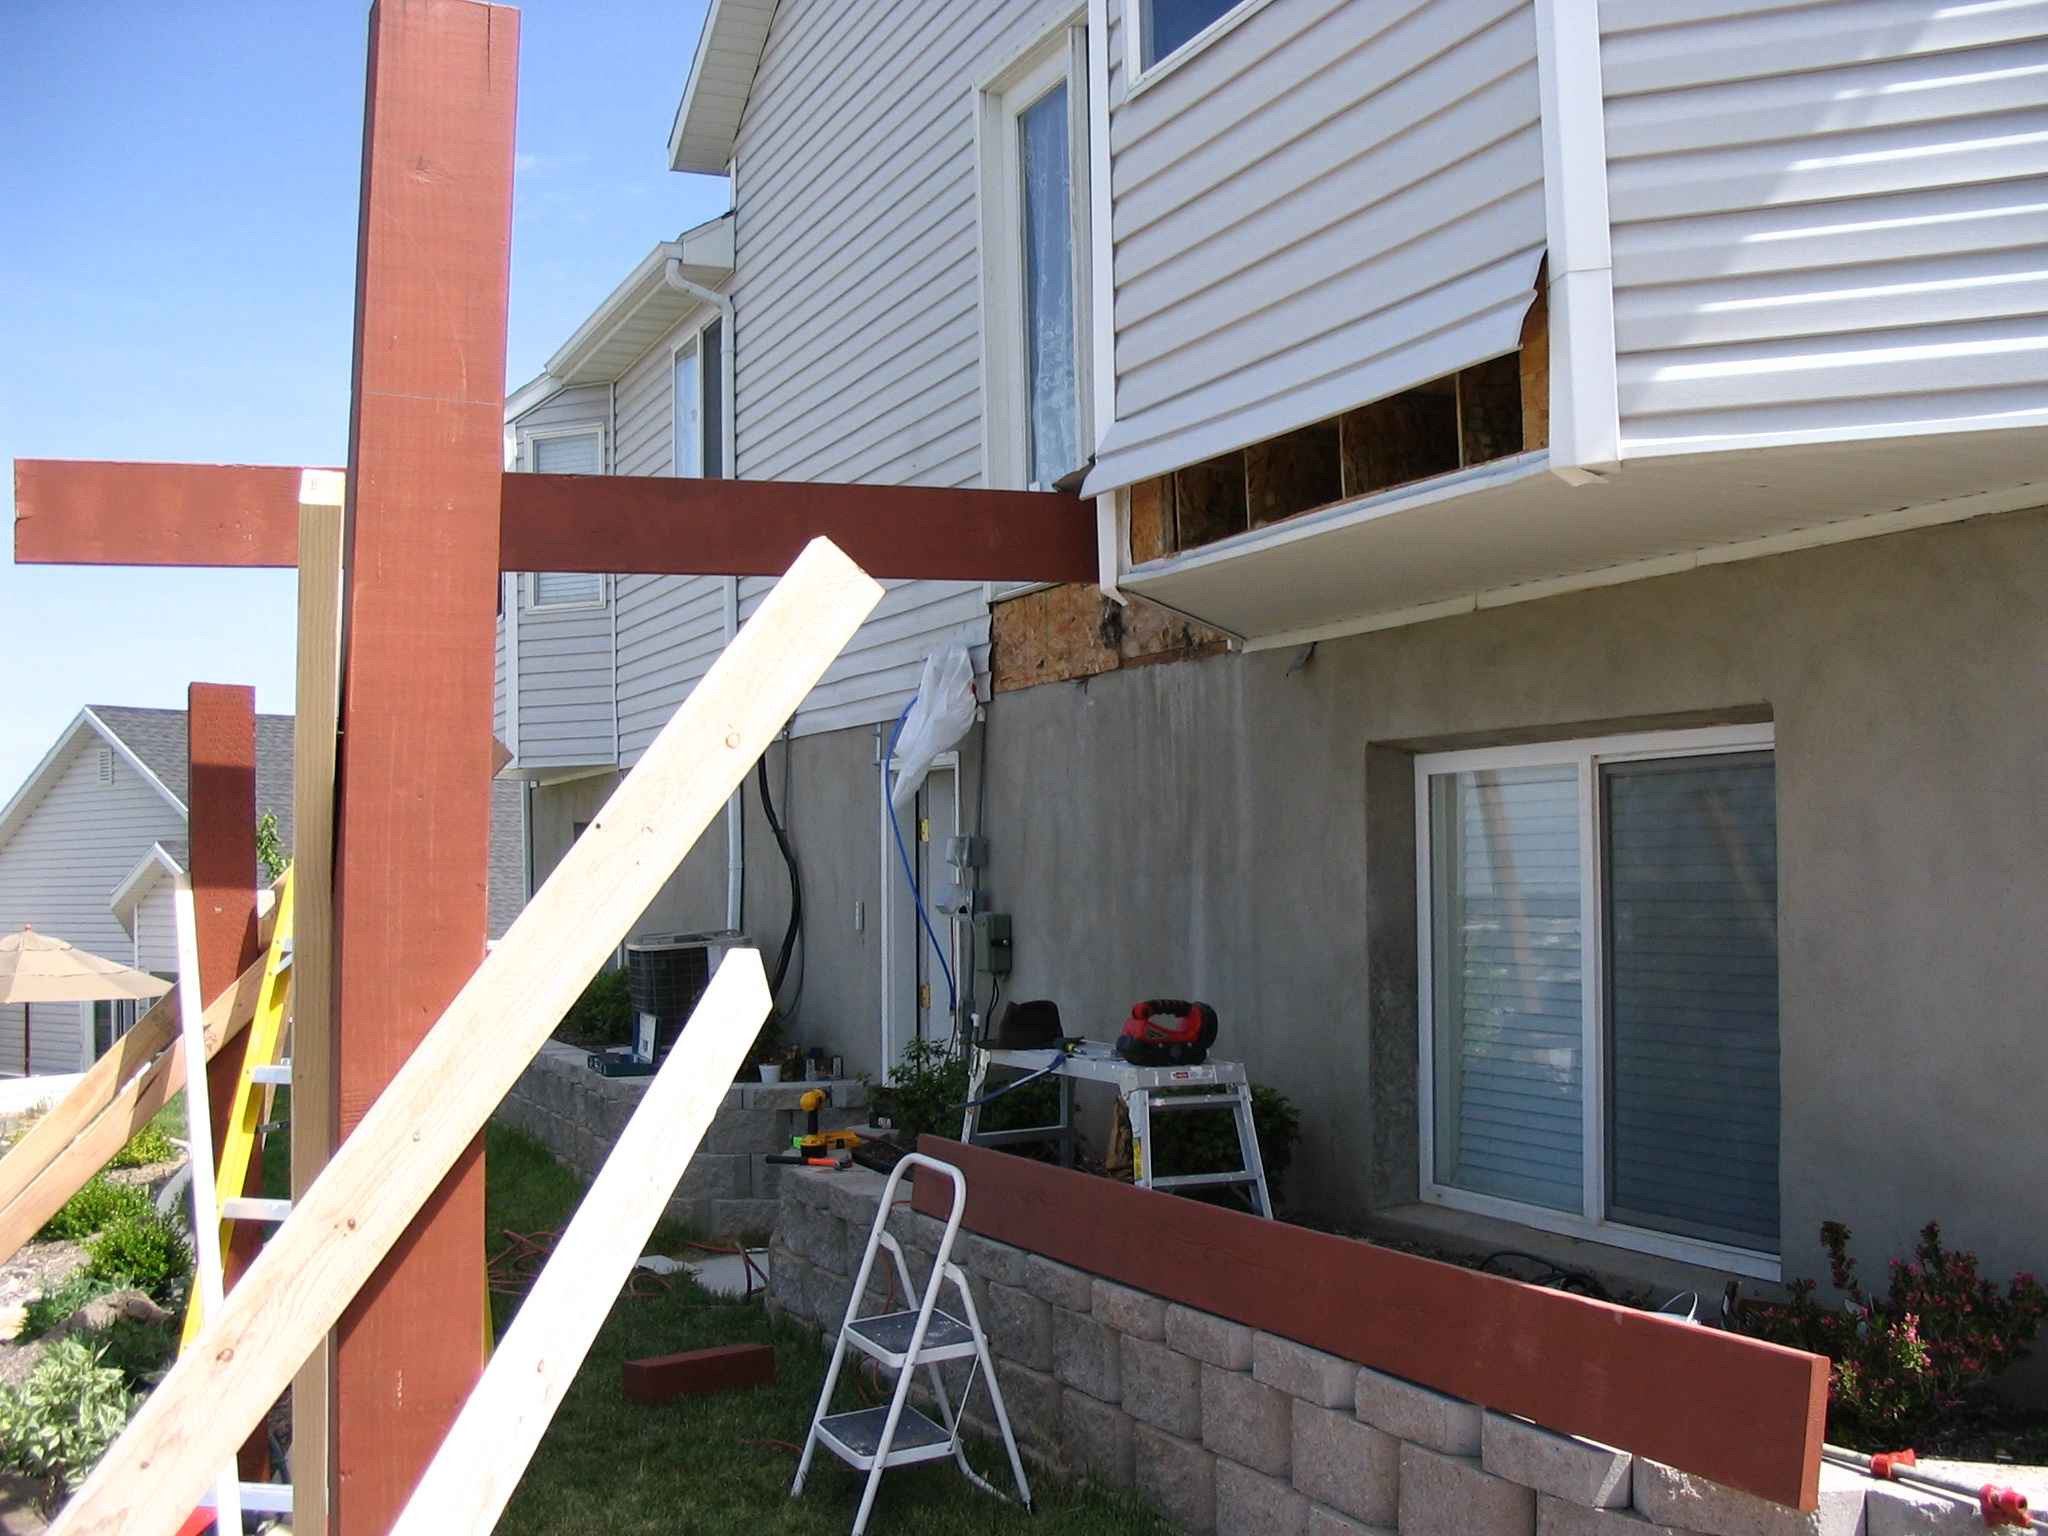
19 October 2007
I took the day off from work because for the fifth Saturday in a row, the
weatherman promises lots of rain. Brandon and Sam tightened the two, remaining
guys. Brandon, Sam and Greg carried much of the old deck lumbar up and loaded
it into the van. Julene and I made a trip to the dumpsters on 500 North. We
came back, I loaded the remaining detritus and we went again. The next day,
Saturday, it rained then snowed.
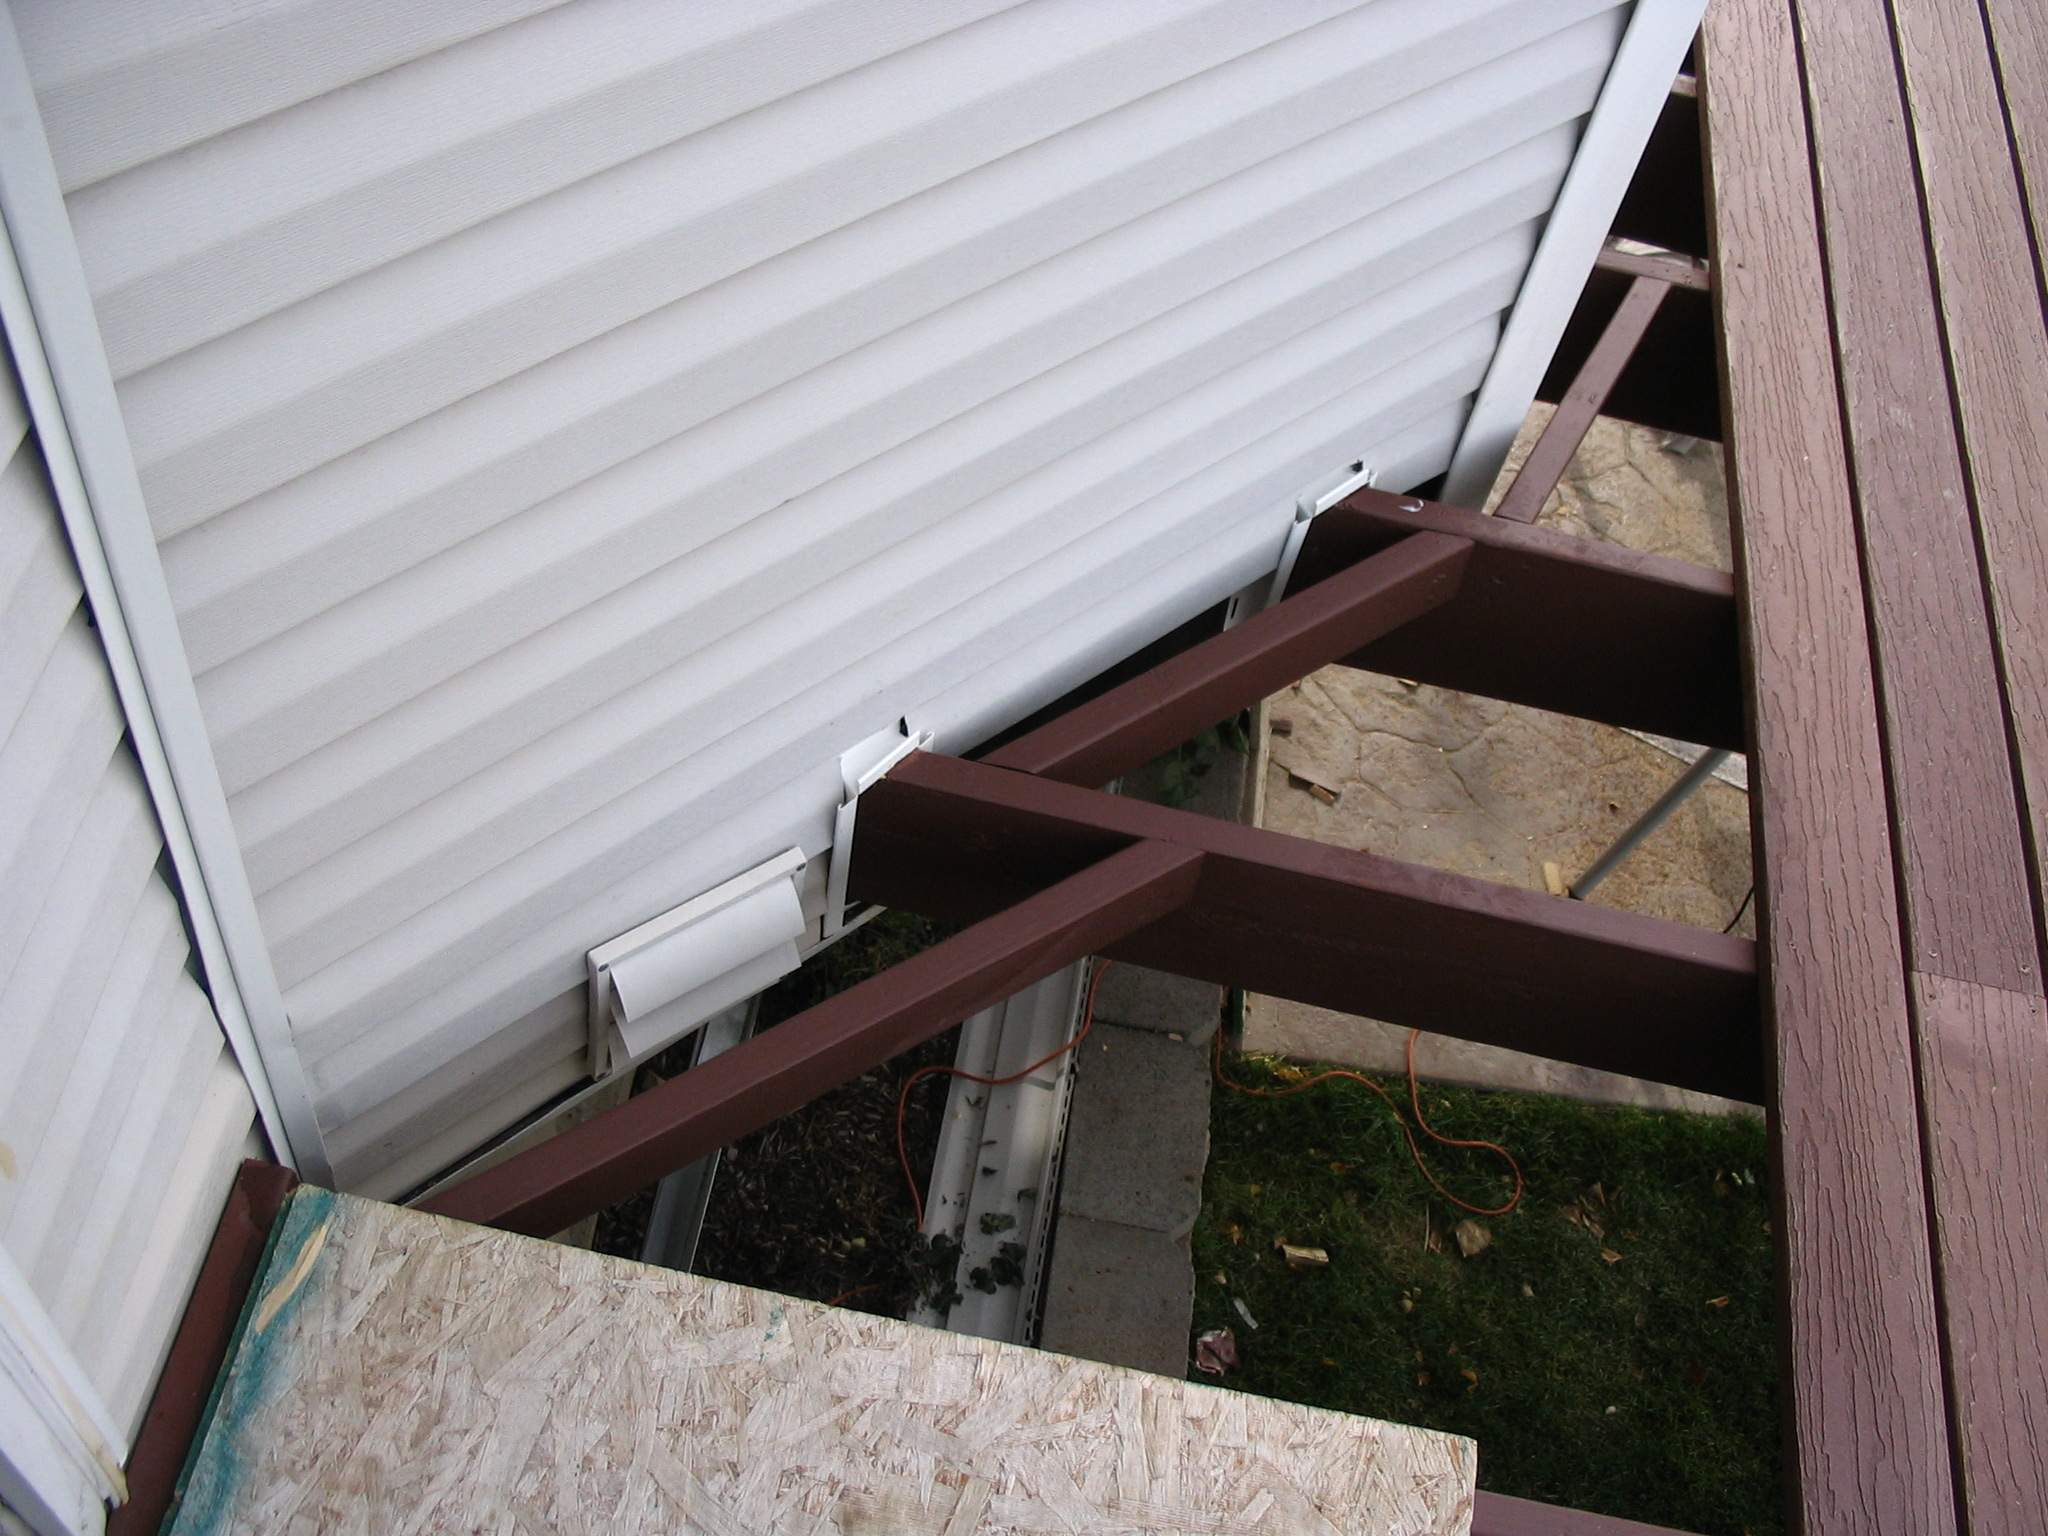
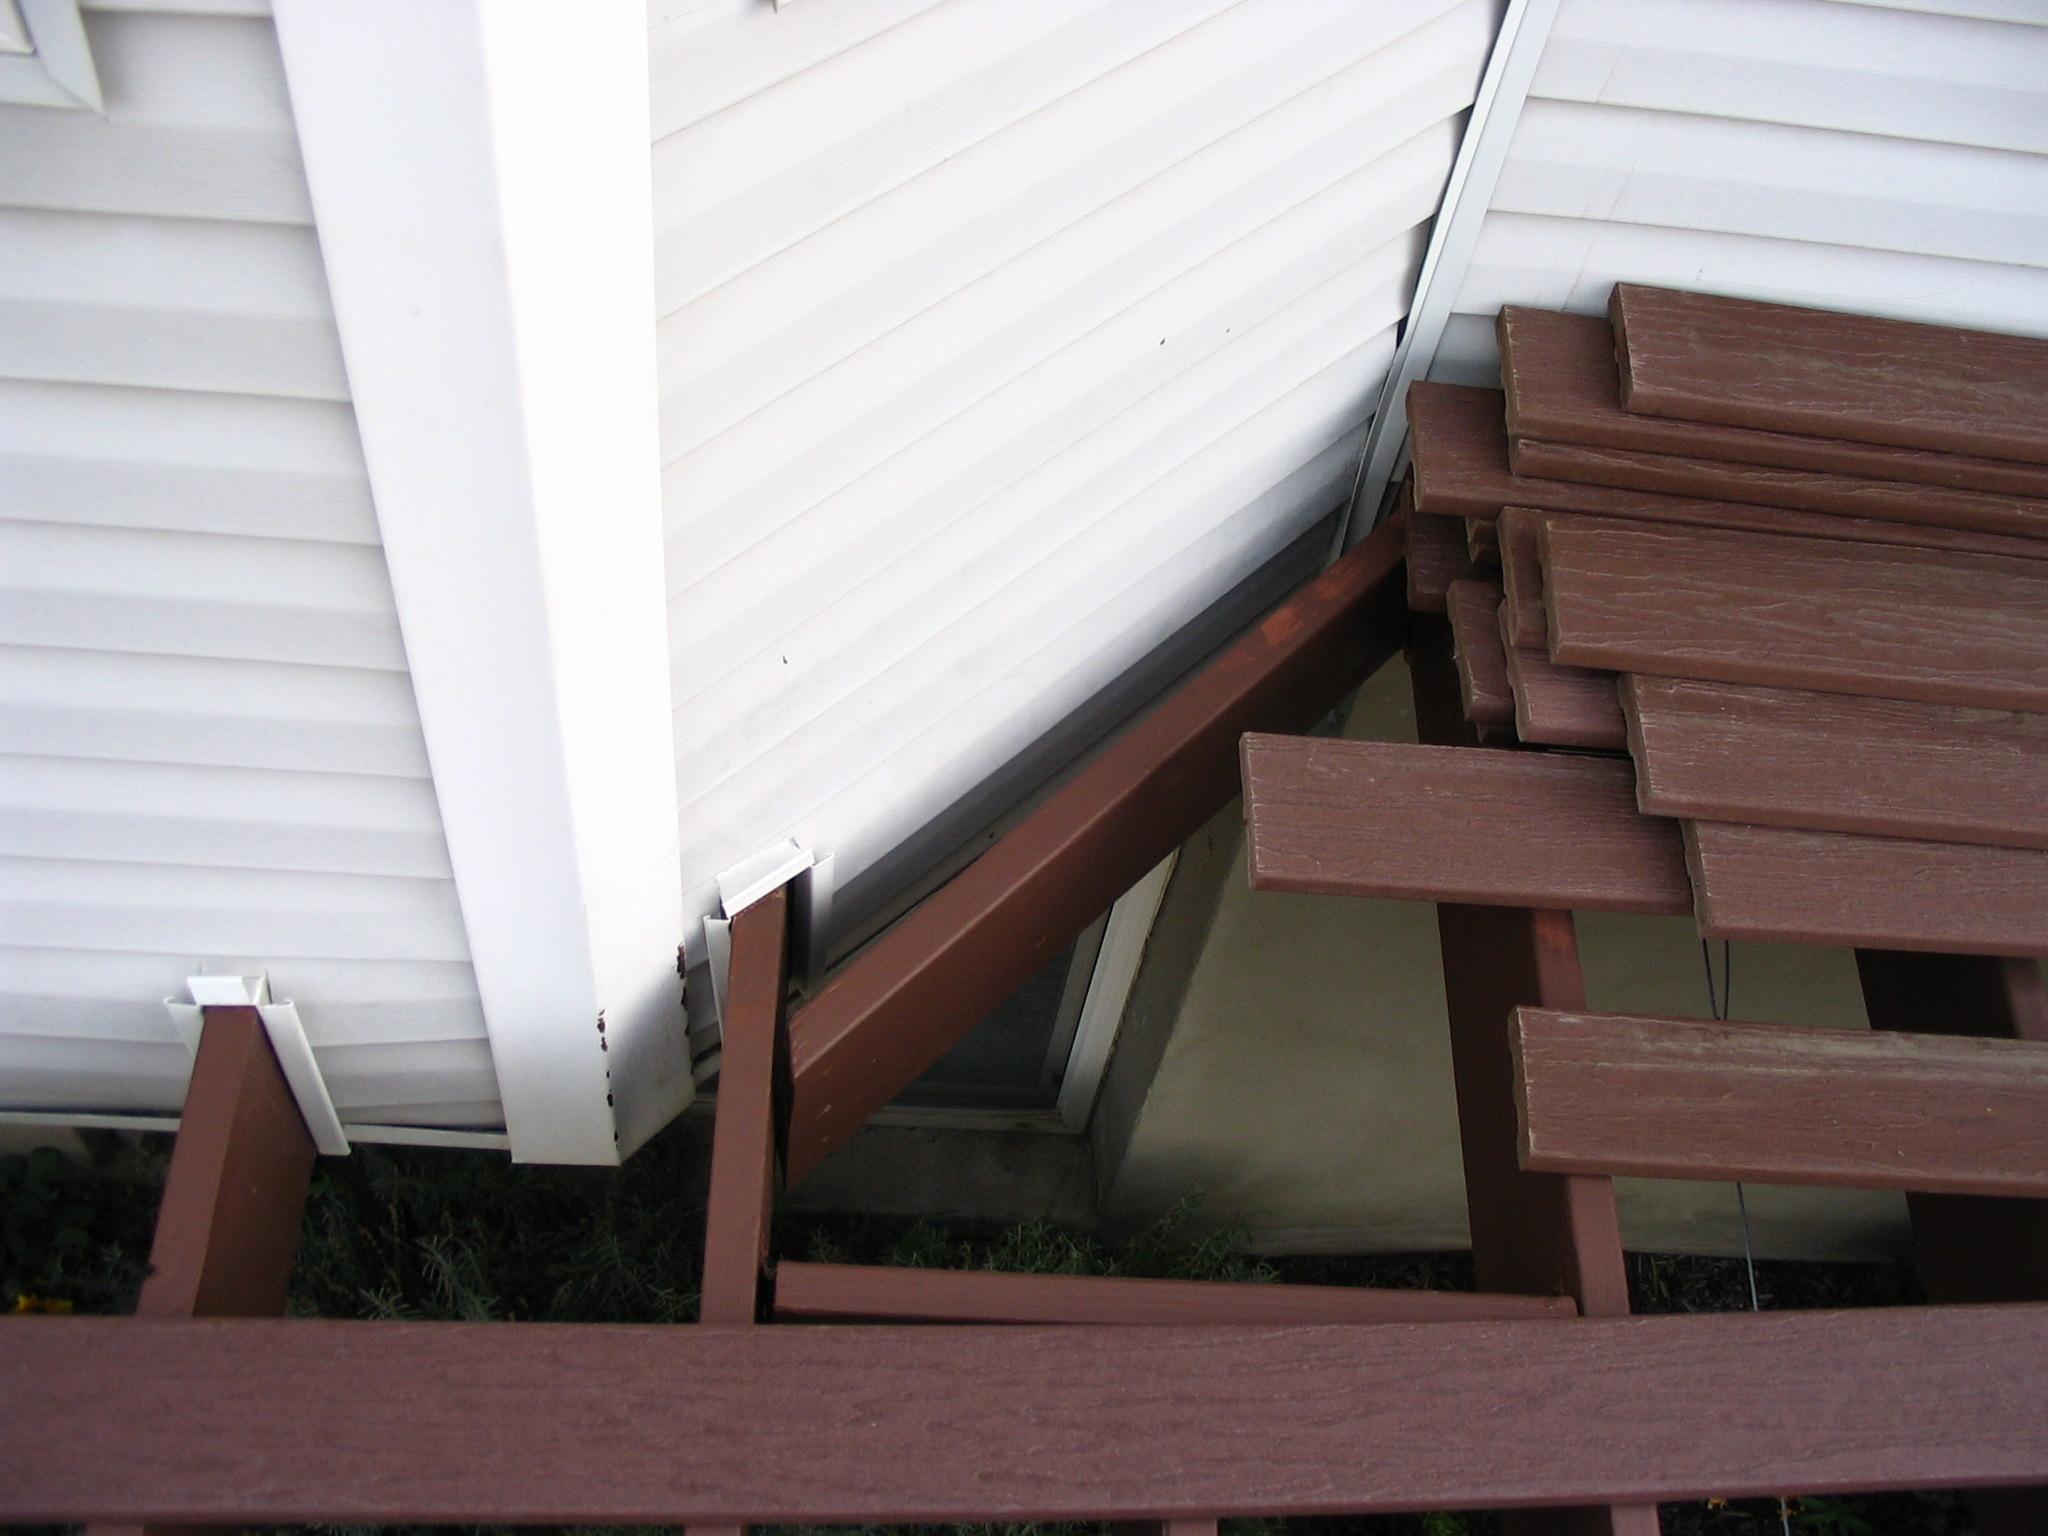
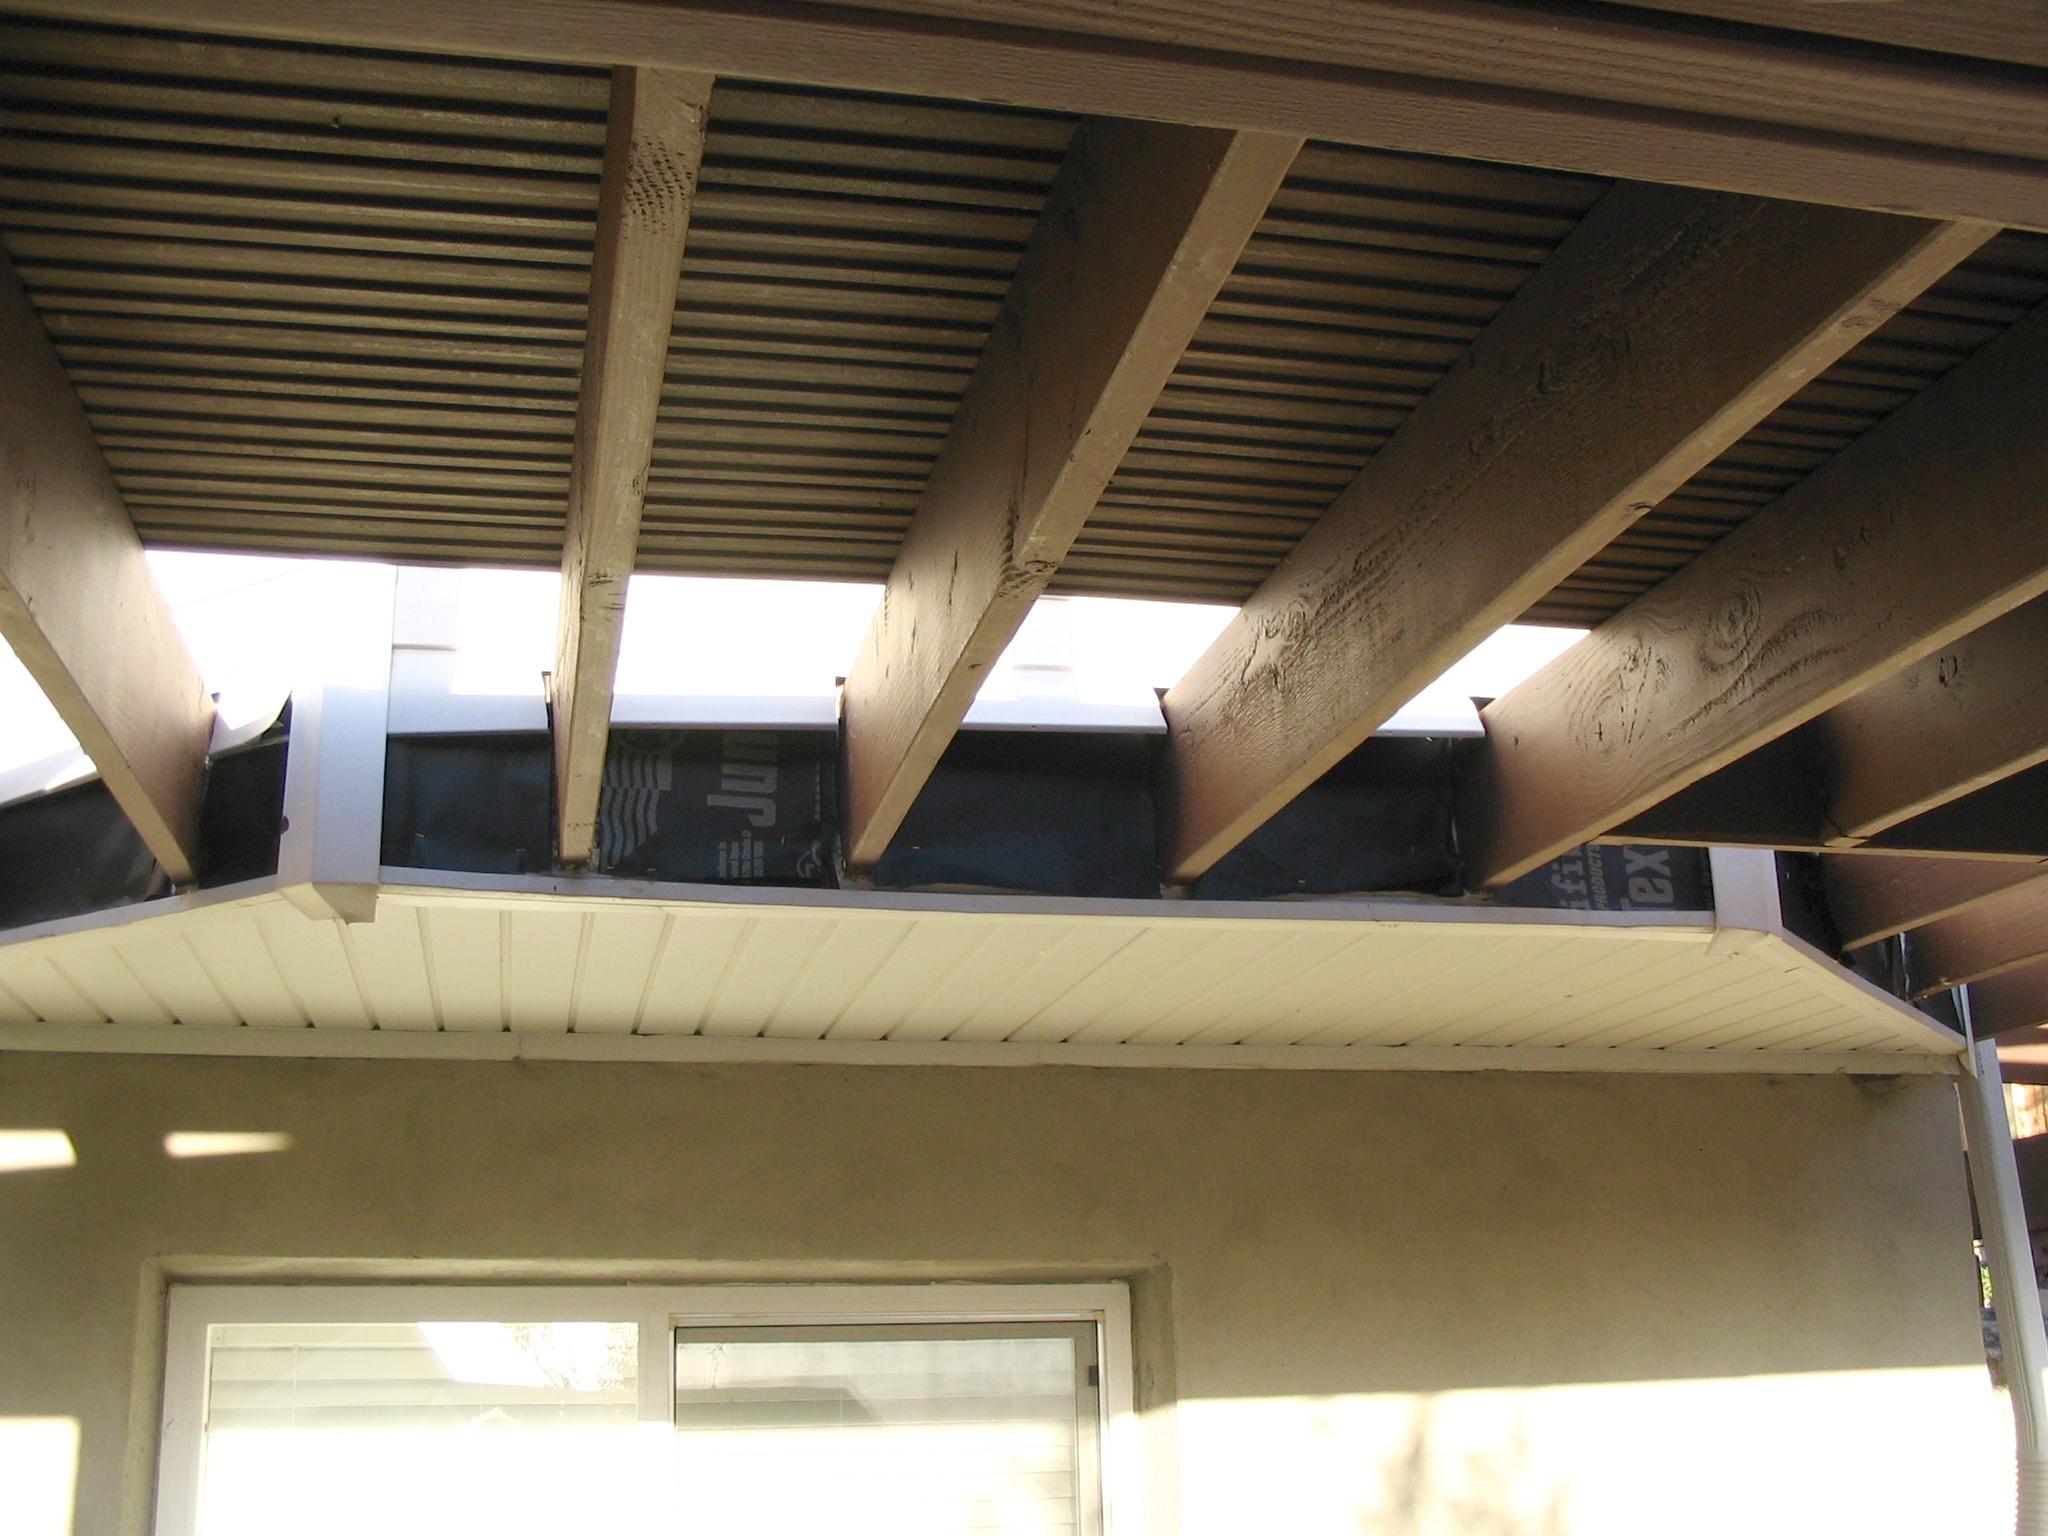
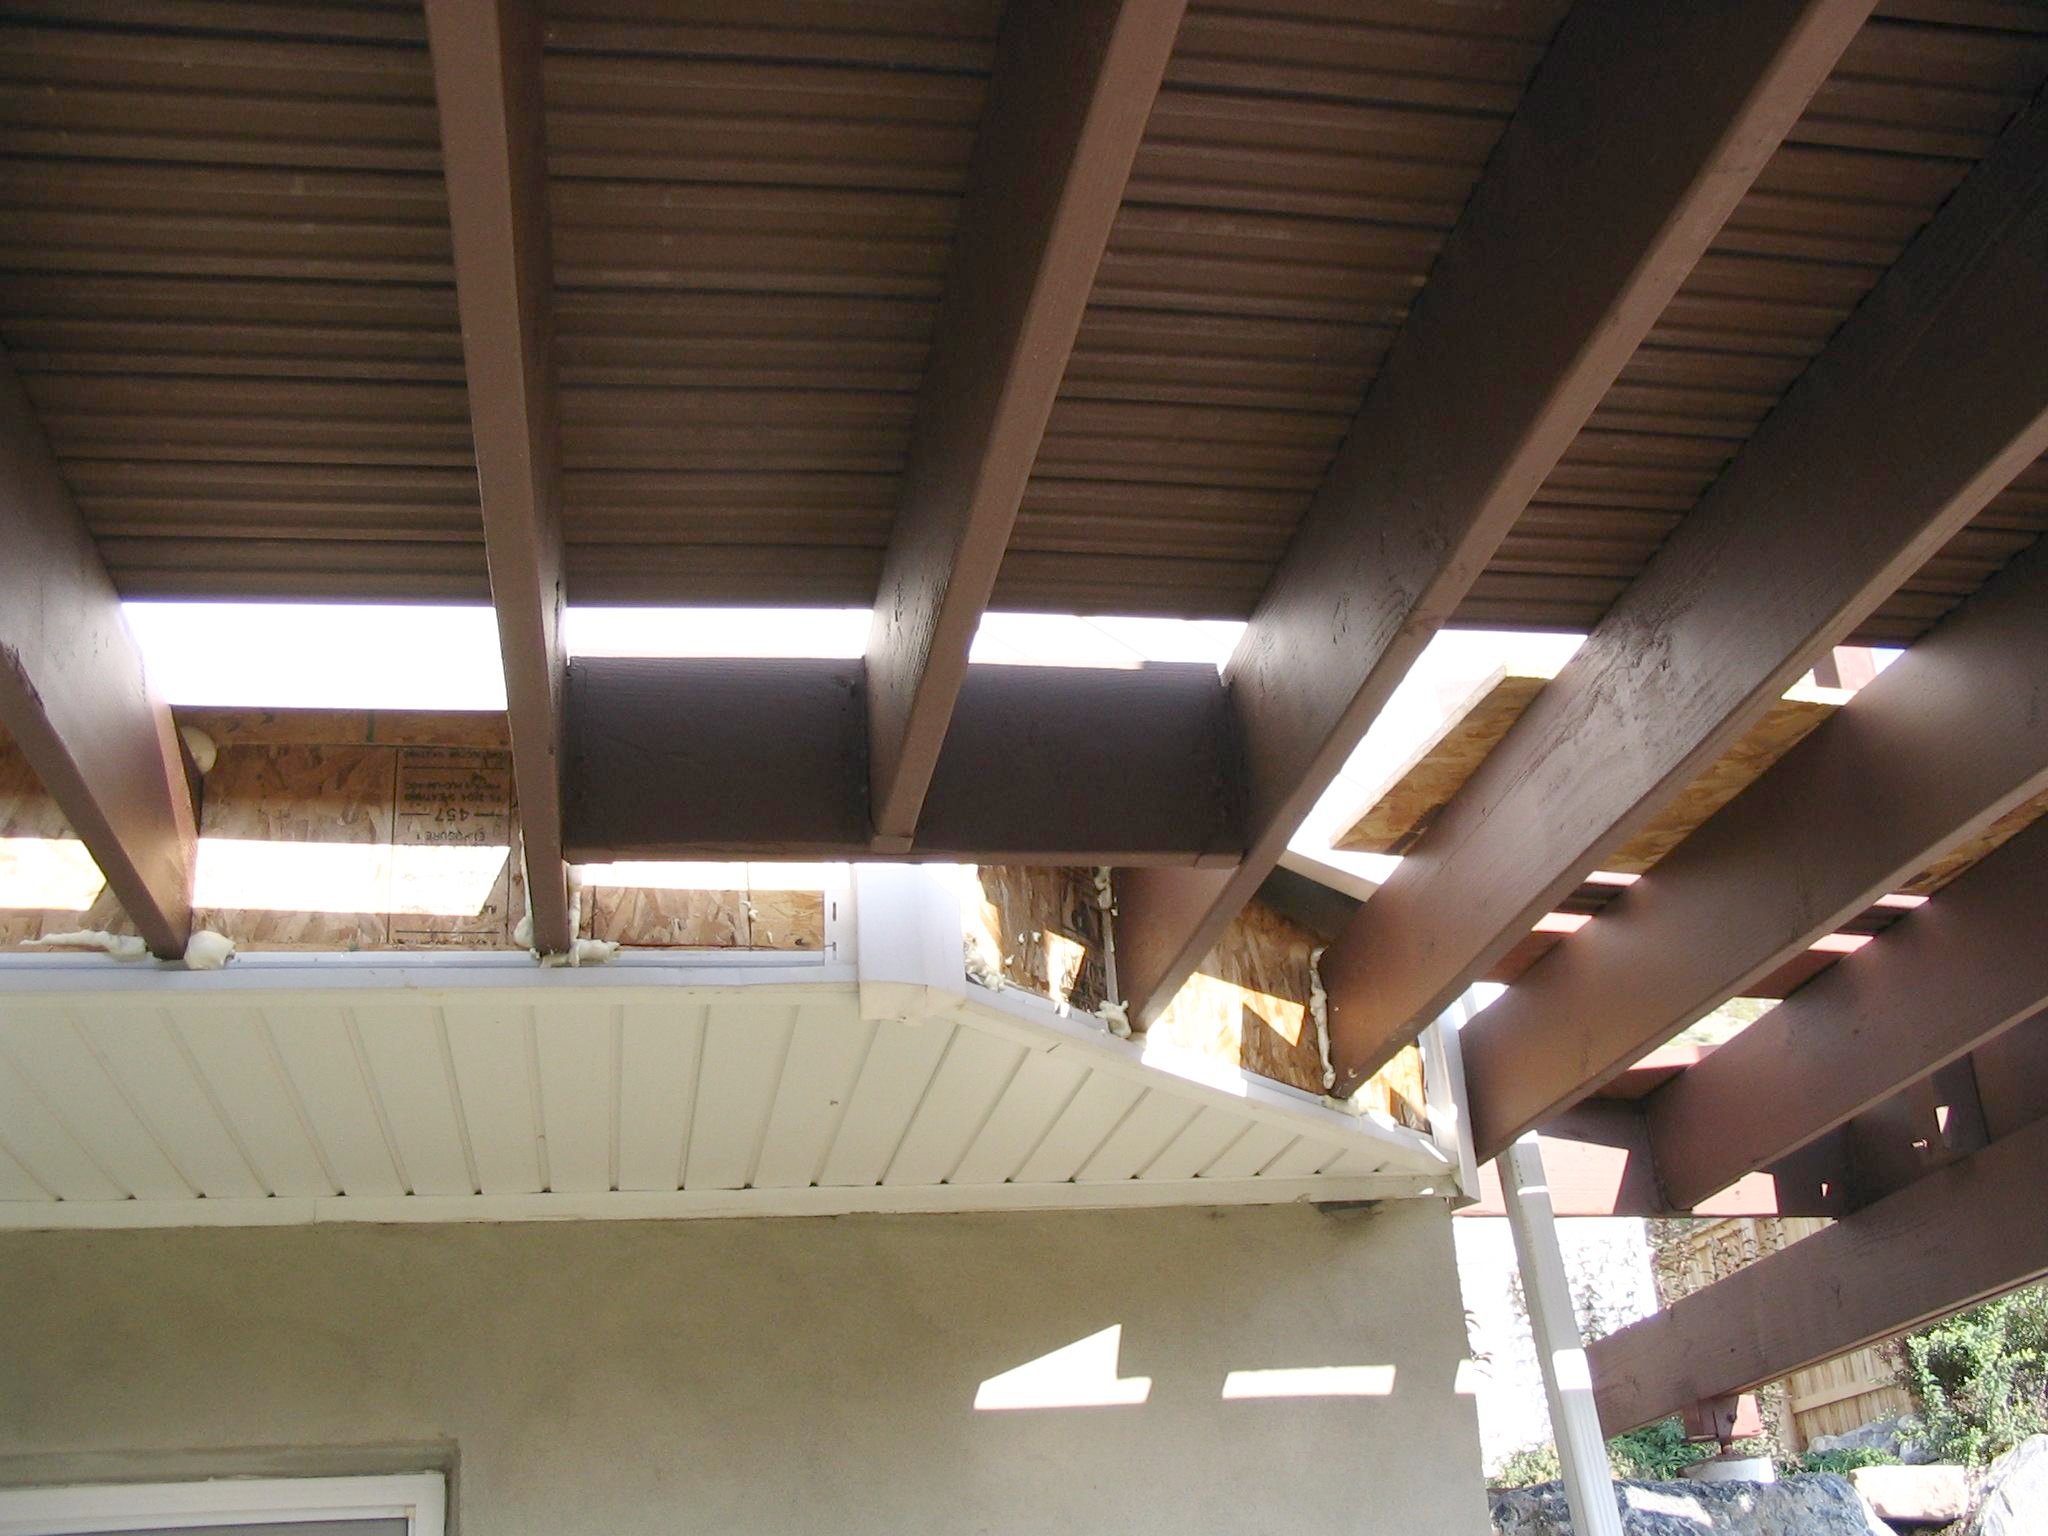
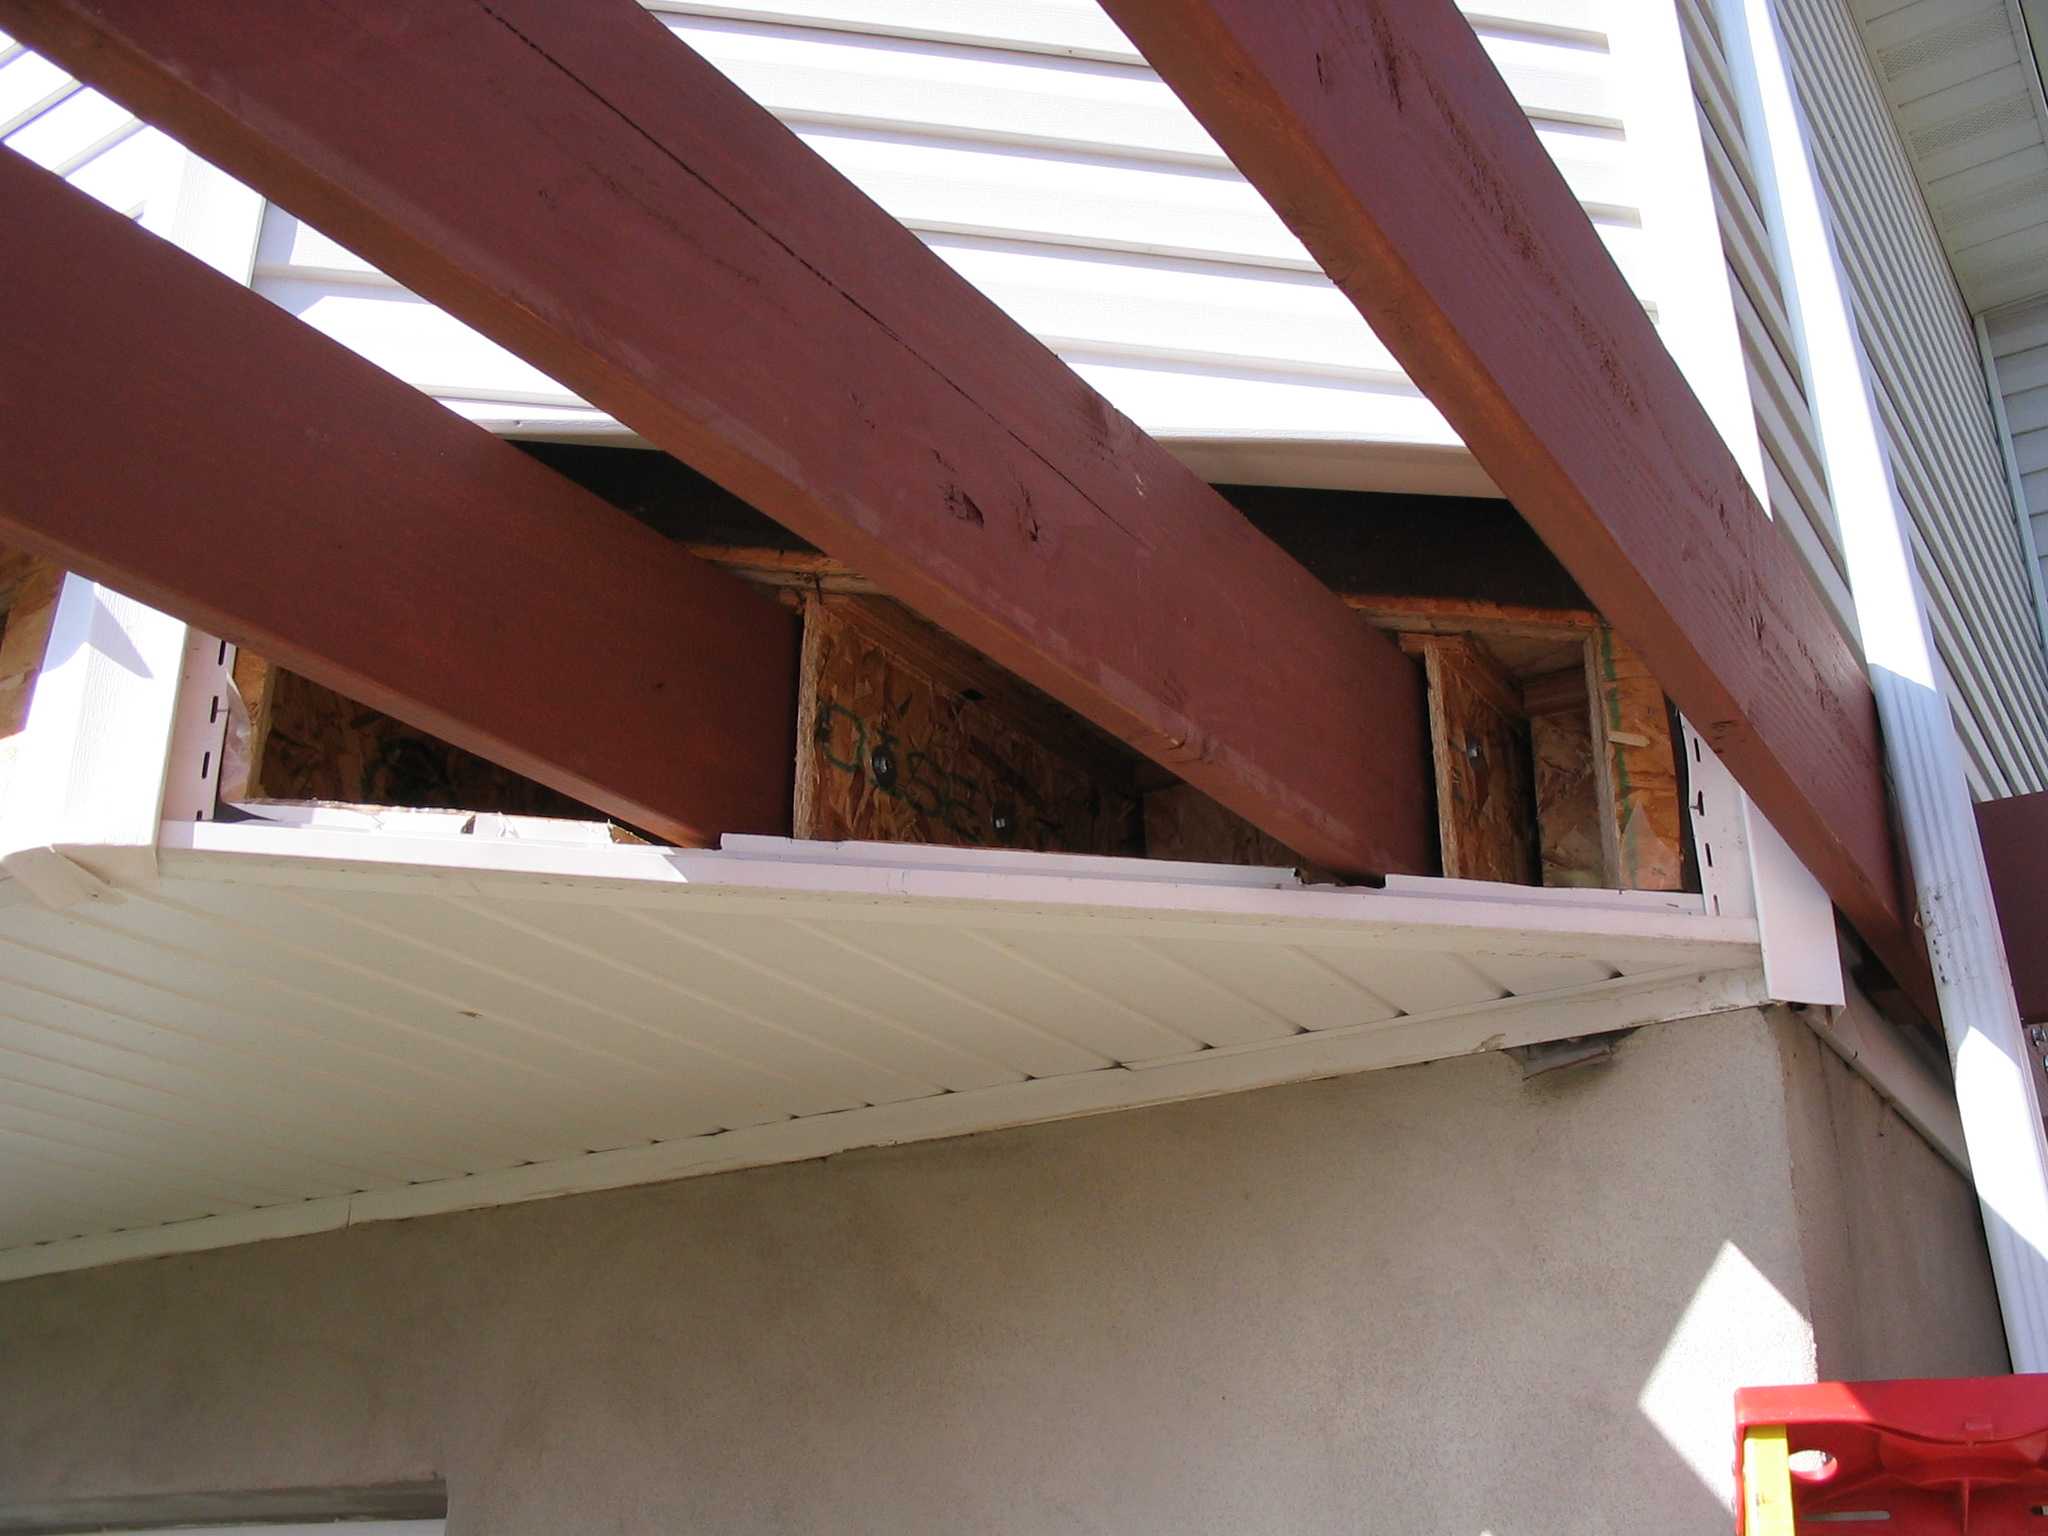
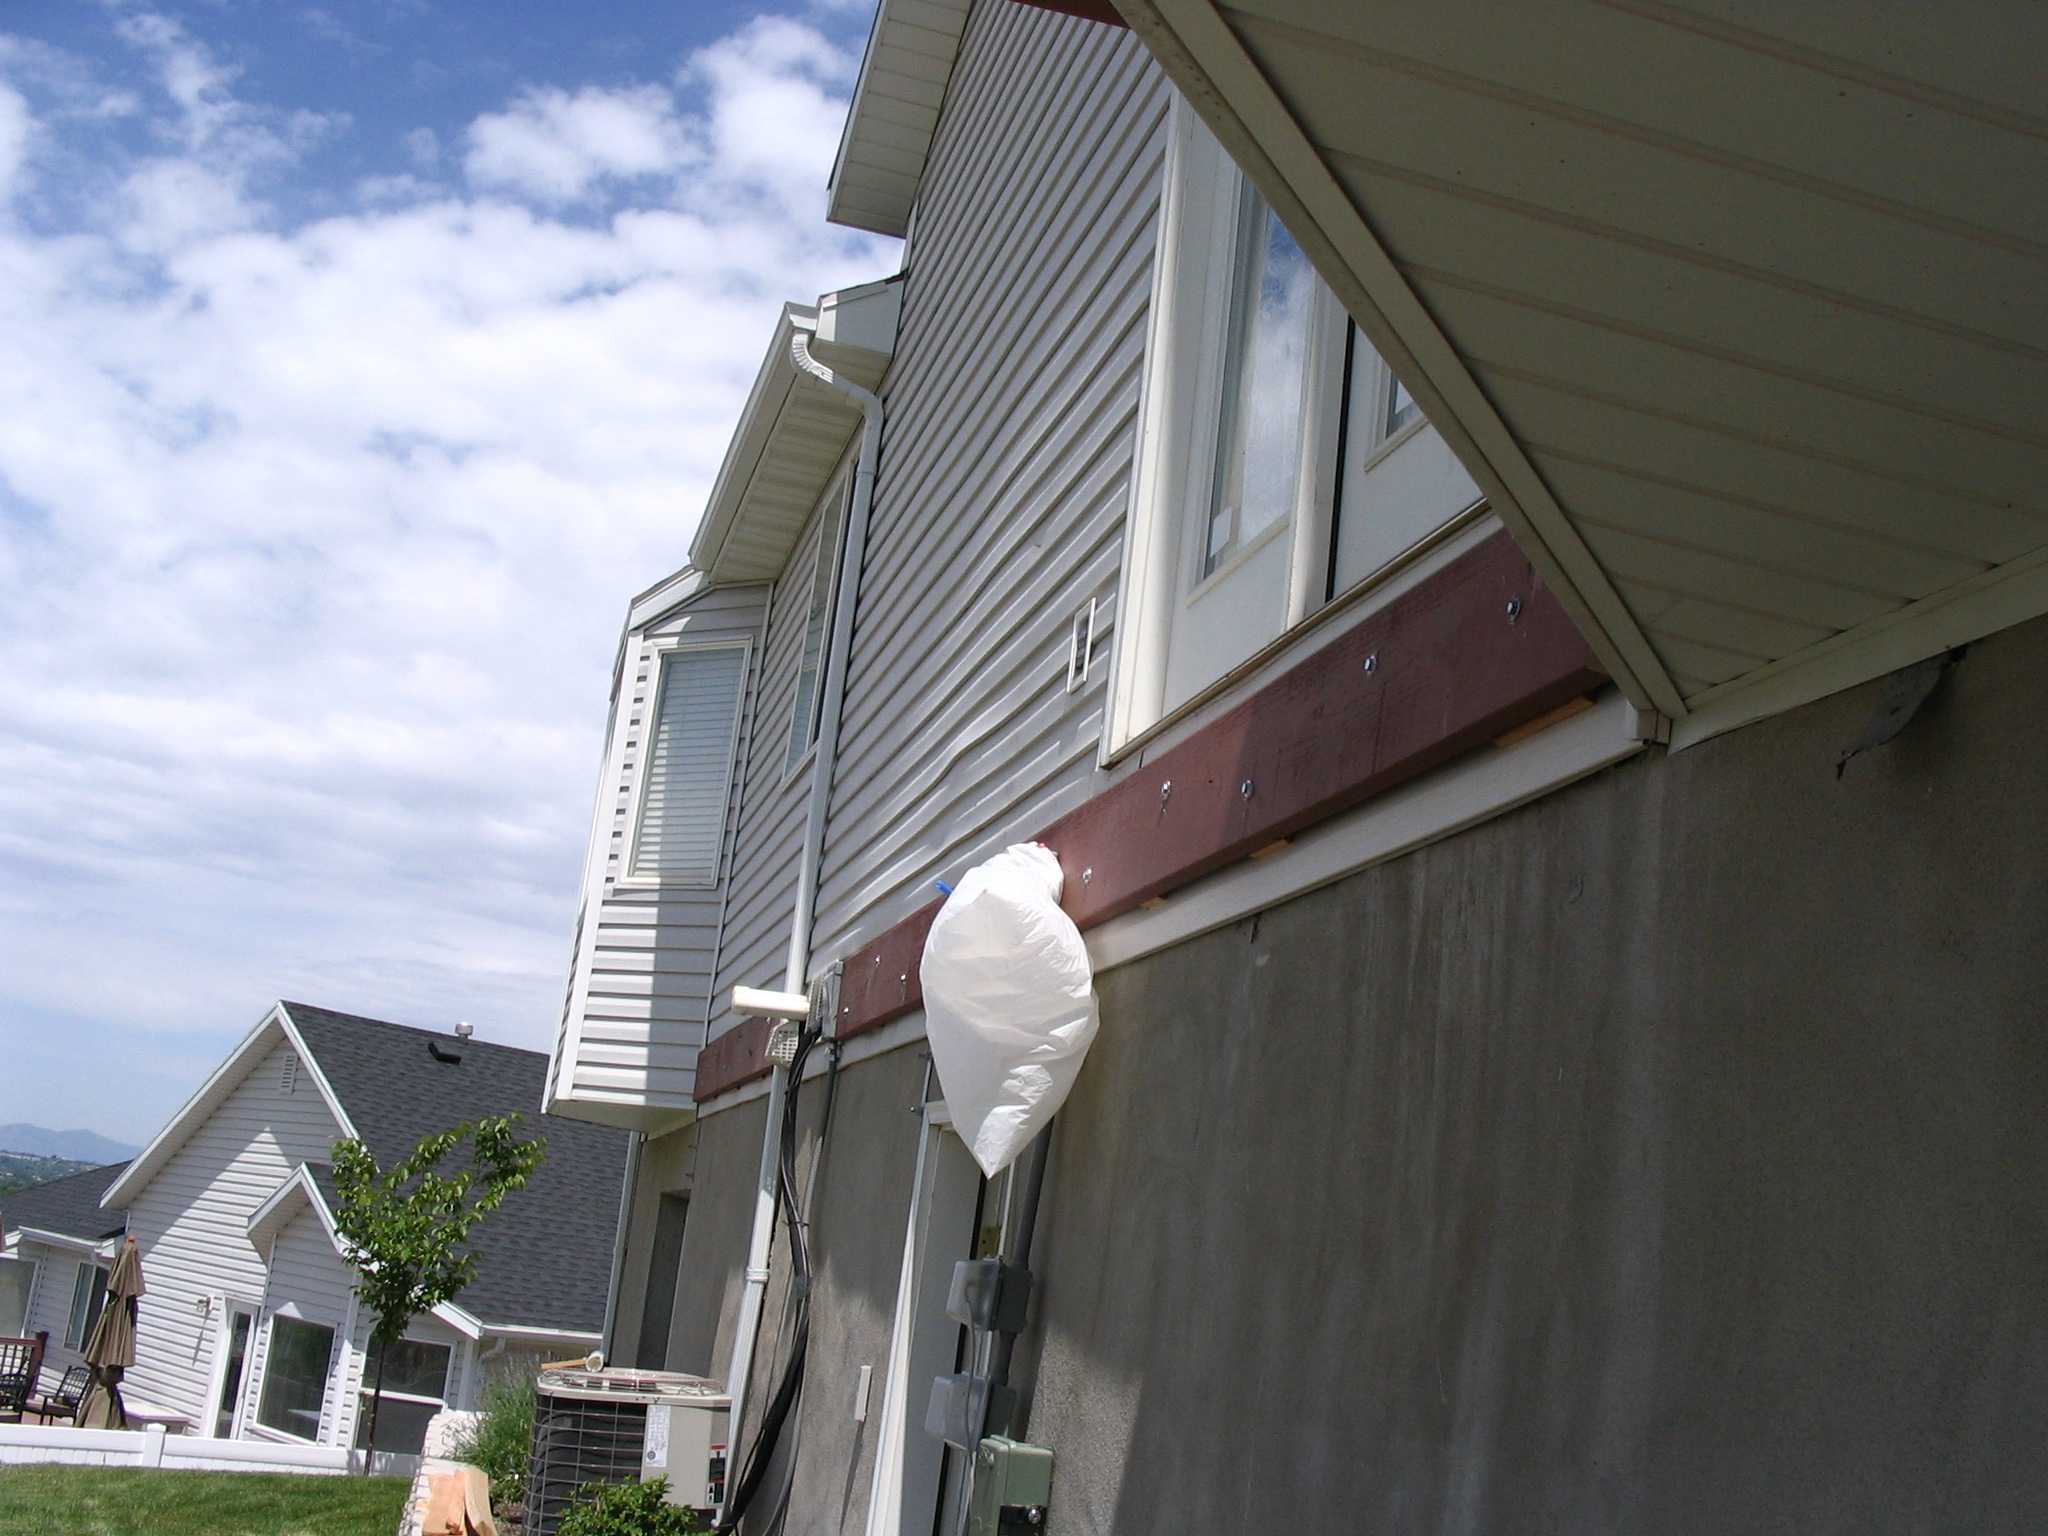
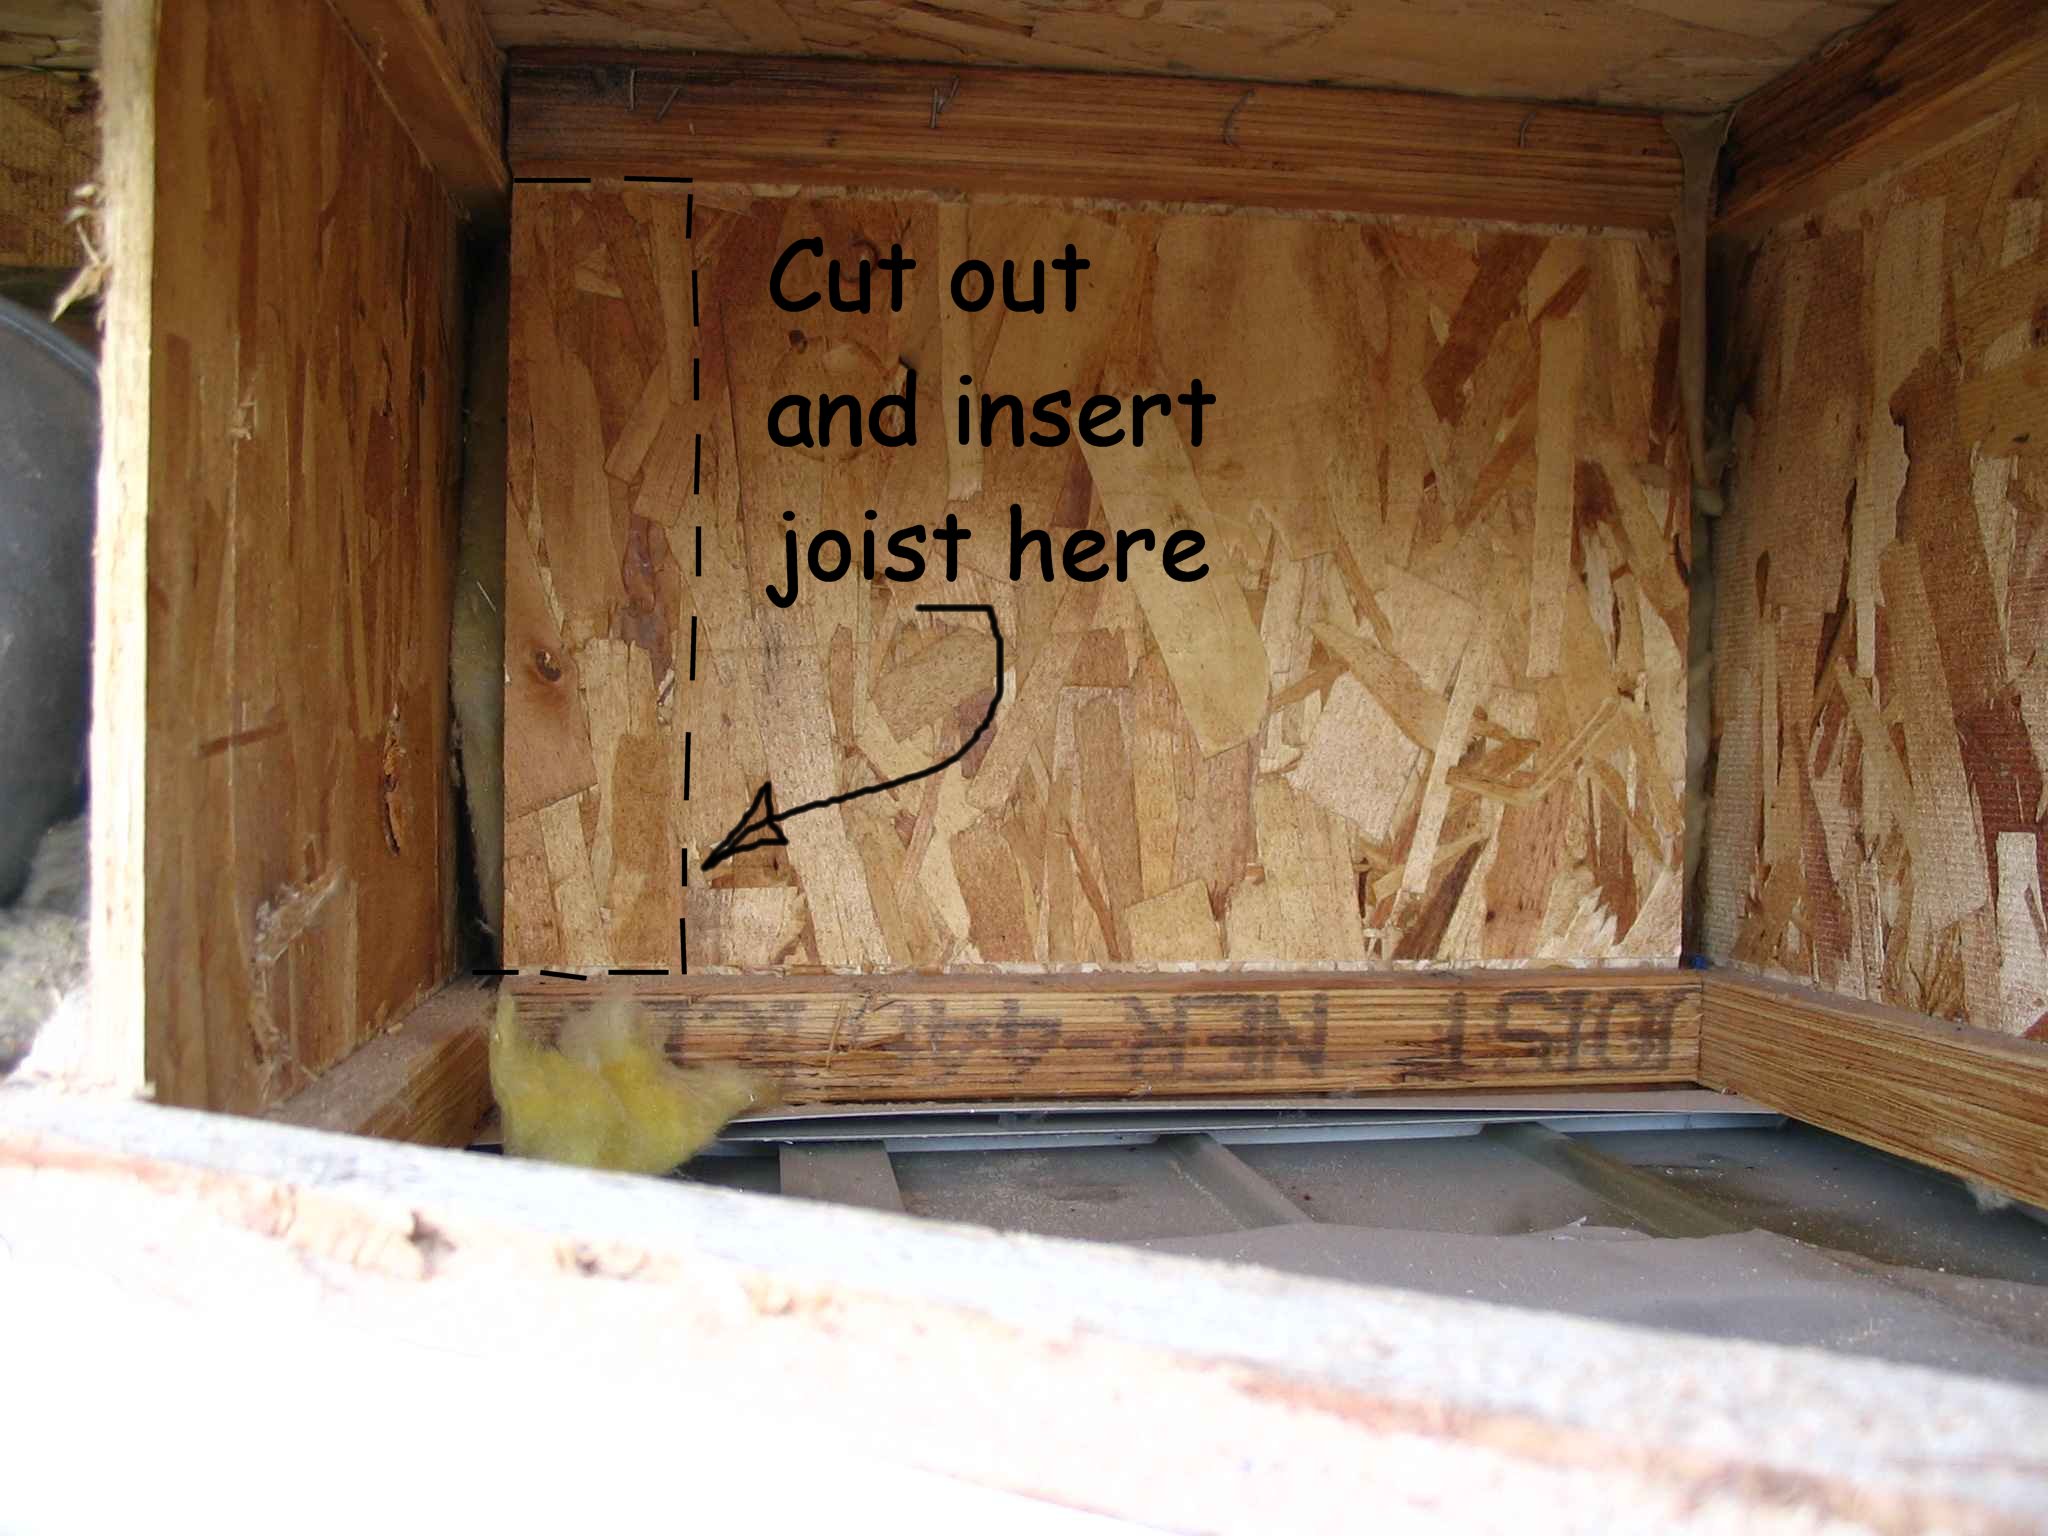
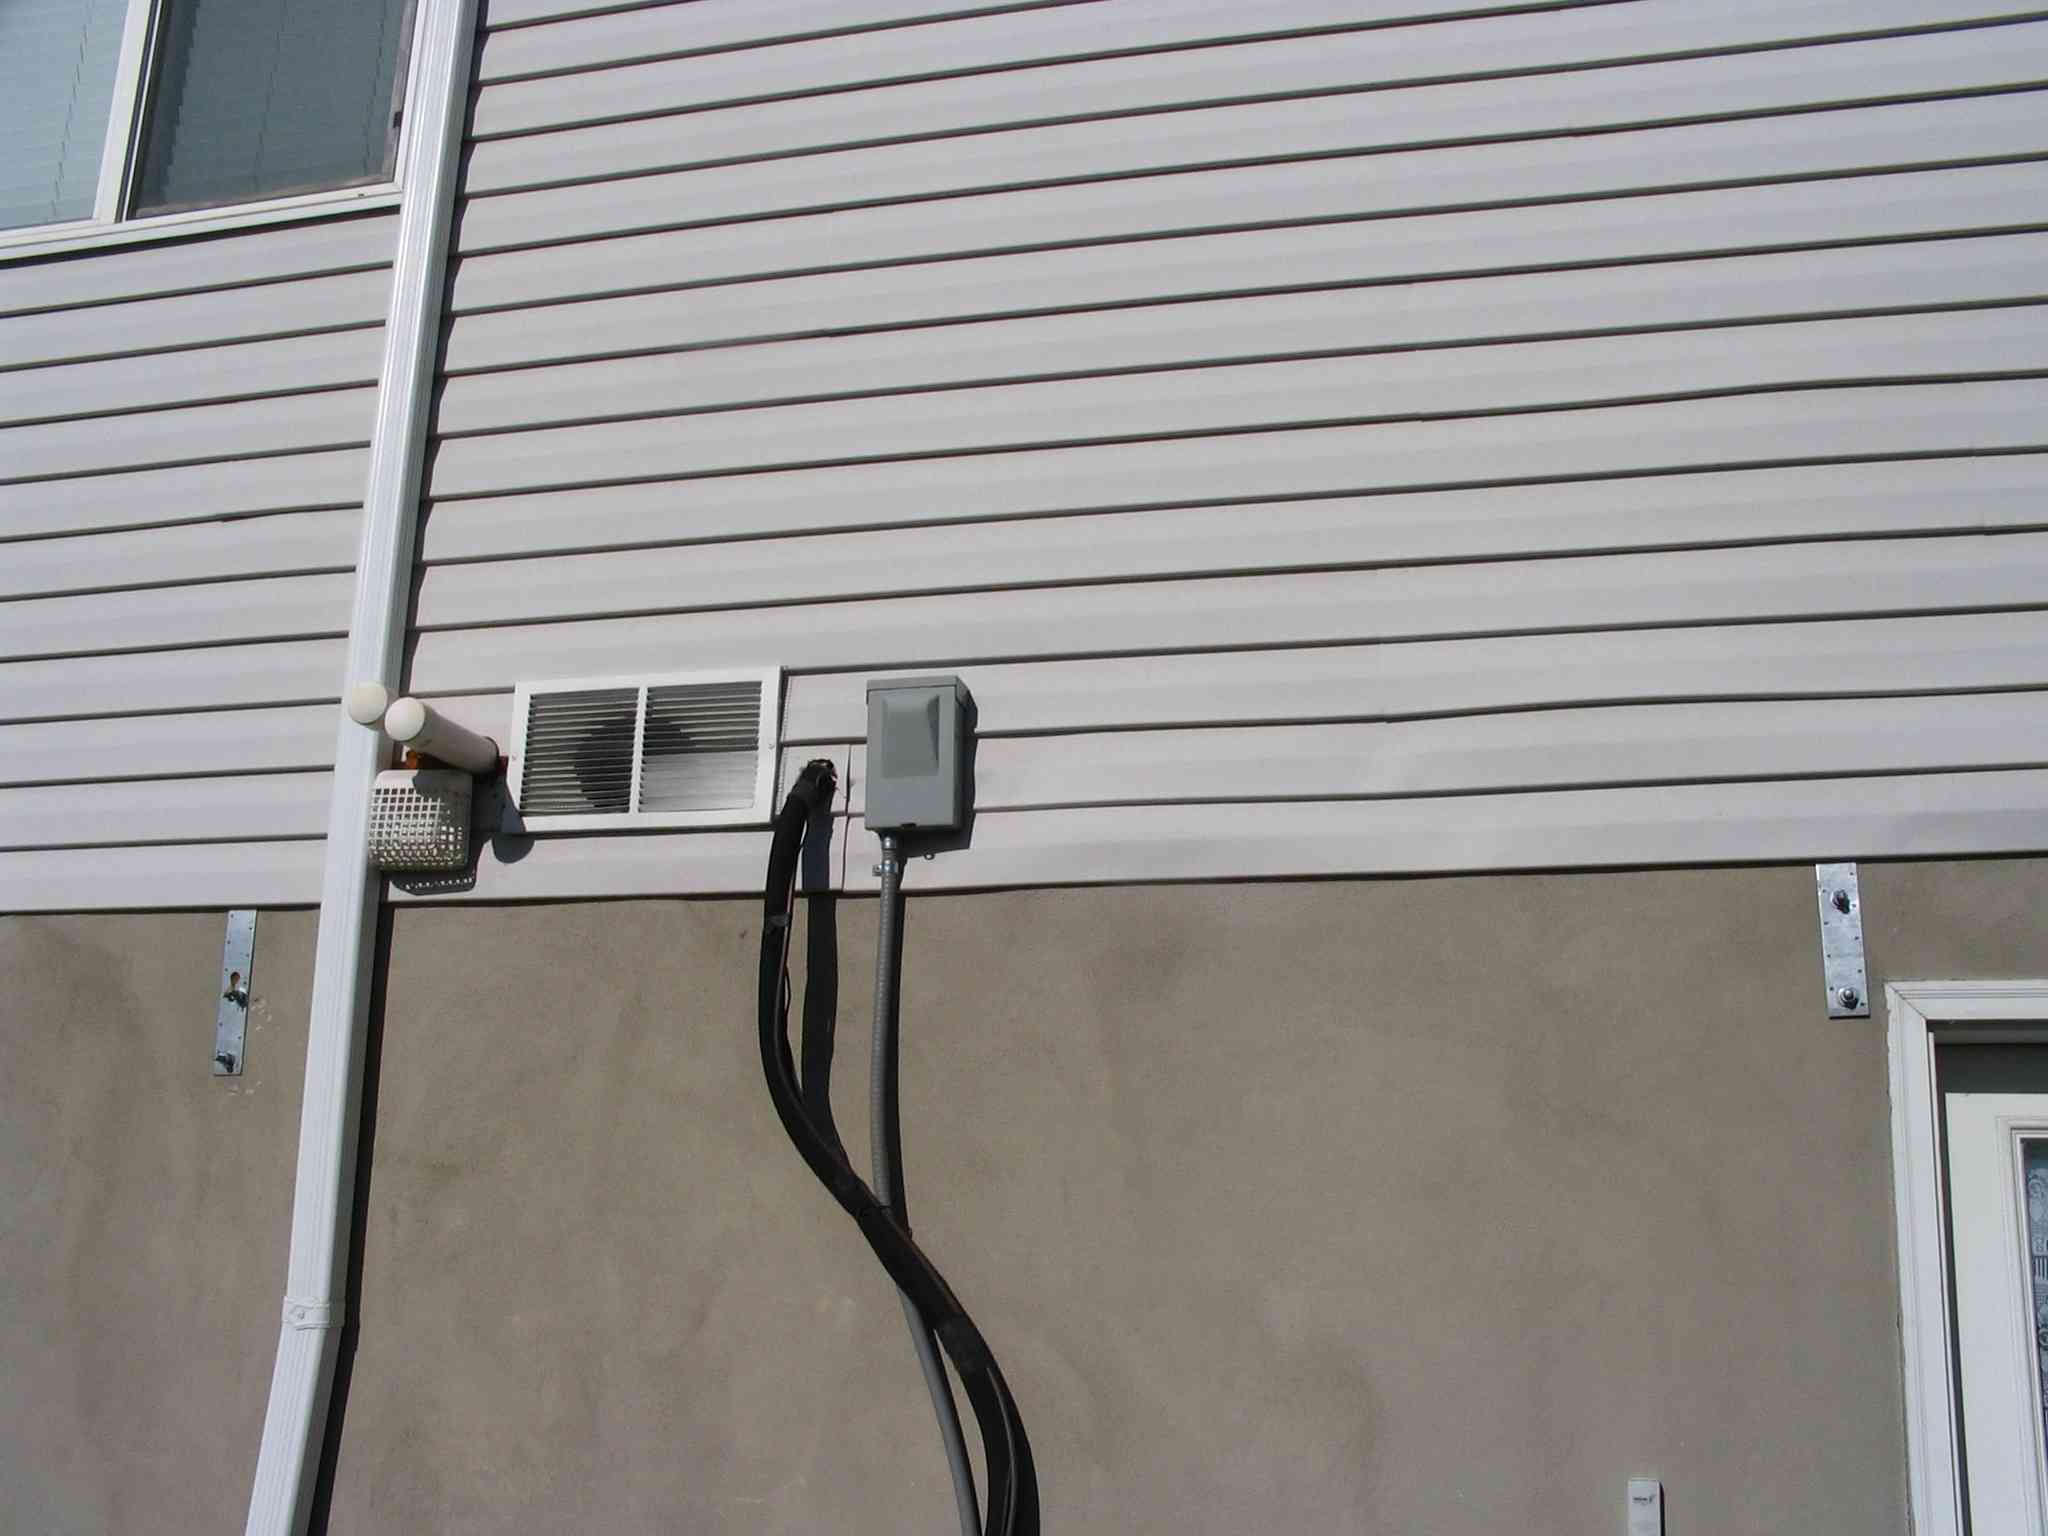
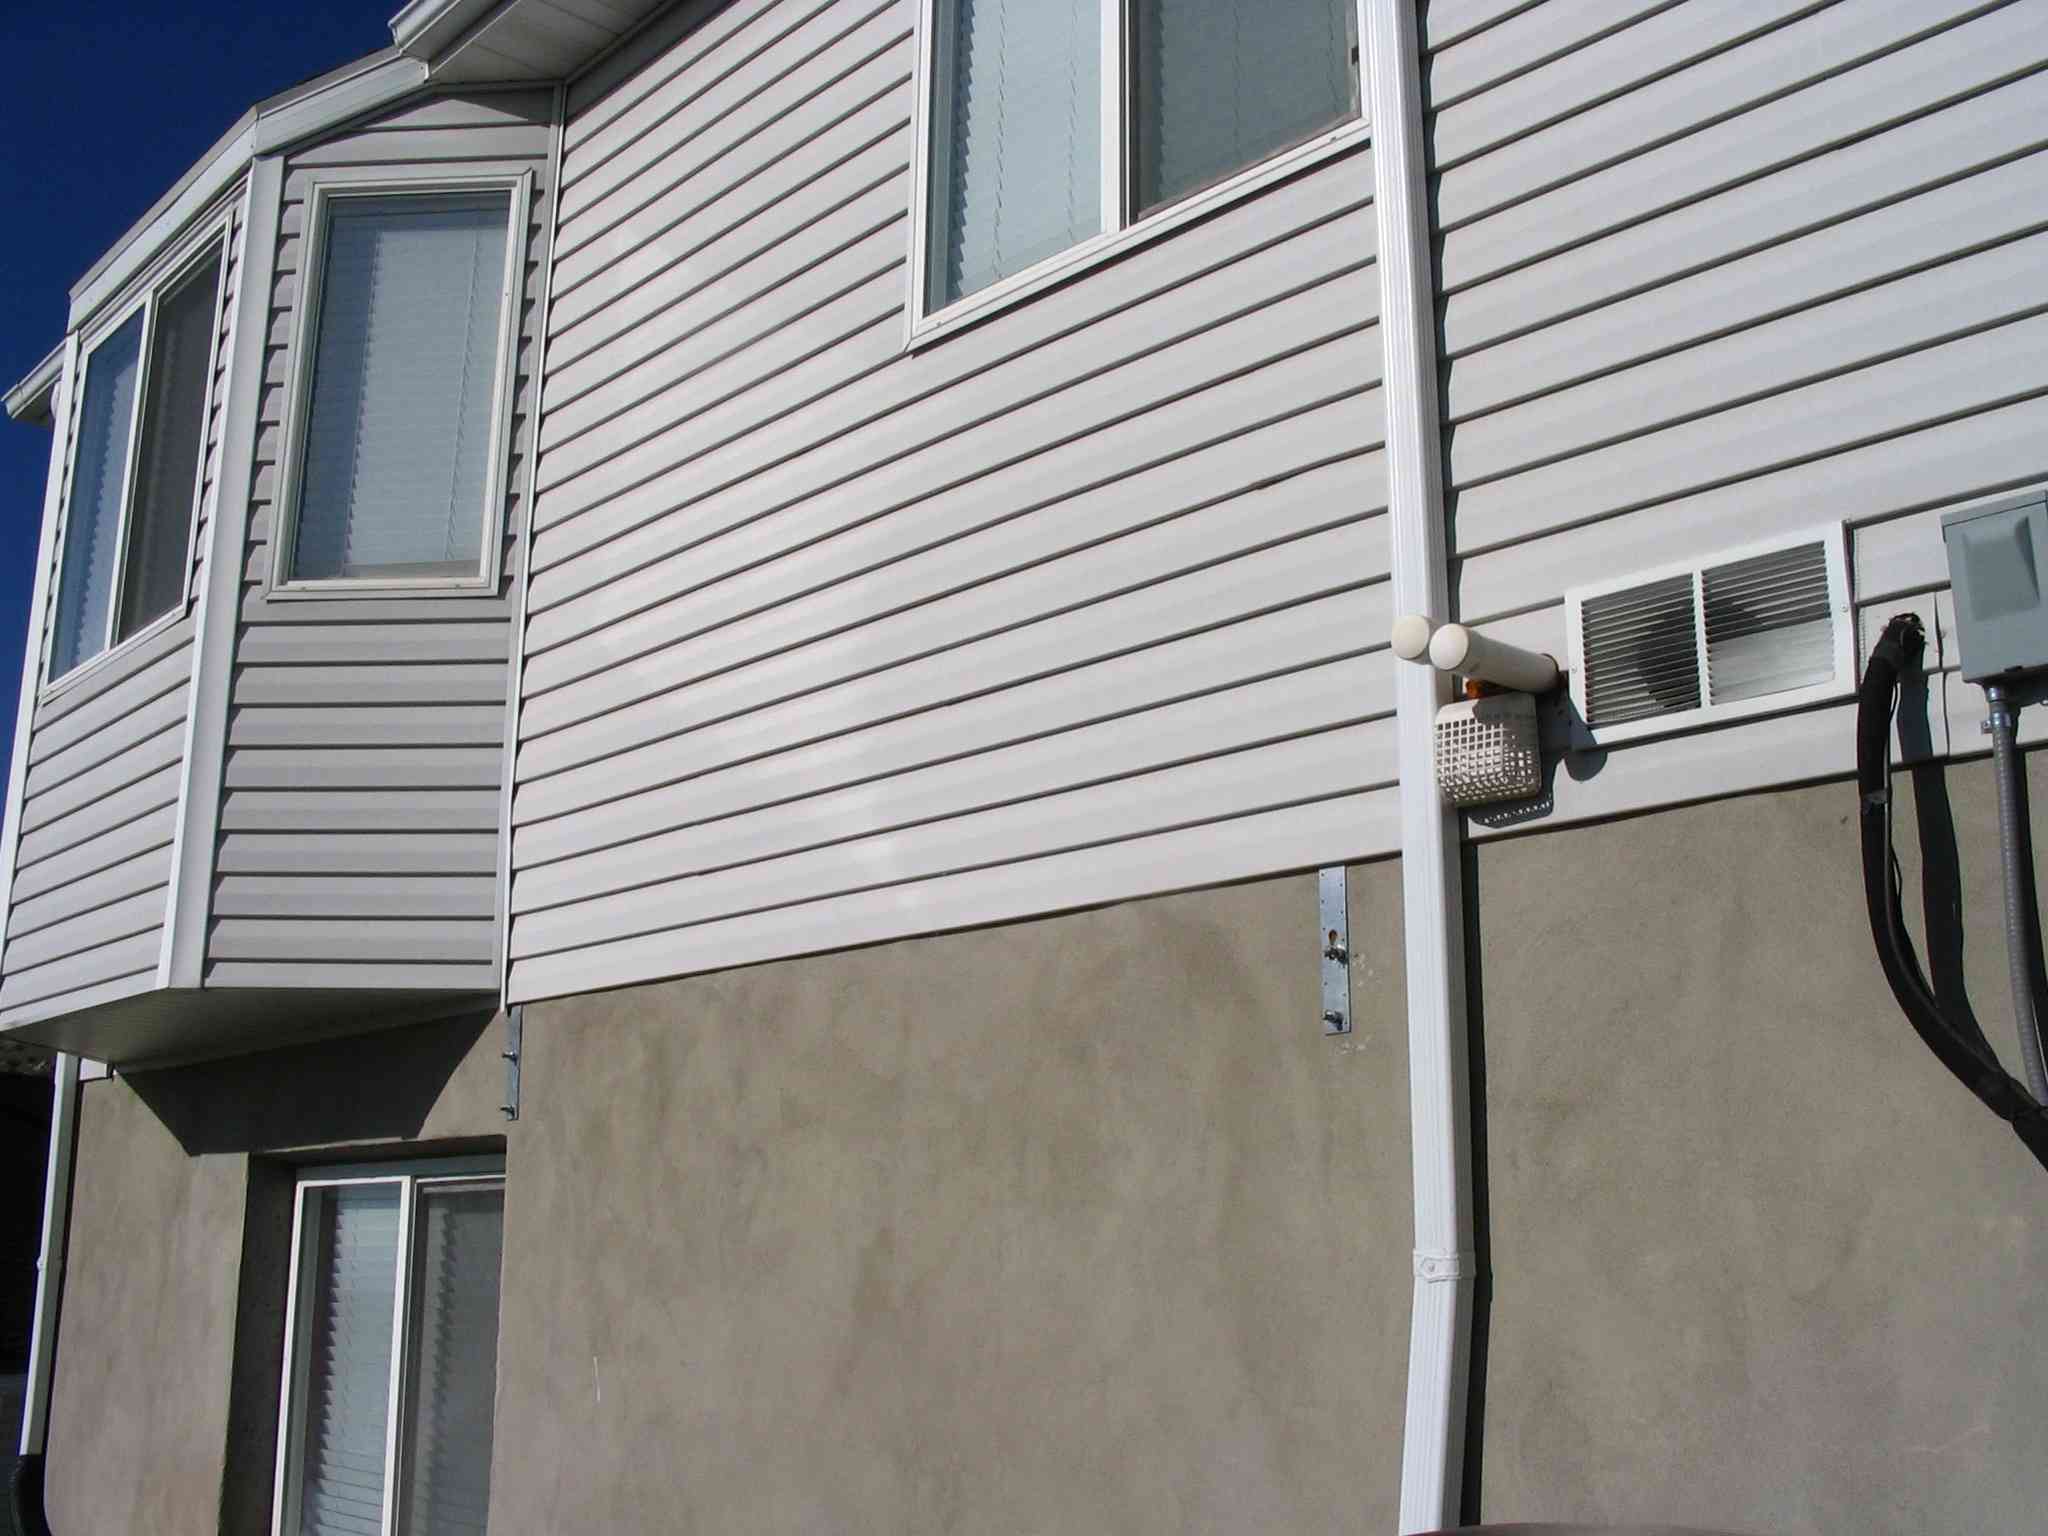
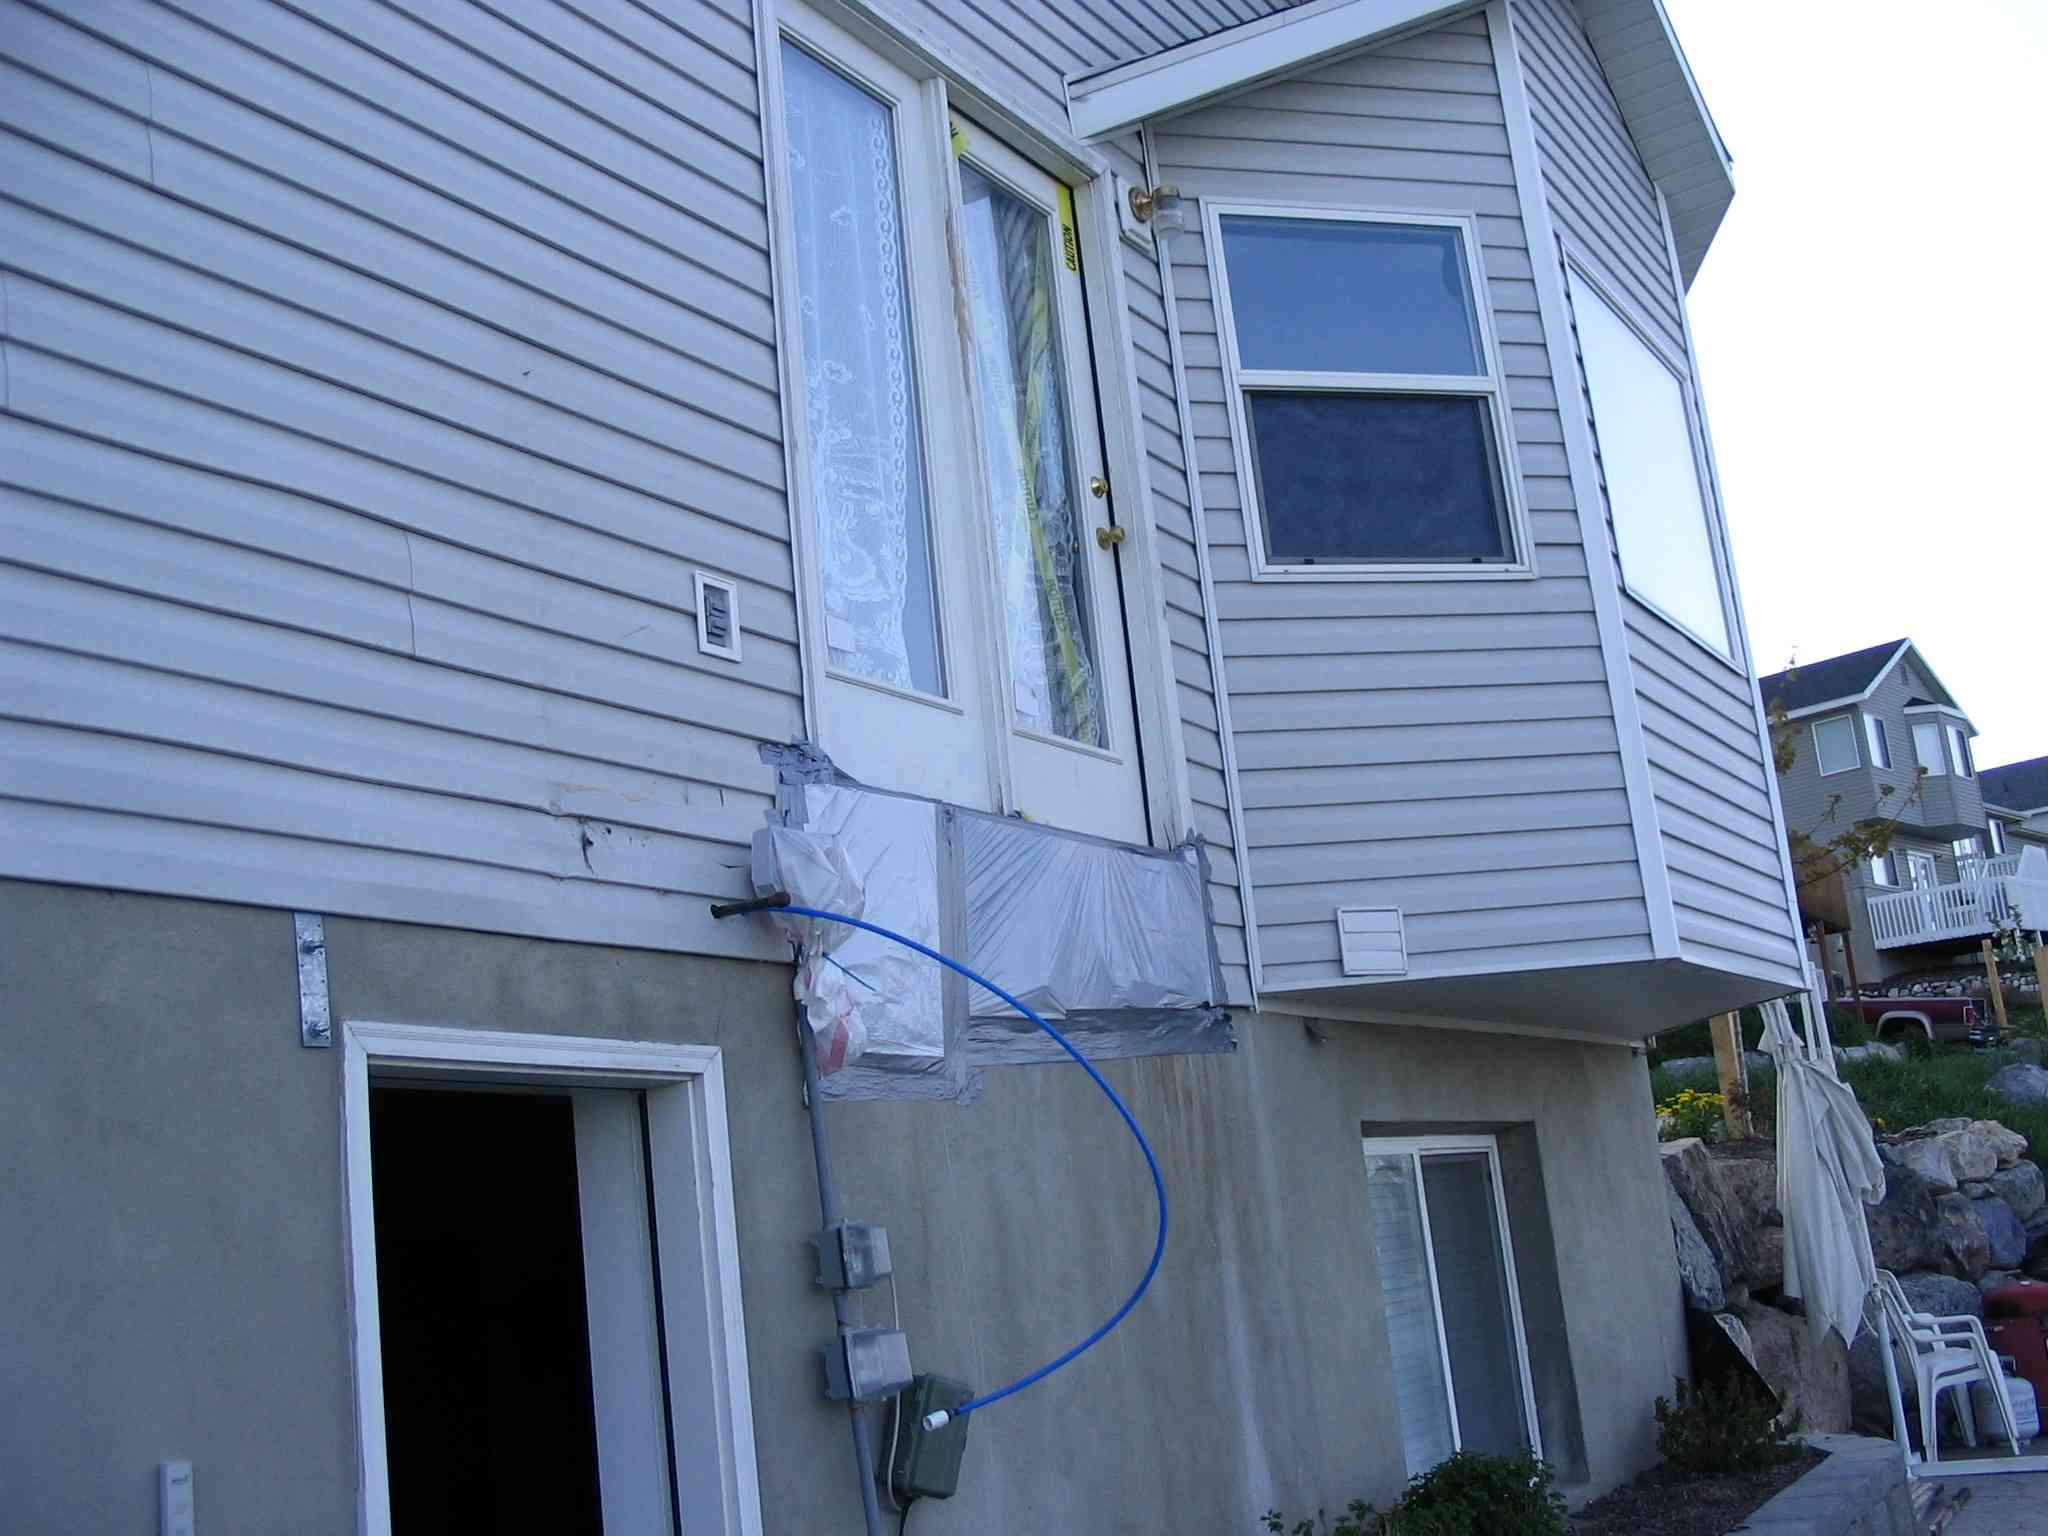
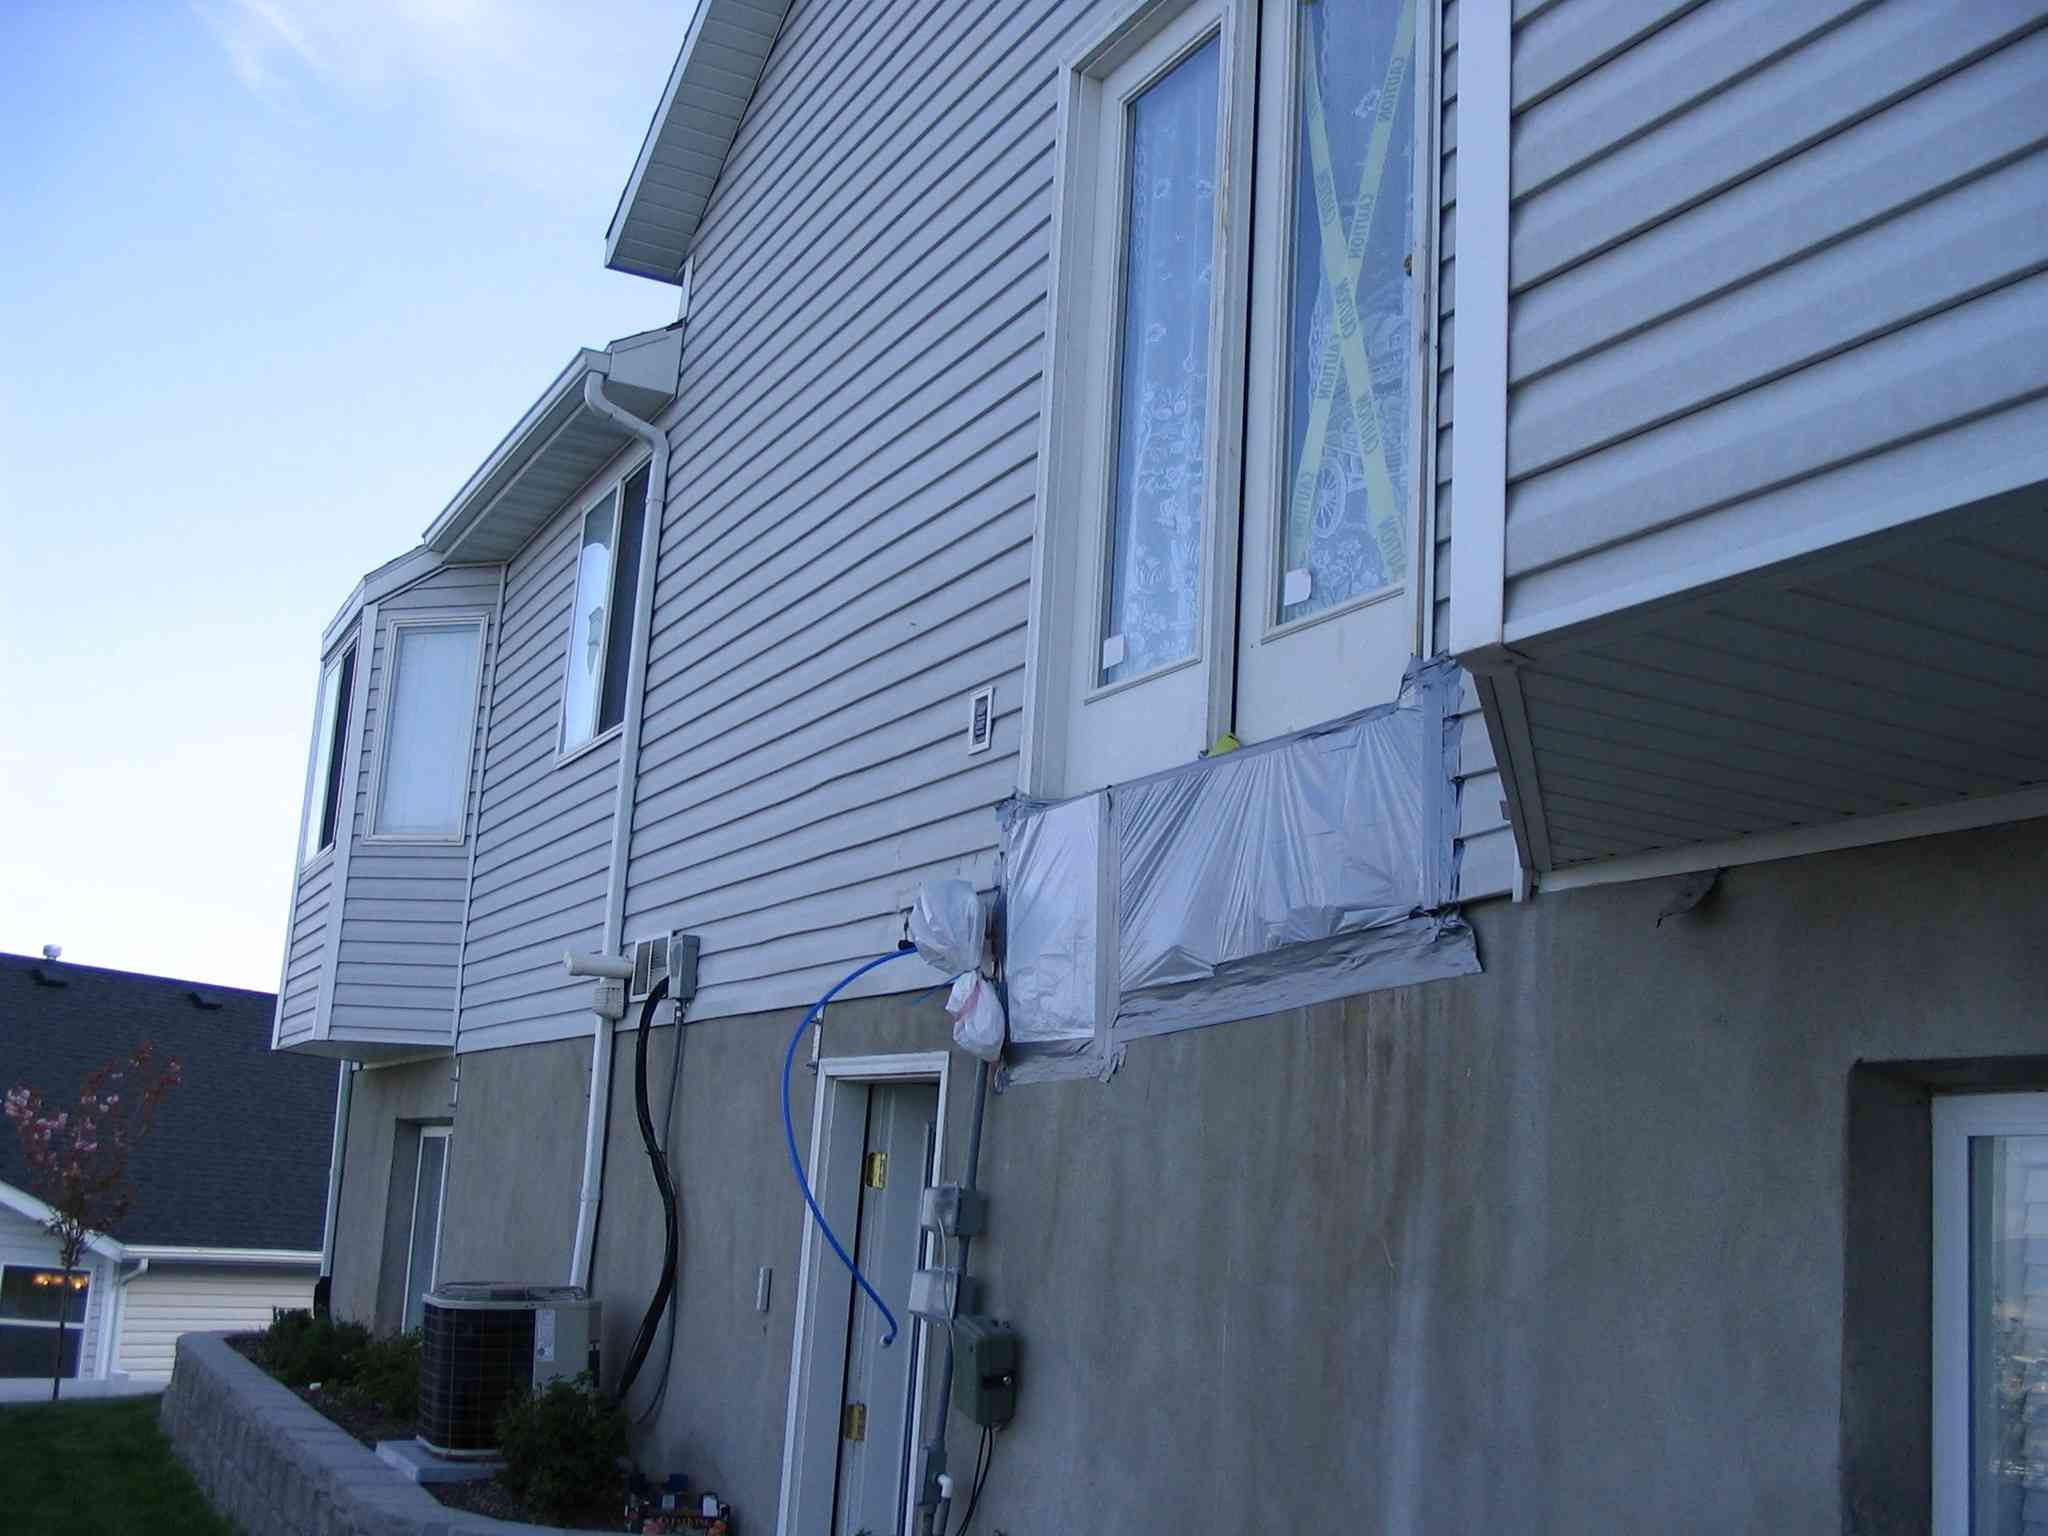
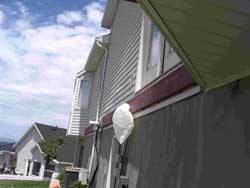
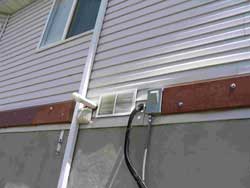
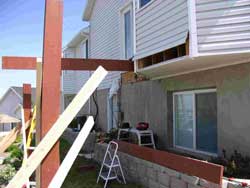
I caulked the holes in the bay that weren’t filled with foam after
trimming the foam. Then I covered the areas with tar paper. Finally, I cut out
the siding around the joists, cut some J-strips and began replacing the siding
as can be seen in the first picture below.
I plan to cut a 6-8" wide strip of siding to set tightly up underneath the
siding’s next over-hang above the joists and tack it to the joists just
before putting down the course of decking up next to it. This will reduce the
possibility that any water will contact the siding below the deck (between the
joists) even though I have taken a lot of precautions to make it water-tight.
In the straight courses where the decking will meet this strip, I will drill
relief holes through the Trex® plank for water to weep through rather than
have it sit against the house until it dries. I can do this because of the
material I’m using and I got this idea from reading about the way a
vaguely similar problem was solved on the web.
|

|
|

|
|
|
|
|
|
13 October 2007
It hasn’t done anything but rain the last three Saturdays since the big
party. Earlier in the week I got the holes into the bay covered and foamed.
Soon I will cut the foam to what I need, then caulk and finally put up tar
paper before replacing the siding.
|
|
|
|
|
|
|
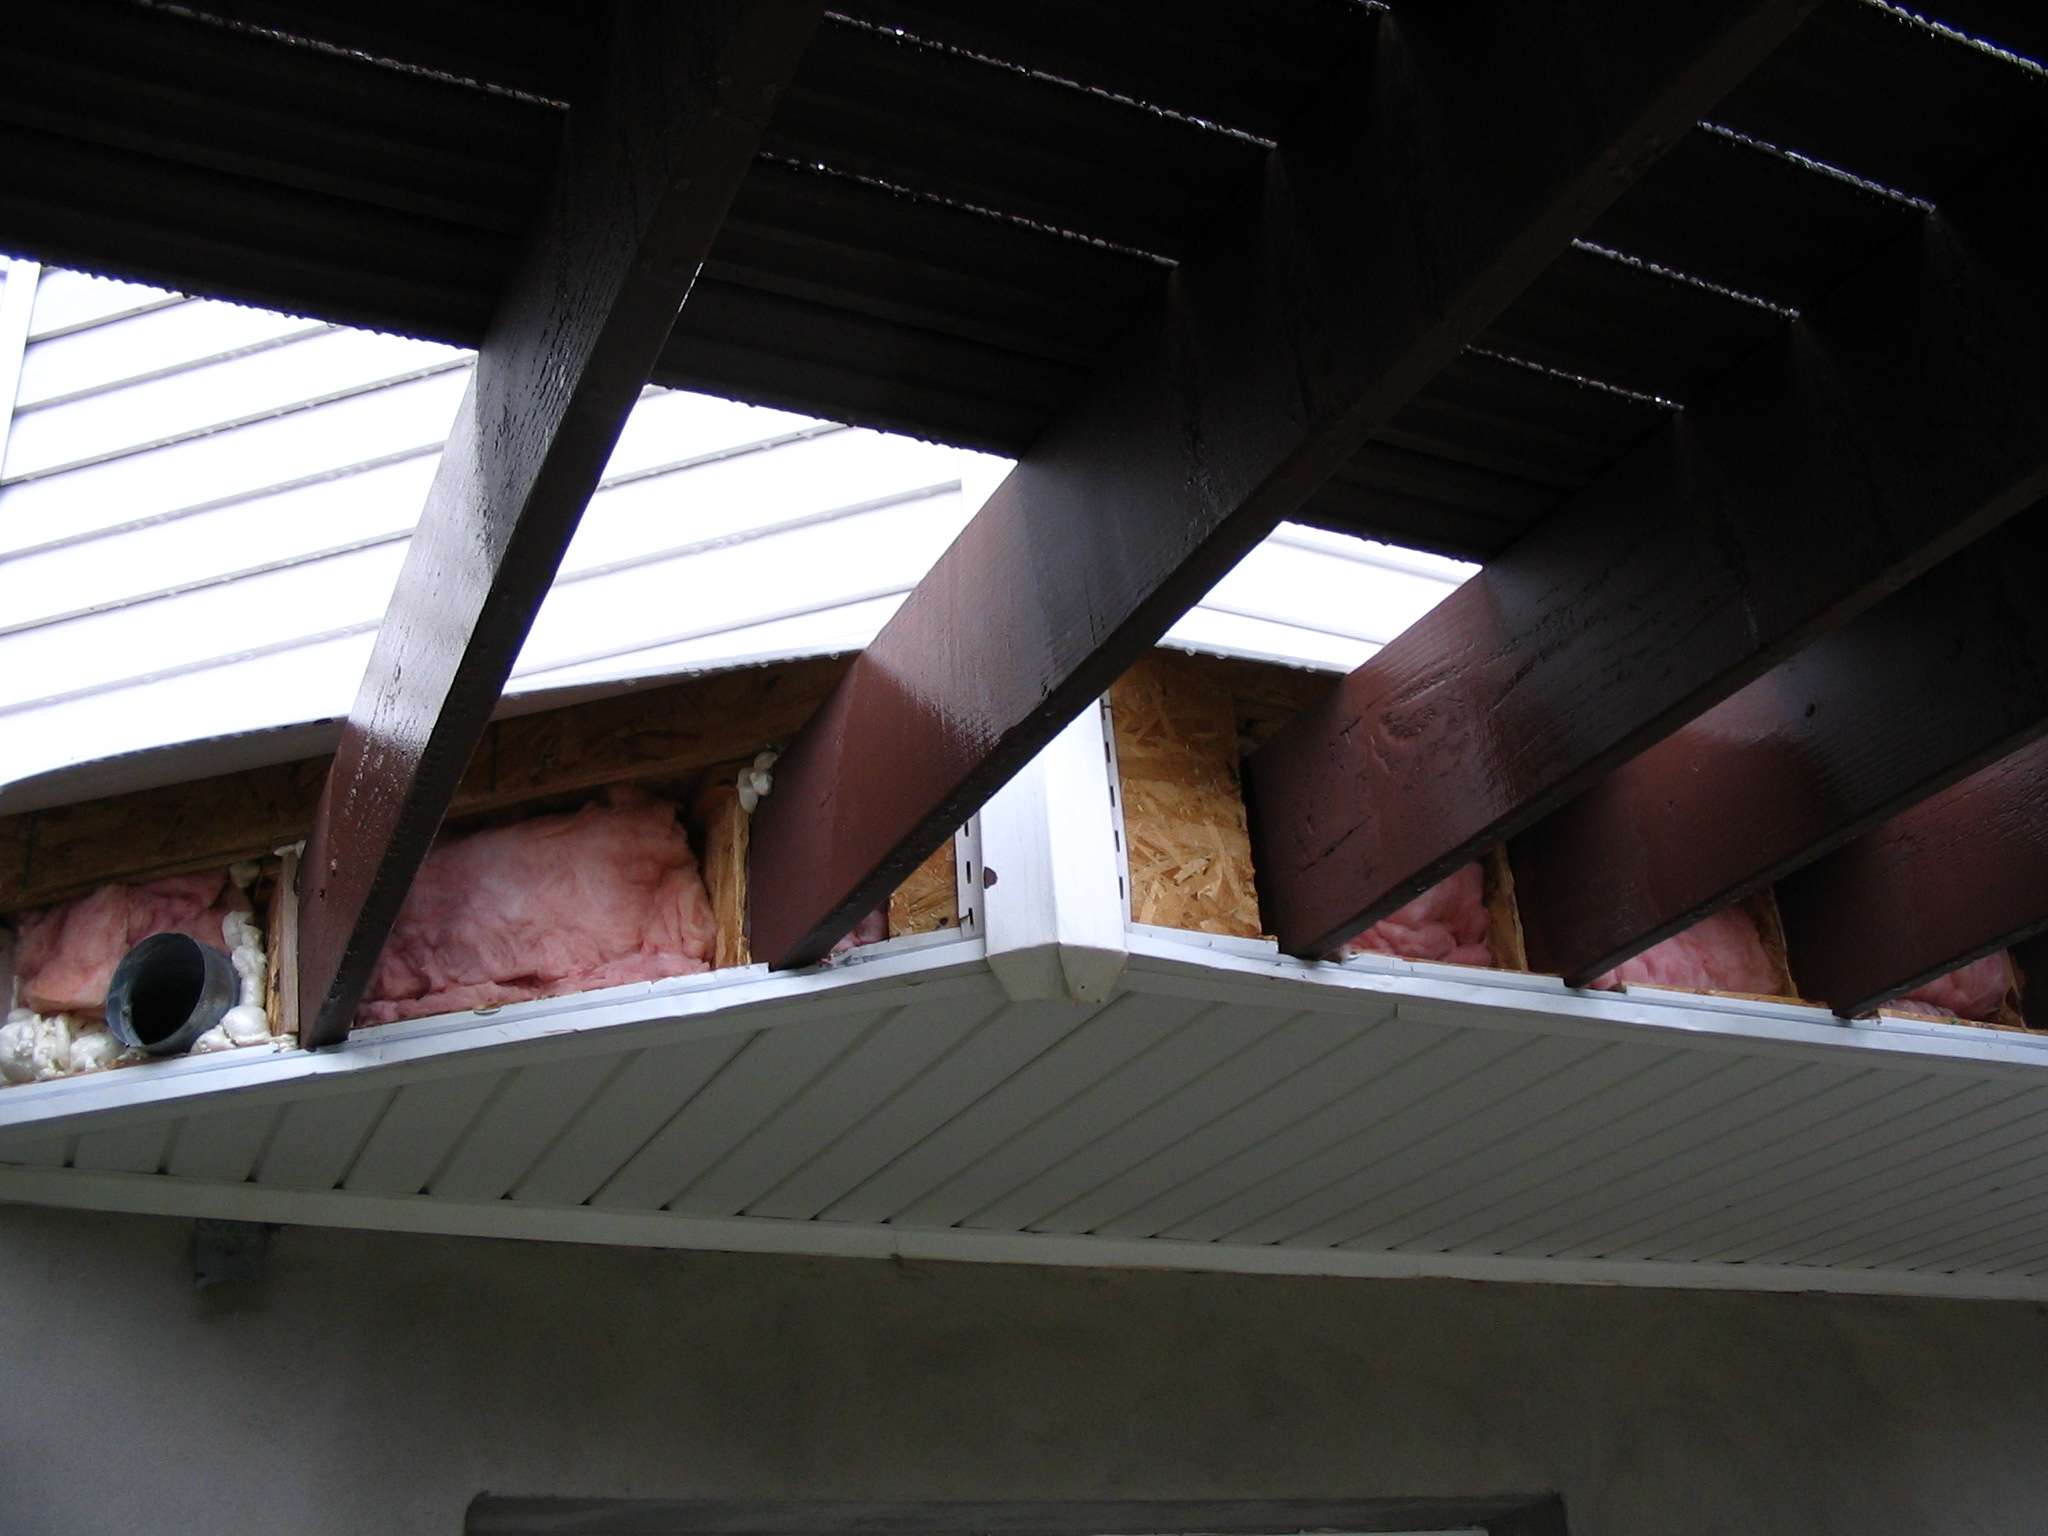
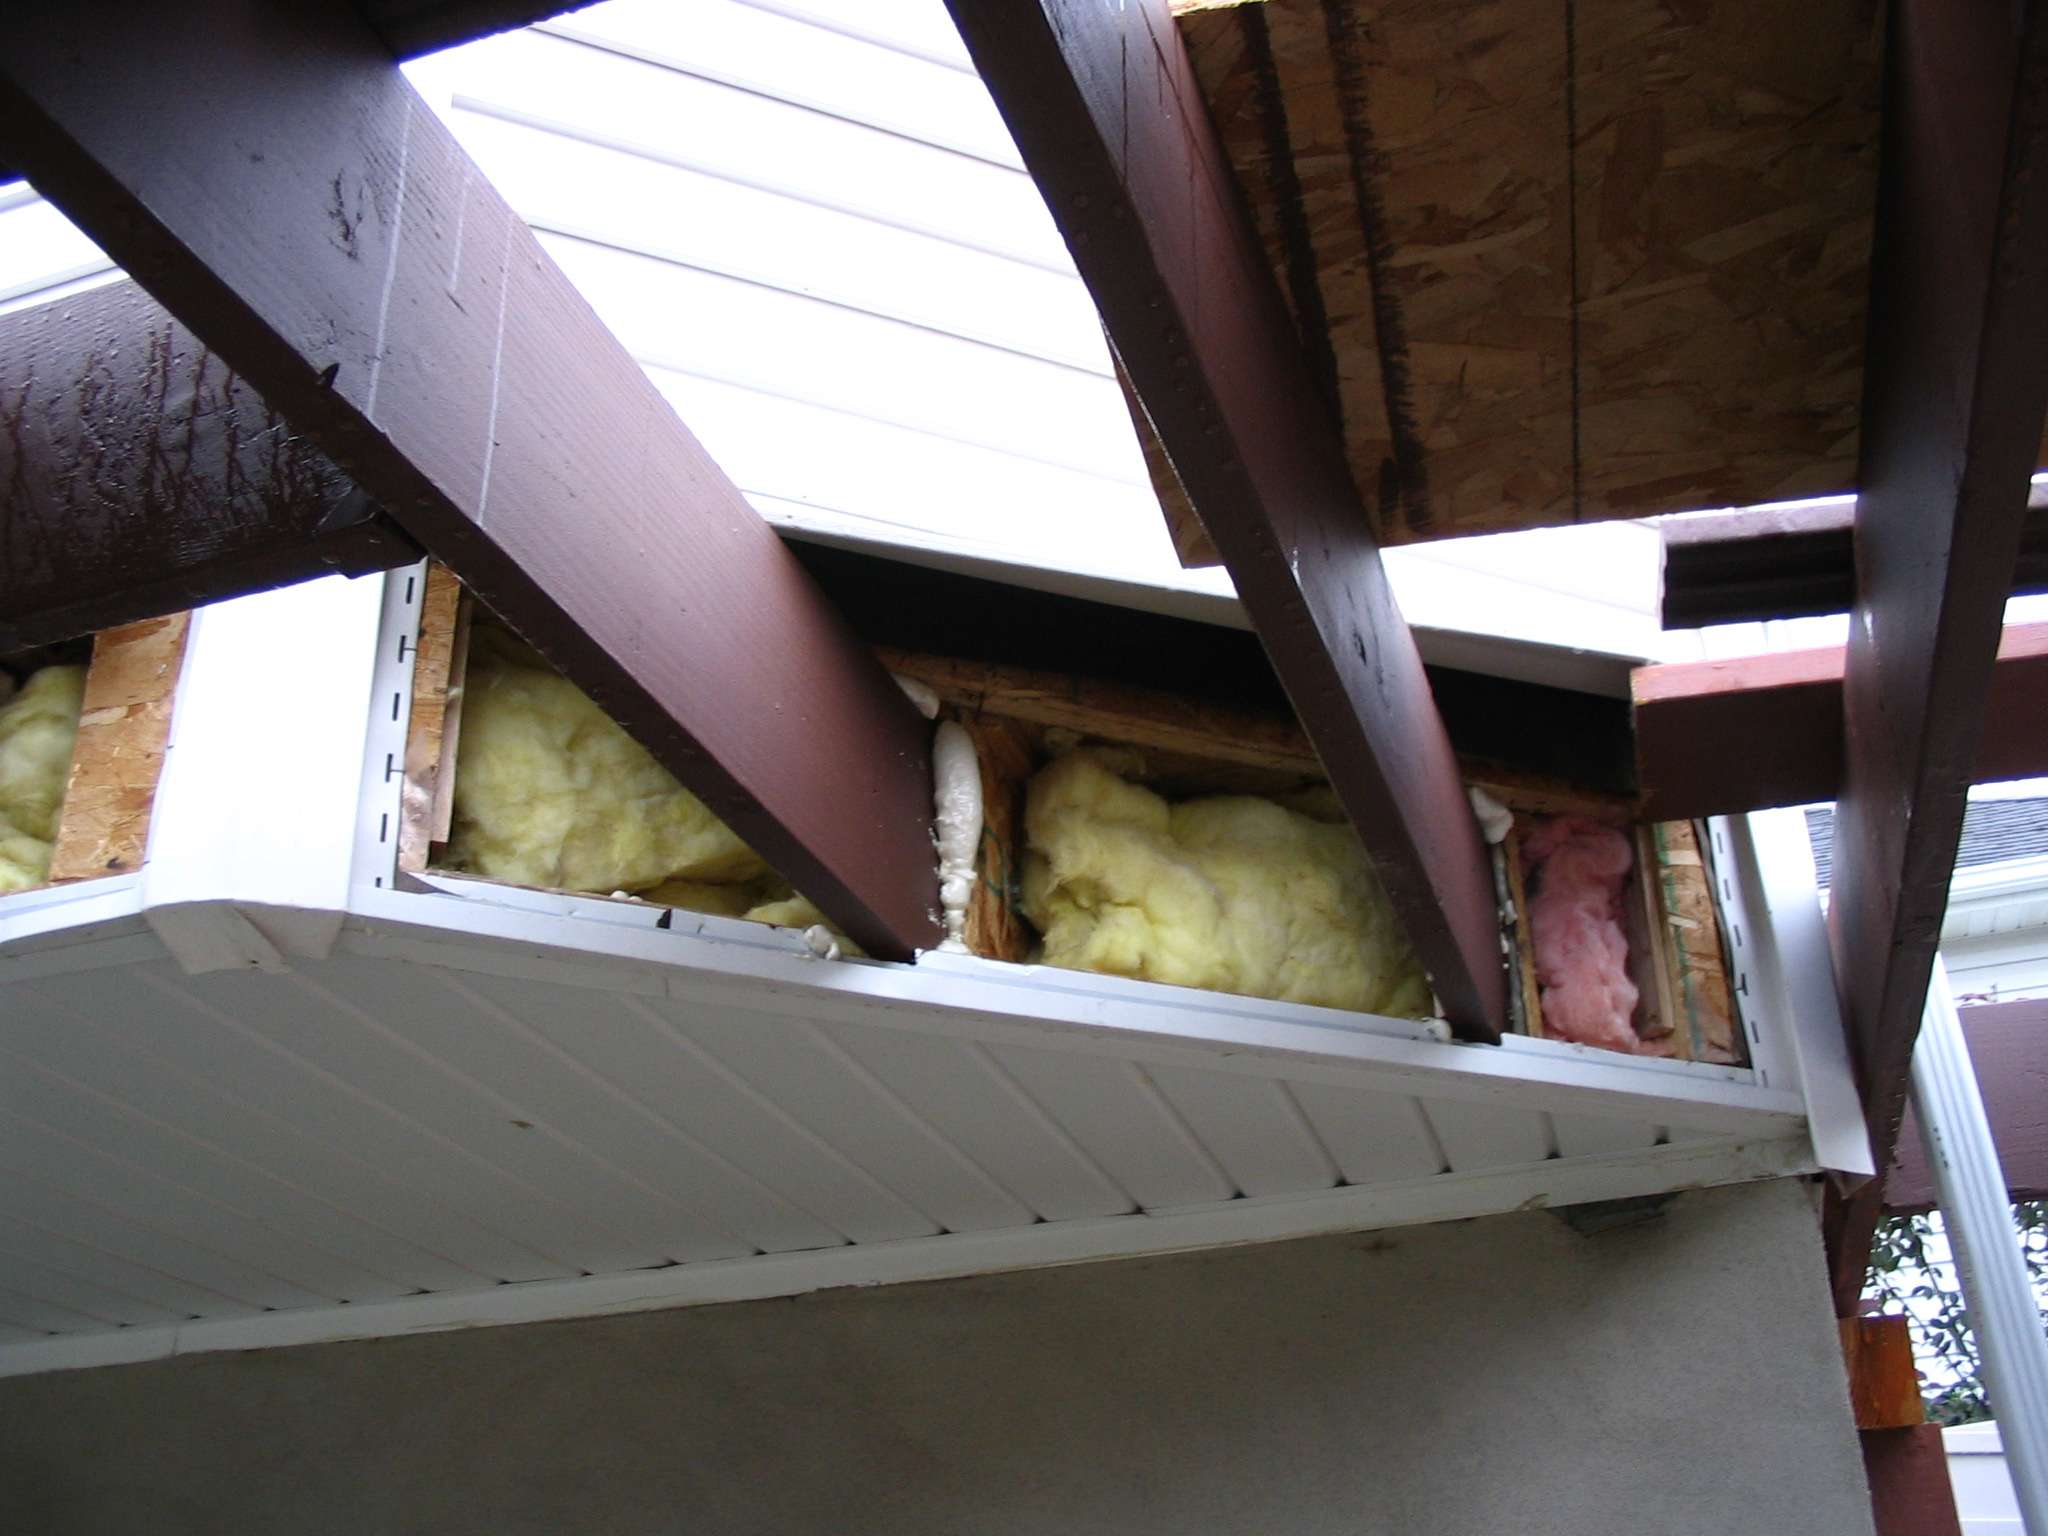
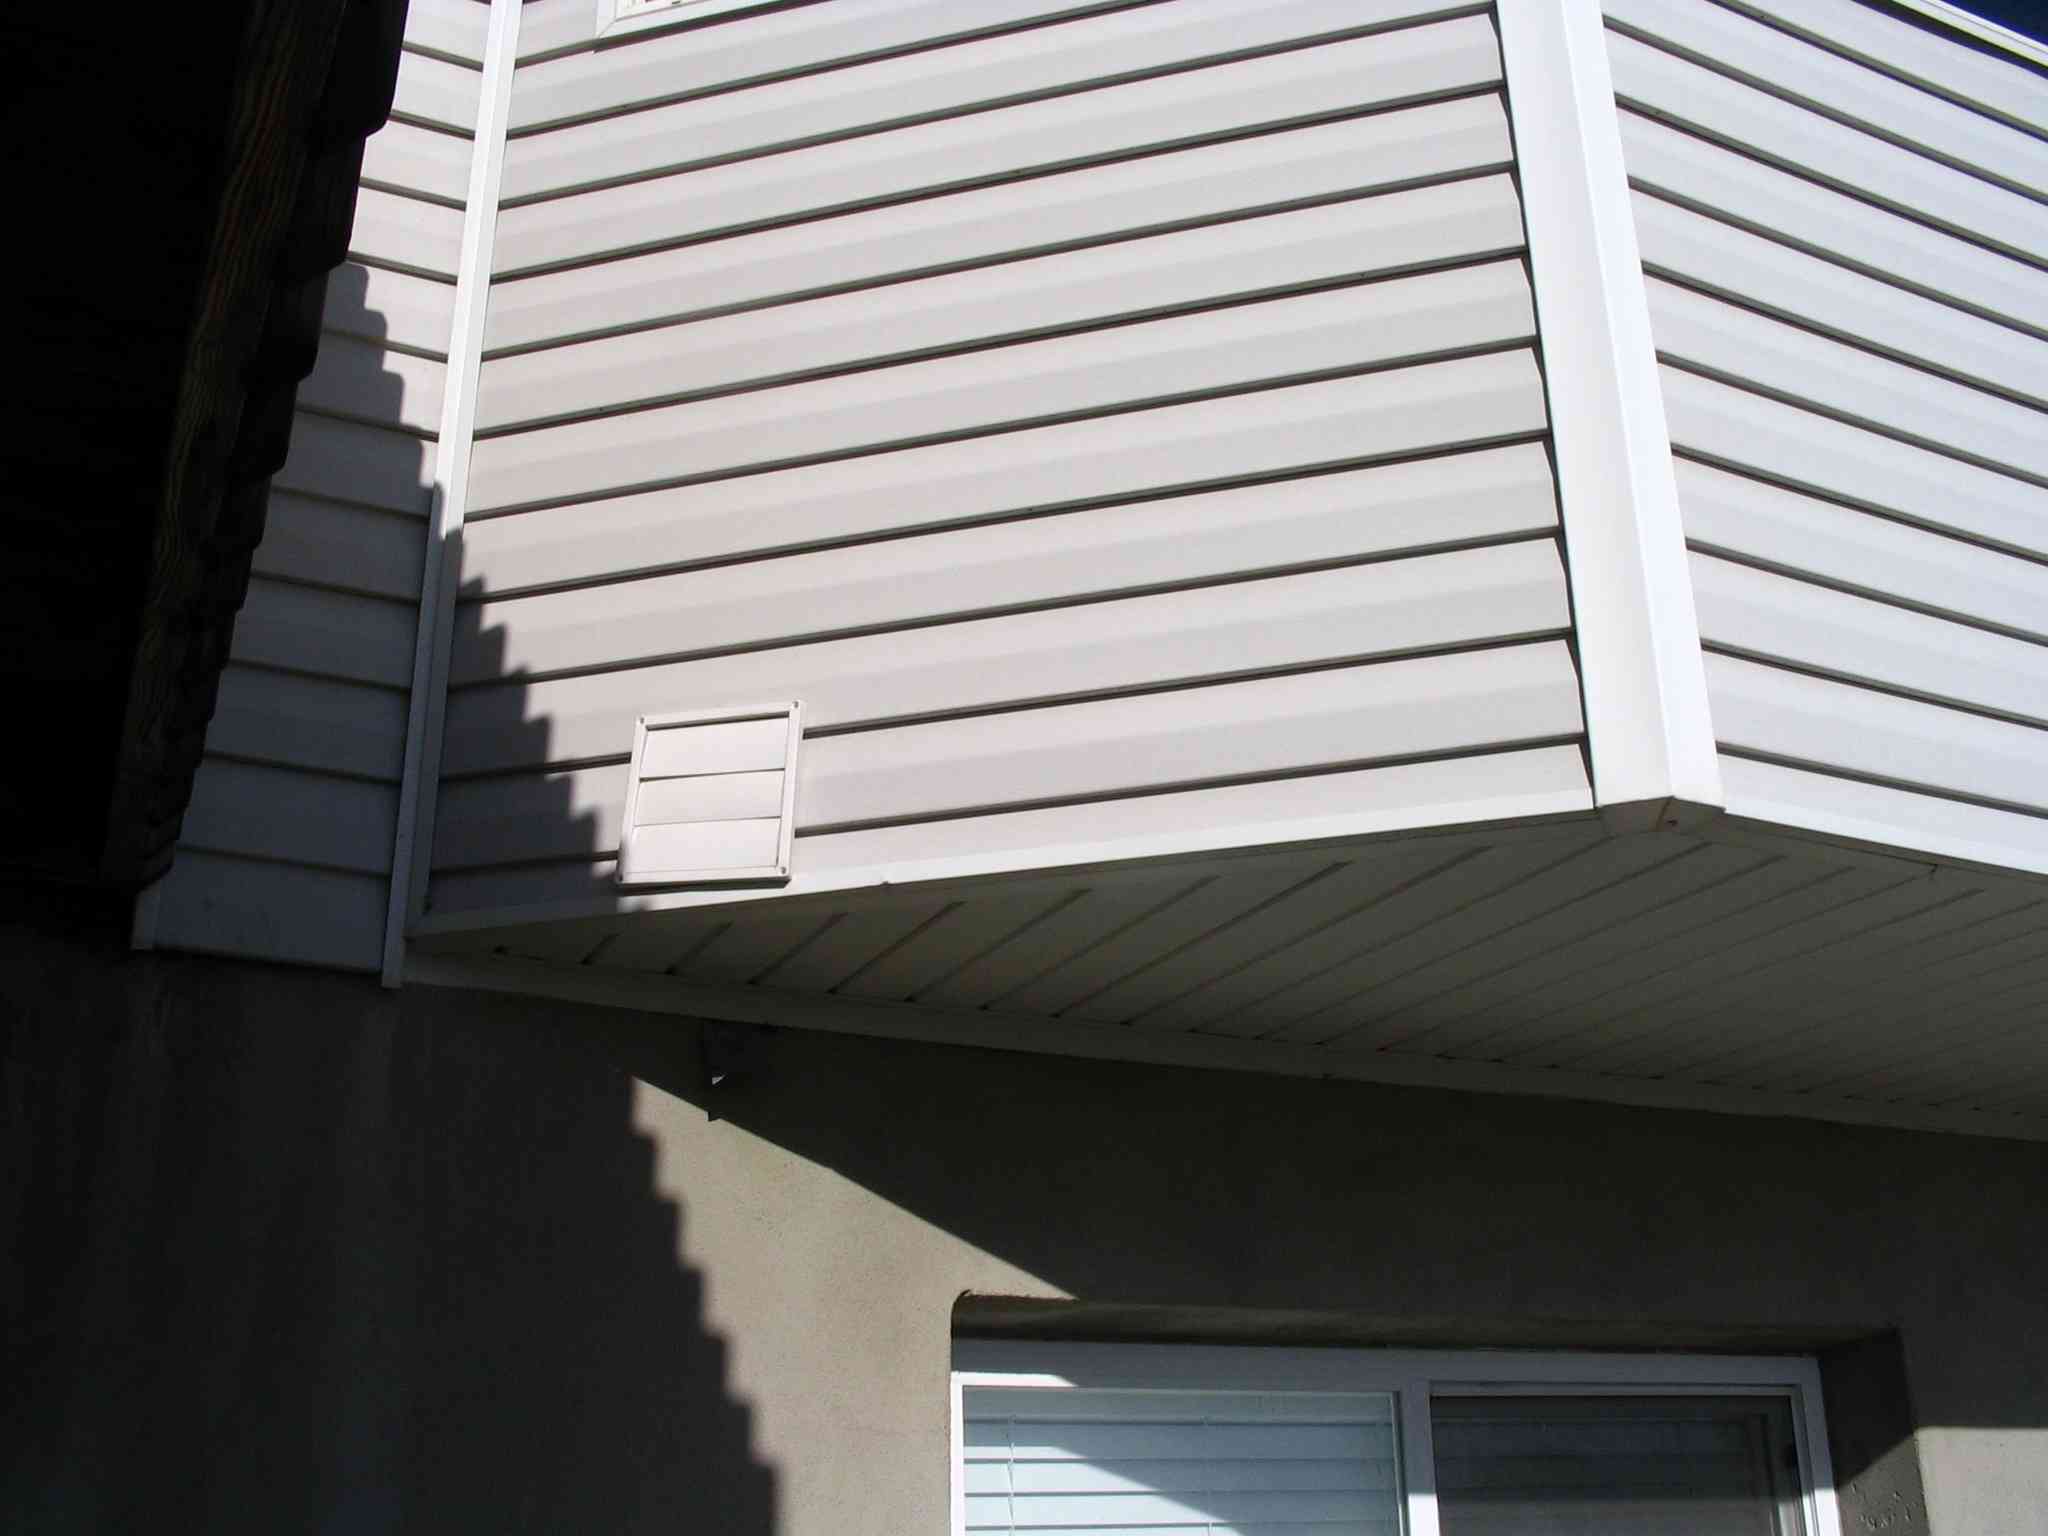
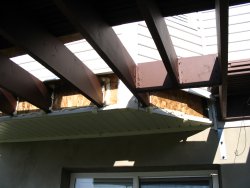
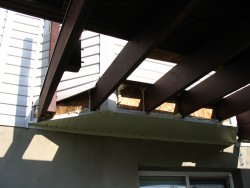
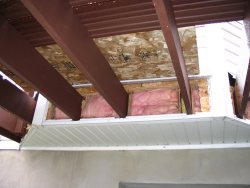
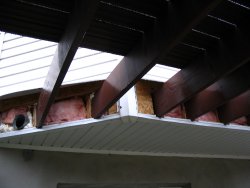
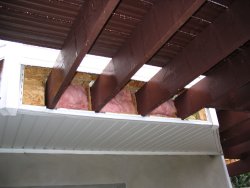
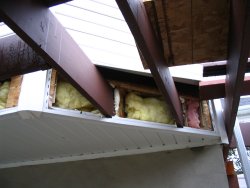
29 September 2007
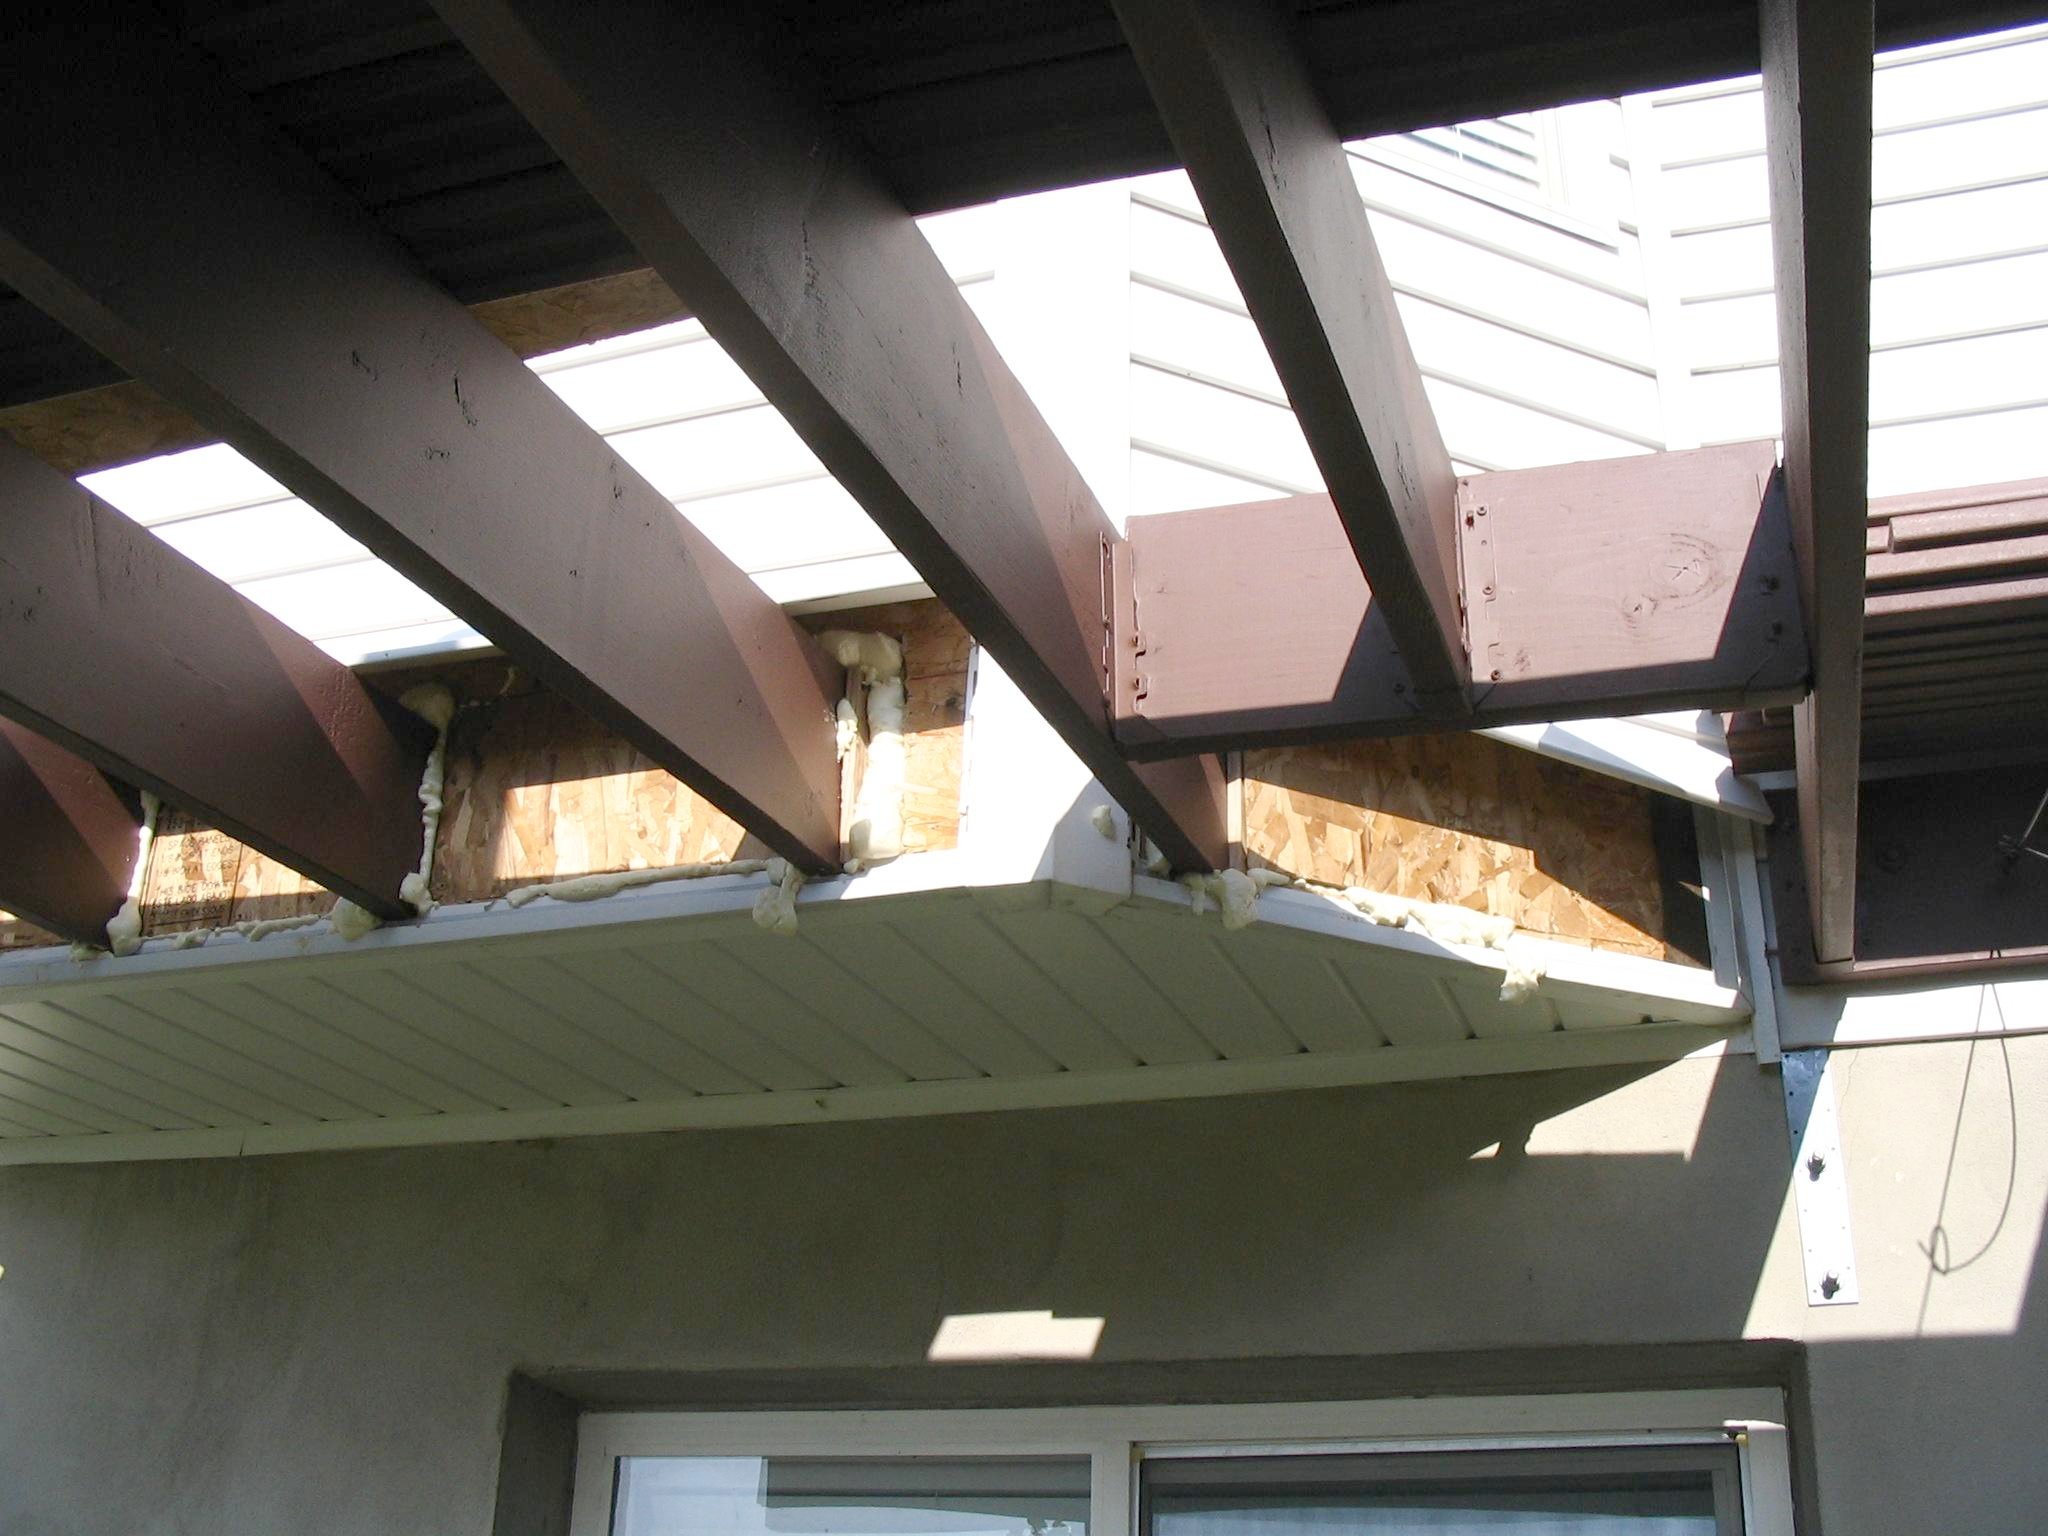
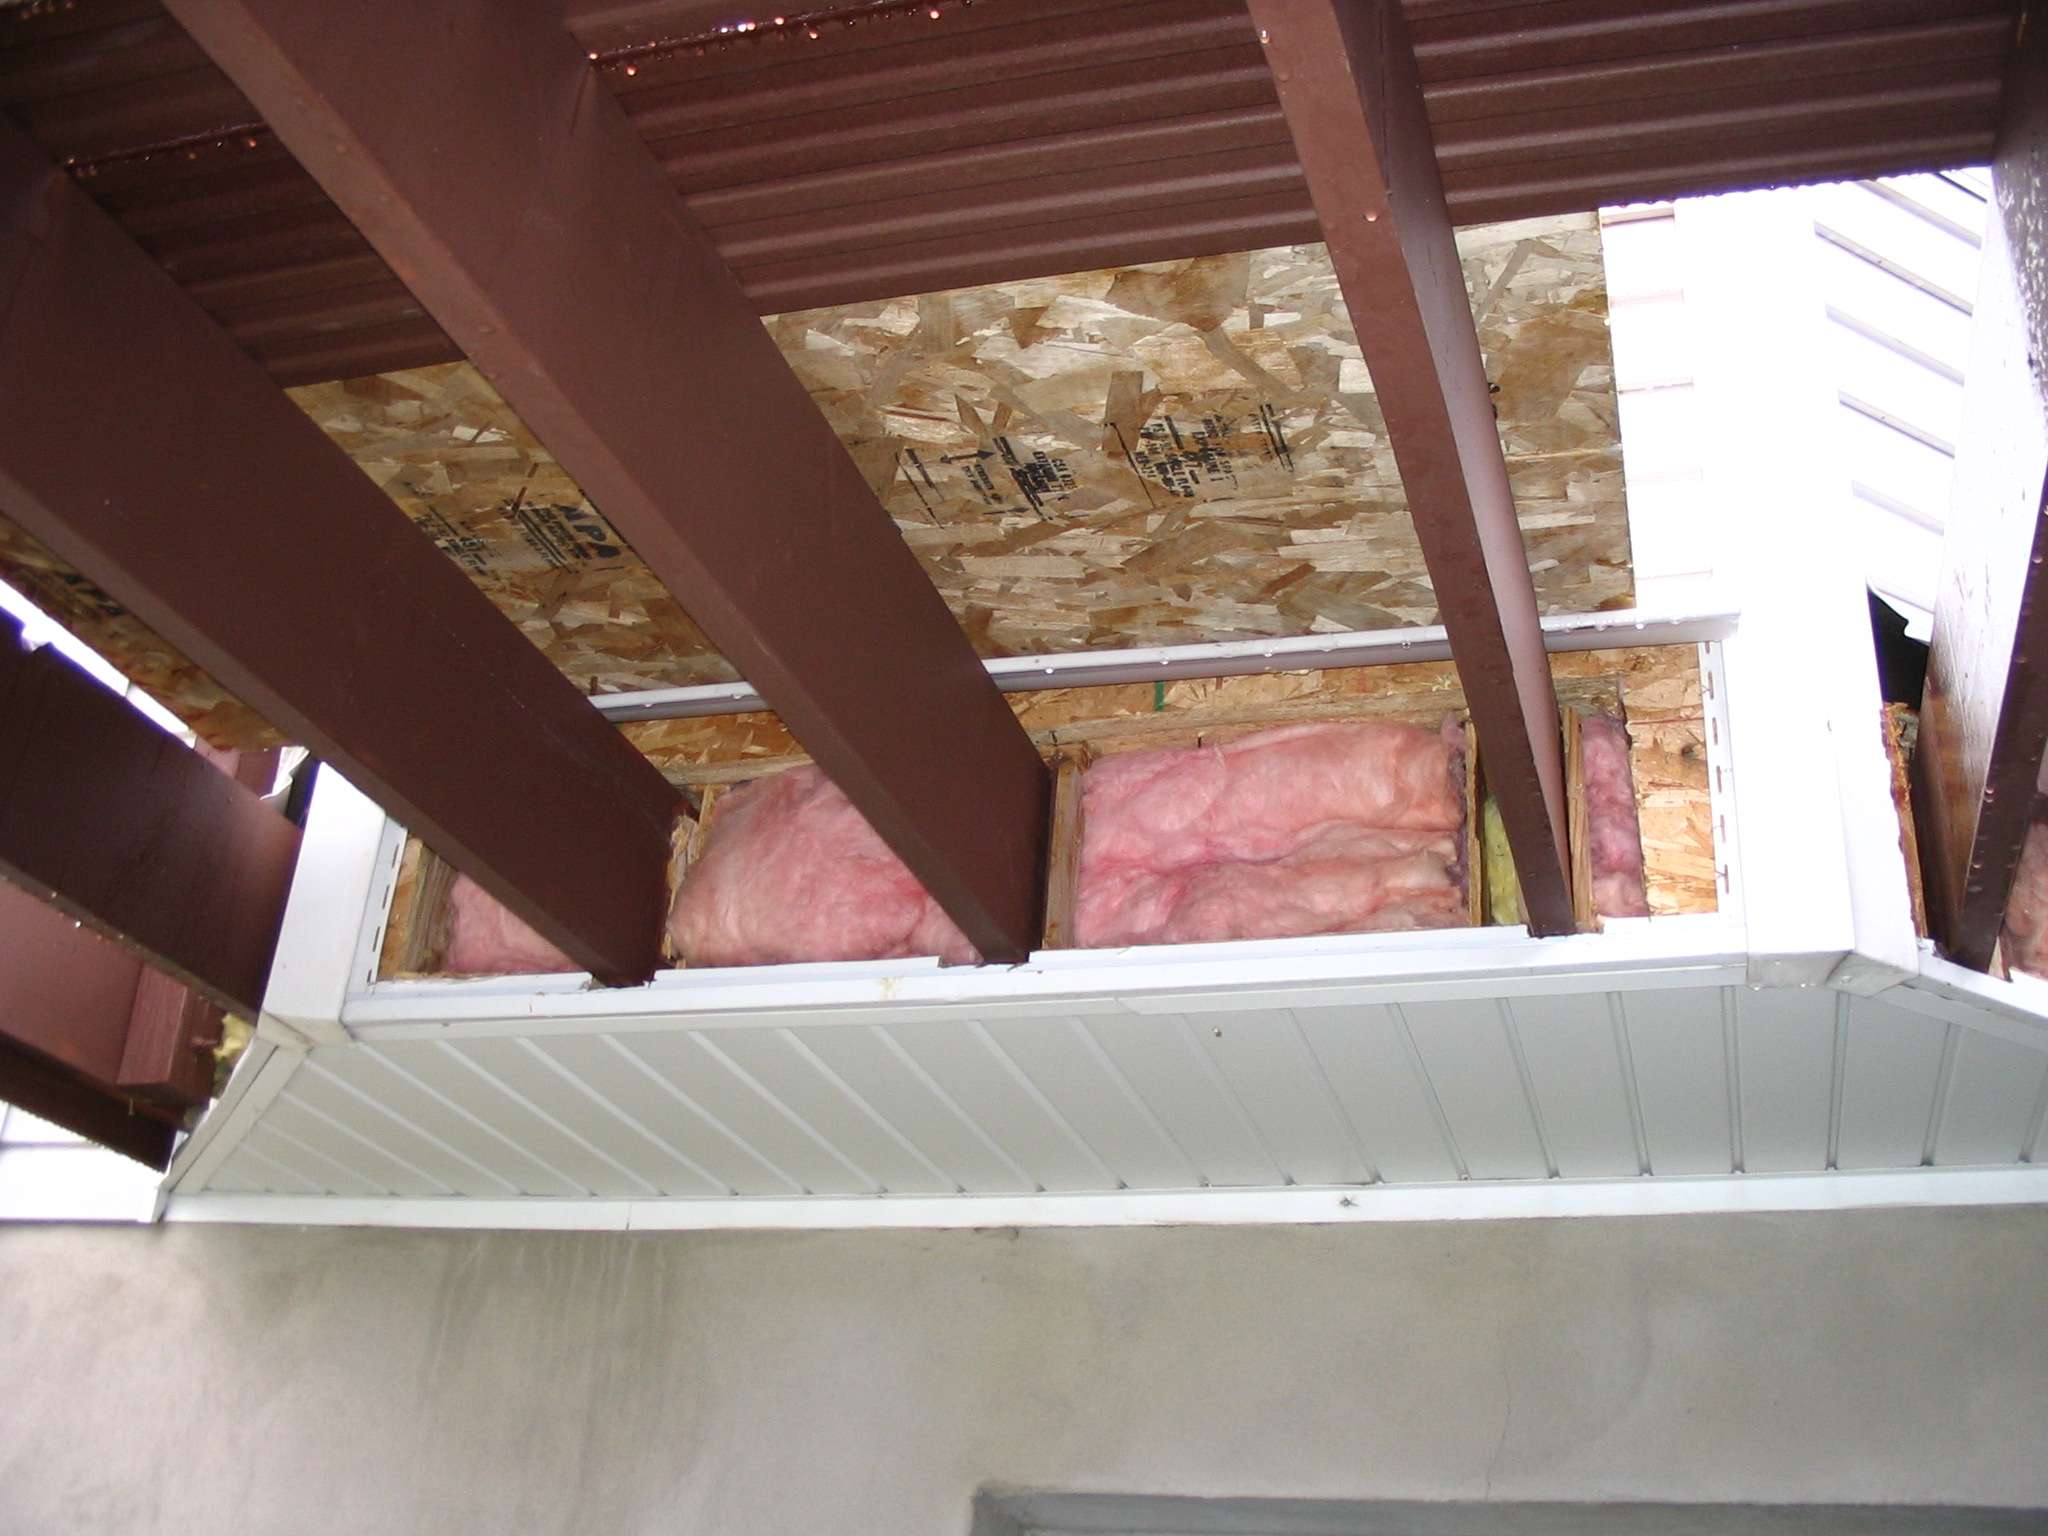
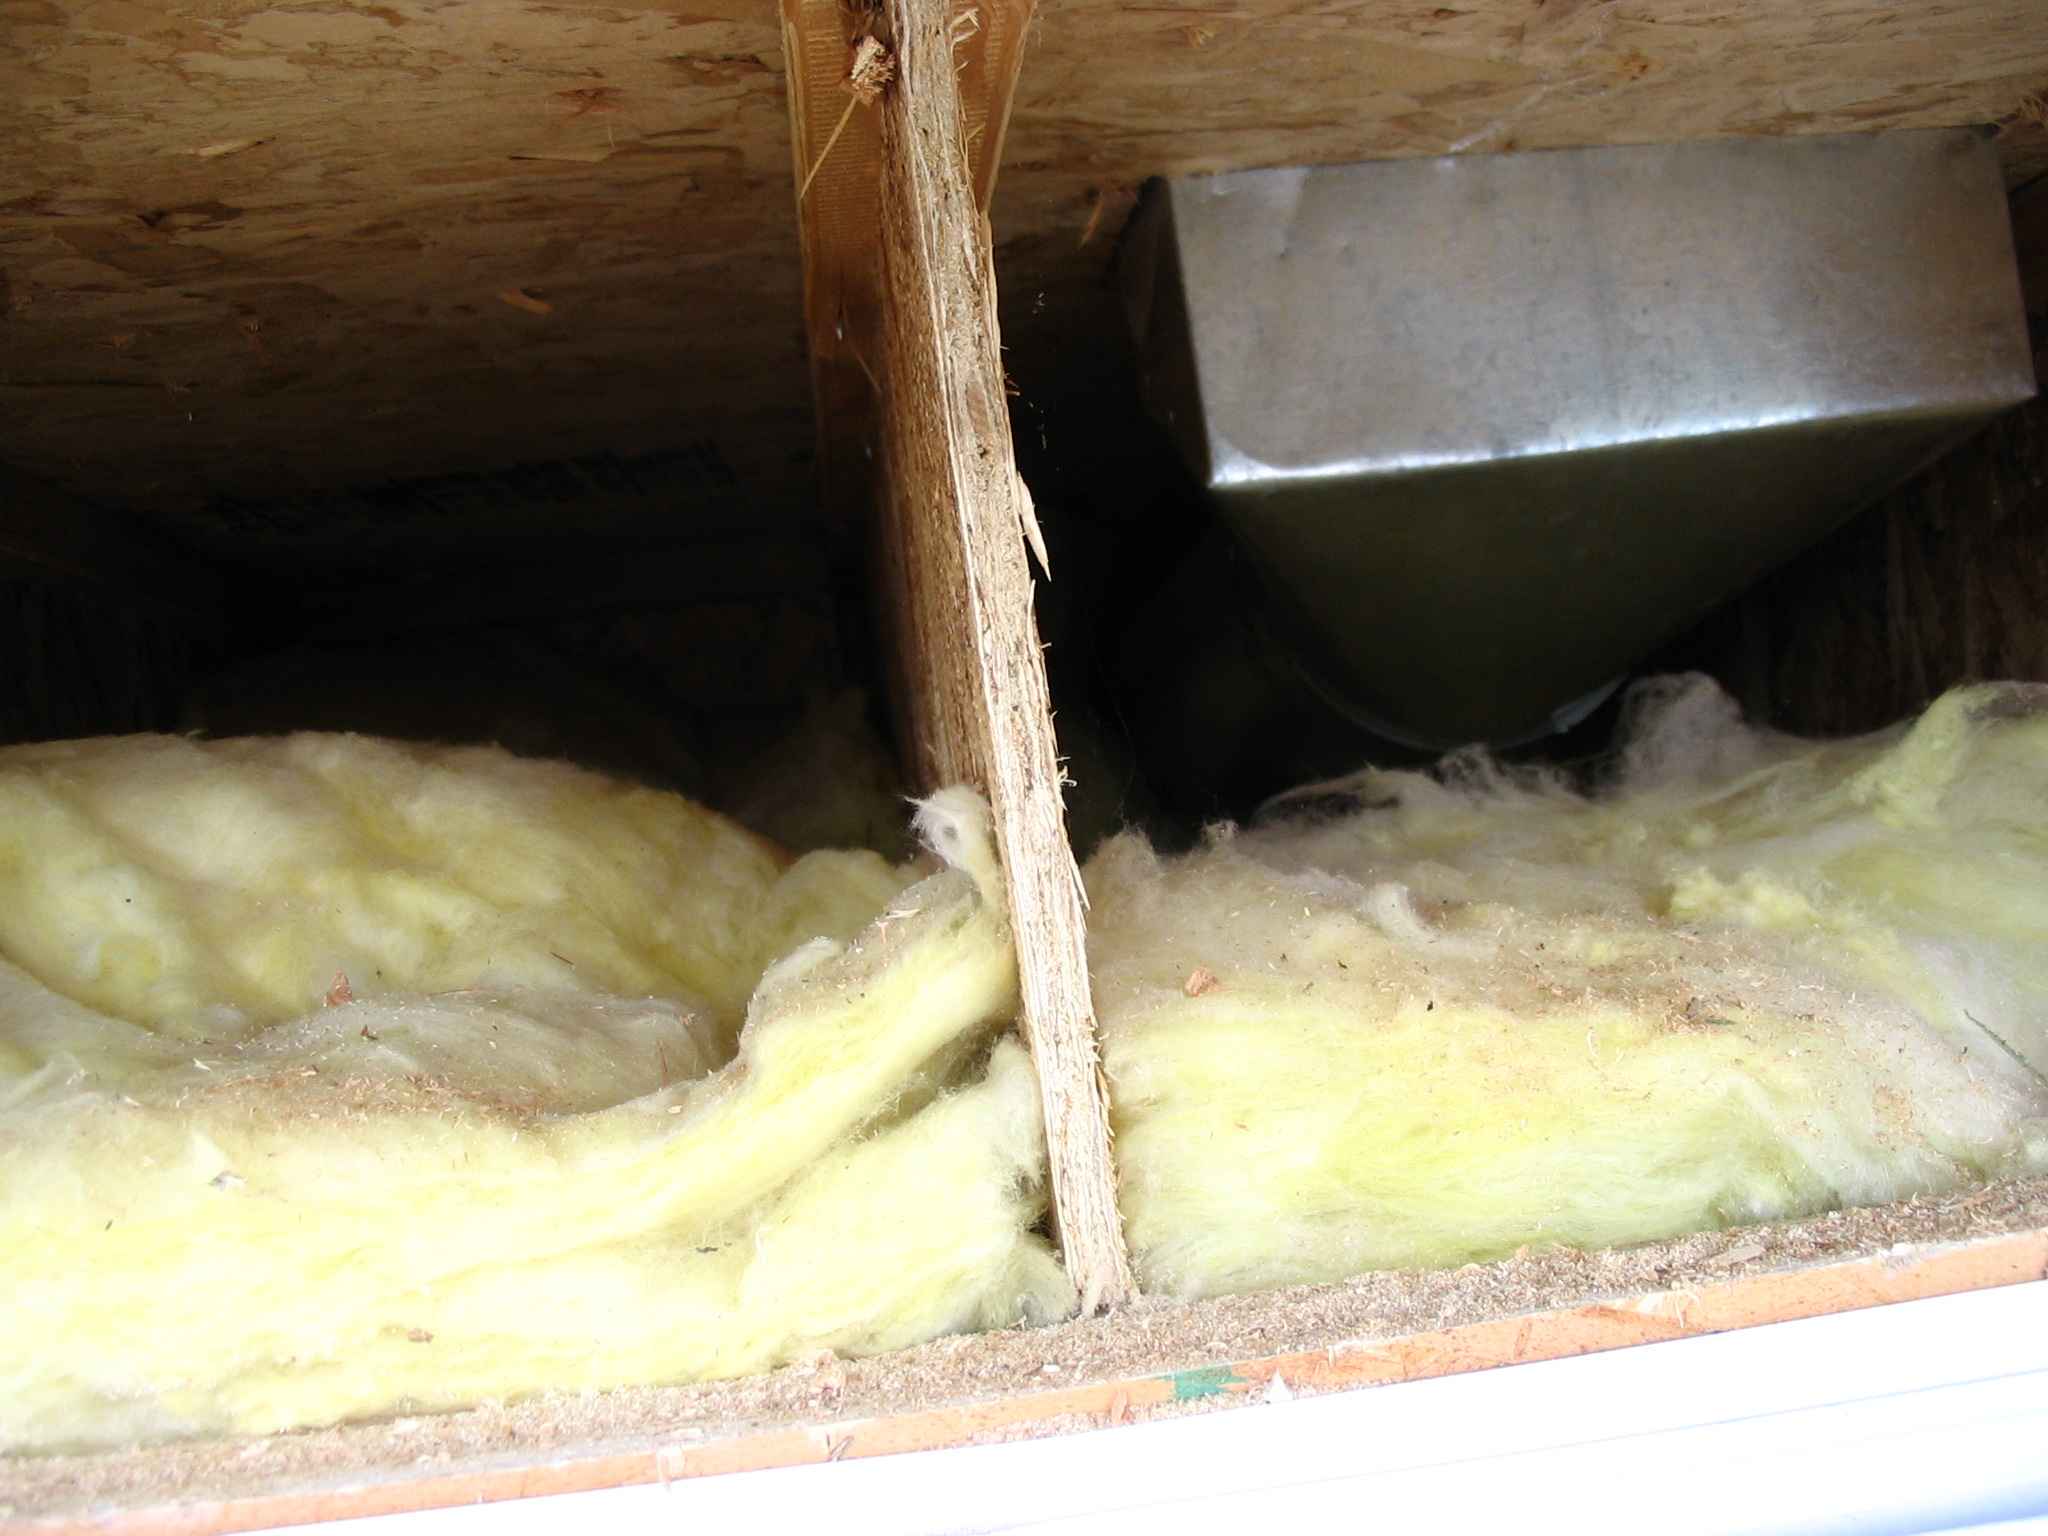
A great storm was scheduled to land during the night and, unlike last week, it
did. By 0830 it was raining so I was only able to do insulation under the
window bays, but with Alvaro’s help, I got all of the foam sprayed, glass
installed and some wood blocking up, the latter so that I just have to cut some
plywood to cover the holes screwed to the blocking. Once it’s no longer
stormy, I can reapply the vinyl siding.
In some of the pictures you can see the rain dripping through, but the
insulation itself remained dry except for a few drops received on the way from
the family room, where we were cutting it, to the installation site.
|
|
|
|
|
|
|
22 September 2007
A great storm was scheduled to land during the night, but yesterday it appeared
to stall over California. This slowed it down so that we had clear weather
initially (I even burned a little) and the rain did not arrive until after well
after 1 o’clock, our projected quitting time.
We had a great party raising the deck. We got from 60-70% of the deck planking
laid down with the help of myriad friends and family come from St. George,
Benjamin, Provo and Orem. Thanks to all who came to help: I’m deeply
indebted for it has saved me weeks.
Tom and Matt Buckley, Dave and Michæl Knecht, Russ and Myrna Gaye
Bateman, Taylor and Helene Farland, Danny Bateman, Randy, Cheryl Jean and
Michæl Bateman, Brandon and Sam West, Steve and Amanda Brayton,
Alvaro Matamoros and DeeJay Bawden.
Got the north-end facia installed and cut the beam to length thanks to help
from Tom and Matt.
|
|
|
|
|

|
|
|
|
15 September 2007
Three weeks since breaking my ribs: it’s pathetic. It no longer hurts
very much, but there are little things I can’t do very well like bend
over and grasp something. Very lame, very annoying.
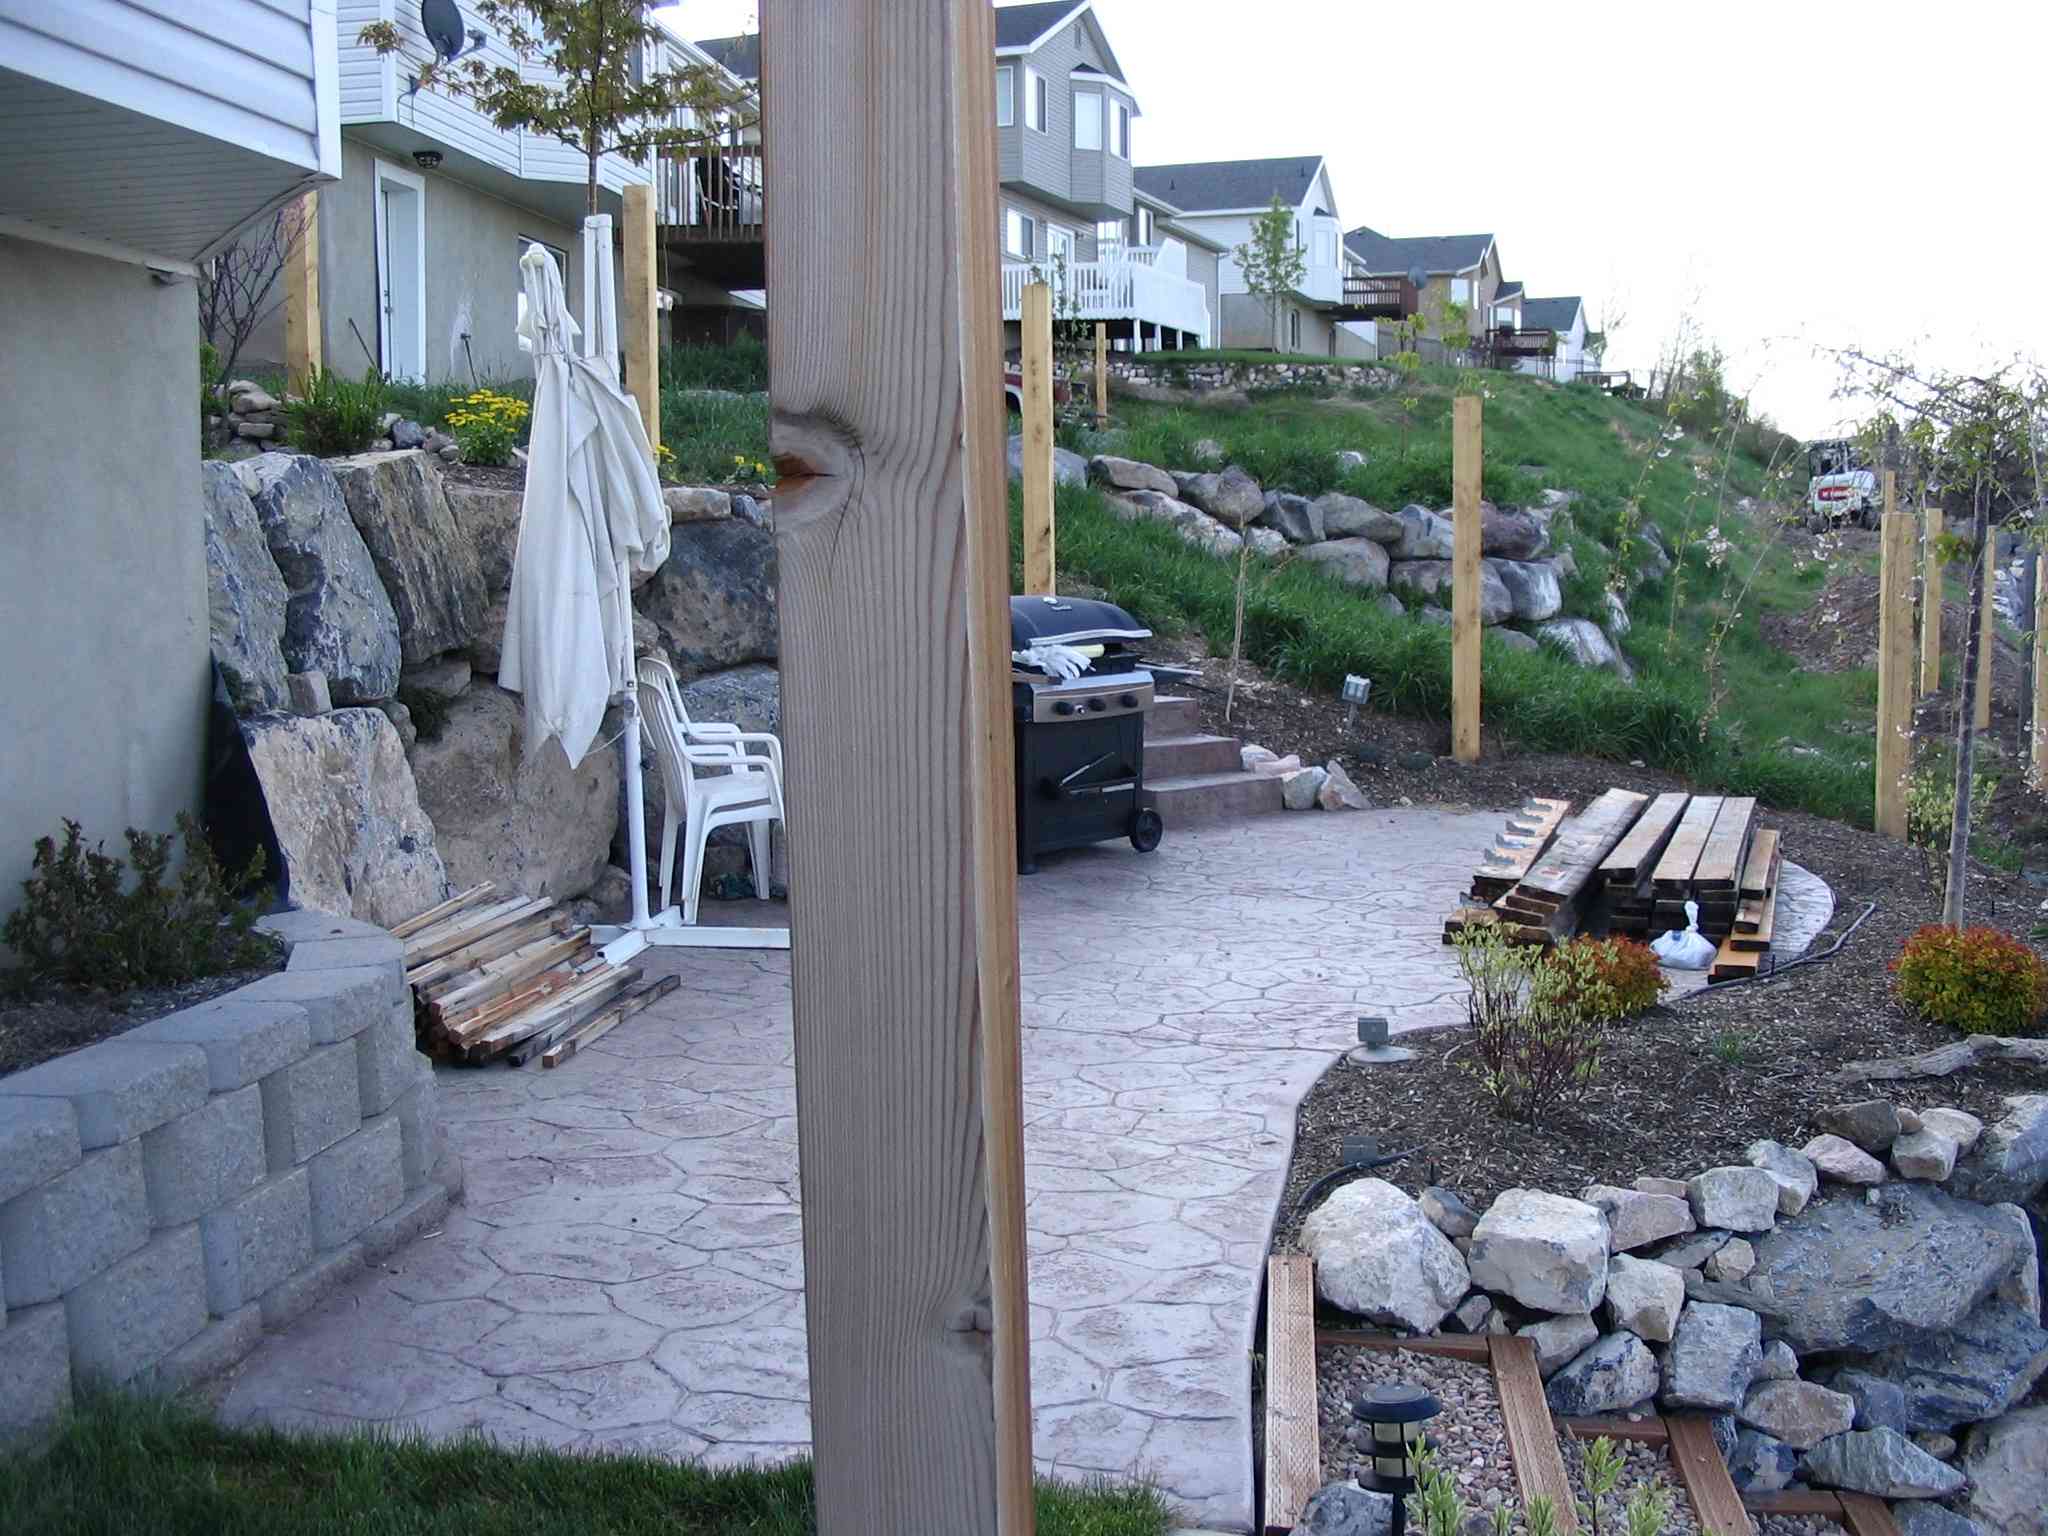
Alvaro and Brandon helped me put down the two outermost courses of decking
eased out around the posts. This should make us ready for the great decking
party next Saturday when lots of family and friends show up to help get as much
of the Trex down as possible. Brandon’s roommate, Joe, came to help out
for a bit, but was called into work.
The Trex is eased out around the posts. The posts will have Trex® sleeves
place over them and over that, a sort of foot that will easily cover what is
eased out so the uneven gaps will not be apparent.
We’ll have to get all the Trex piled up against the house so it’s
not in our way for next Saturday.
Other tasks that I need to perform:
- Install the last piece of facia along the north edge.
- Cut the siding down over the joists.
- Provide for securing the Trex along the oblique sides of the window
bays (where there is at present nothing to nail to.
|
|

|
|
|
8 September 2007
Two weeks since breaking my ribs; I’m feeling much better now though it
still hurts and limits motion.
Alvaro, our niece Sarah’s new husband, and Brandon came over today. We
got all the Trex® trim up on the joist end-caps except for two pieces, a
long one on the north side which awaits some attention to the siding first,
and a tiny piece obvious in the pictures below.
Prior to applying the facia, we finished straightening and pining the joists
with my patent-pending joist-straightener (see 11 August) and nail gun.
|
|

|
|
|
|
1 & 3 September 2007
With cracked ribs, it’s been challenging to do much. Brandon and Sam came
over on Saturday and we finished all the remaining posts except two for which I
was missing hardware.
I rectified the situation Monday (Labor Day) and added the last bolt through
the beam on the north end. With Julene, I put up a trial, 12-foot long piece of
Trex® facia. With the sprinklers coming on on Monday mornings, it was hard
to place the ladders anywhere they wouldn’t sink into the ground and so
we gave up.
I’ve been spending my time working on my new web server which is now up.
|
|
|
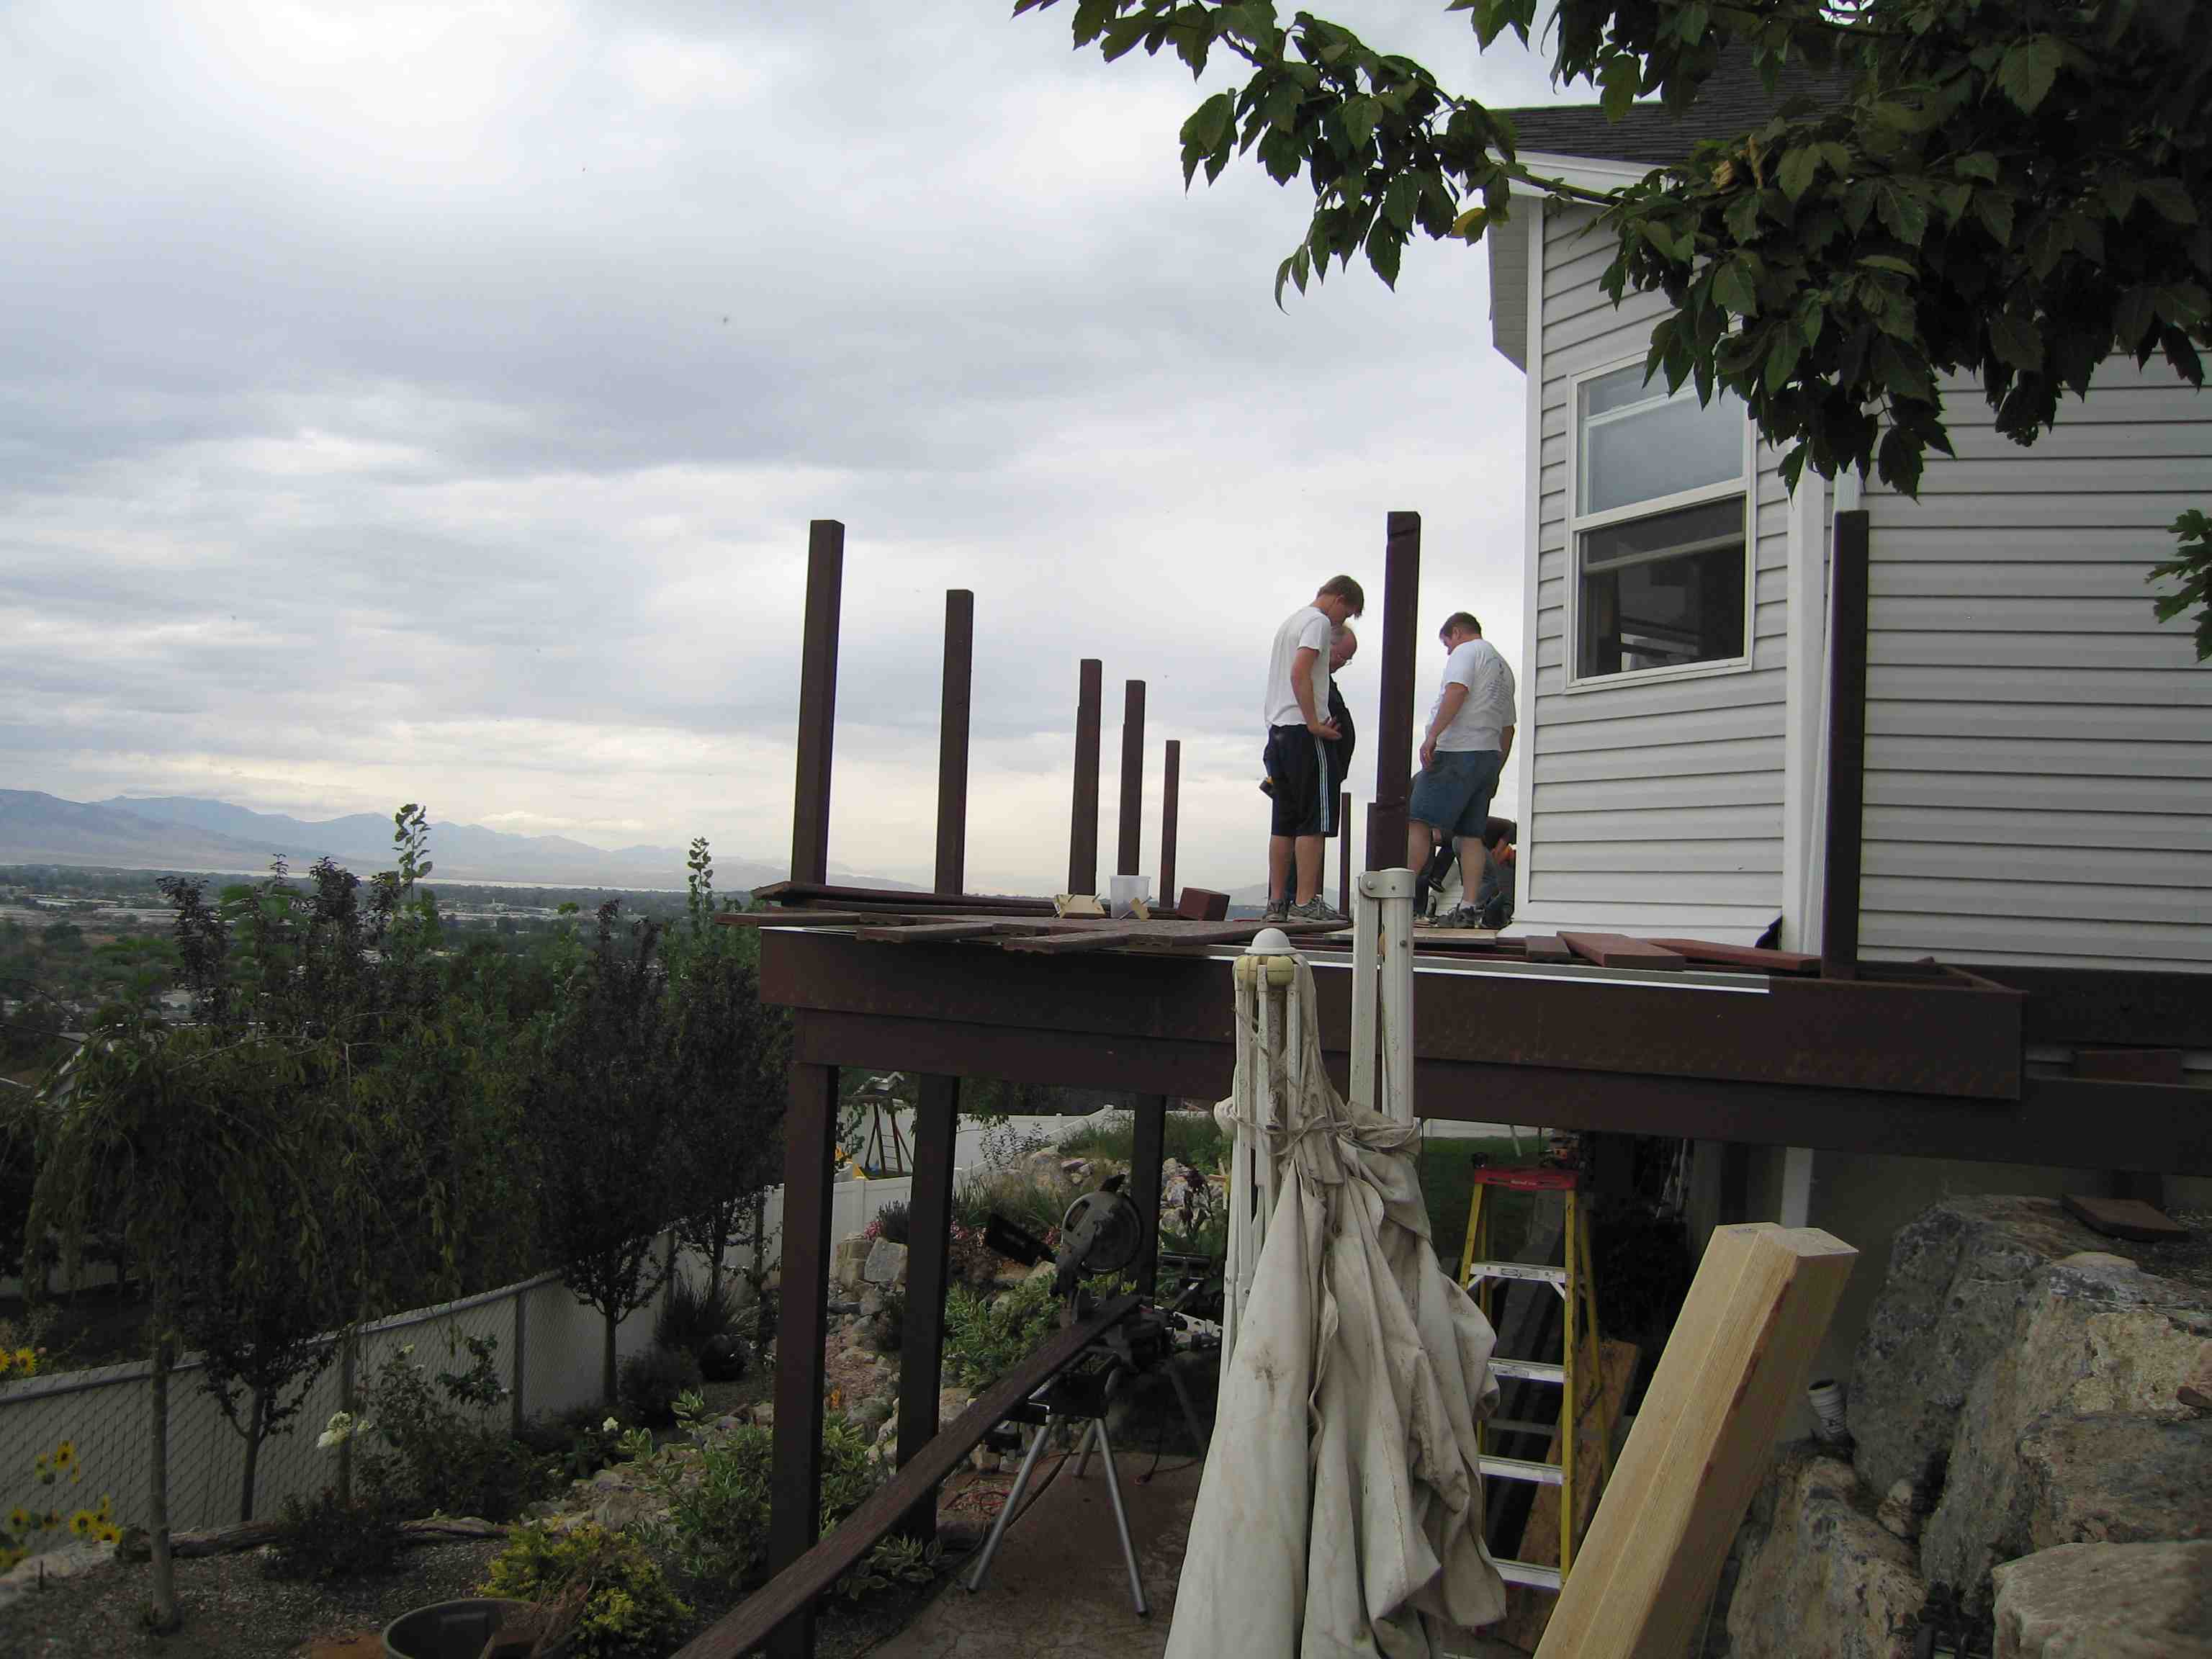
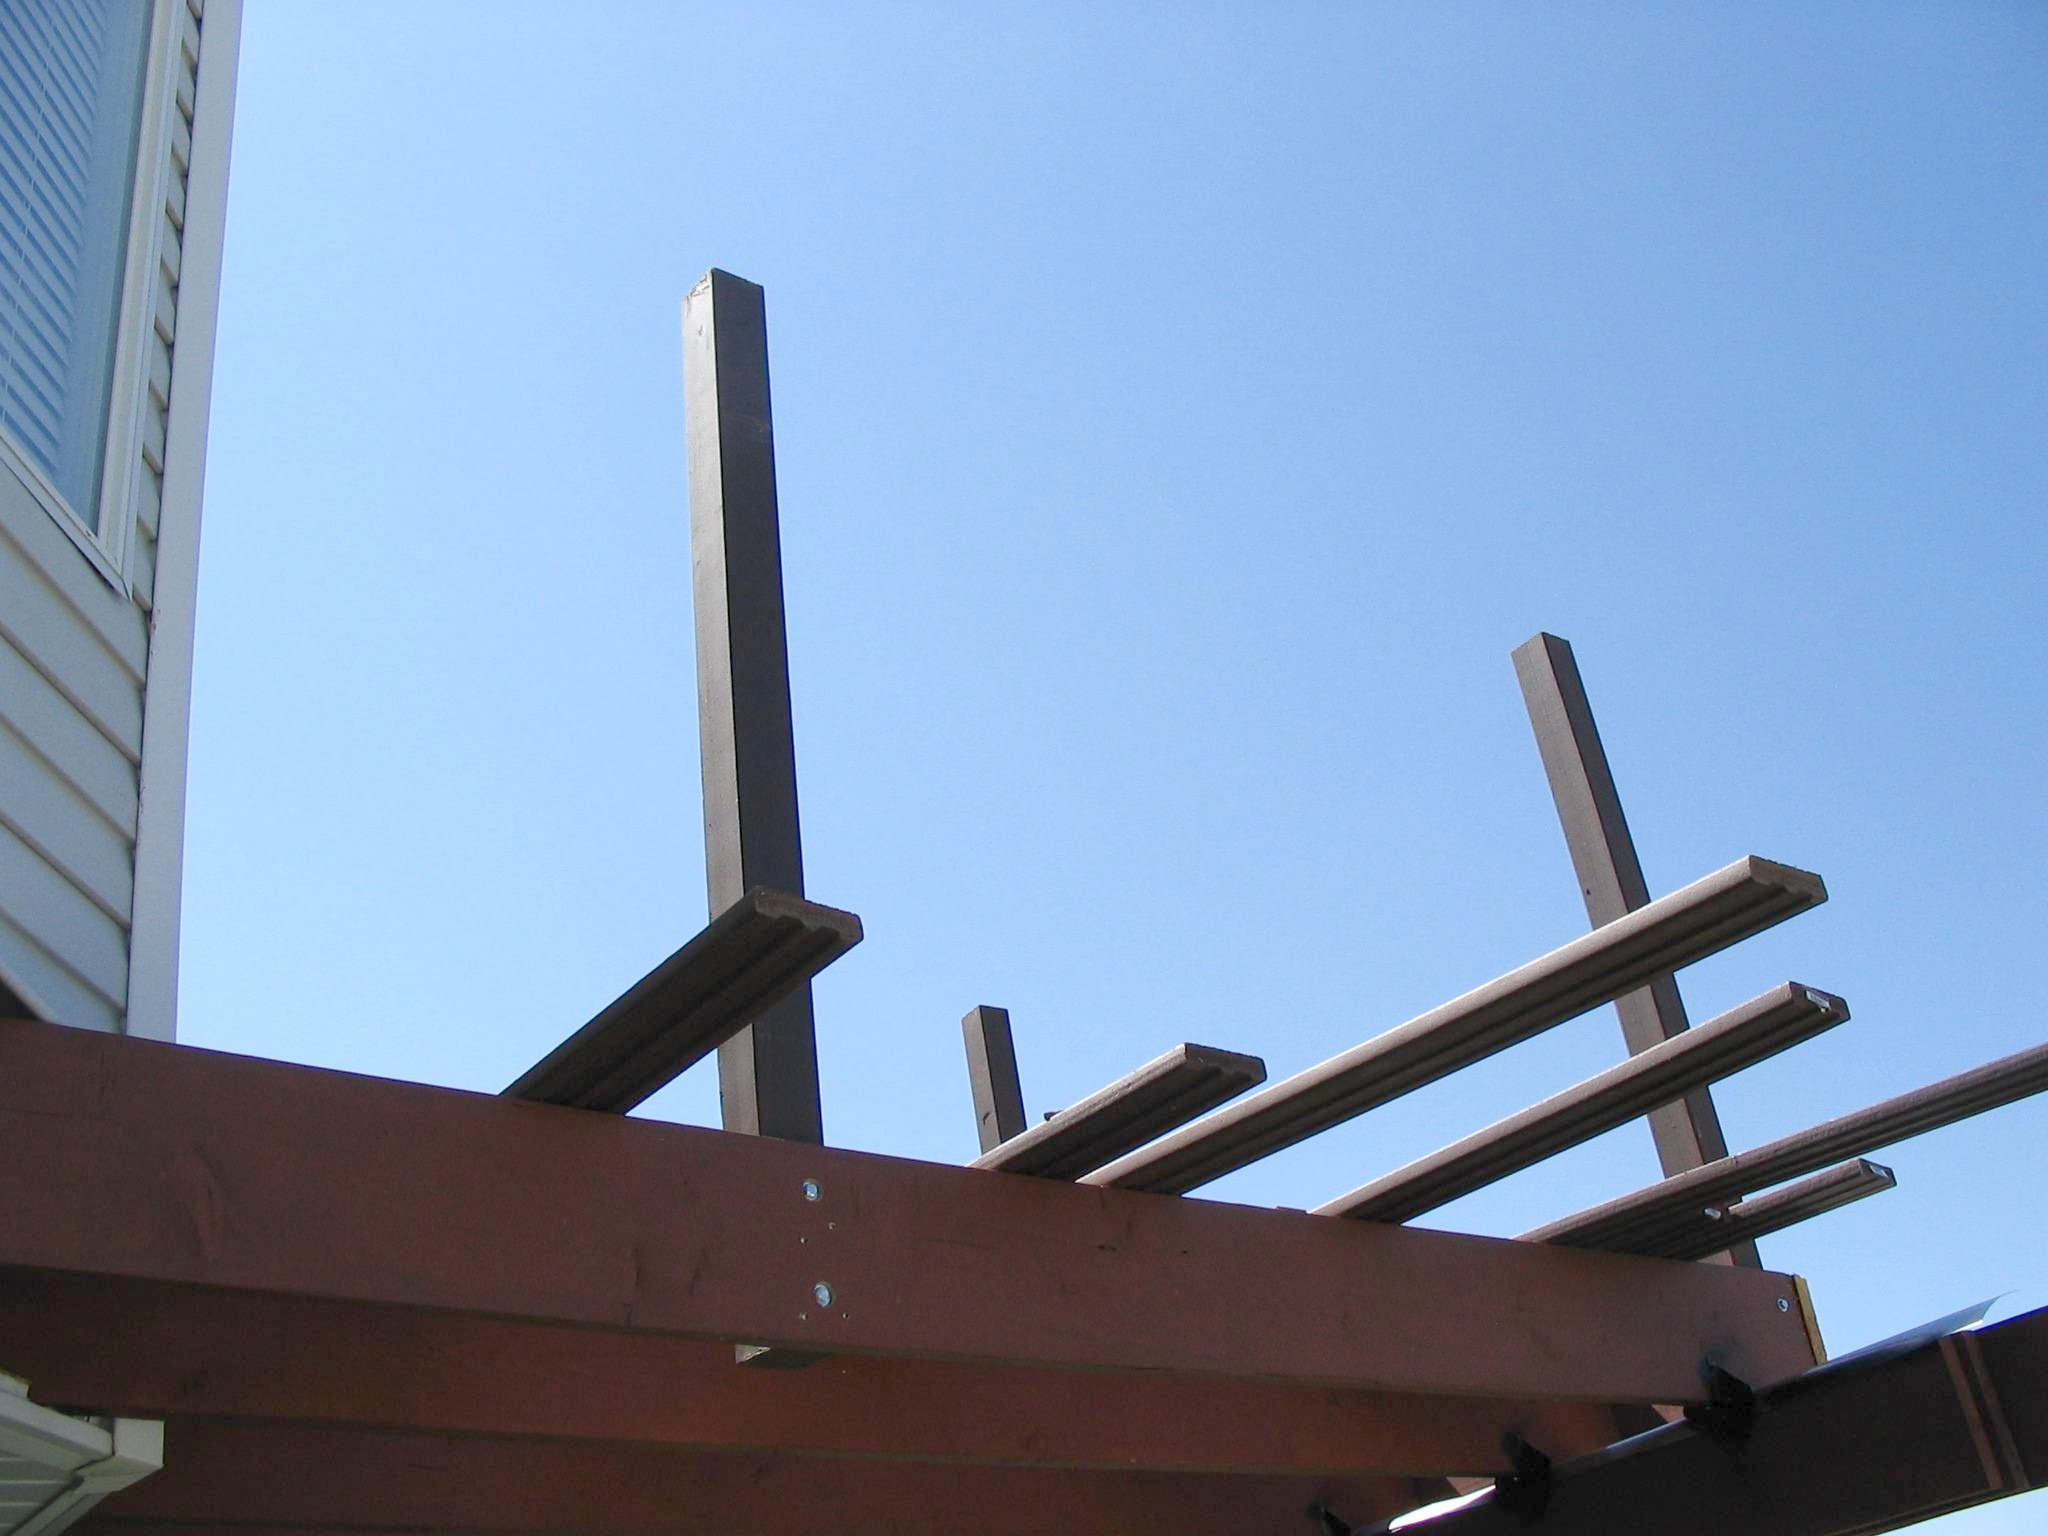
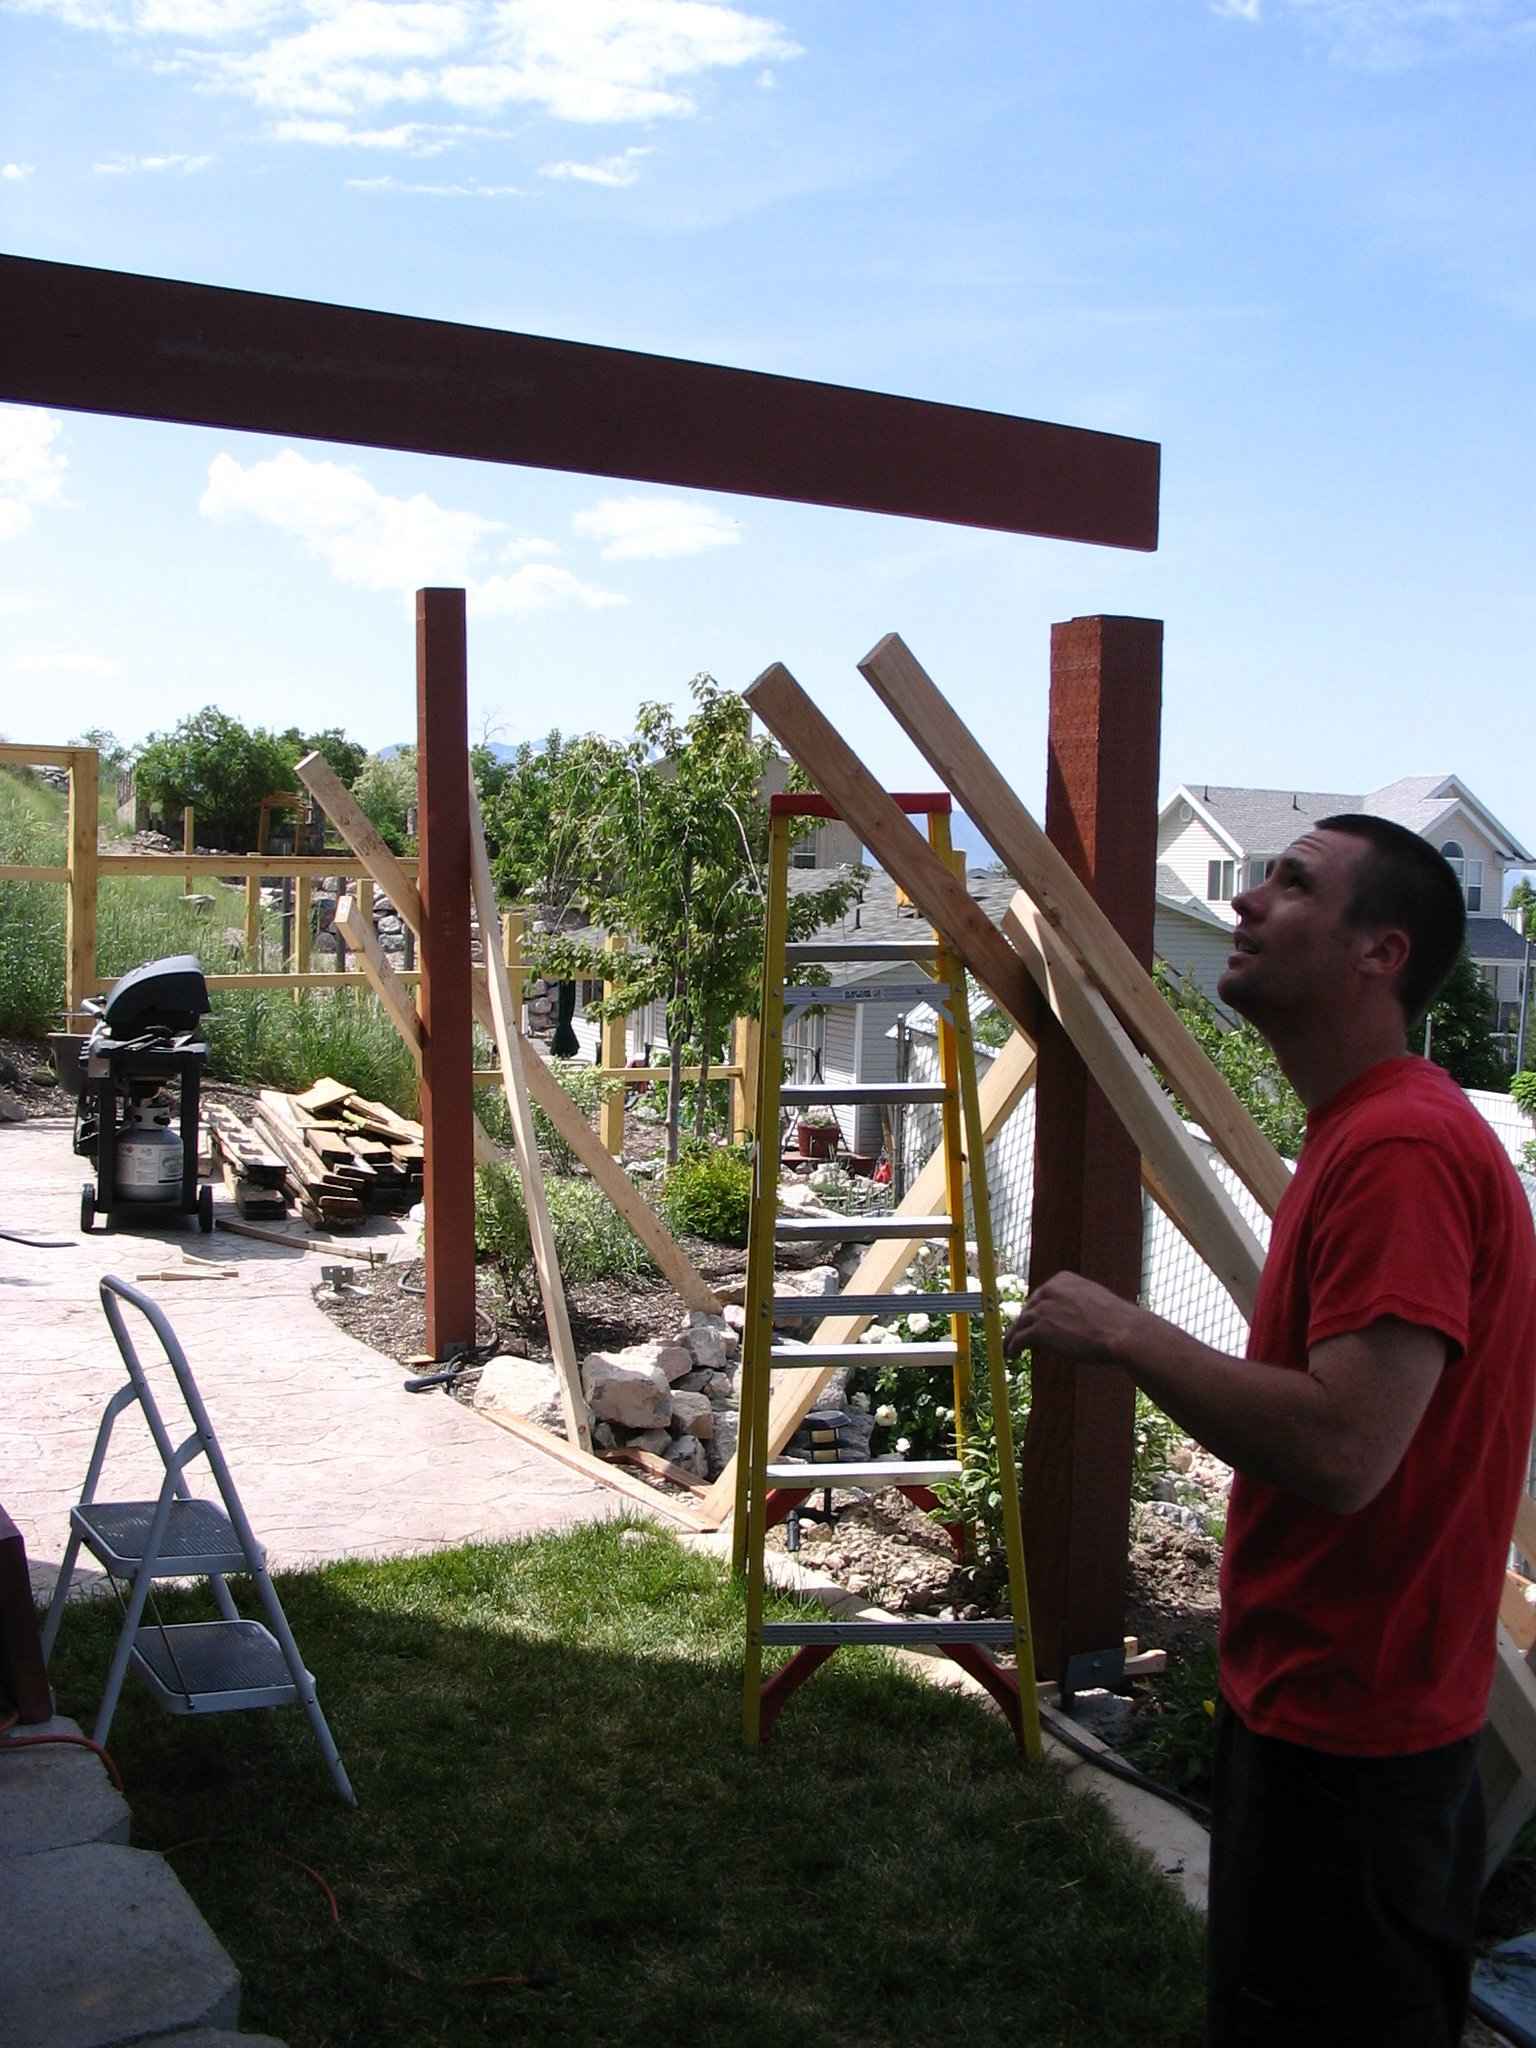
25 August 2007
Wow, at this rate, I’m never going to finish this deck.
I got Michael Knecht, son of good friends of ours, to come over for an hour as
soon as I convinced myself that there was no way I could put these posts up by
myself. In the picture, the one post that is leaning wrong is the one I put up,
but never fear, it’s really only because I still haven’t bolted and
plumbed it from one side—only the other and we forgot to finish my job.
Brandon came over a little bit later and we got the rest of the posts up except
for one on the south side and, of course, the one or two near the steps that I
don’t have figured yet. I finally resorted to 6" bolts from Home Depot
since they have run out of the 5½" ones.
I’ve been wearing some tennis shoes as more appropriate for working on
the deck than my Birkenstocks. However, today they slipped and I came down on
the corner of my scaffolding which knocked the wind out of me. I think
I’m going back to my Birks.
I purchased the Trex® facia to go over the joist endcaps to hide all these
bolt heads (which are recessed) and that needs to go on next before we’re
ready to begin laying down the deck planking.
|

|
|
|
|
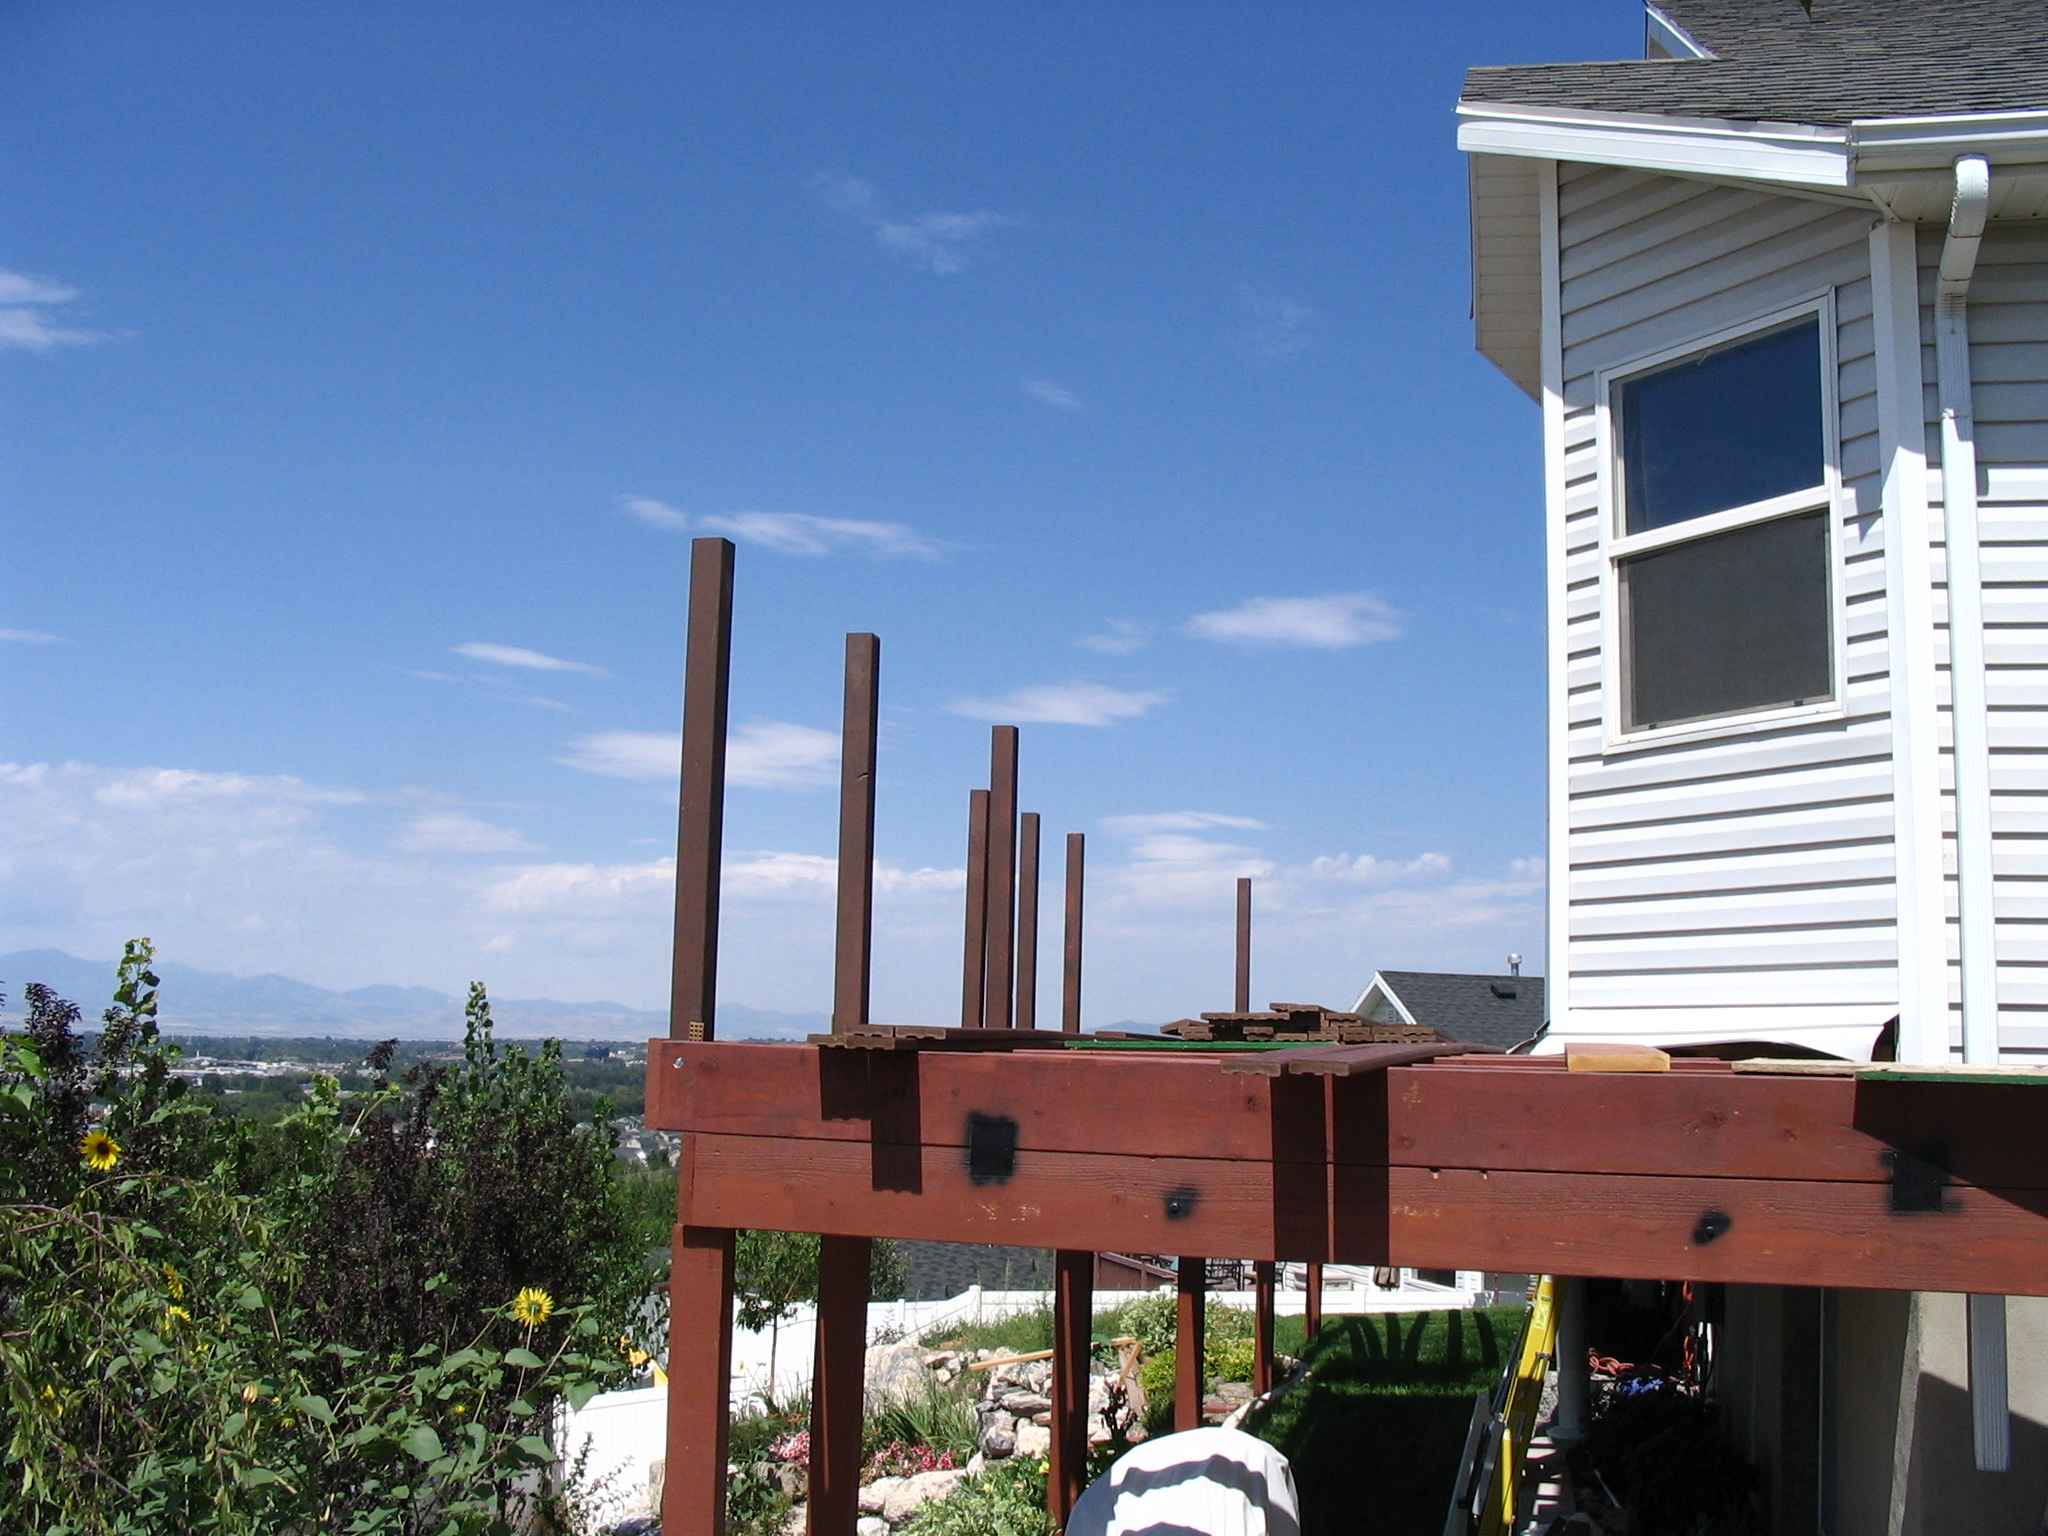
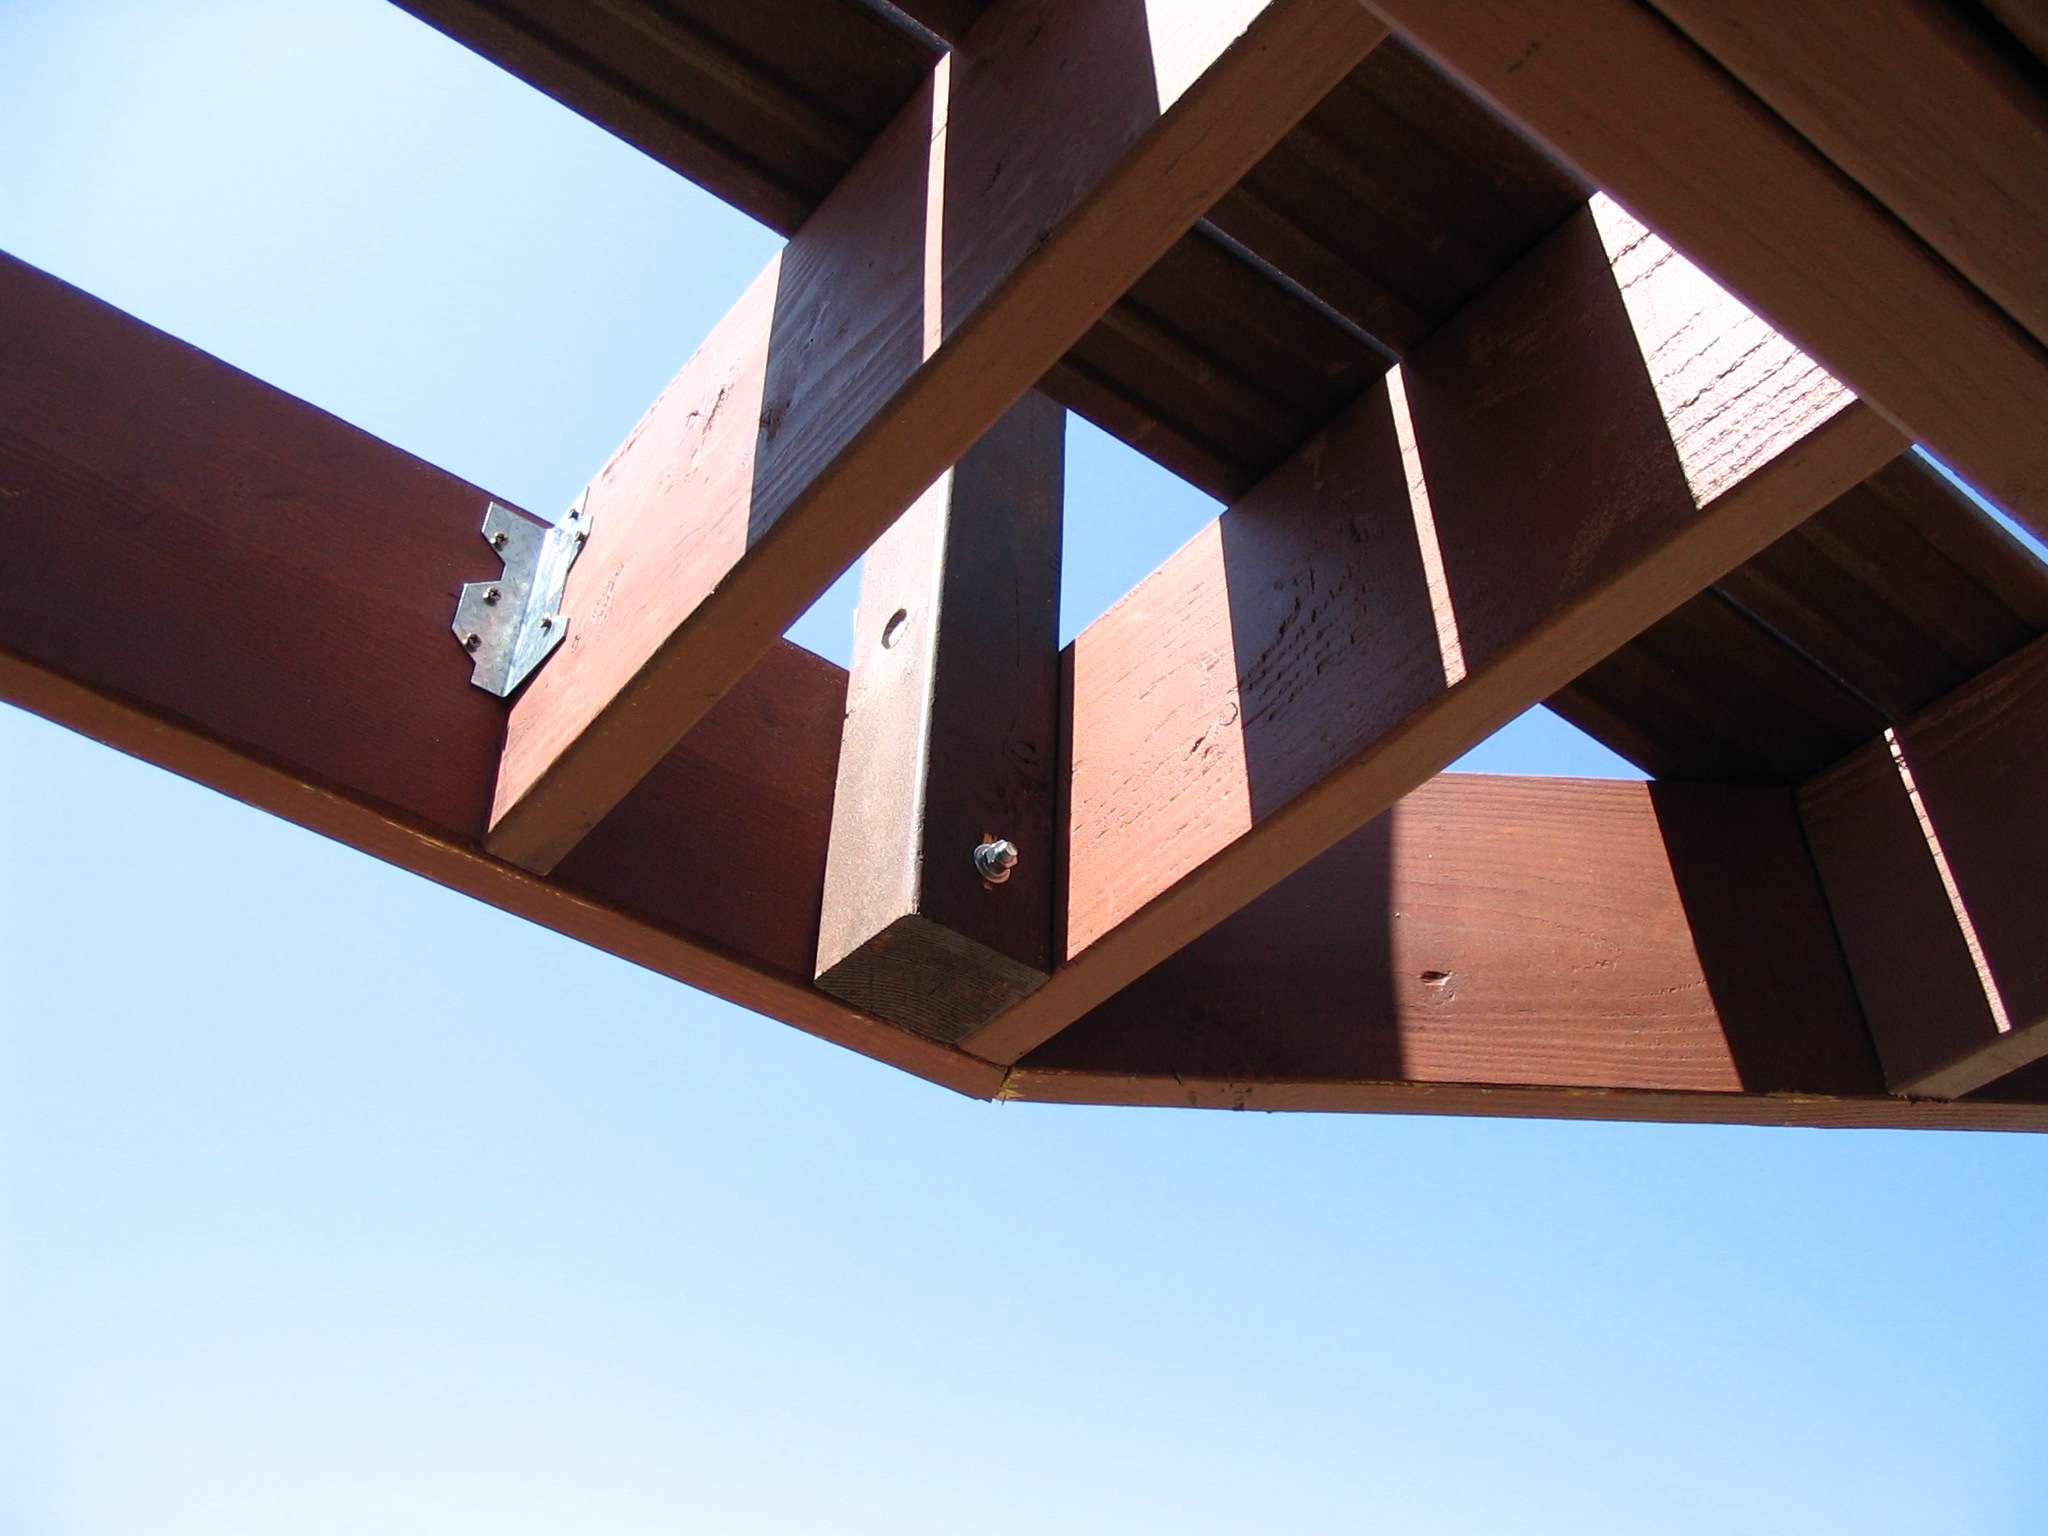
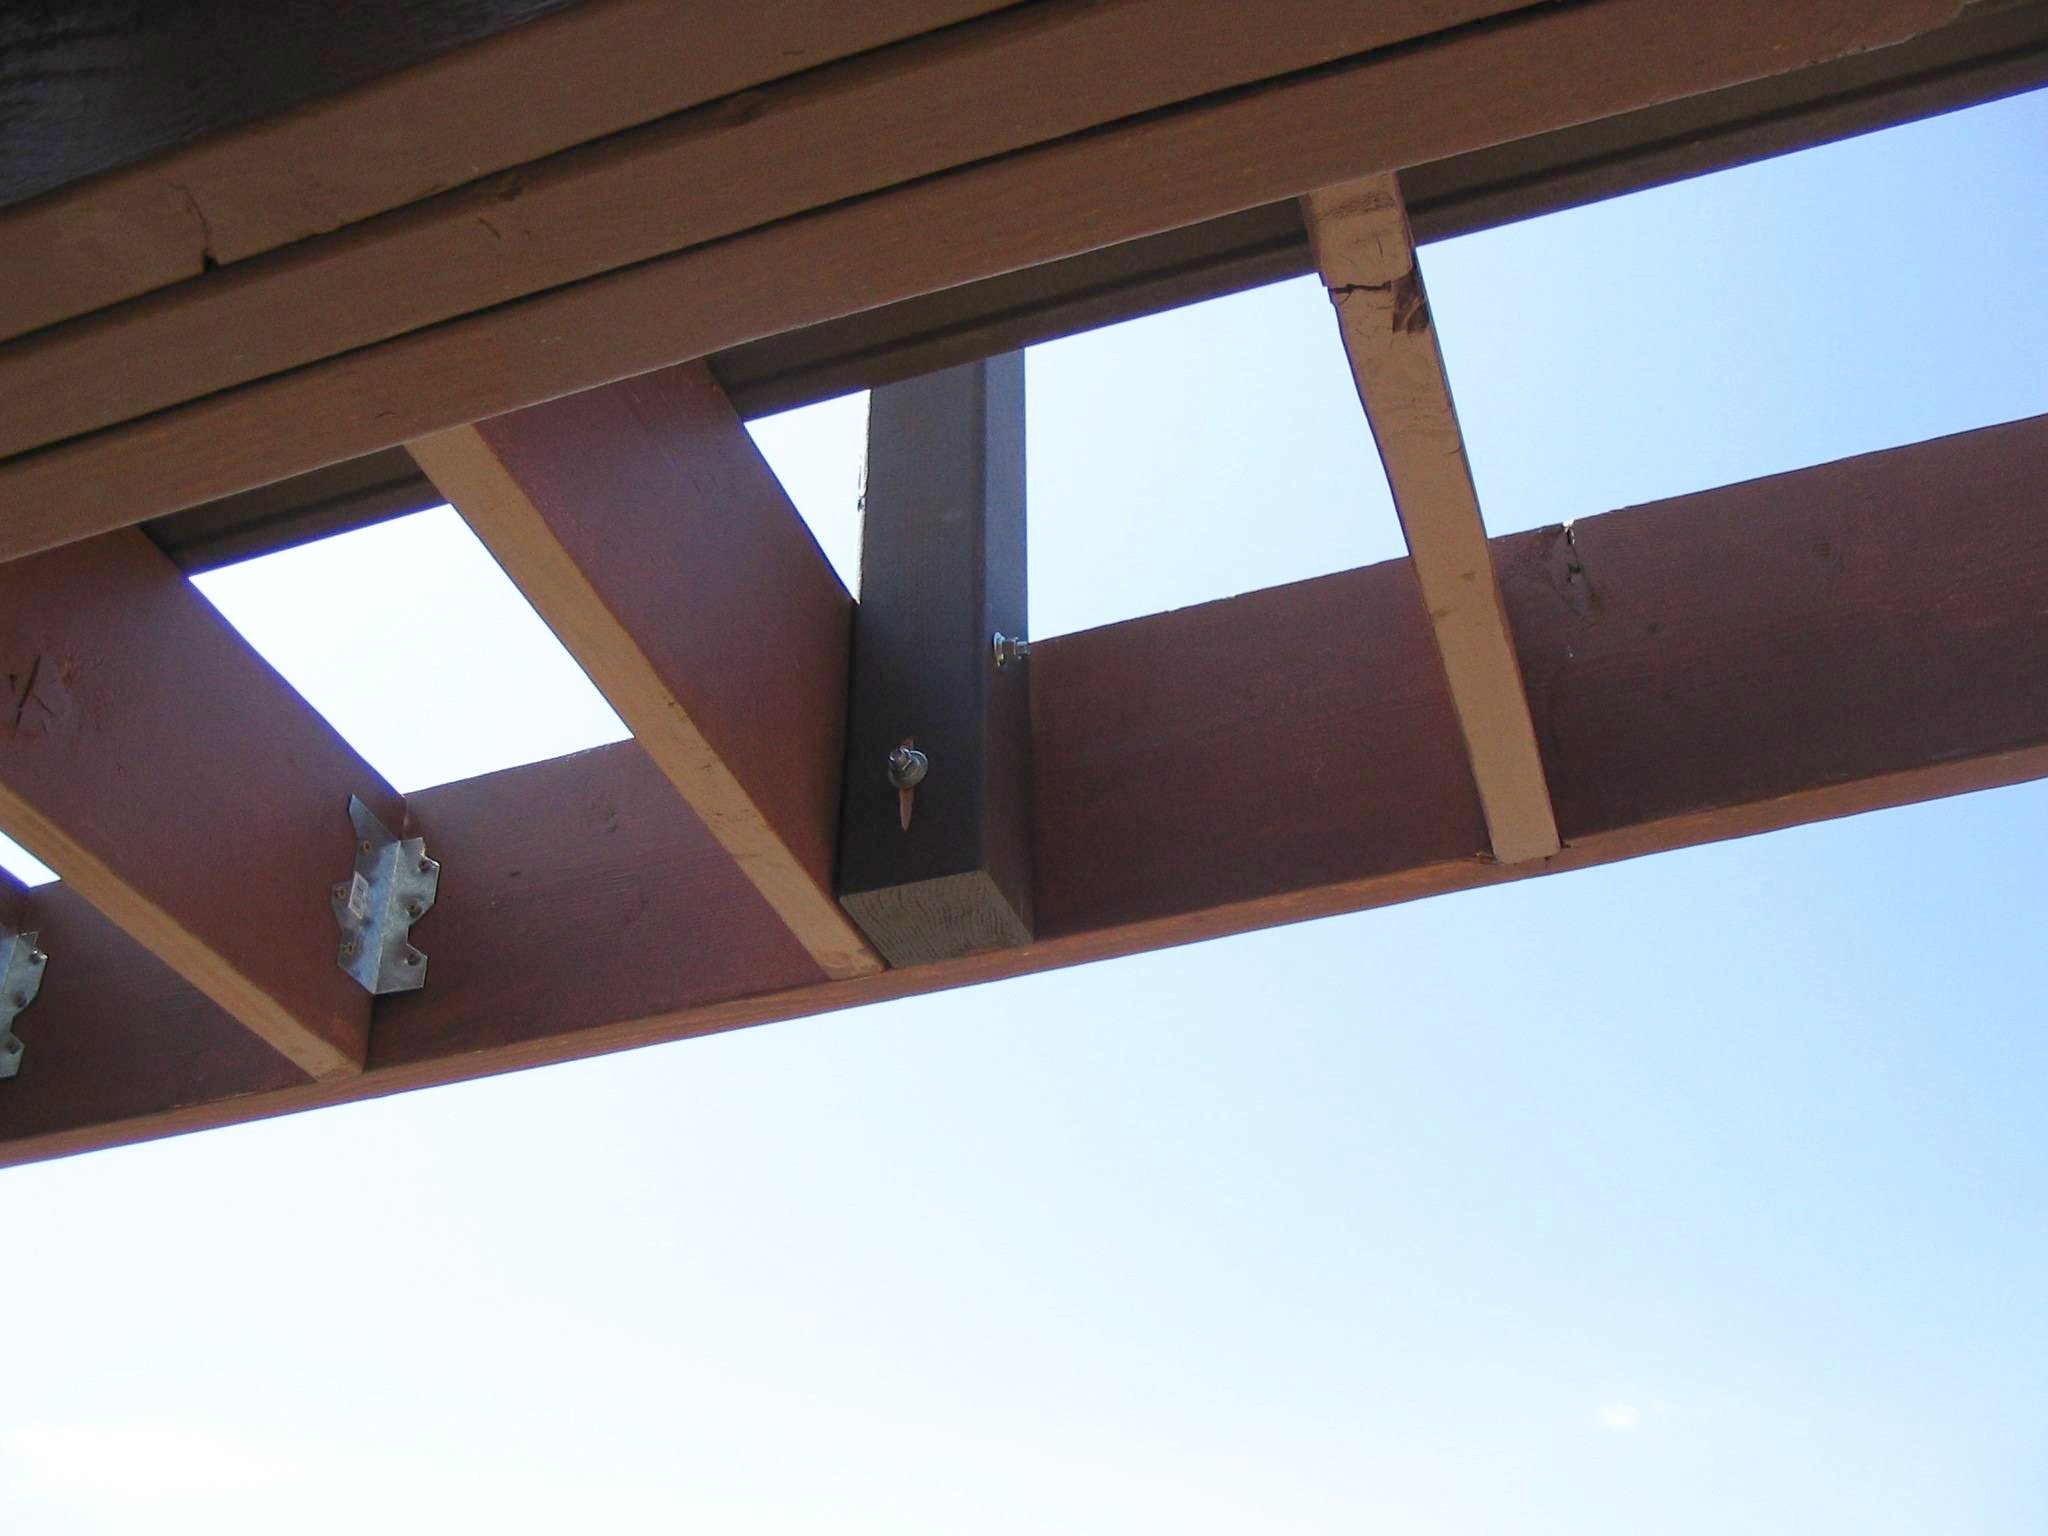
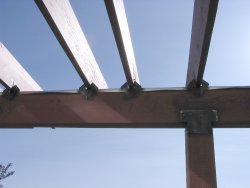
18 August 2007
Today we had Taylor, Brandon and Sam to help. This is always a winning
combination because there are enough hands to do a really good job. It’s
hard to believe we’ve been working on this thing for three months now. I
guess as it’s my last major project and it’s sort of fun, it
hasn’t been too bad an idea to drag it out a little. However,
Julene’s mouth is starting to water at the thought of how nice it will be
when finished.
We had hoped to get all the posts up today, but there were two impediments.
First, it rained this morning. Second, I miscounted and bought only half the
required bolts and other hardware for the job. No matter, I have used this size
before and Home Depot is always out of them. Today was no different: there were
probably at most 5 left when I got done rummaging through the boxes there.
The posts are anchored with two 3/8 × 5½" bolts with flat washers
on the head and nut ends, plus a lock washer and the nut.
They are, as predicted, very well anchored and a triumph over other decks
I’ve seen where the construction of the railing and posts was sort of an
after-thought and it’s frightening to lean against them as they’re
wobbly and unstable.
We did get about 10 of the joists, those on either side of the lonely post in
the last picture here, straightened and pinned using my 16d nail gun. This was
besides the ones to which we connected posts. We had to unanchor some of the
joists which were lower than the end cap we’d been putting on. I’m
betting that with the decking, these will sink back down onto the beam. It is
principally these that we straightened and pinned with nails. The
joist-straightener I built last week worked very well.
The posts will be cut off to the right height as soon as we discover what that
is after getting the railing up. It turned out cheaper to purchase 10' posts
and cut them in half than any other post solution. Like everything else, we
prepainted them.
|
|
|
|
|

|

|
|
|
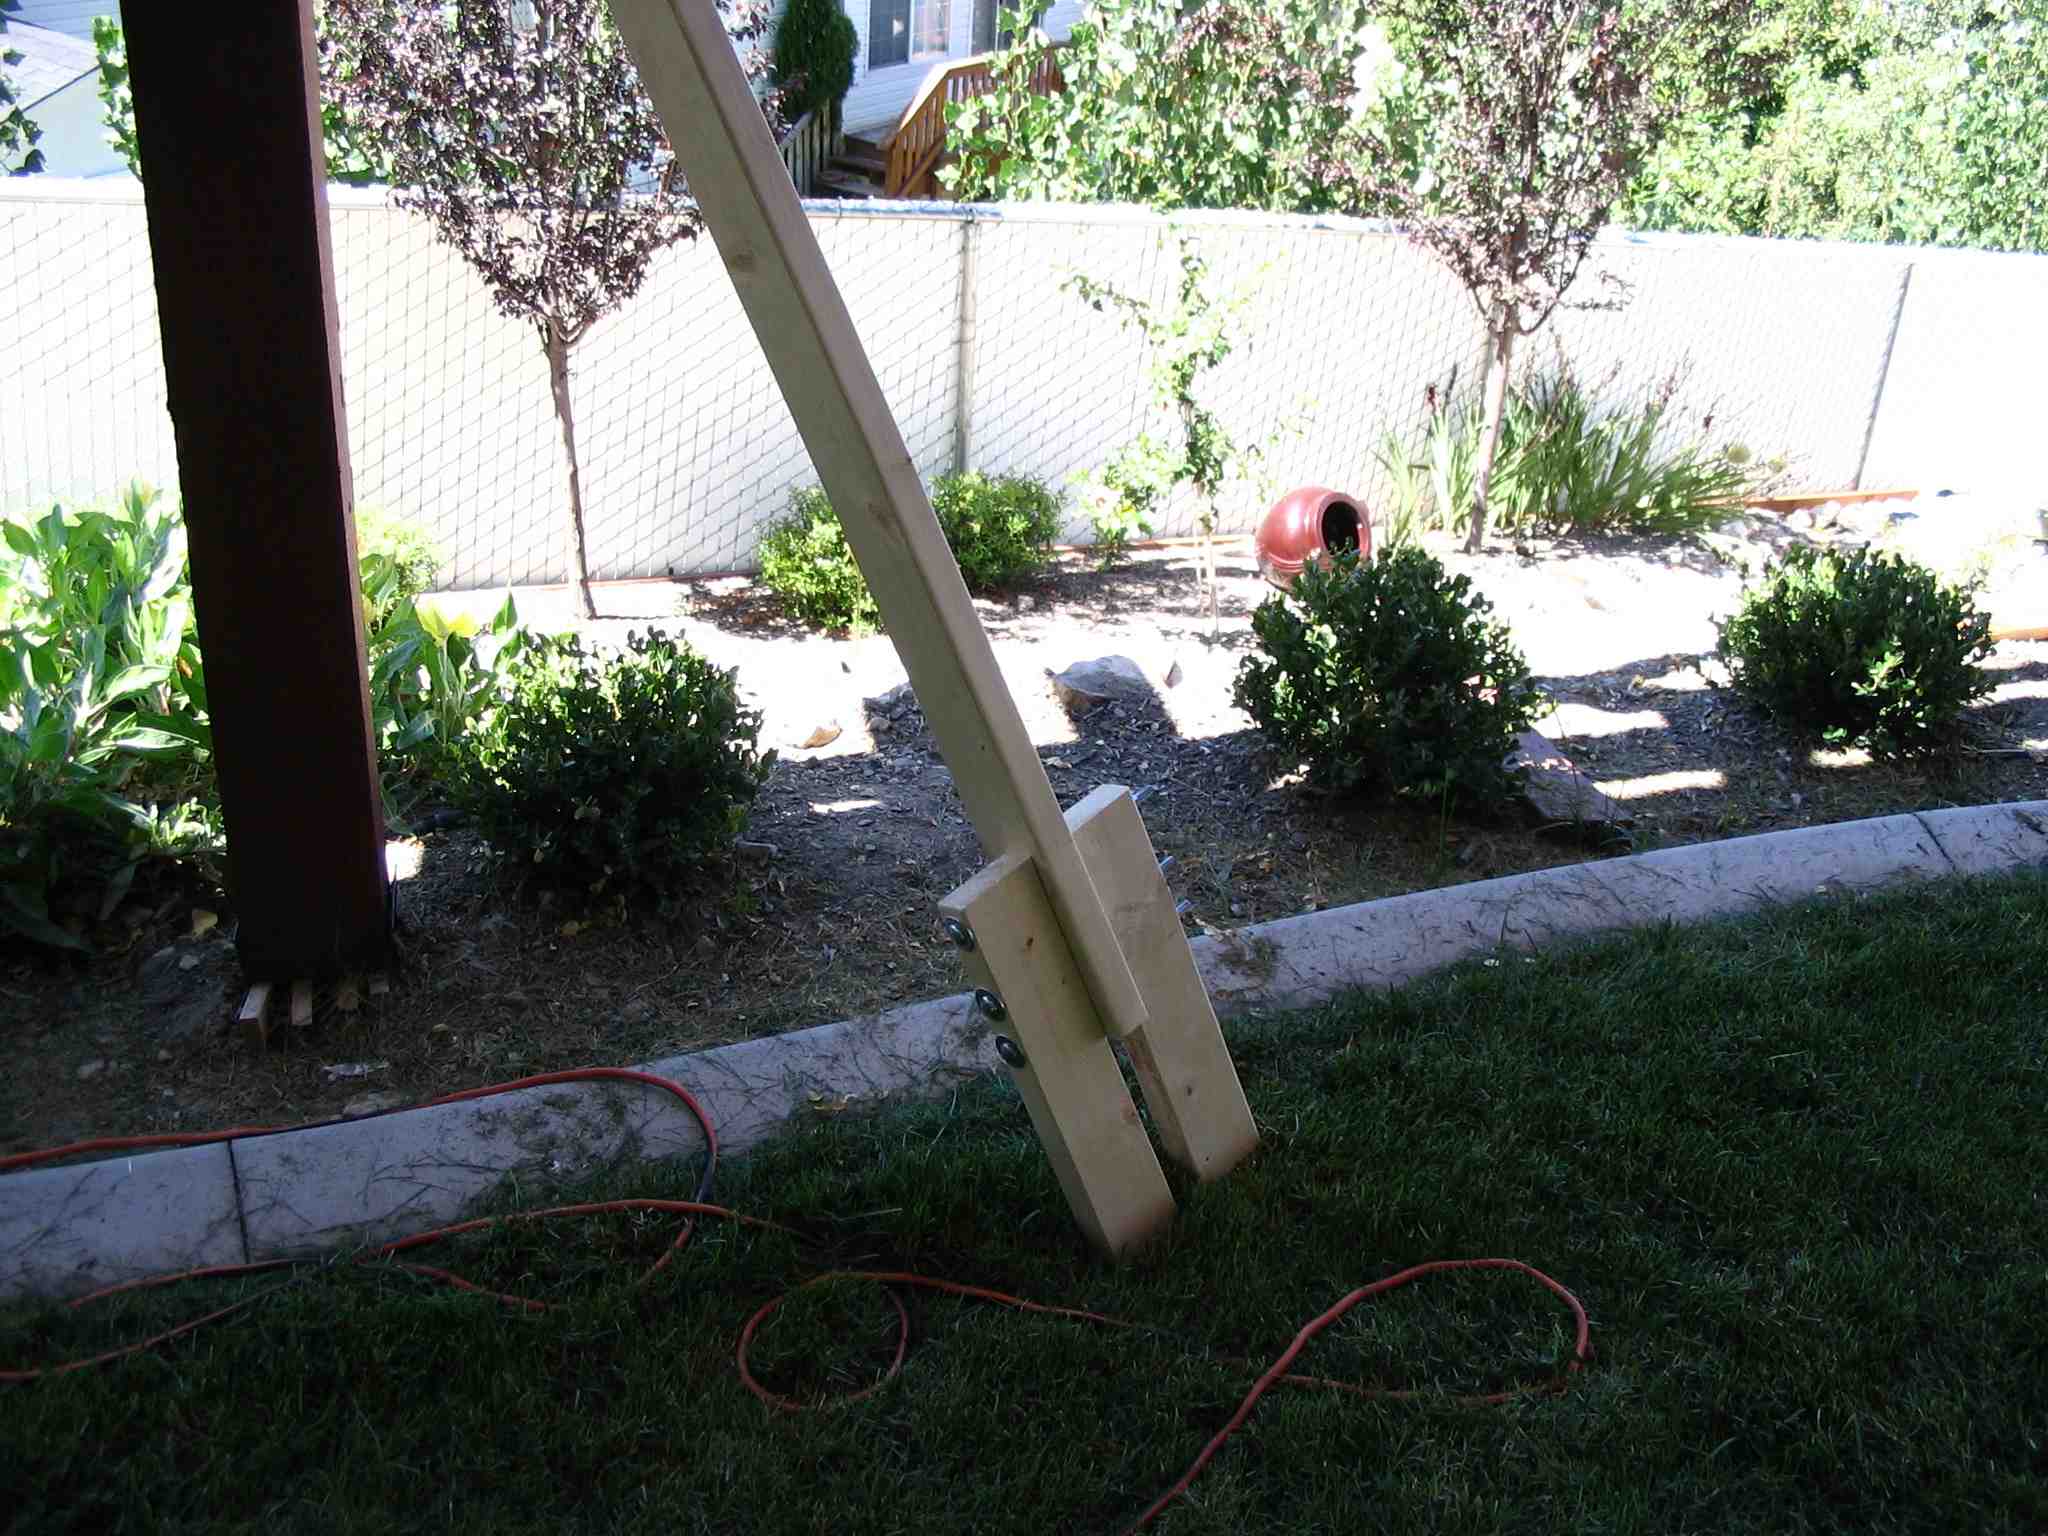
11 August 2007
Today, we finished applying the joist end-cap that runs around the perimeter of
the deck. Plus, a big break-through, I invented a joist-straightener (in the
first image) that I could build for cheap and easy—not requiring the
purchase of and fabrication out of steel. This tool won’t last for other
uses, but it will easily suffice to finish the deck. It works great; I spent
less than $8 on it.
|
|
|
|
|
7 August 2007
There was no progress today; I couldn’t get anyone over to help, even for
hire.
|
|
|
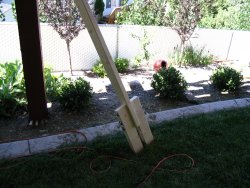
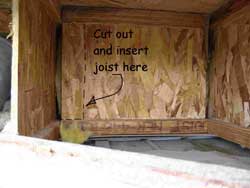
21 & 28 July 2007
The last two Saturdays have seen visits from family and weddings, so little has
been achieved. We’re trying to get the joist end caps on. We got one more
pony joist in the extra large space left under the bedroom bay. We still need
to add the end caps on the kitchen end plus finish securing them. The joists
are all twisted and I’ll need to manufacture a joist straightener to do
it because there are so many. We’ve been screwing two 2 × 4 to each
to serve as levers (as still seen sticking up in the air in the first image
below), but this takes too long.
|
|

|

|
|
|
14 July 2007
Brandon and Sam came on Bastille Day (Allons enfants !).
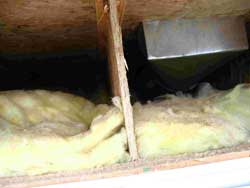
We inserted the remaining 5 joists into the bedroom bay and then secured all
but two. We’ll need longer lag screws for one and an entirely different
securing system for the last joist which isn’t set alongside one in the
house as seen in the second of the two images here.
We also weren’t prepared with brackets to attach the joists to the beam
and found that the beam was really too low at that end. There are two
possibilities. As the joists are run alongside house BCI joists and therefore
accurately represent the level of the house, perhaps the house itself
isn’t totally level. A second possibility is that there was gross
cumulative error in the leveling of the beam as we installed it (Guess which
hypothesis I favor.) So, we raised the beam first 2", then only 1½"
as it was too noticeable.
One space is just a little too big; it may be necessary to poney in an
additional joist just as happened down at the other end. The bay joists
aren’t the easiest to follow because of the corners.
|
|
|
|
|
7 July 2007
No one to help today; I finish populating the beam with 3/8" bolts, applied the
last section of timber to the beam, and cut all the slots under the bedroom bay
for the remaining joists. I tried a joist in several of the new slots. Some I
will be able to do myself, others will require help inserting the joist. One
slot leads to a conflict with a Romex cable, but the joist will be deep enough
without cutting it to allow it to bear on the sill.
I put up three of my misters to try out.
There are no photos because today’s accomplishments are scarcely visible.
|
|
|
4 July 2007
The last two Saturdays, we were travelling to and from Oklahoma for
Julene’s family reunion. Brandon and Sam were here to help today.
Today, we tightened the steel cables (see 9 June), added bolts through the
three timbers that make up the beam, and installed some blocking in preparation
for a joist underneath the kitchen bay where one could not be inserted. Then we
finished opening up the master bedroom bay.
|

|

|
|
|
|
|
19 June 2007
The deck planking arrived: 48 20' lengths and 24 16' lengths. Randy and his son
Ray came; Sam, Julene and Anya were on hand to transport this from the
driveway where it was delivered to atop the joists. It was heavy work and took
a long time. Ray stacked everything neatly as the rest of us carted it around
back and hefted it up onto the joists. (I am beat.)
What’s left before we can attach these planks? The remaining bay window
joists, a missing joist on the dining bay that will have to be blocked in
(because it can’t be thrust into the bay), blocking for and posts
attached, finish trim all around joists.
|

|
|
|
|
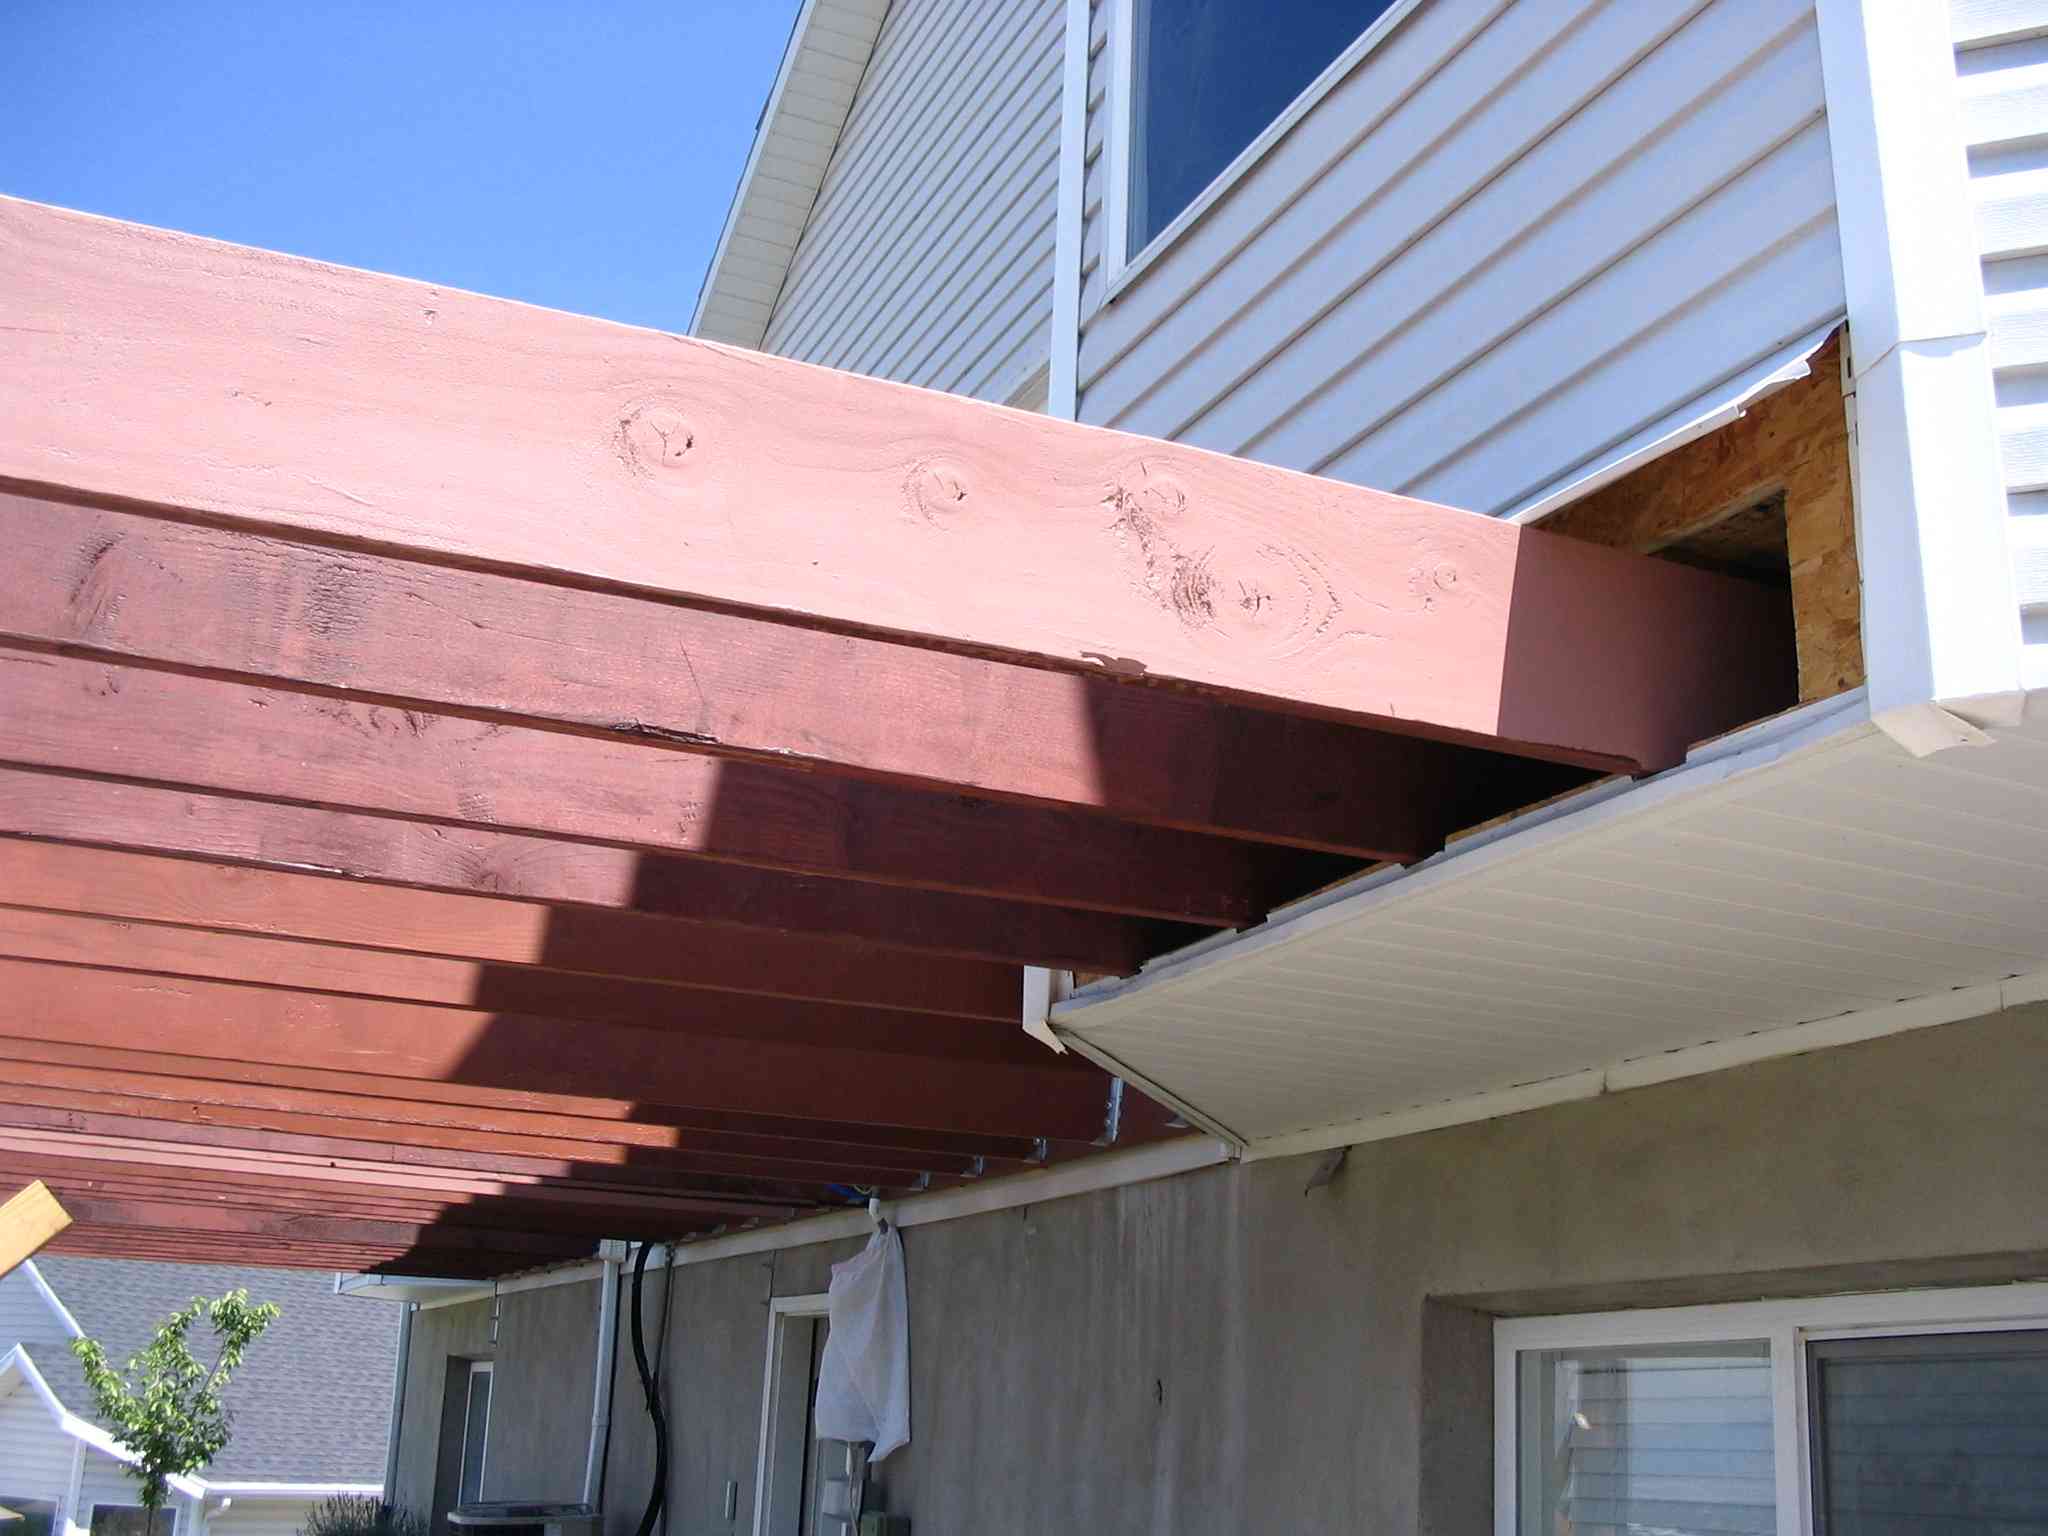
16 June 2007
Danny came this morning and we worked hard and fast to finish the south end of
the deck including capping the entire length of the beam, which we had to
finish tripling, with an aluminum strip to shed water. Also, the bay joists
were secured with lag screws to the BCIs in the house.
|
|
|
|

|

|

|
|
|
|
|
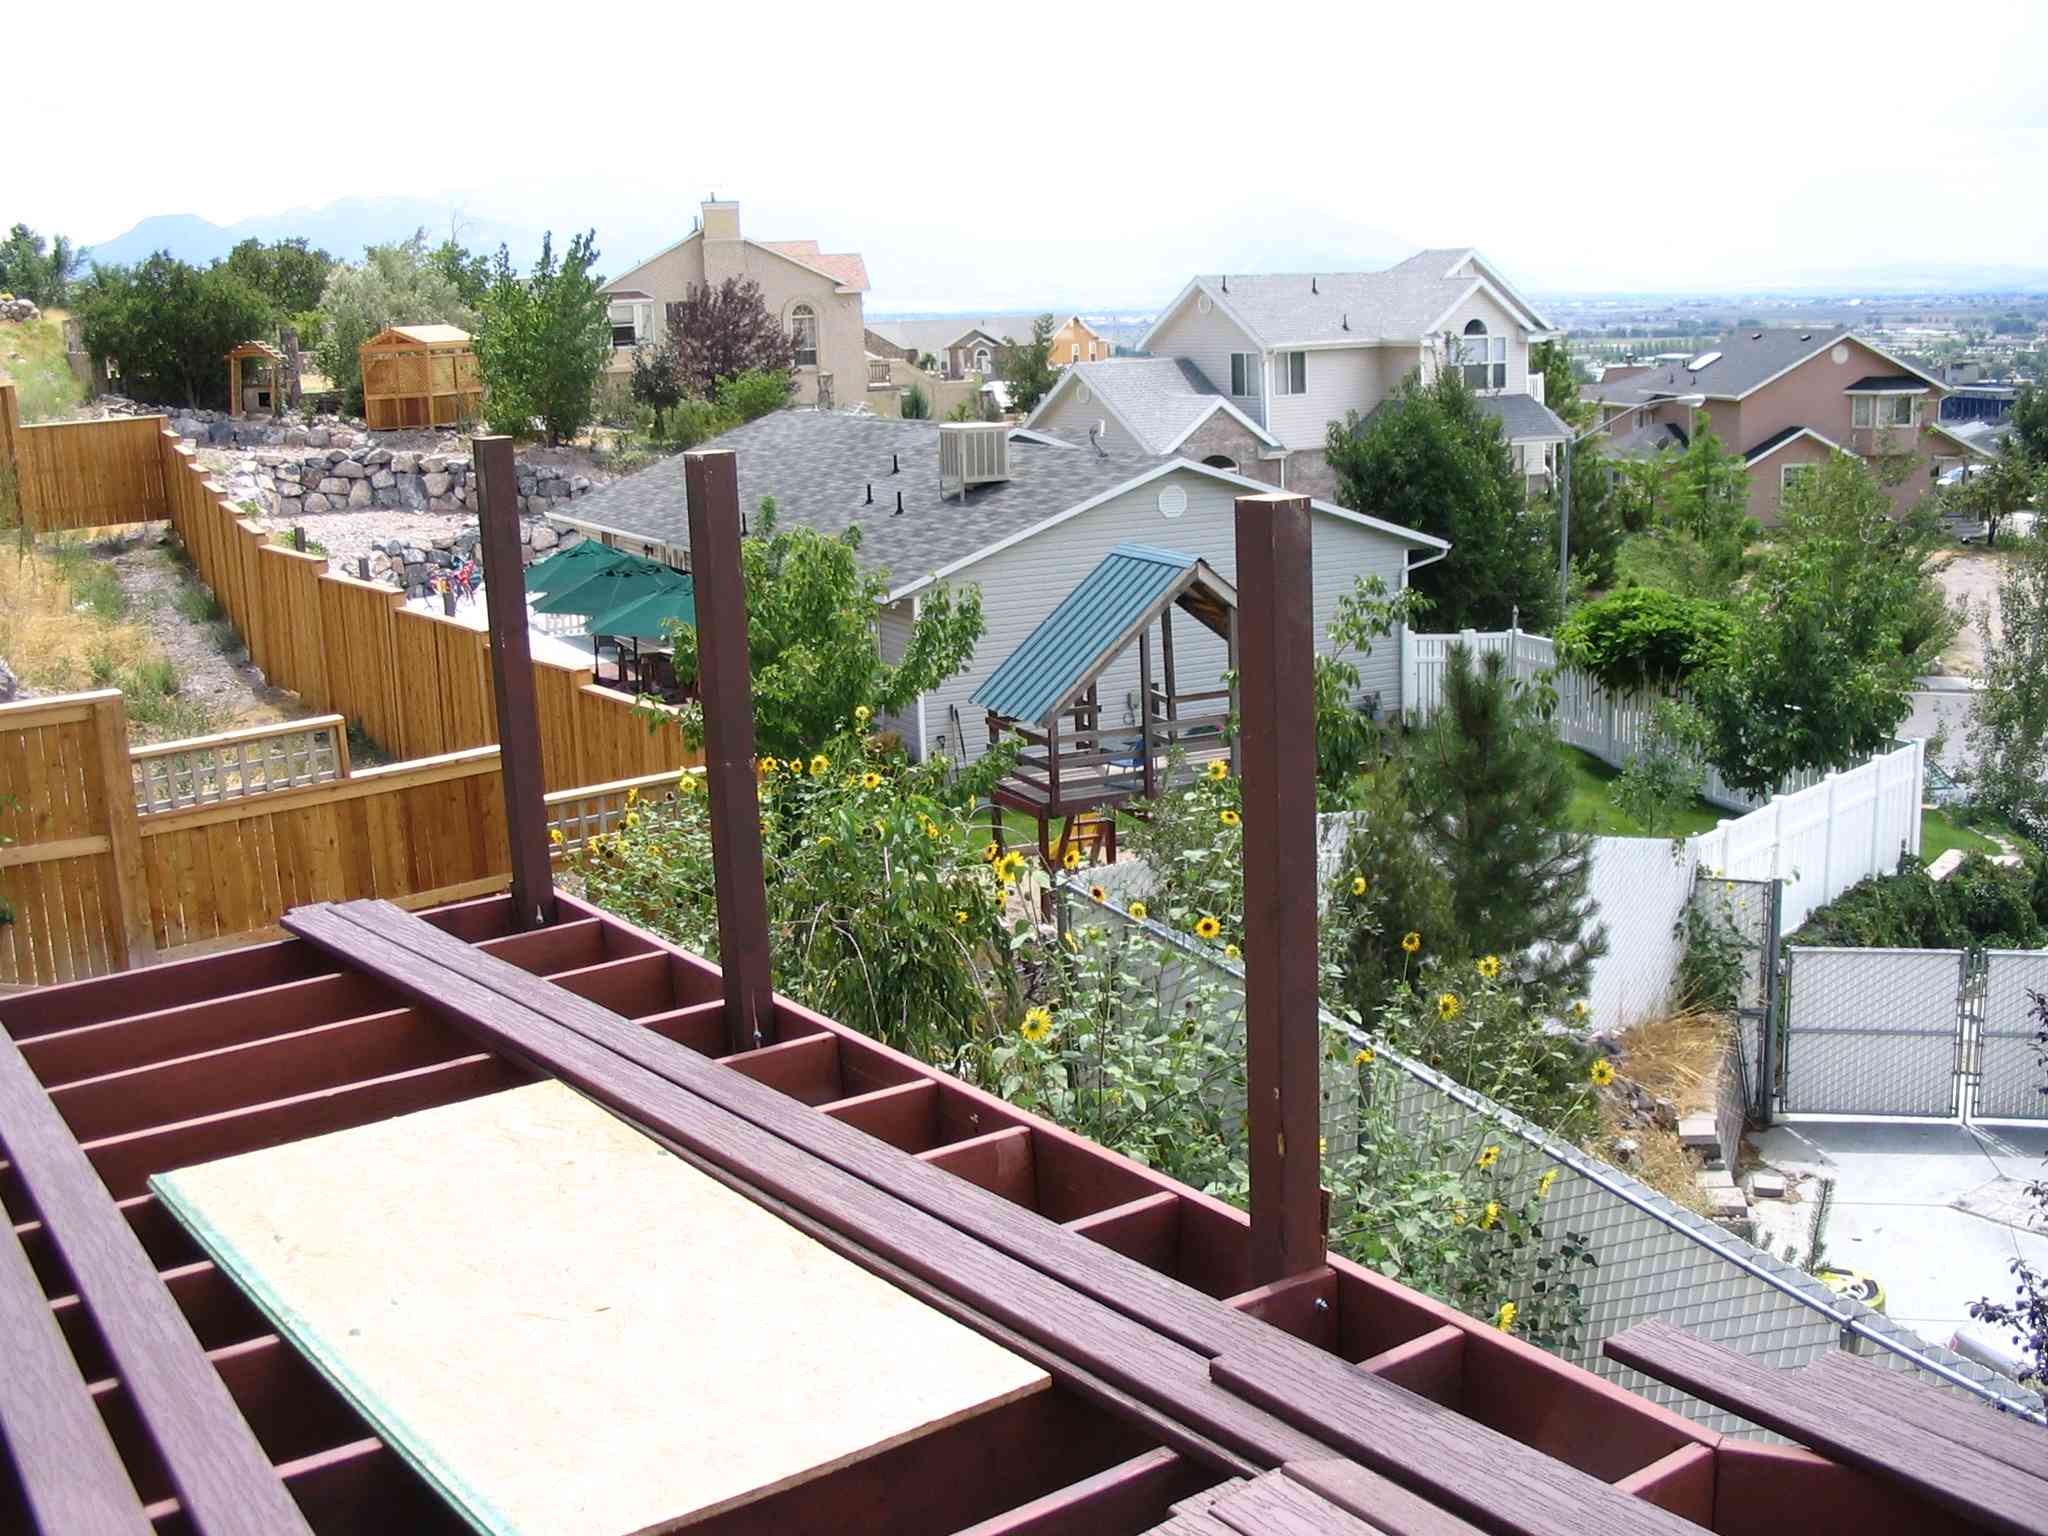
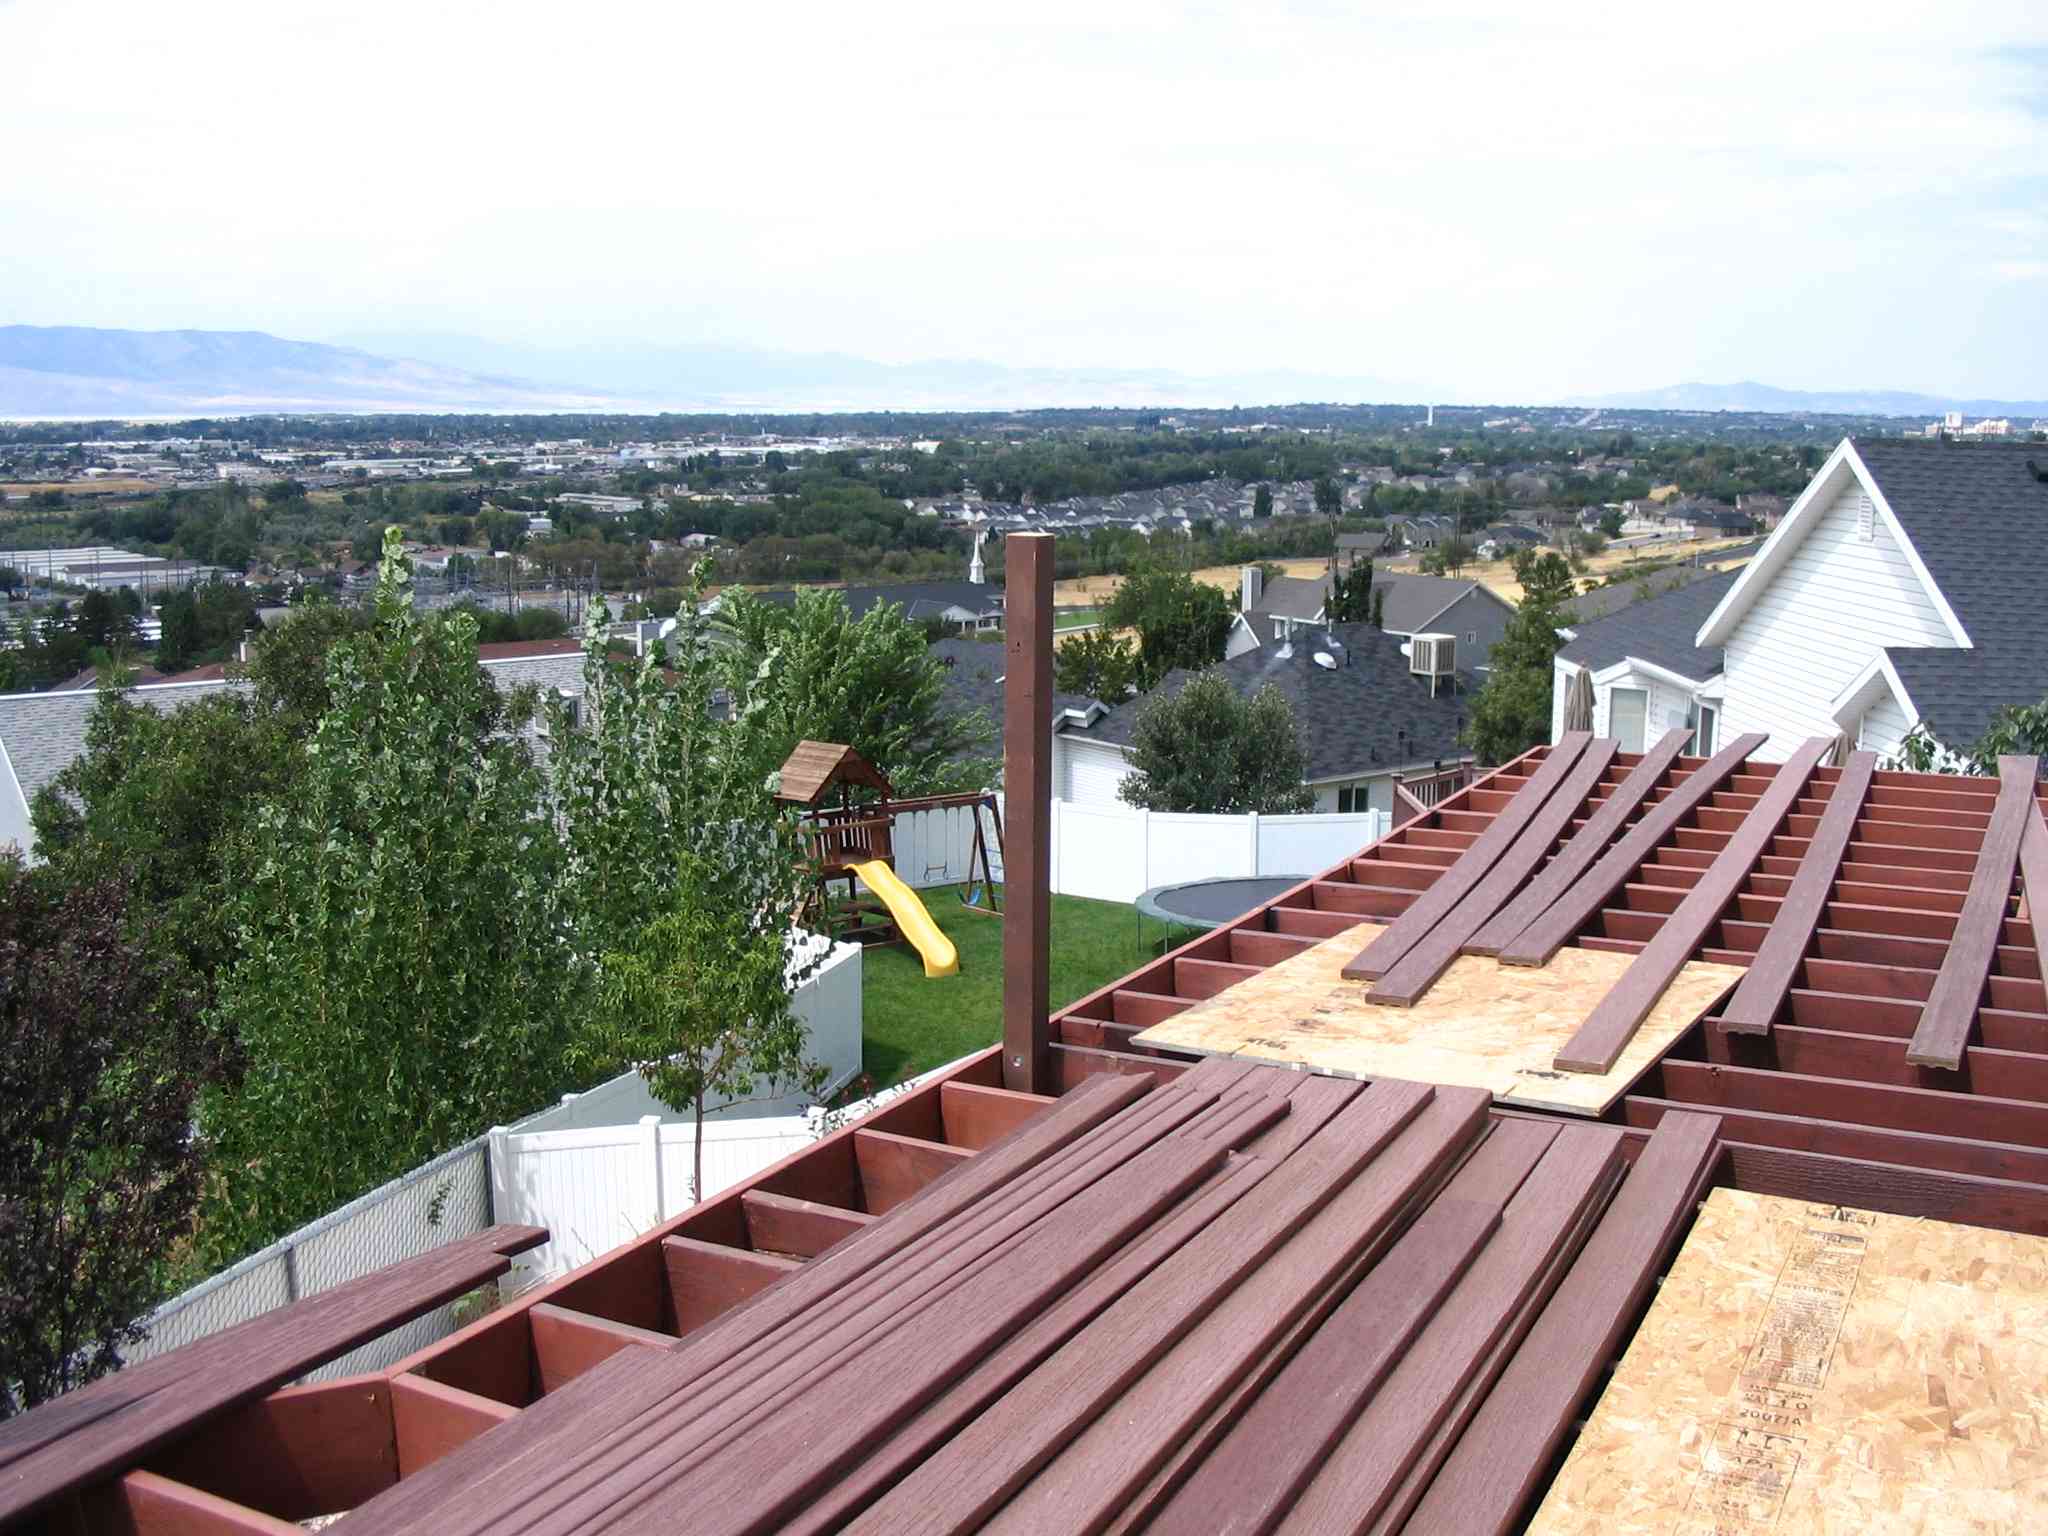
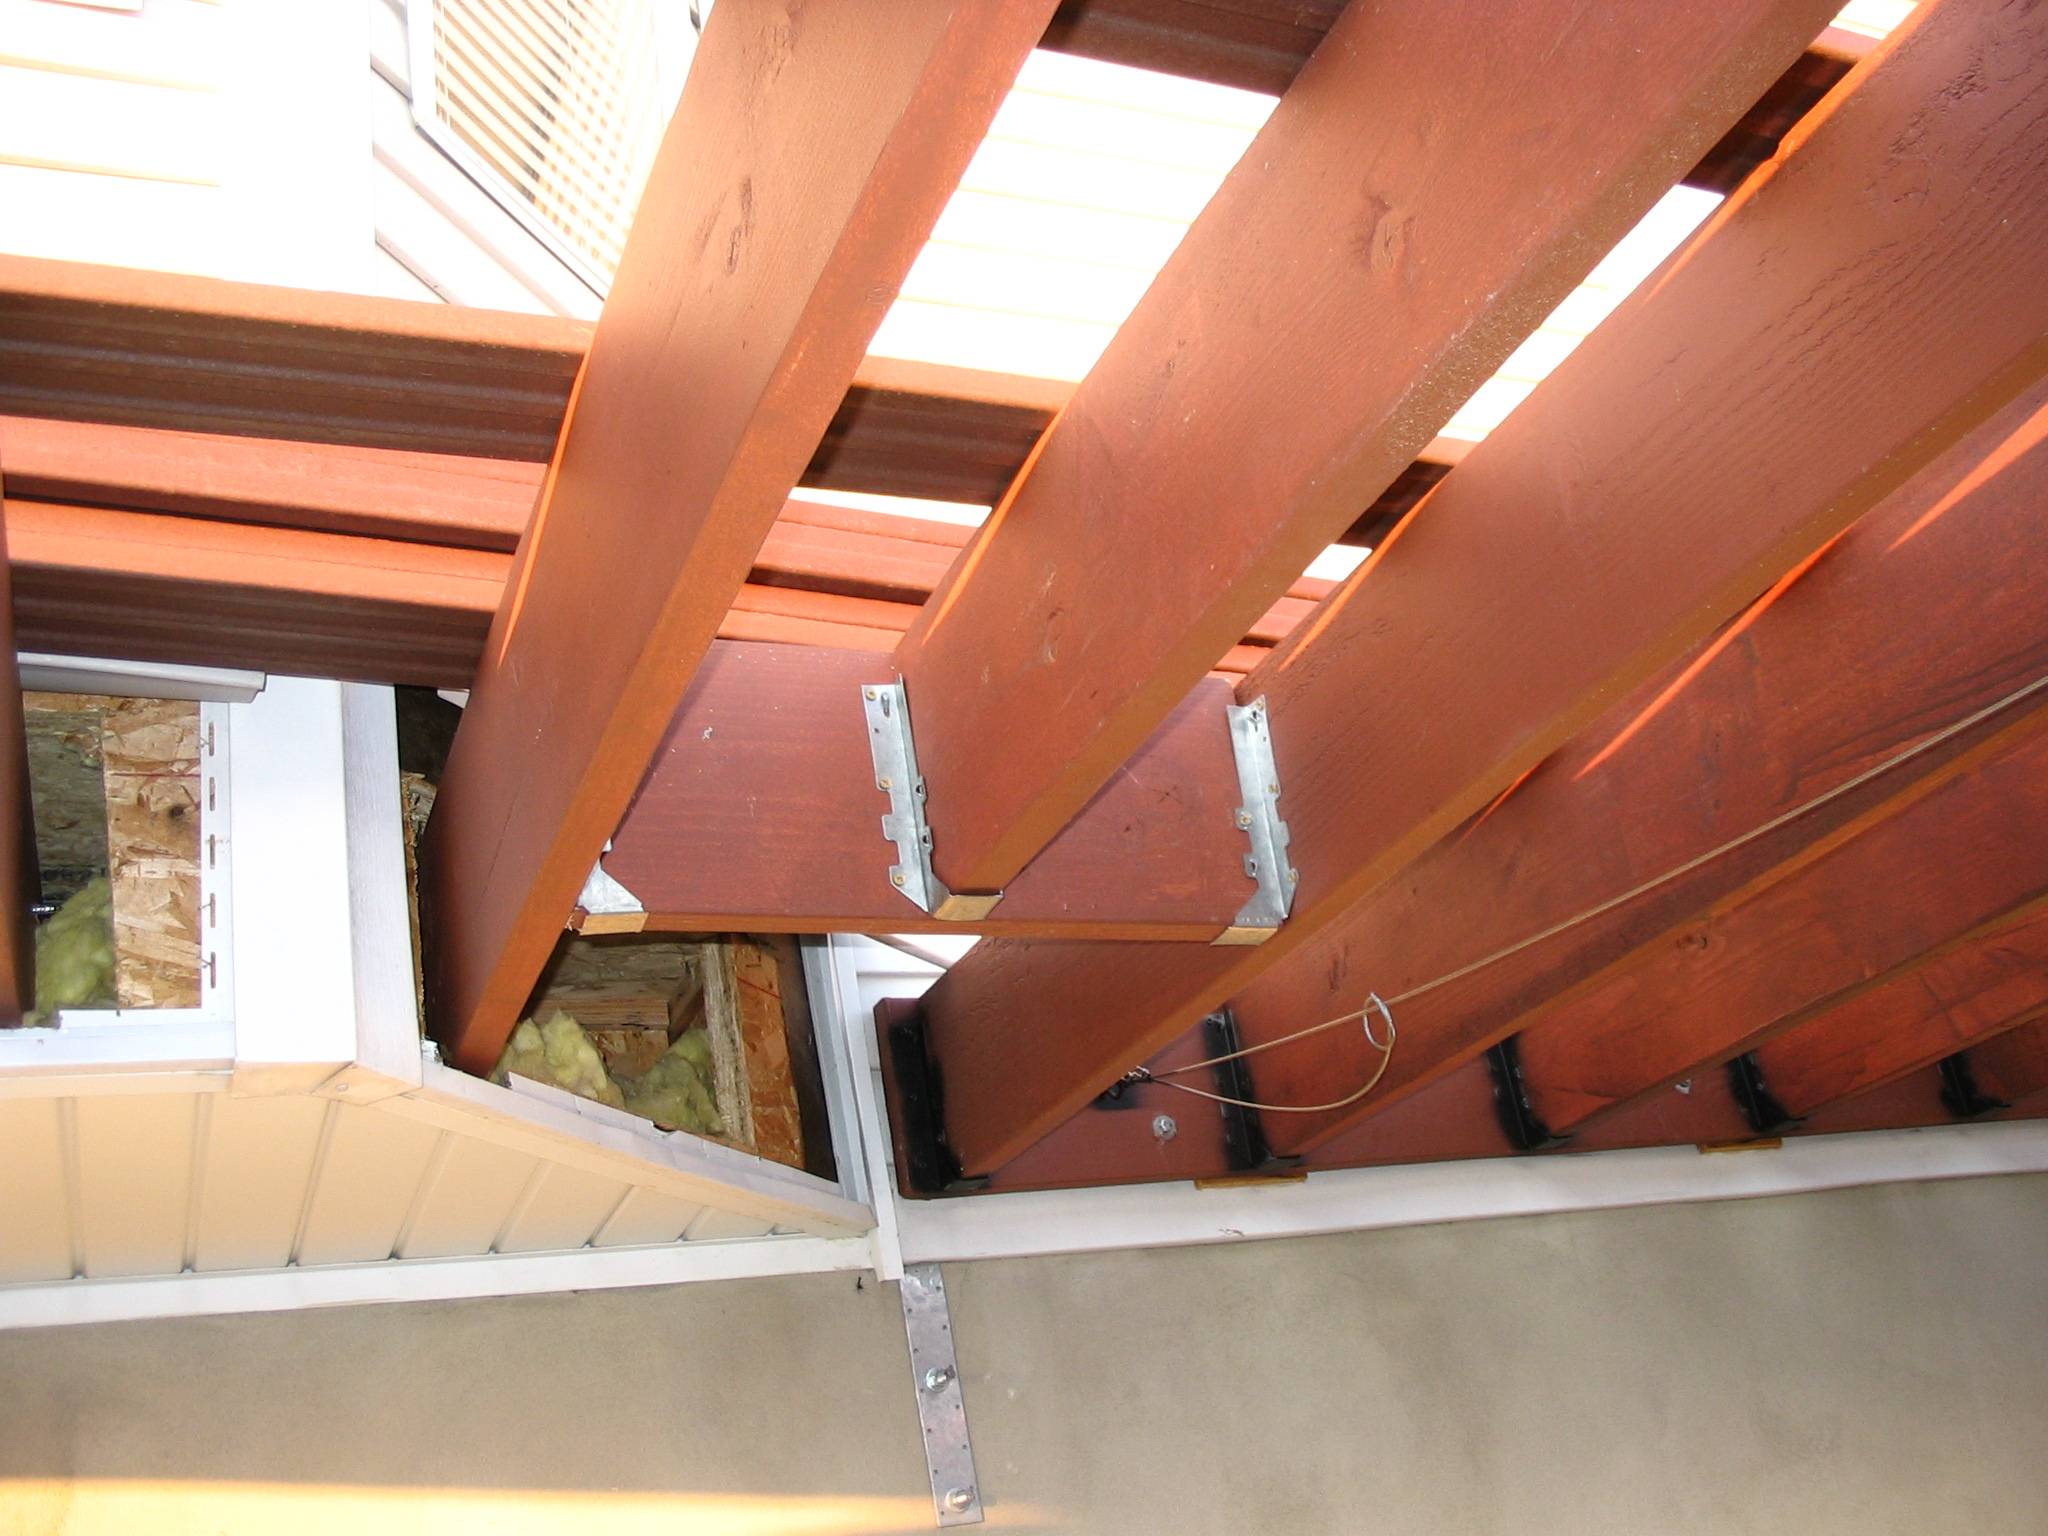
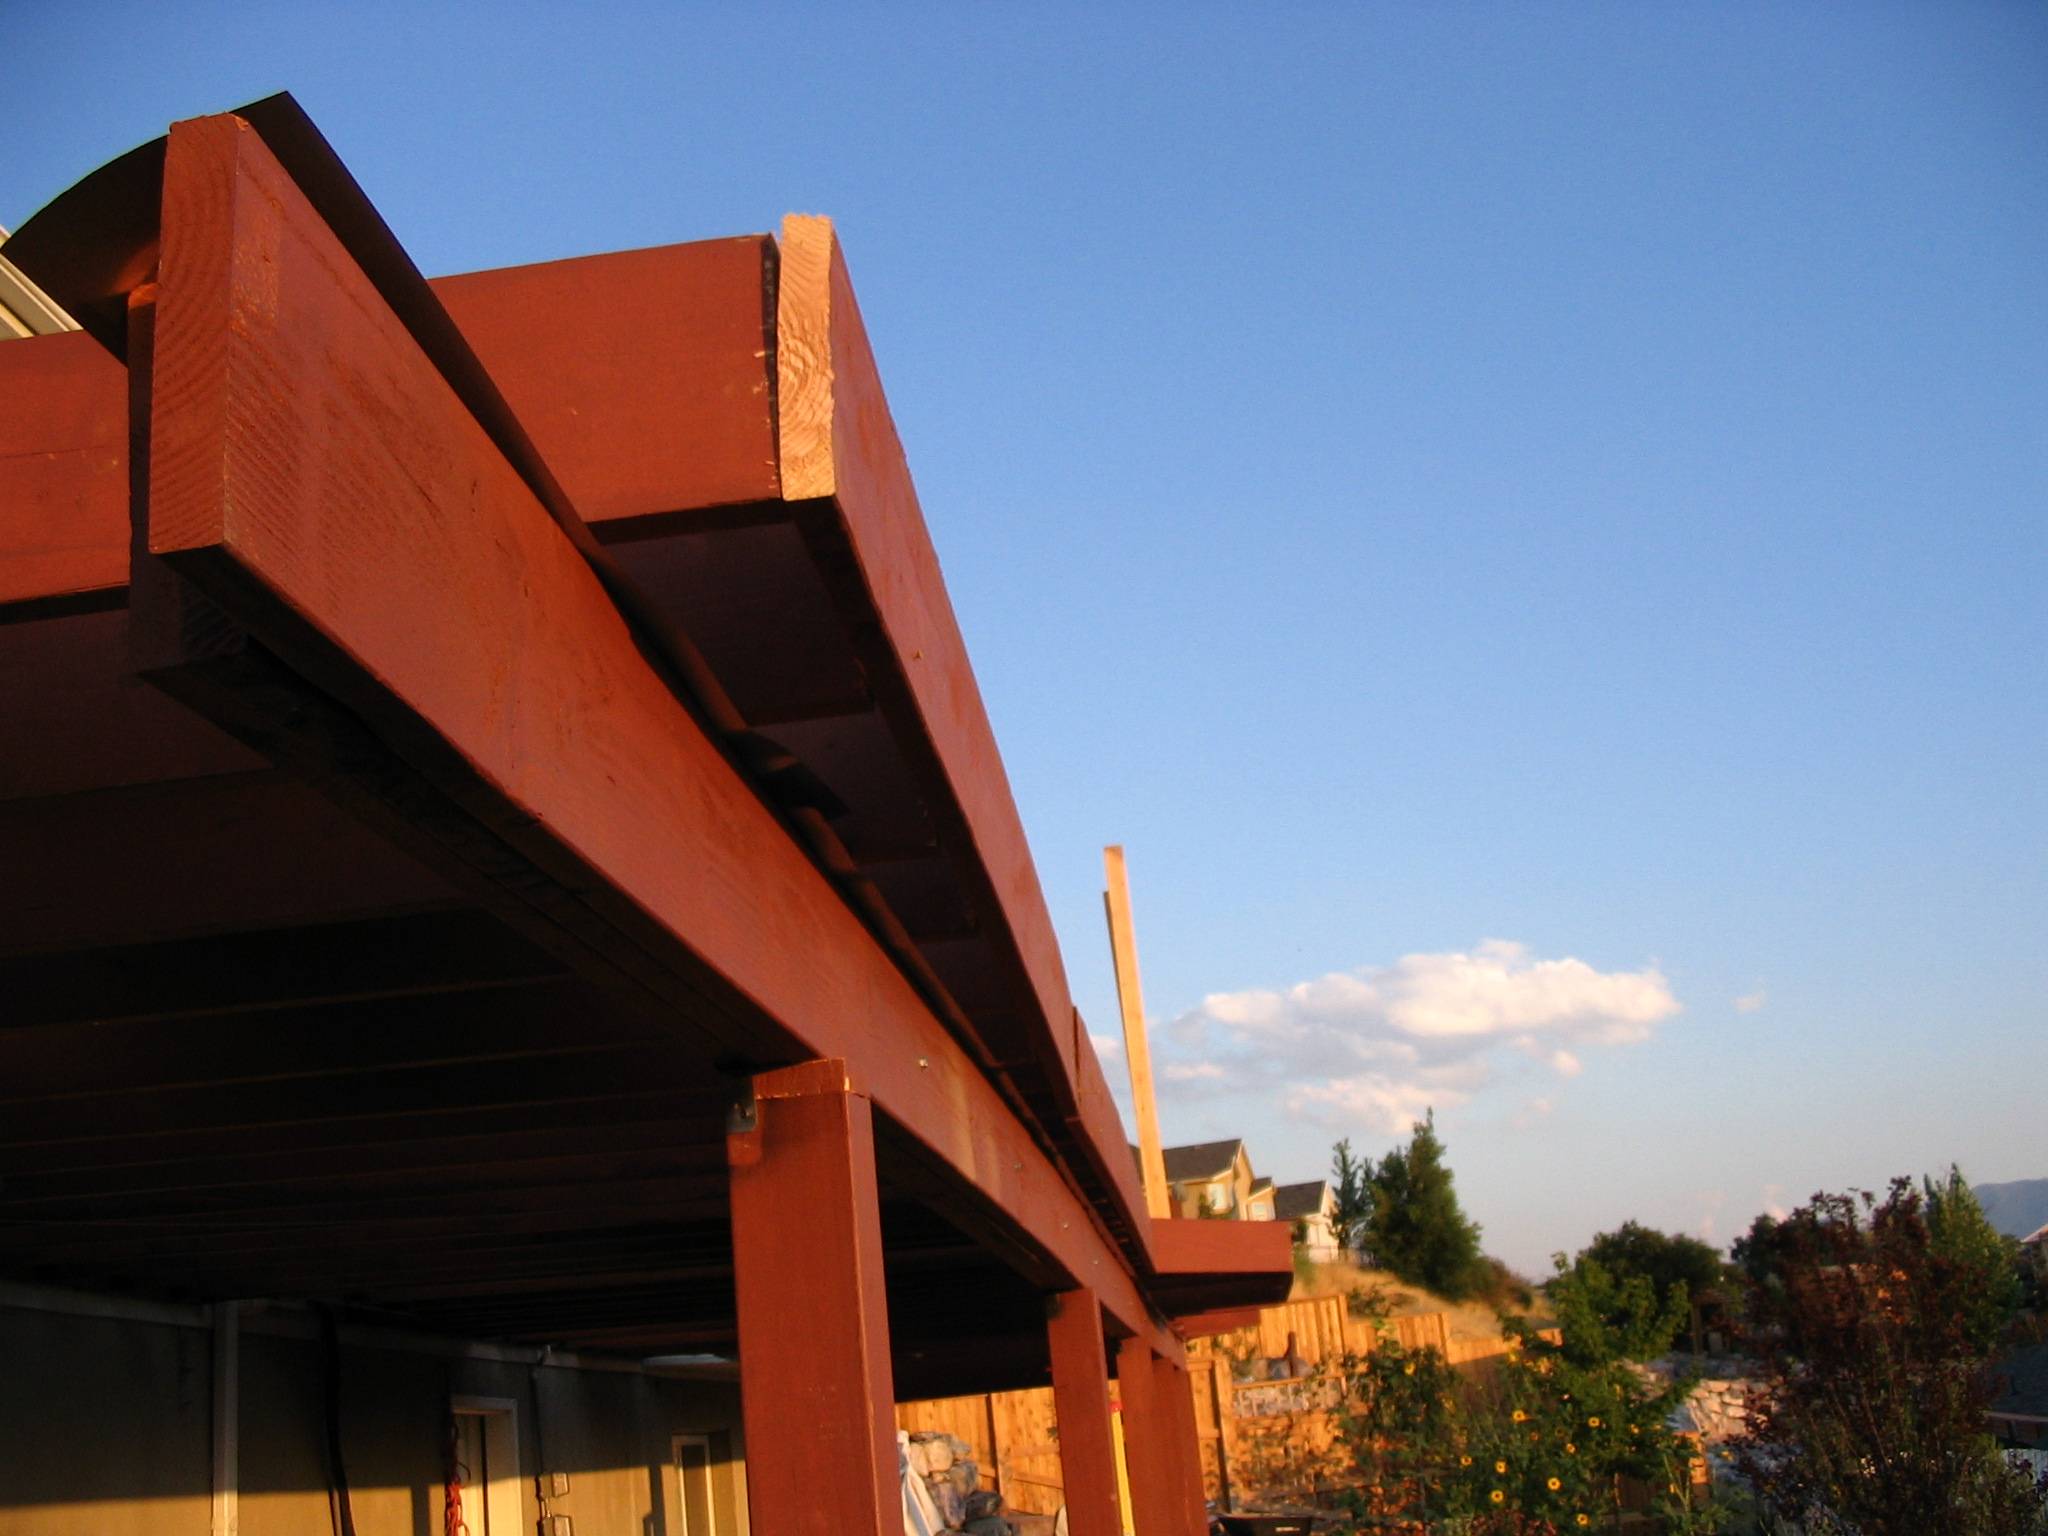
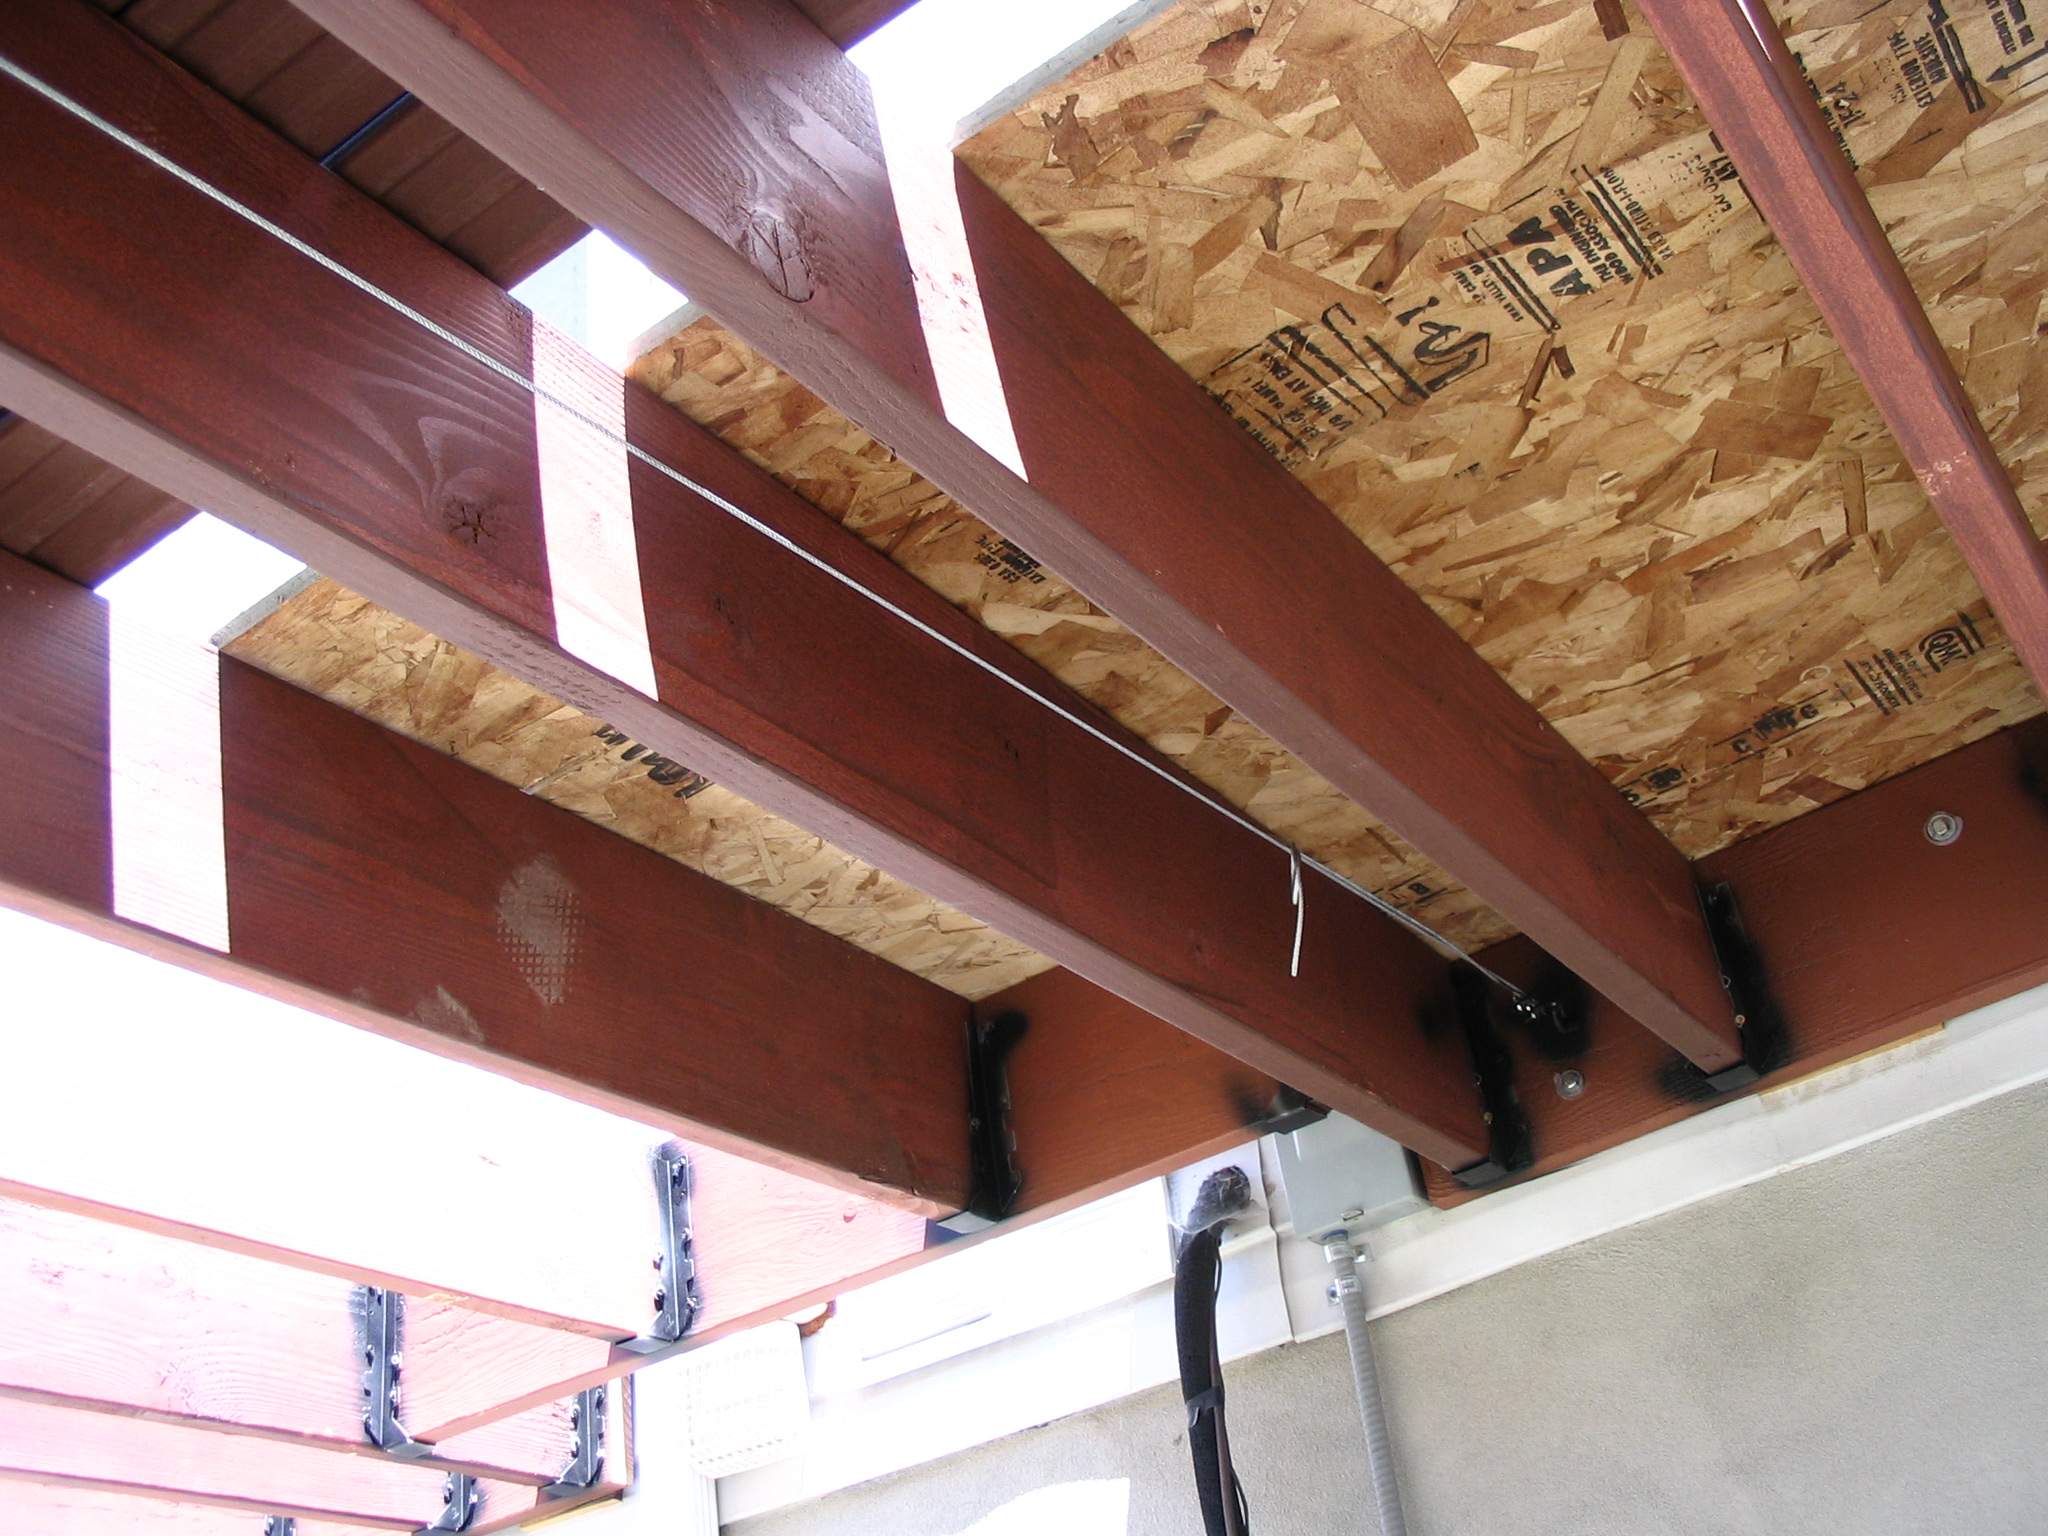
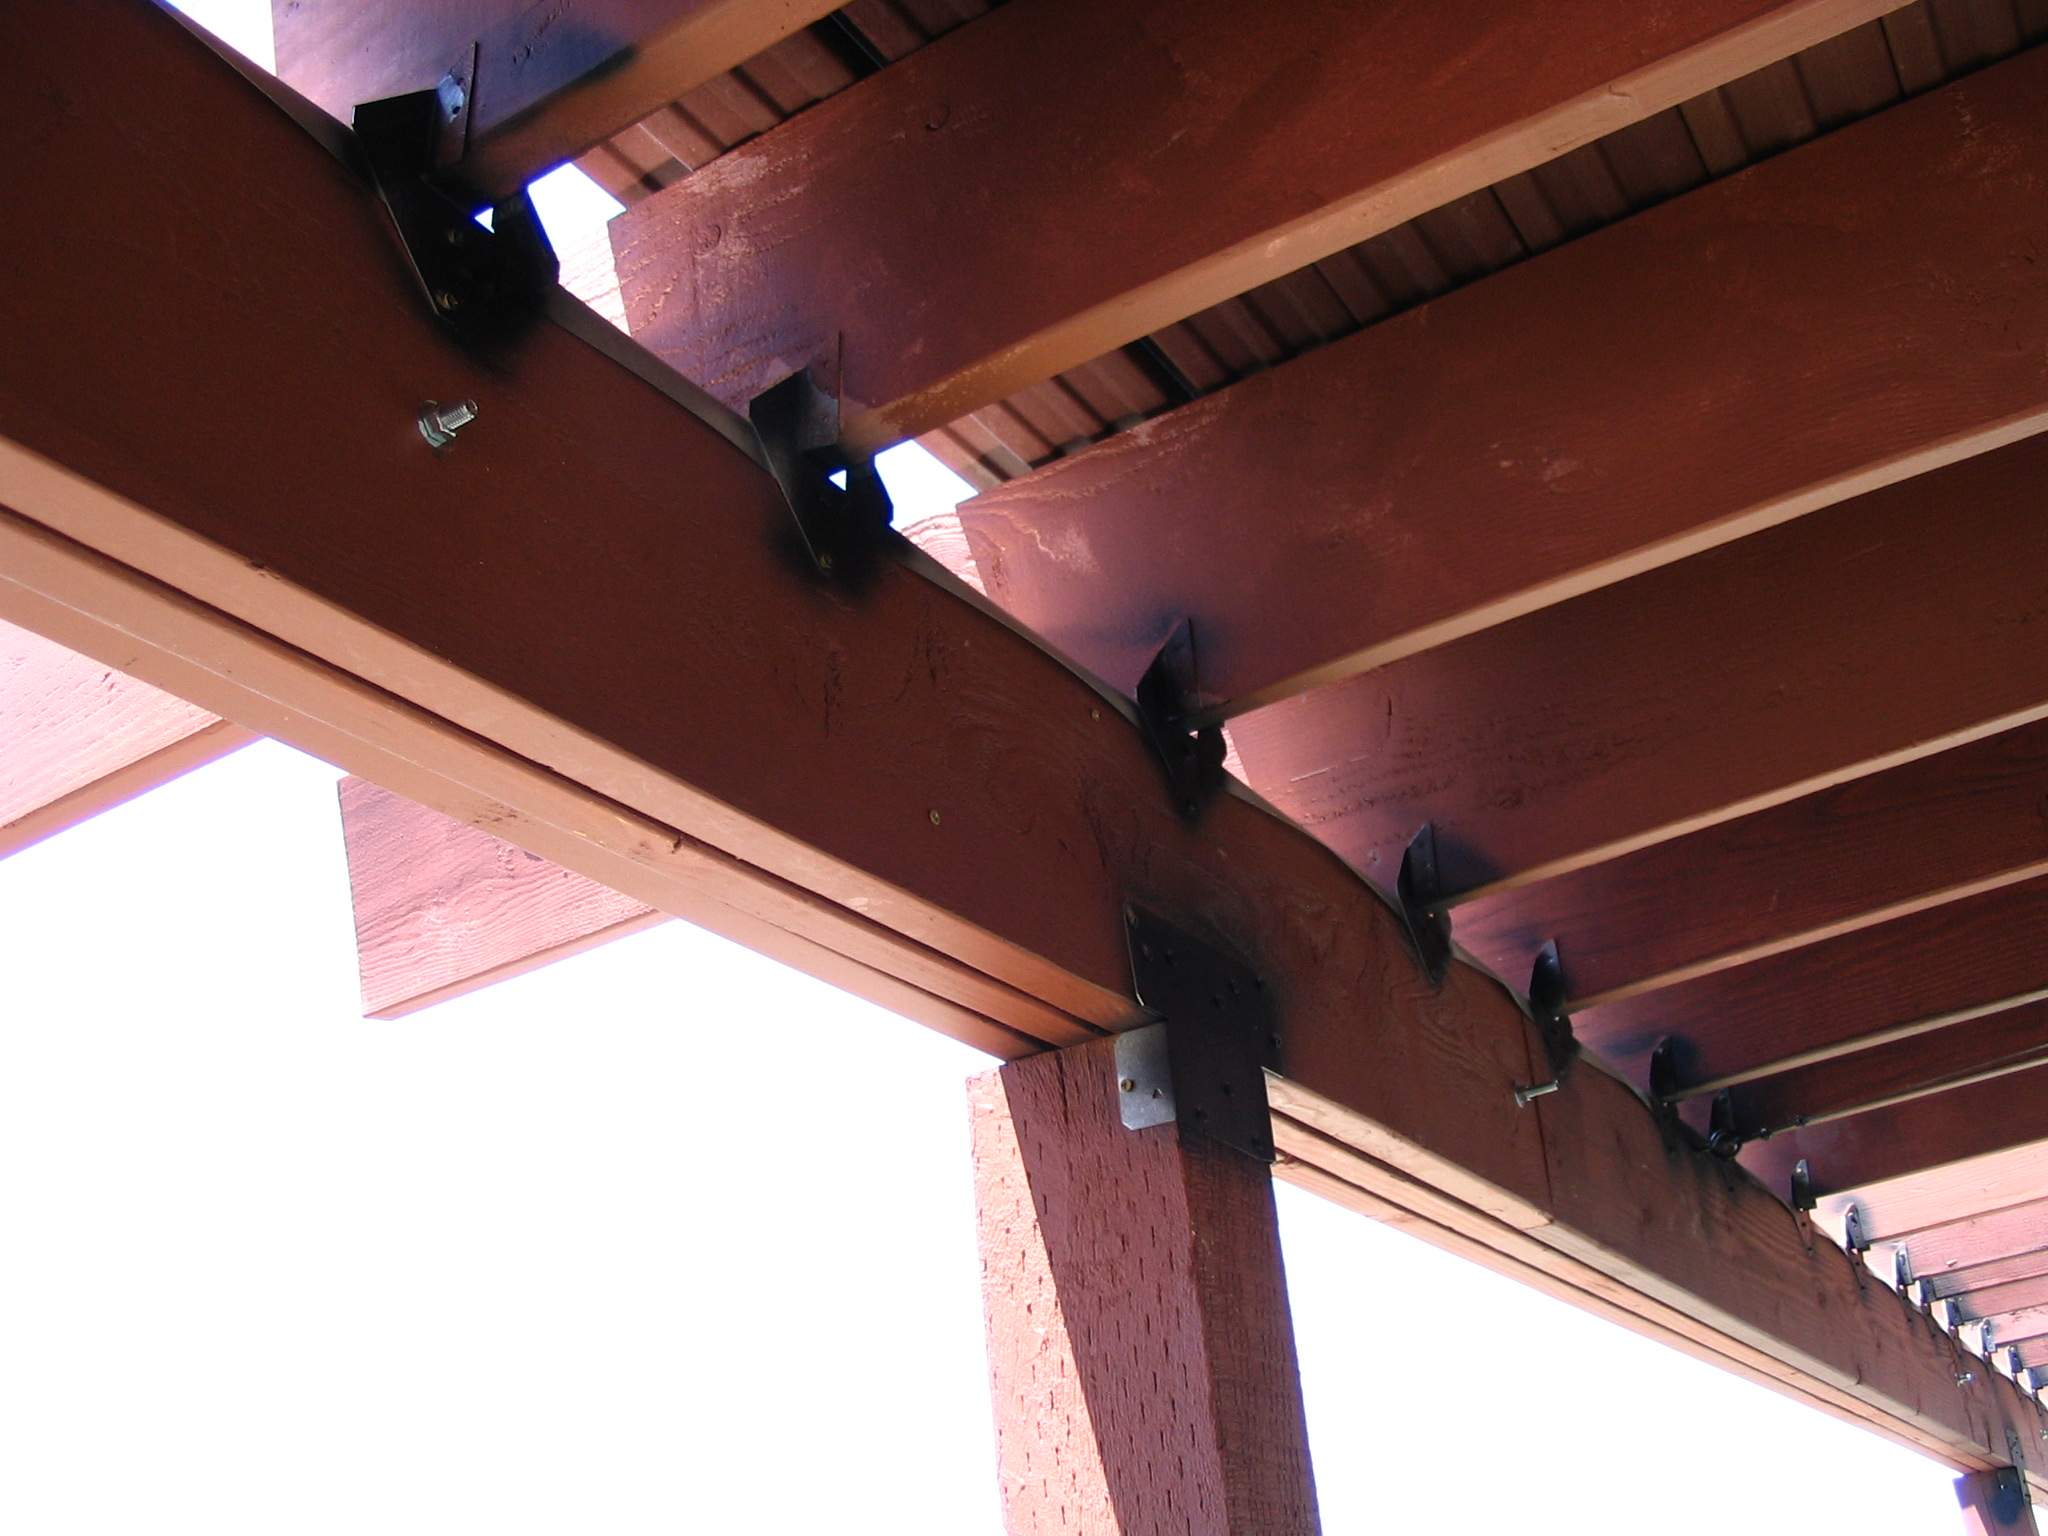
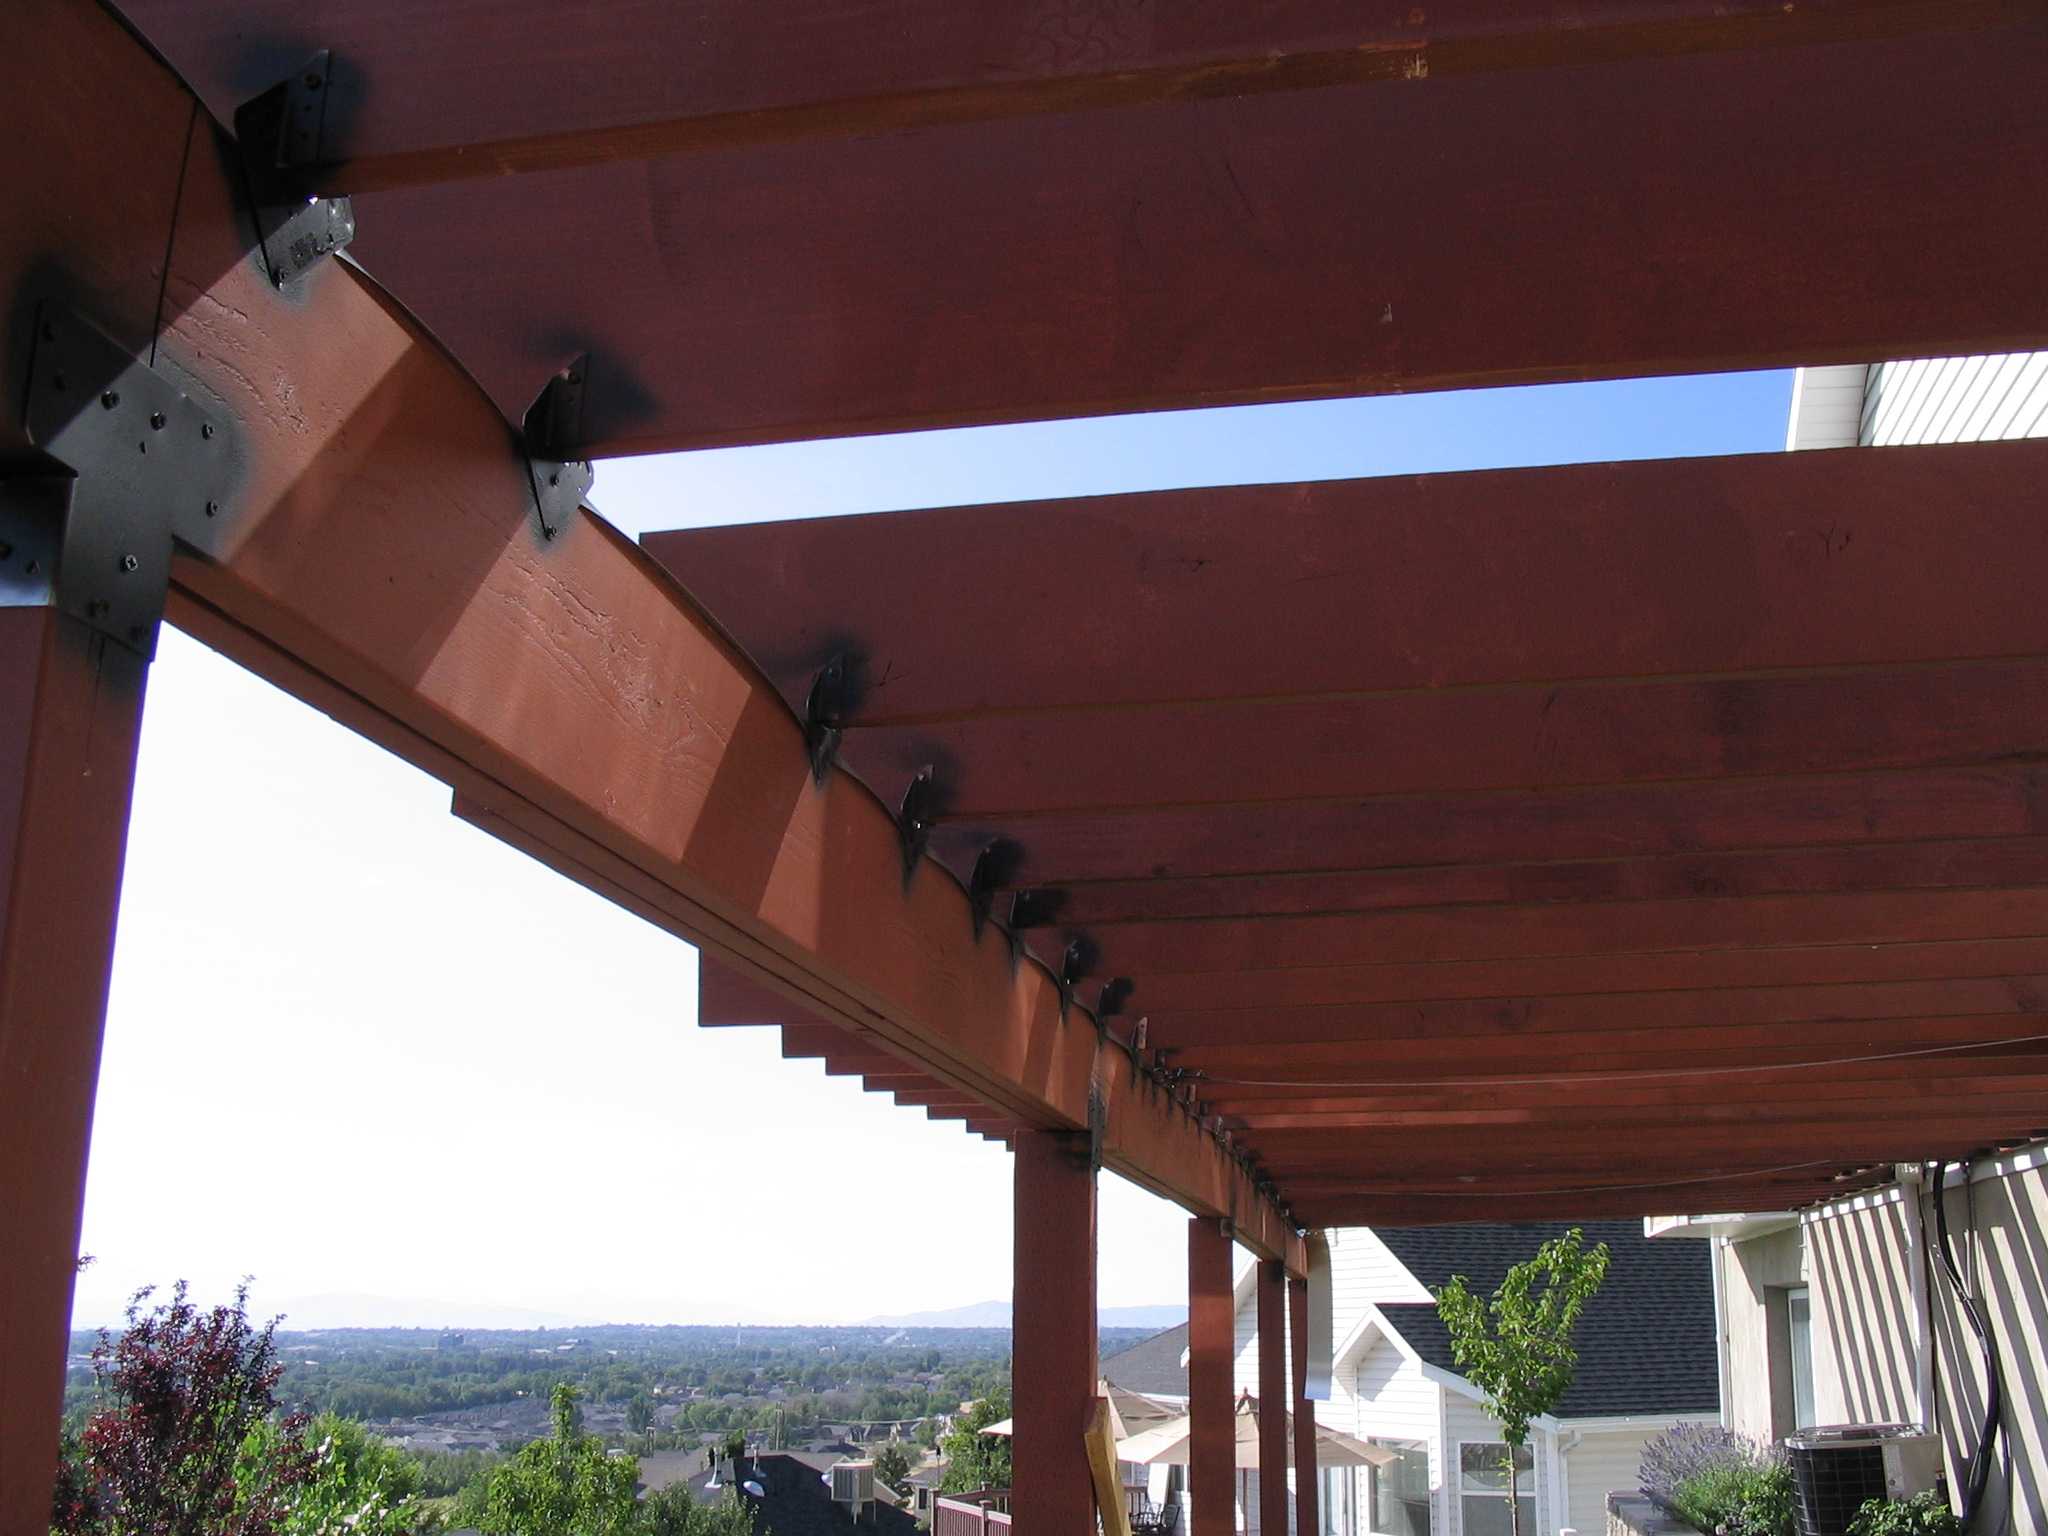
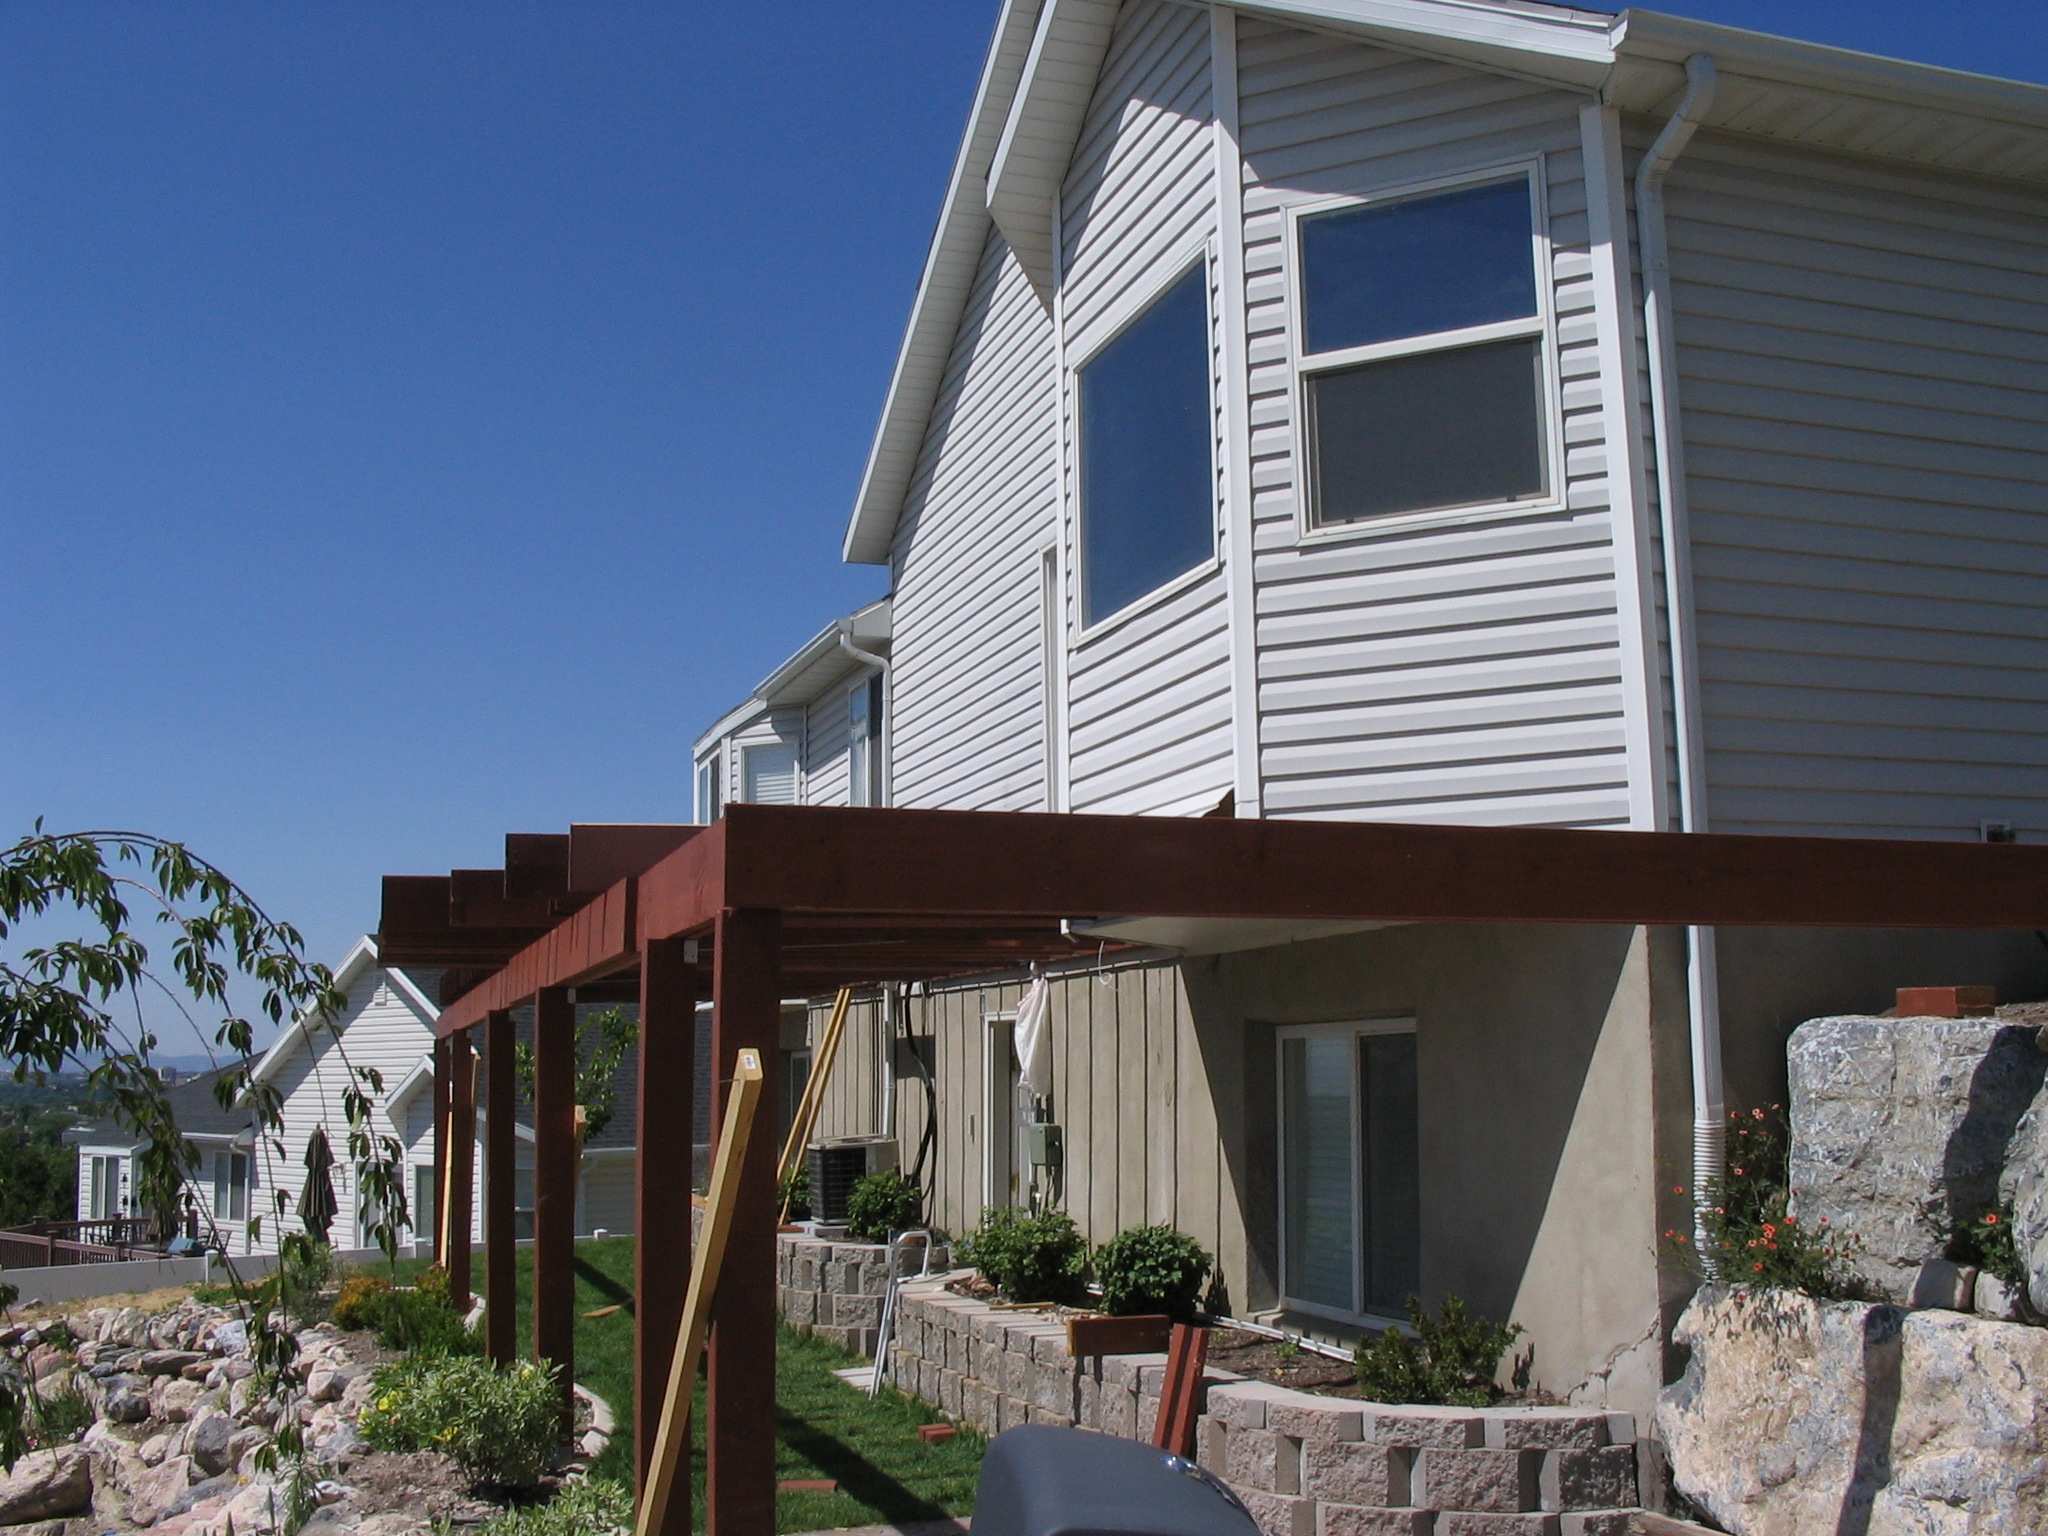
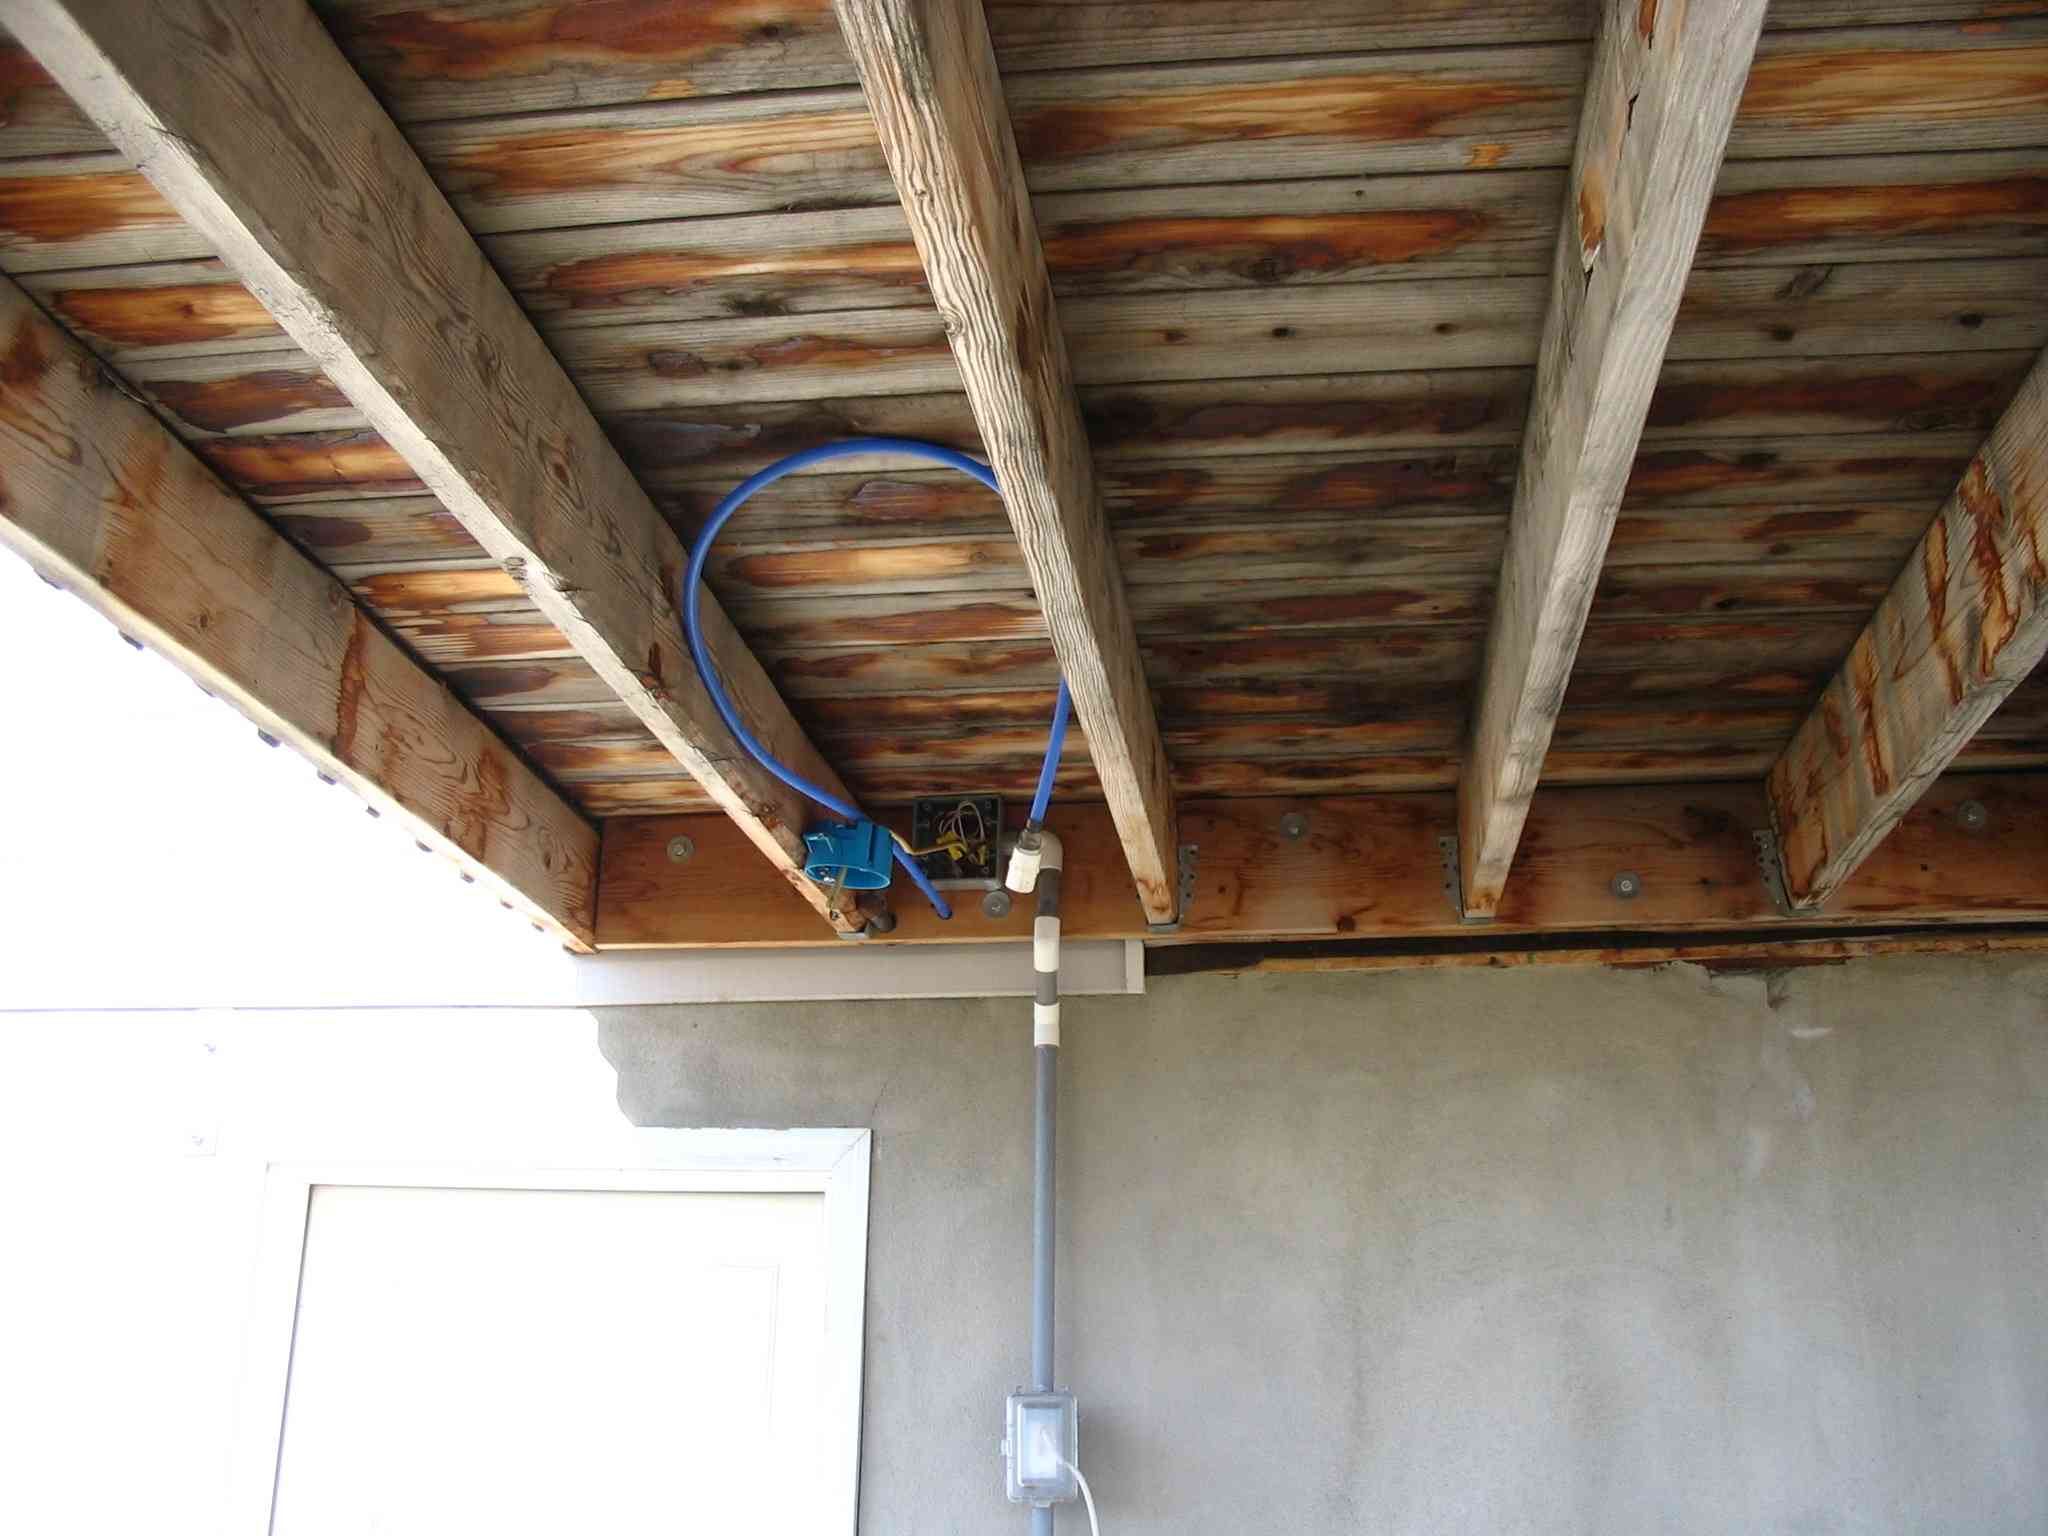
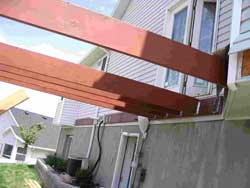
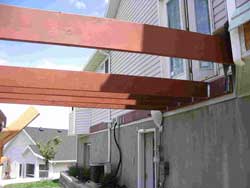
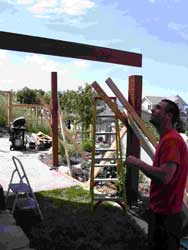
9 June 2007
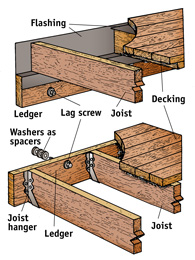
Brandon came this morning and I was installing steel cable as pictured below. I
often over-build things when I am unconvinced of how a structure will fare with
time. In this case, I don't trust how the joist hangers on the ledger provide
for attaching the joists, so the steel cables, which will be a lot more taught
in winter, are there to ensure that the deck can’t part company with the
house and fall west into the back yard. I’ve never seen this done before,
but it was inexpensive and the fruit of many sleepless nights wondering (and,
mostly, worrying) about it. Squint at first two images below.
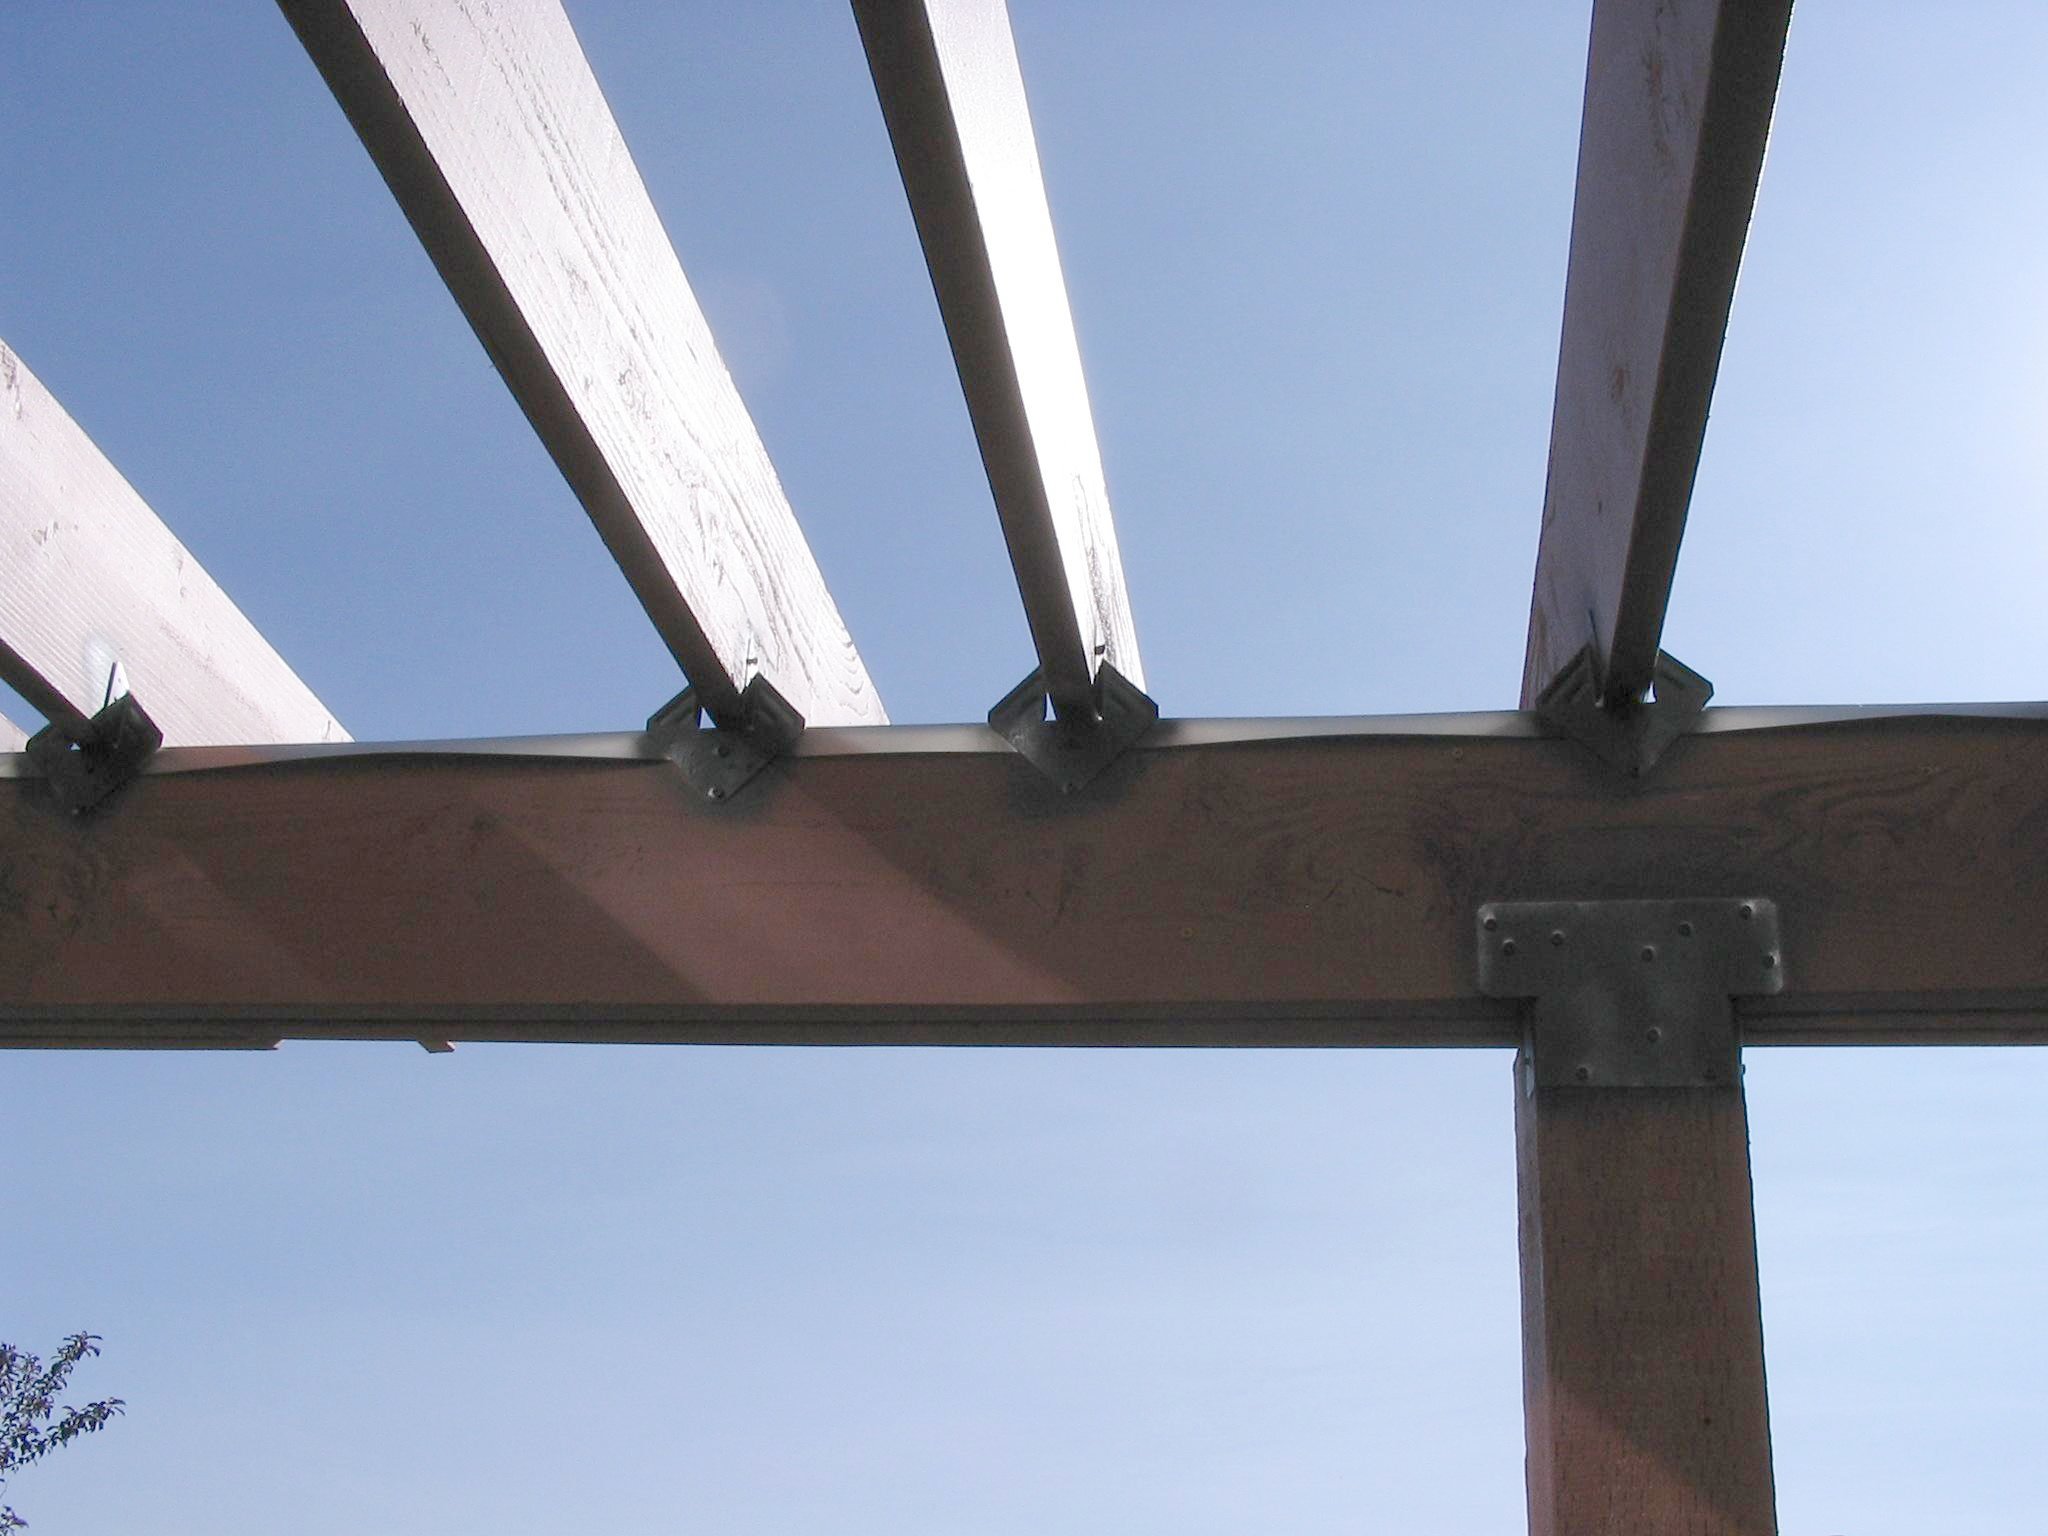
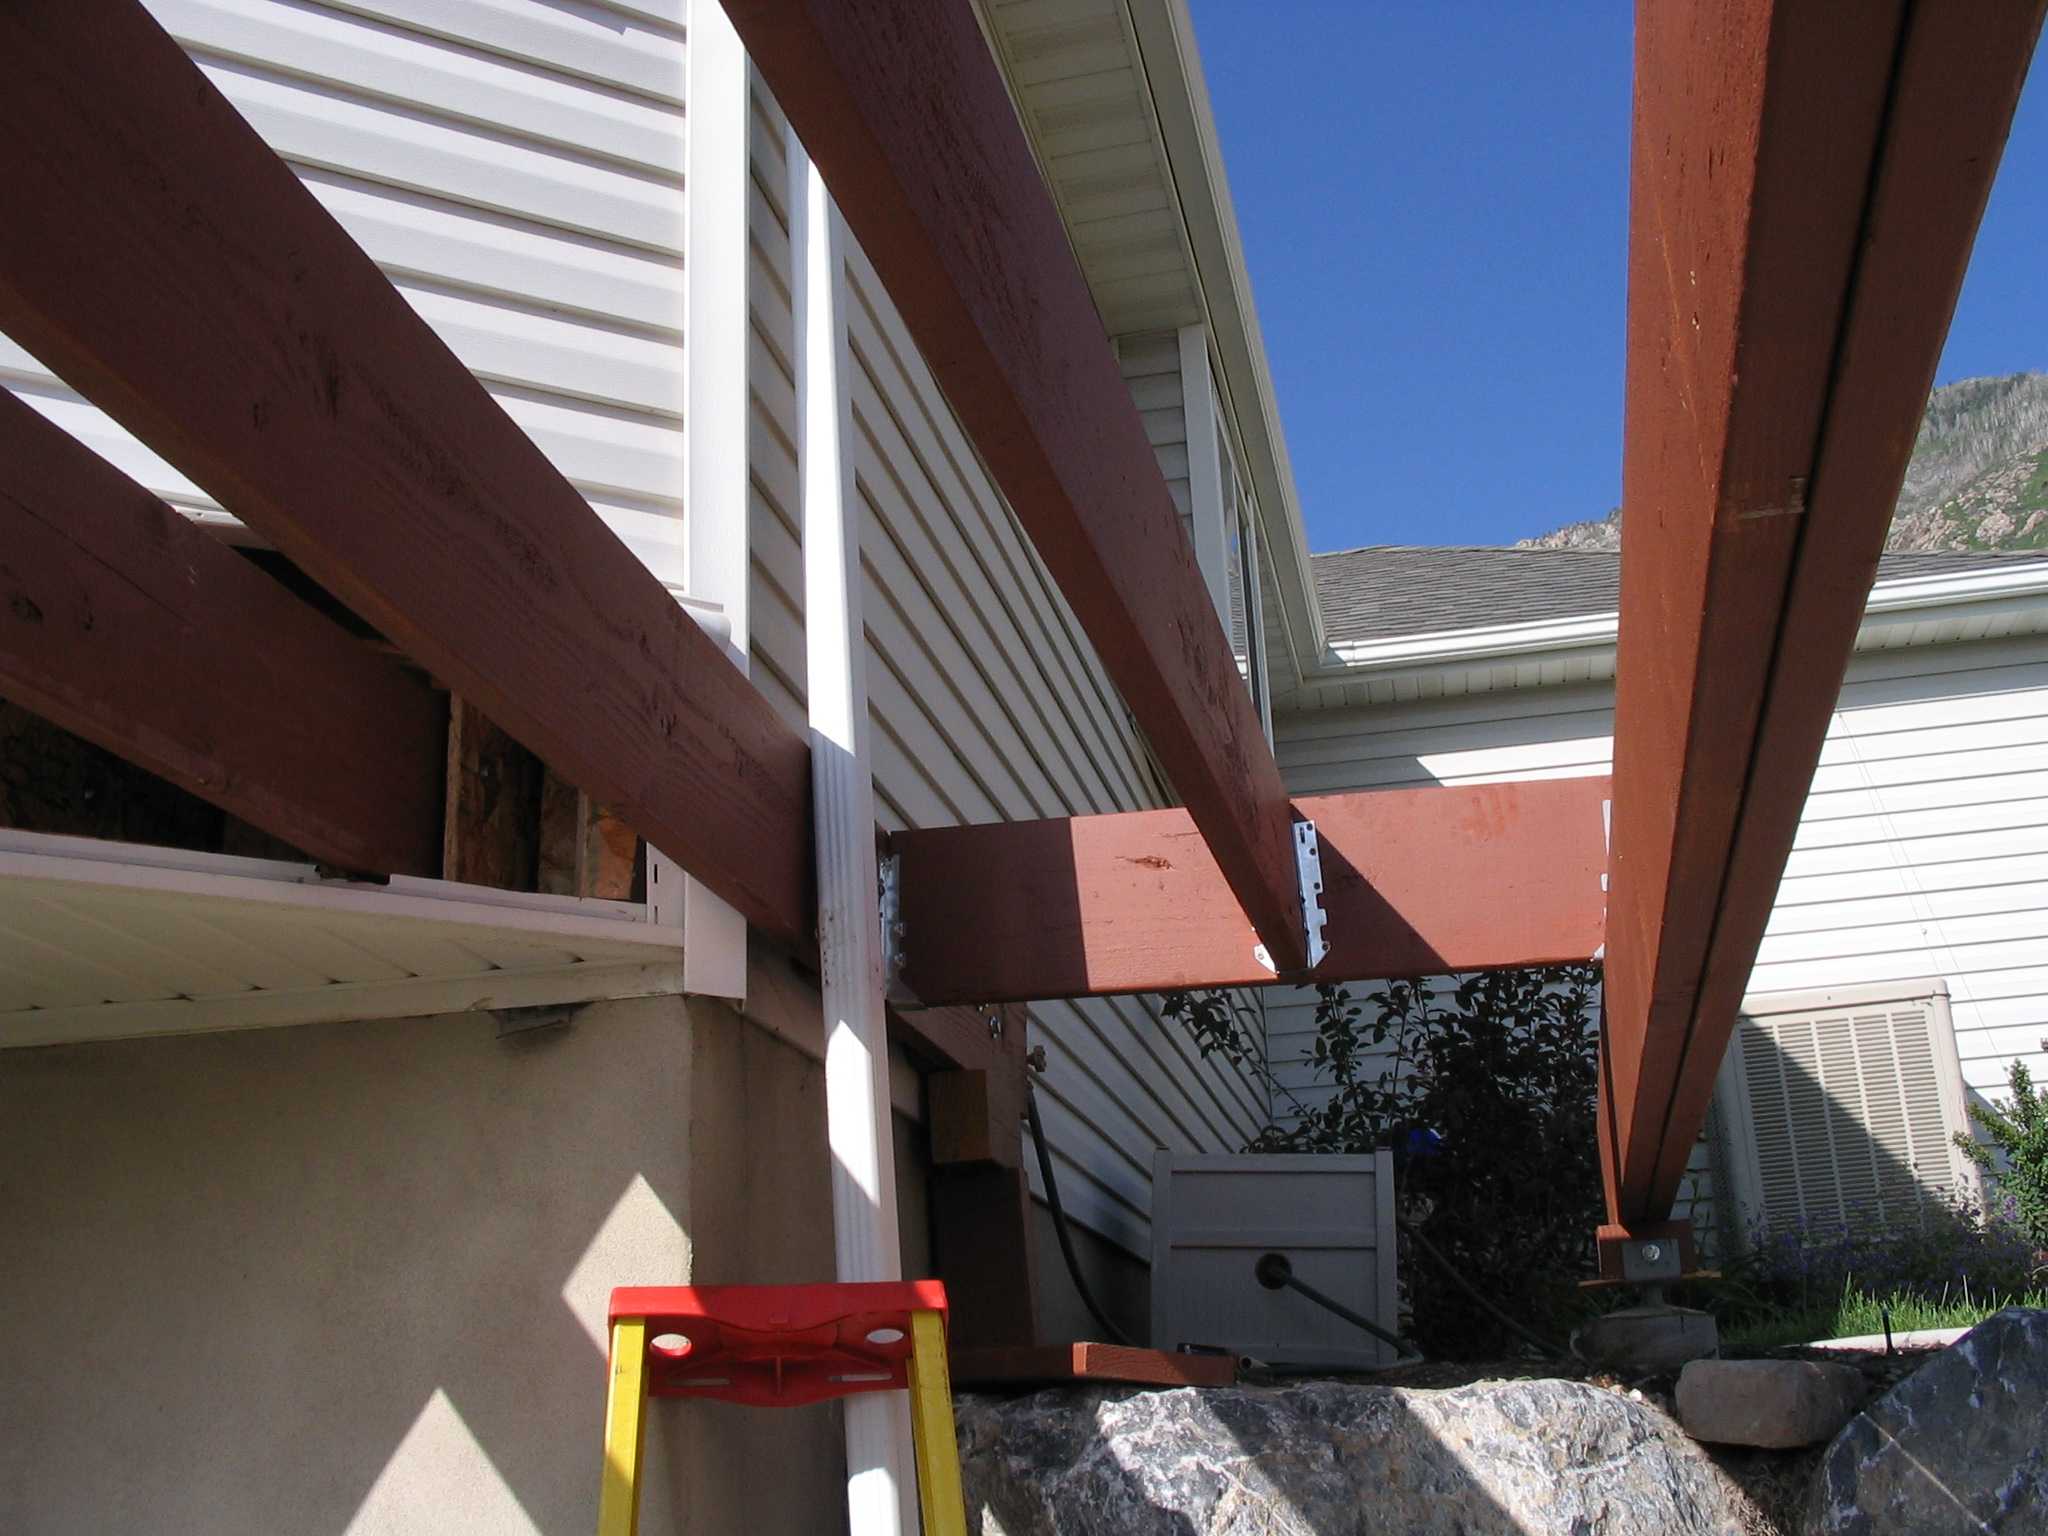
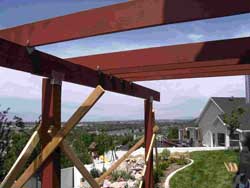
Once we finished that, we put in place the last 1½ posts at the south
end of the deck and, again, overbuilt the structure with very solid beams atop
which I’ll have to install a joist. We began adding the third (and last)
2 × 10 timbers to finish the beam, but the morning got away from us and I
fled the sunlight before we could finish. (See third and fourth images.)
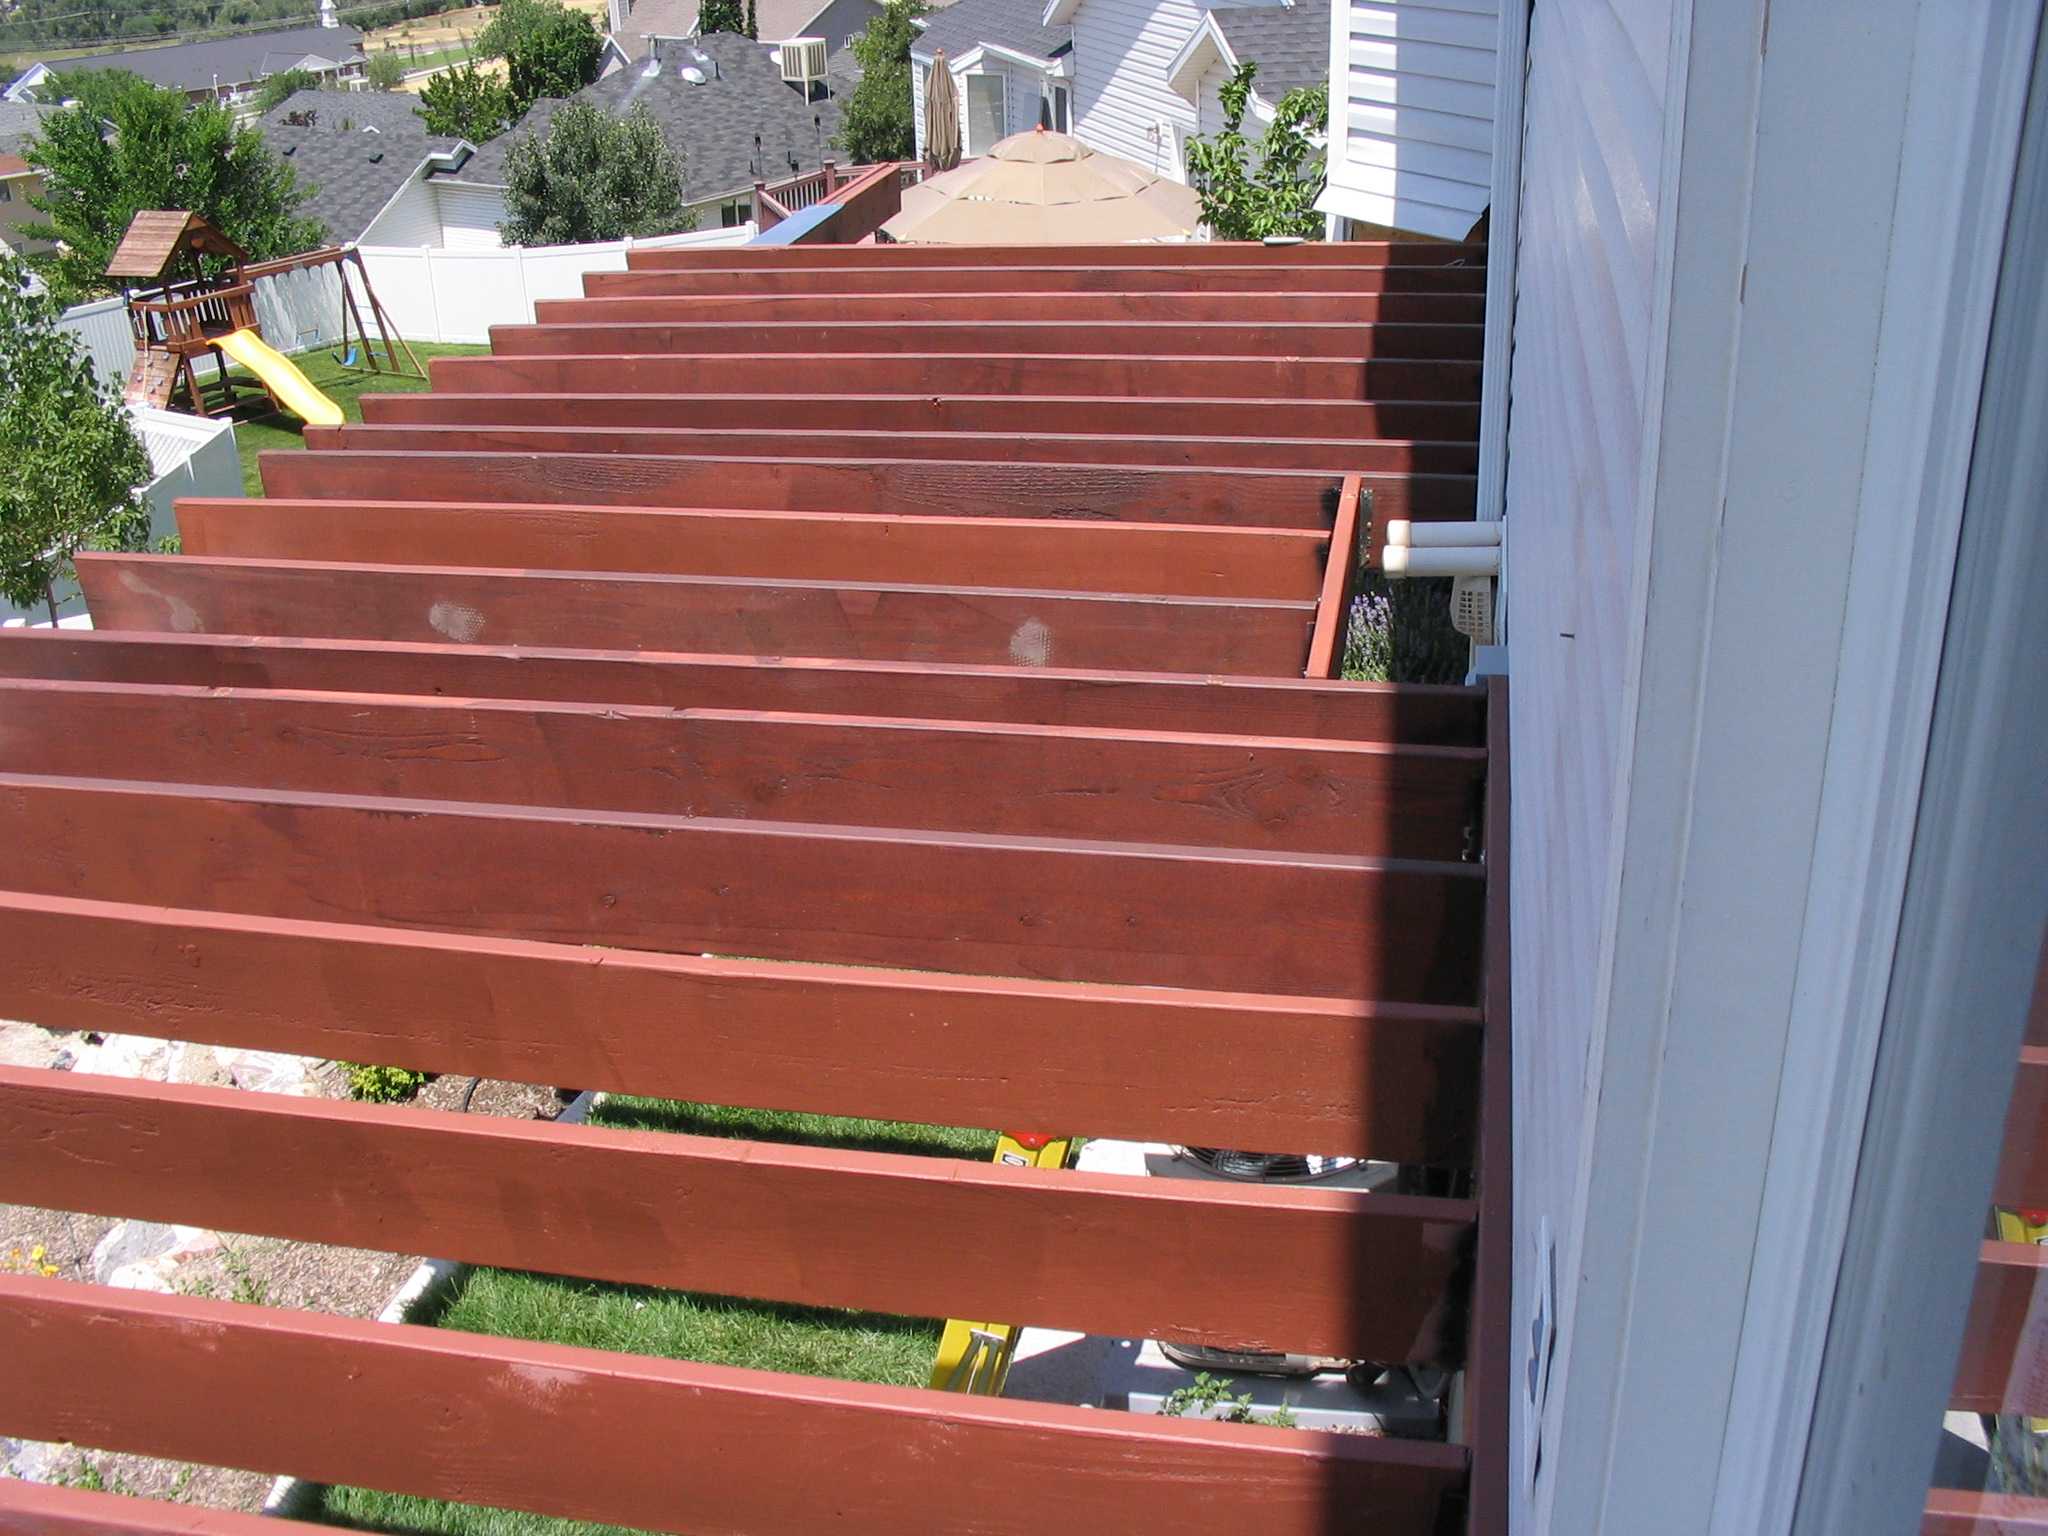
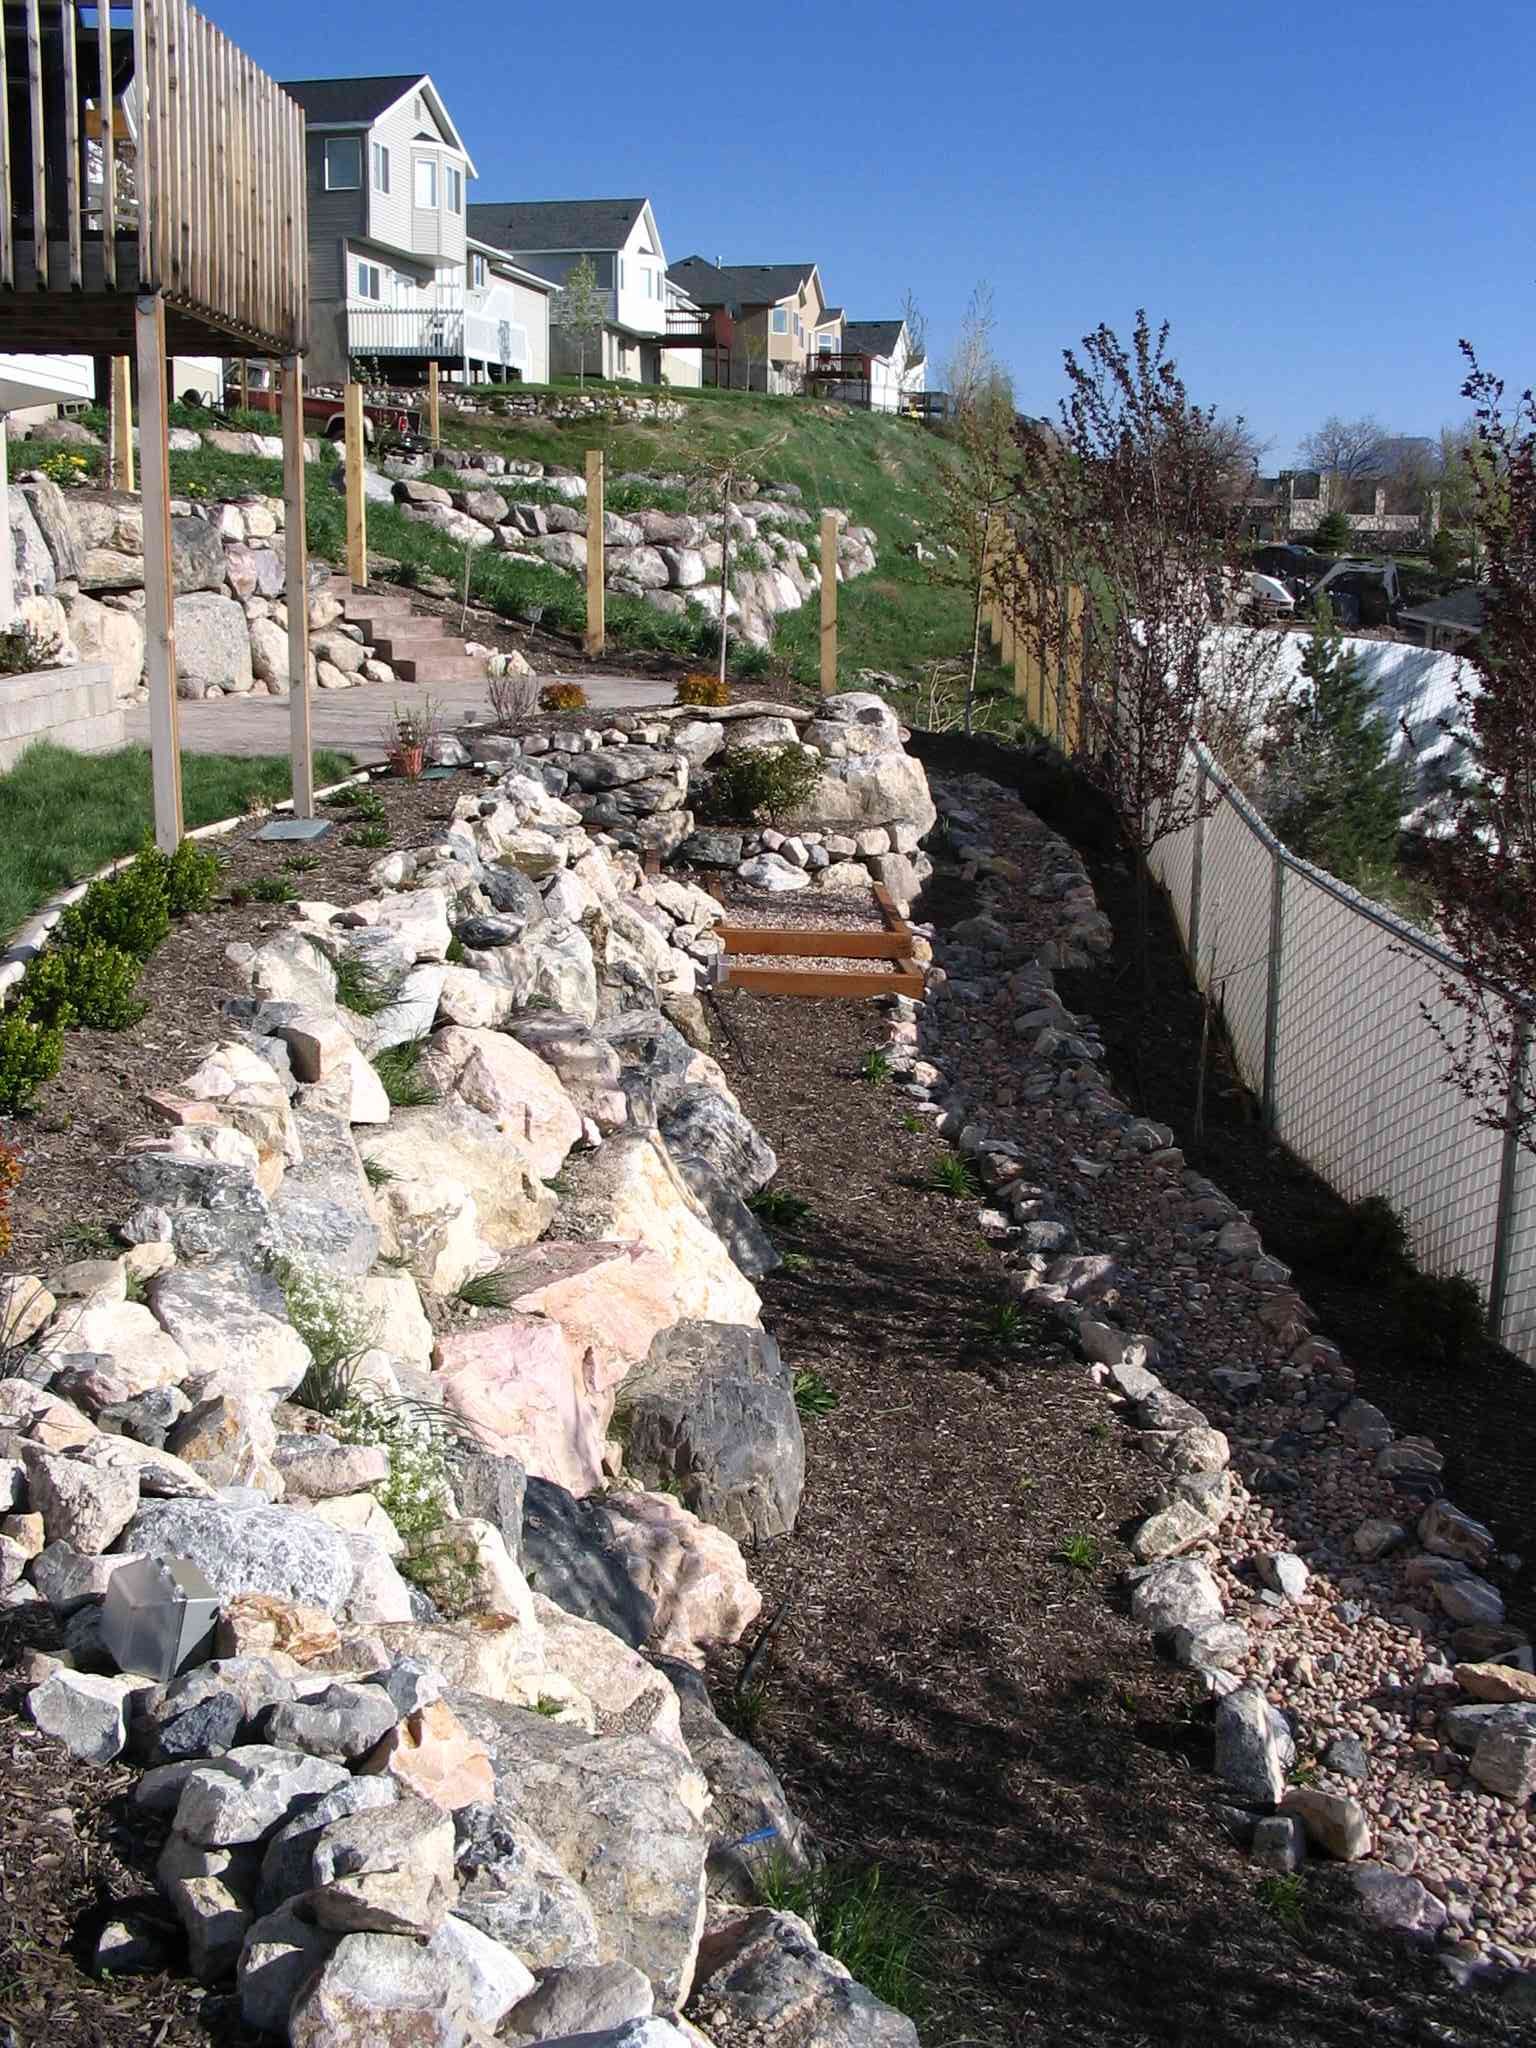
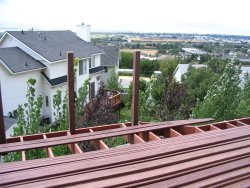
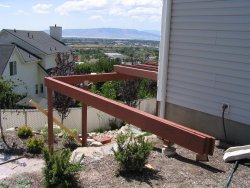
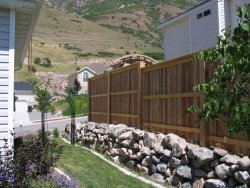
In the last image, our neighbor’s fence is coming along. Across the
street, another neighbor has a huge, new rock wall to hold back Buckley
Mountain from his new back yard. Previously, he had no back yard.
|

|
|

|
|
|
|
|
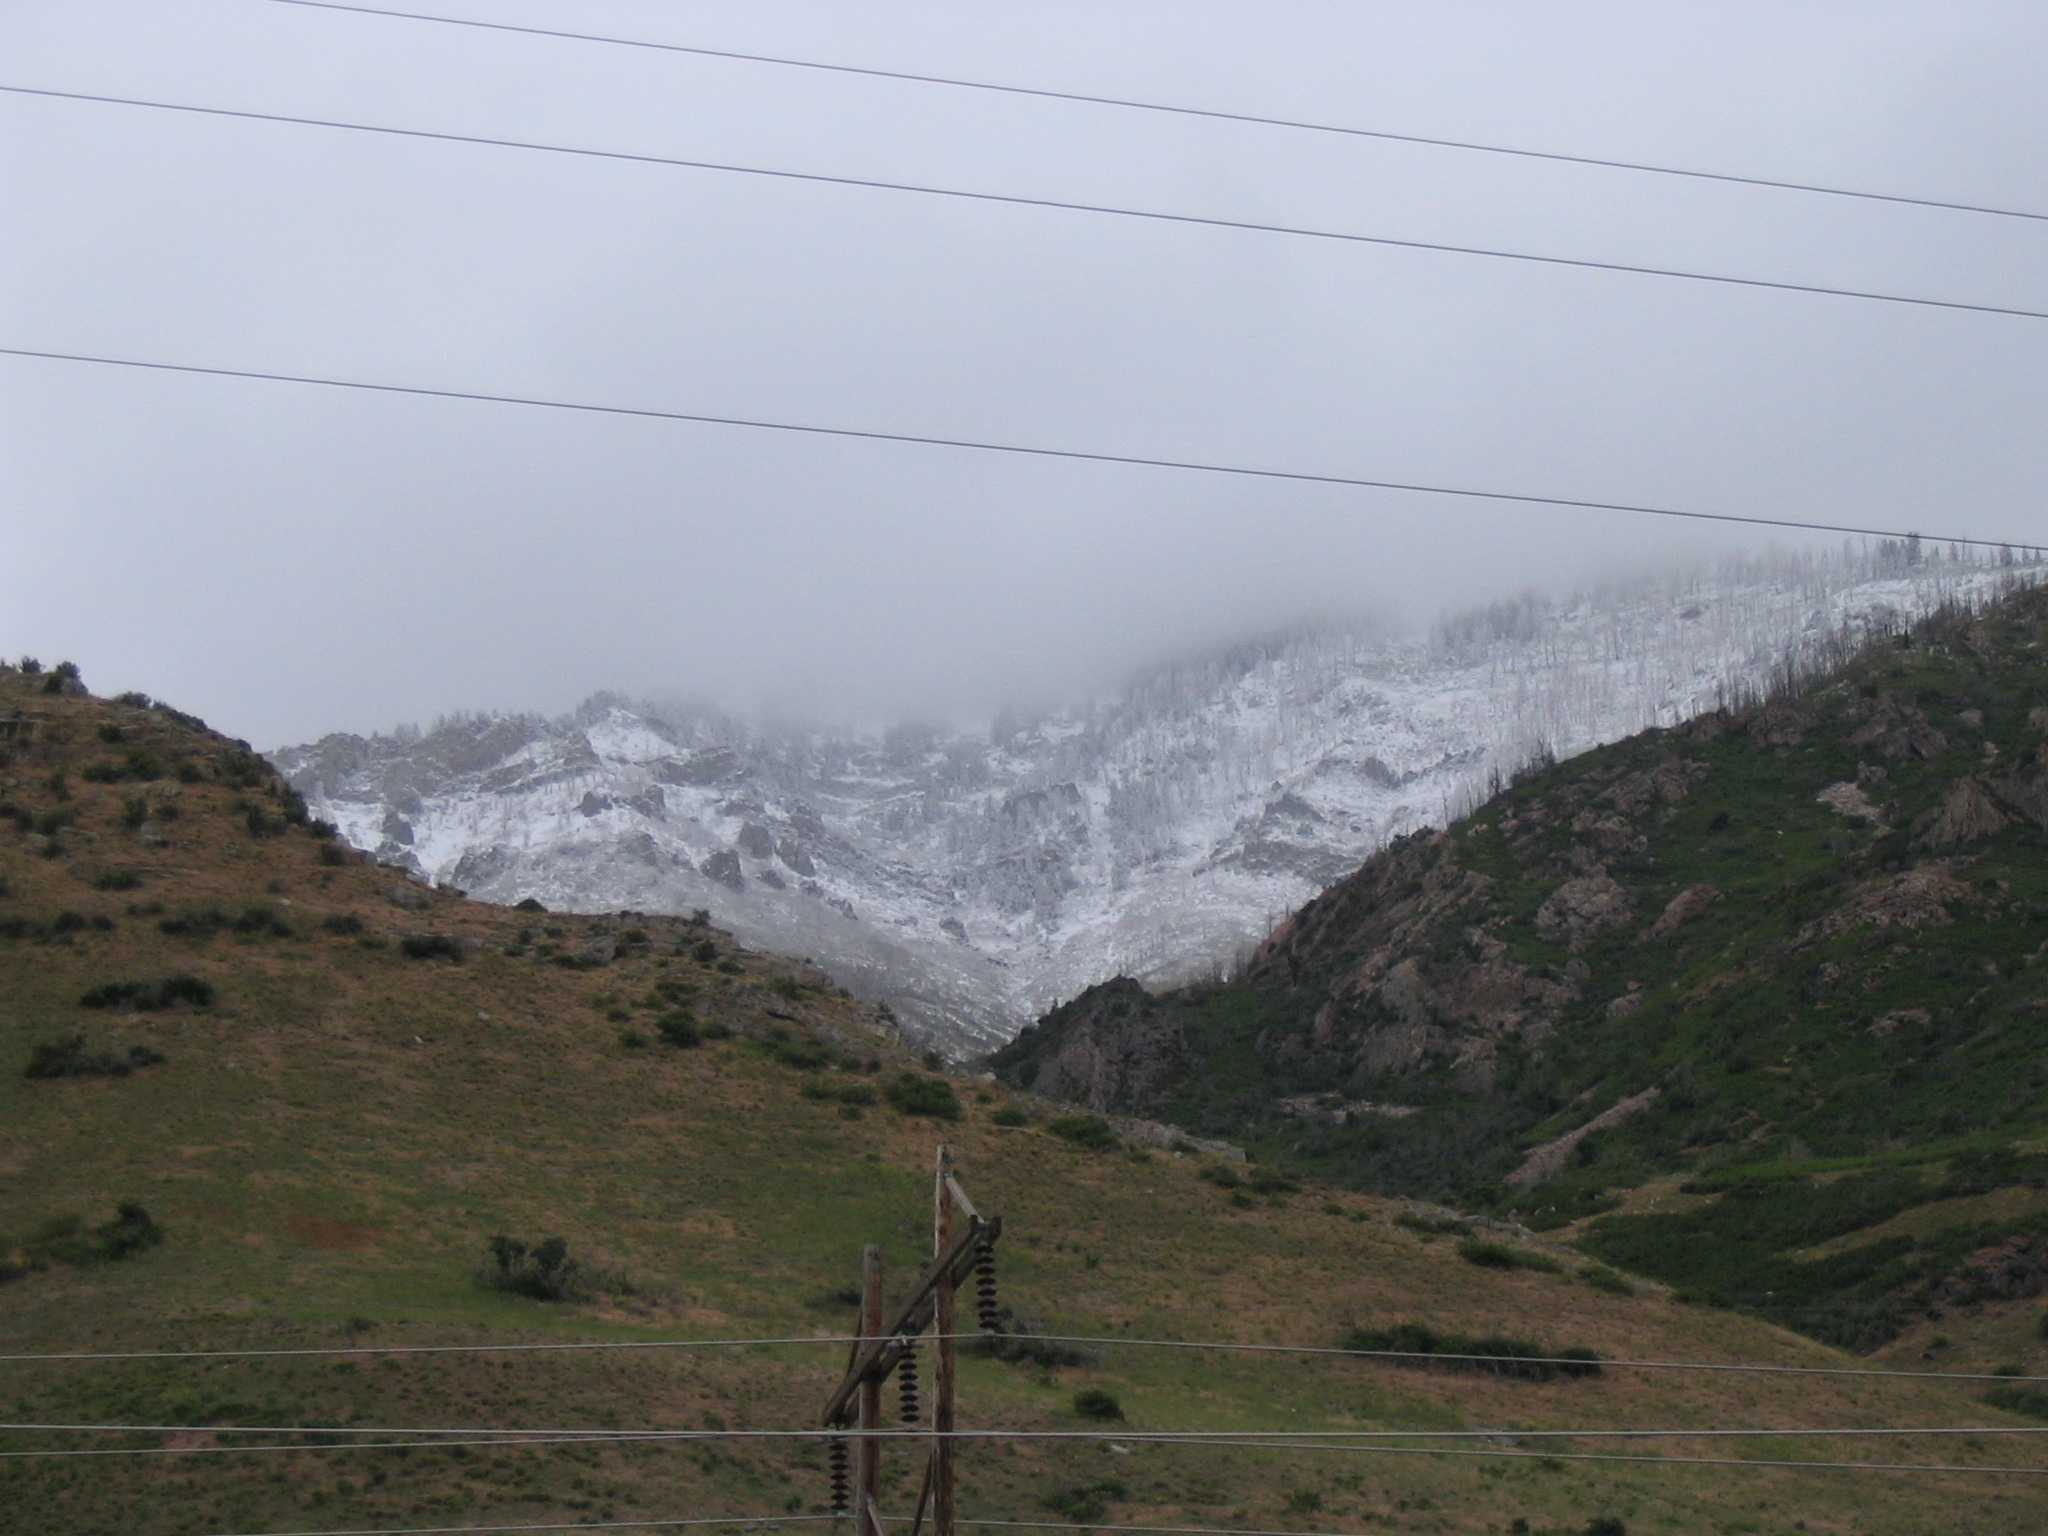
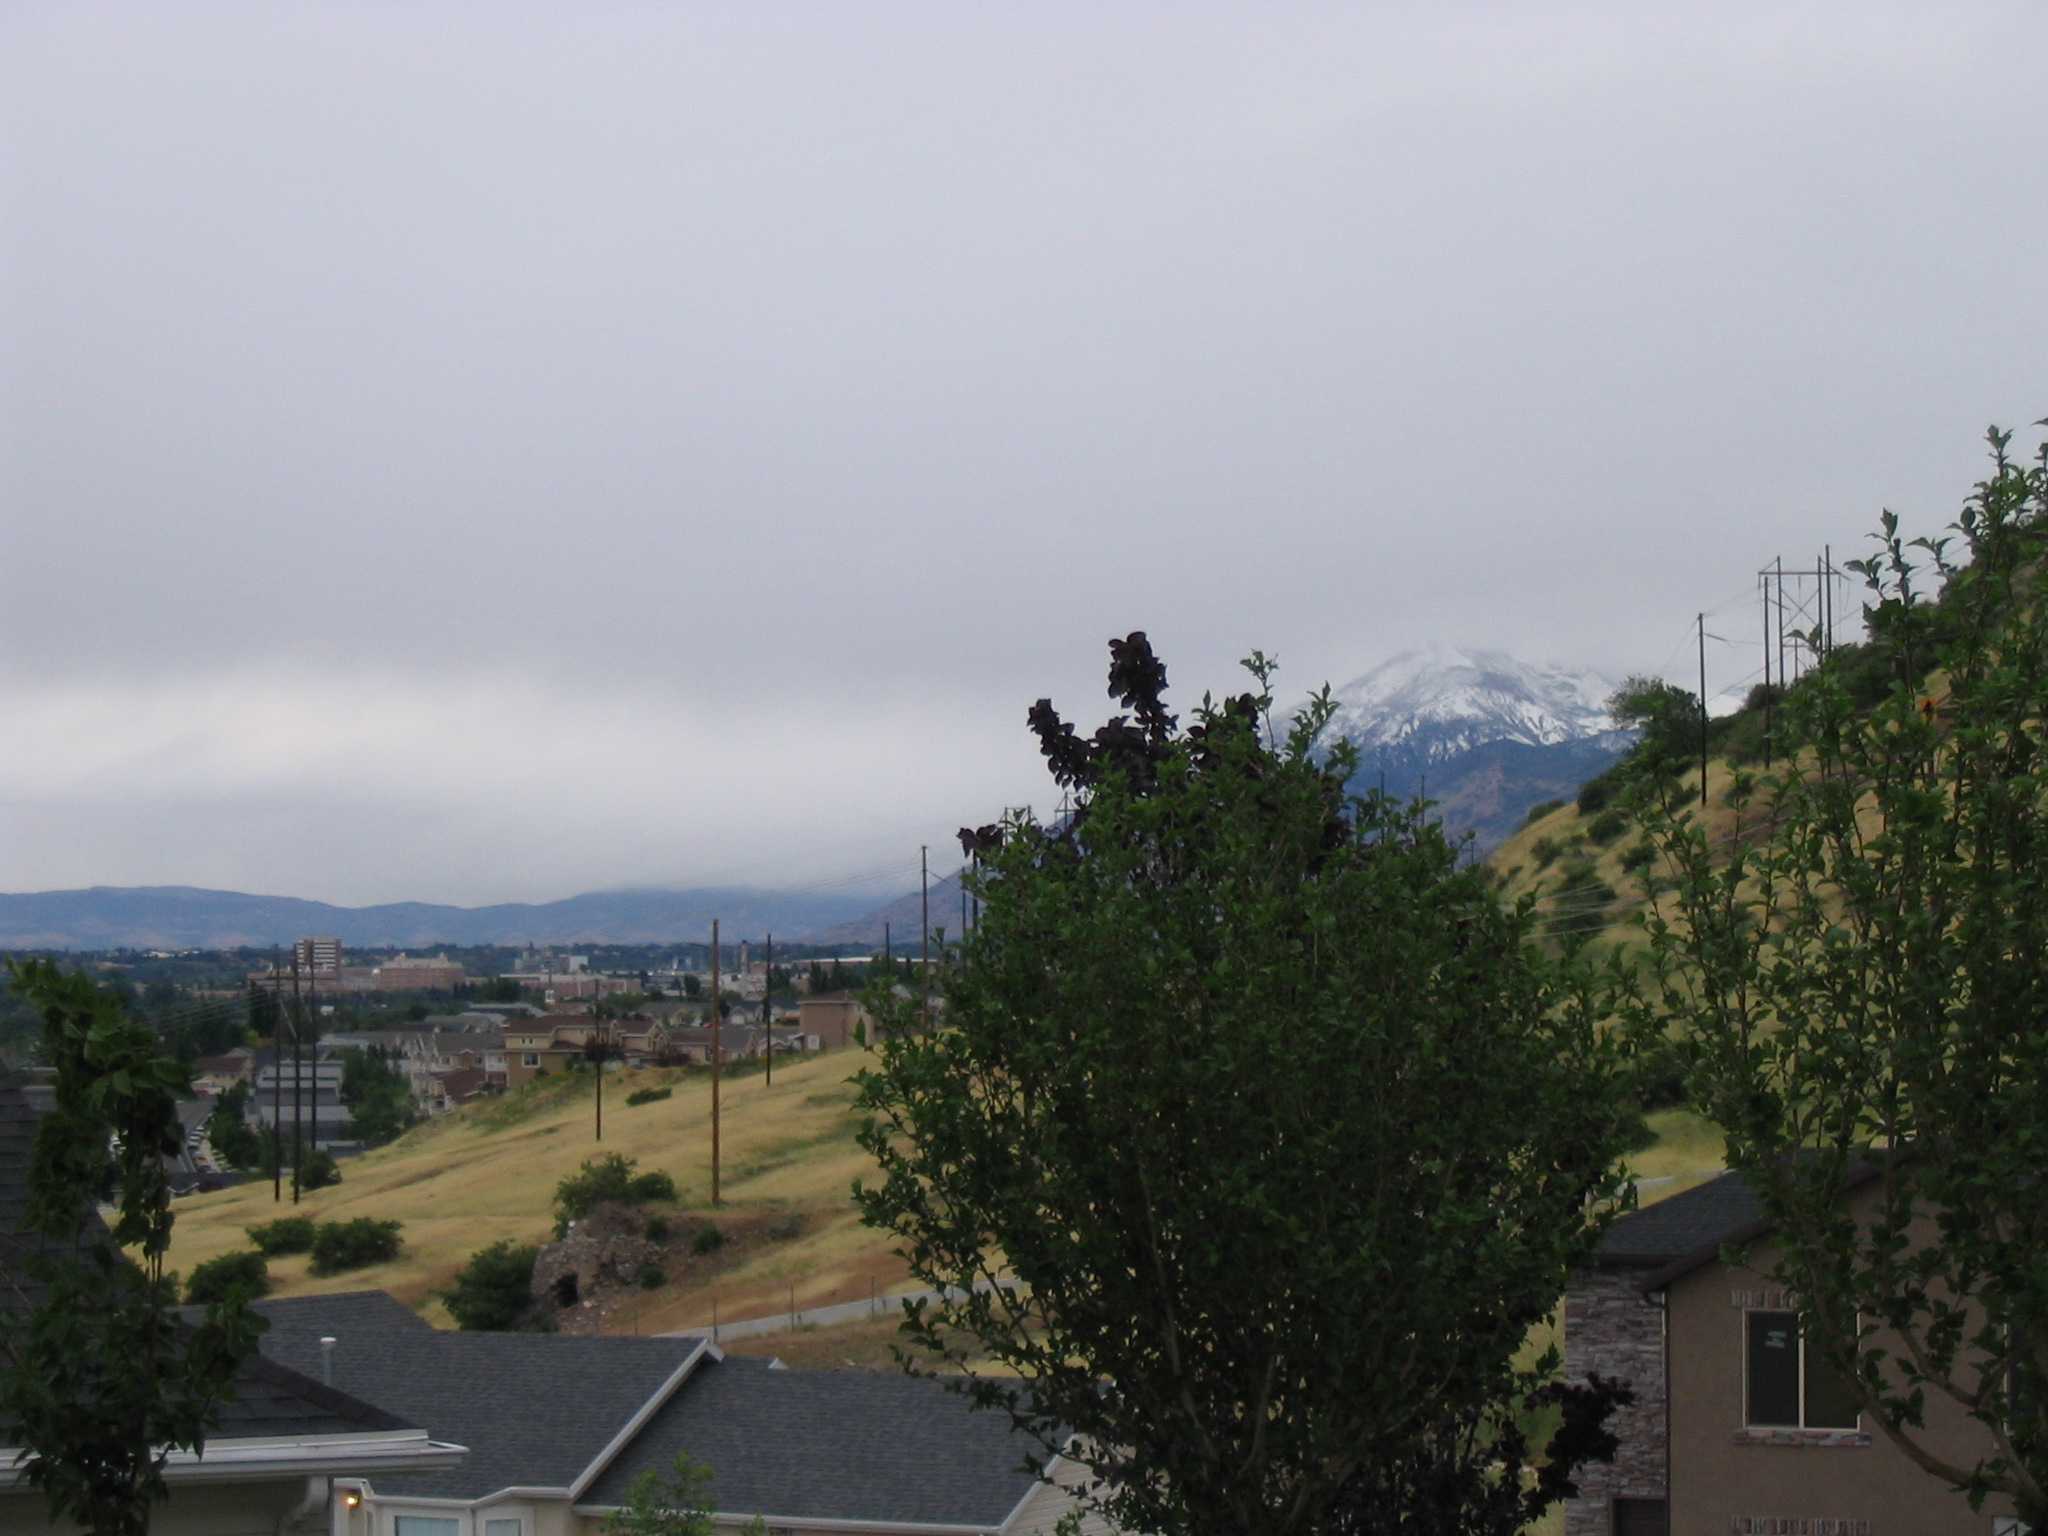
7 June 2007
The last two days, it has rained and snowed and I have included pictures here.
Some days, it’s just me and no one else. After all, it is my deck. After
work on a Thursday, I got the header in around the heating and bathroom vent
utilities plus I added in one remaining 12' joist. Last night, I bought 3 2
× 10 × 16' timbers for use in finishing my beams and I stained
them. Tomorrow night, in preparation for Saturday’s activities,
I’ll buy 5 more to make the beam for over where the steps will be plus a
joist against the house opposite the beam.
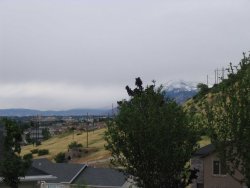
The first snow picture, snow on Buckley Mountain, is straight out of my garage
as I left on motorcycle for work this morning. The second is toward the north.
|
|

|
|
|
|
2 June 2007
With Taylor and Brandon, we erected two of the three remaining posts,
finished the beam out to the north end and populated many more joists. There
remain only about twelve joists to install—mostly 12' ones under the
window bays. Taylor cut some more slots into the blocking under the dining room
window bay (and we populated those slots with joists as you can see).
|
|

|

|
|
|

|
|
|
31 May 2007
Last night, I bought and stained the remaining (10) 2 × 10 × 10'
joists I needed. This evening, I finished populating the ledger boards with
hangers and hanged 4 more 12' joists and 1 10'.
It’s time to begin planning the planking and the amount thereof seriously;
we have chosen Trex Contour®, madeira color (brown). Cost will be in the
neighborhood of $2700. This does not include the railing which is reputedly
just as much. Later note: the Trex® post sleeves, skirt trims and the
railing including non-Trex® balusters would cost $1600. The lighting around
$200 more. The structural lumber (posts, beam, ledgers and joists) were not
closely tabulated (though I still have receipts), but must come to around
$2000. All told, the deck should come in at our target budget of $8000. A
neighbor up the street priced out a deck roughly the same size at $20,000
including labor.
|
|
|
|
|
|
28 May 2007
Memorial Day. Before Dustin went to EFY, he, Sam and I got some hangers
up and four 12' joists as well as got the second 6" × 6" post and
doubled the beam between the two 6" × 6" posts so it would all stand
up. This went really fast; if I were actually ready with stained lumber, we
could fly through all the posts, beams and joists in a day with just another
two guys (Taylor and Brandon will probably be there next Saturday.
|
| 28 May Memorial Day
|
|
|
|
|

|
|
|
|
26 May 2007
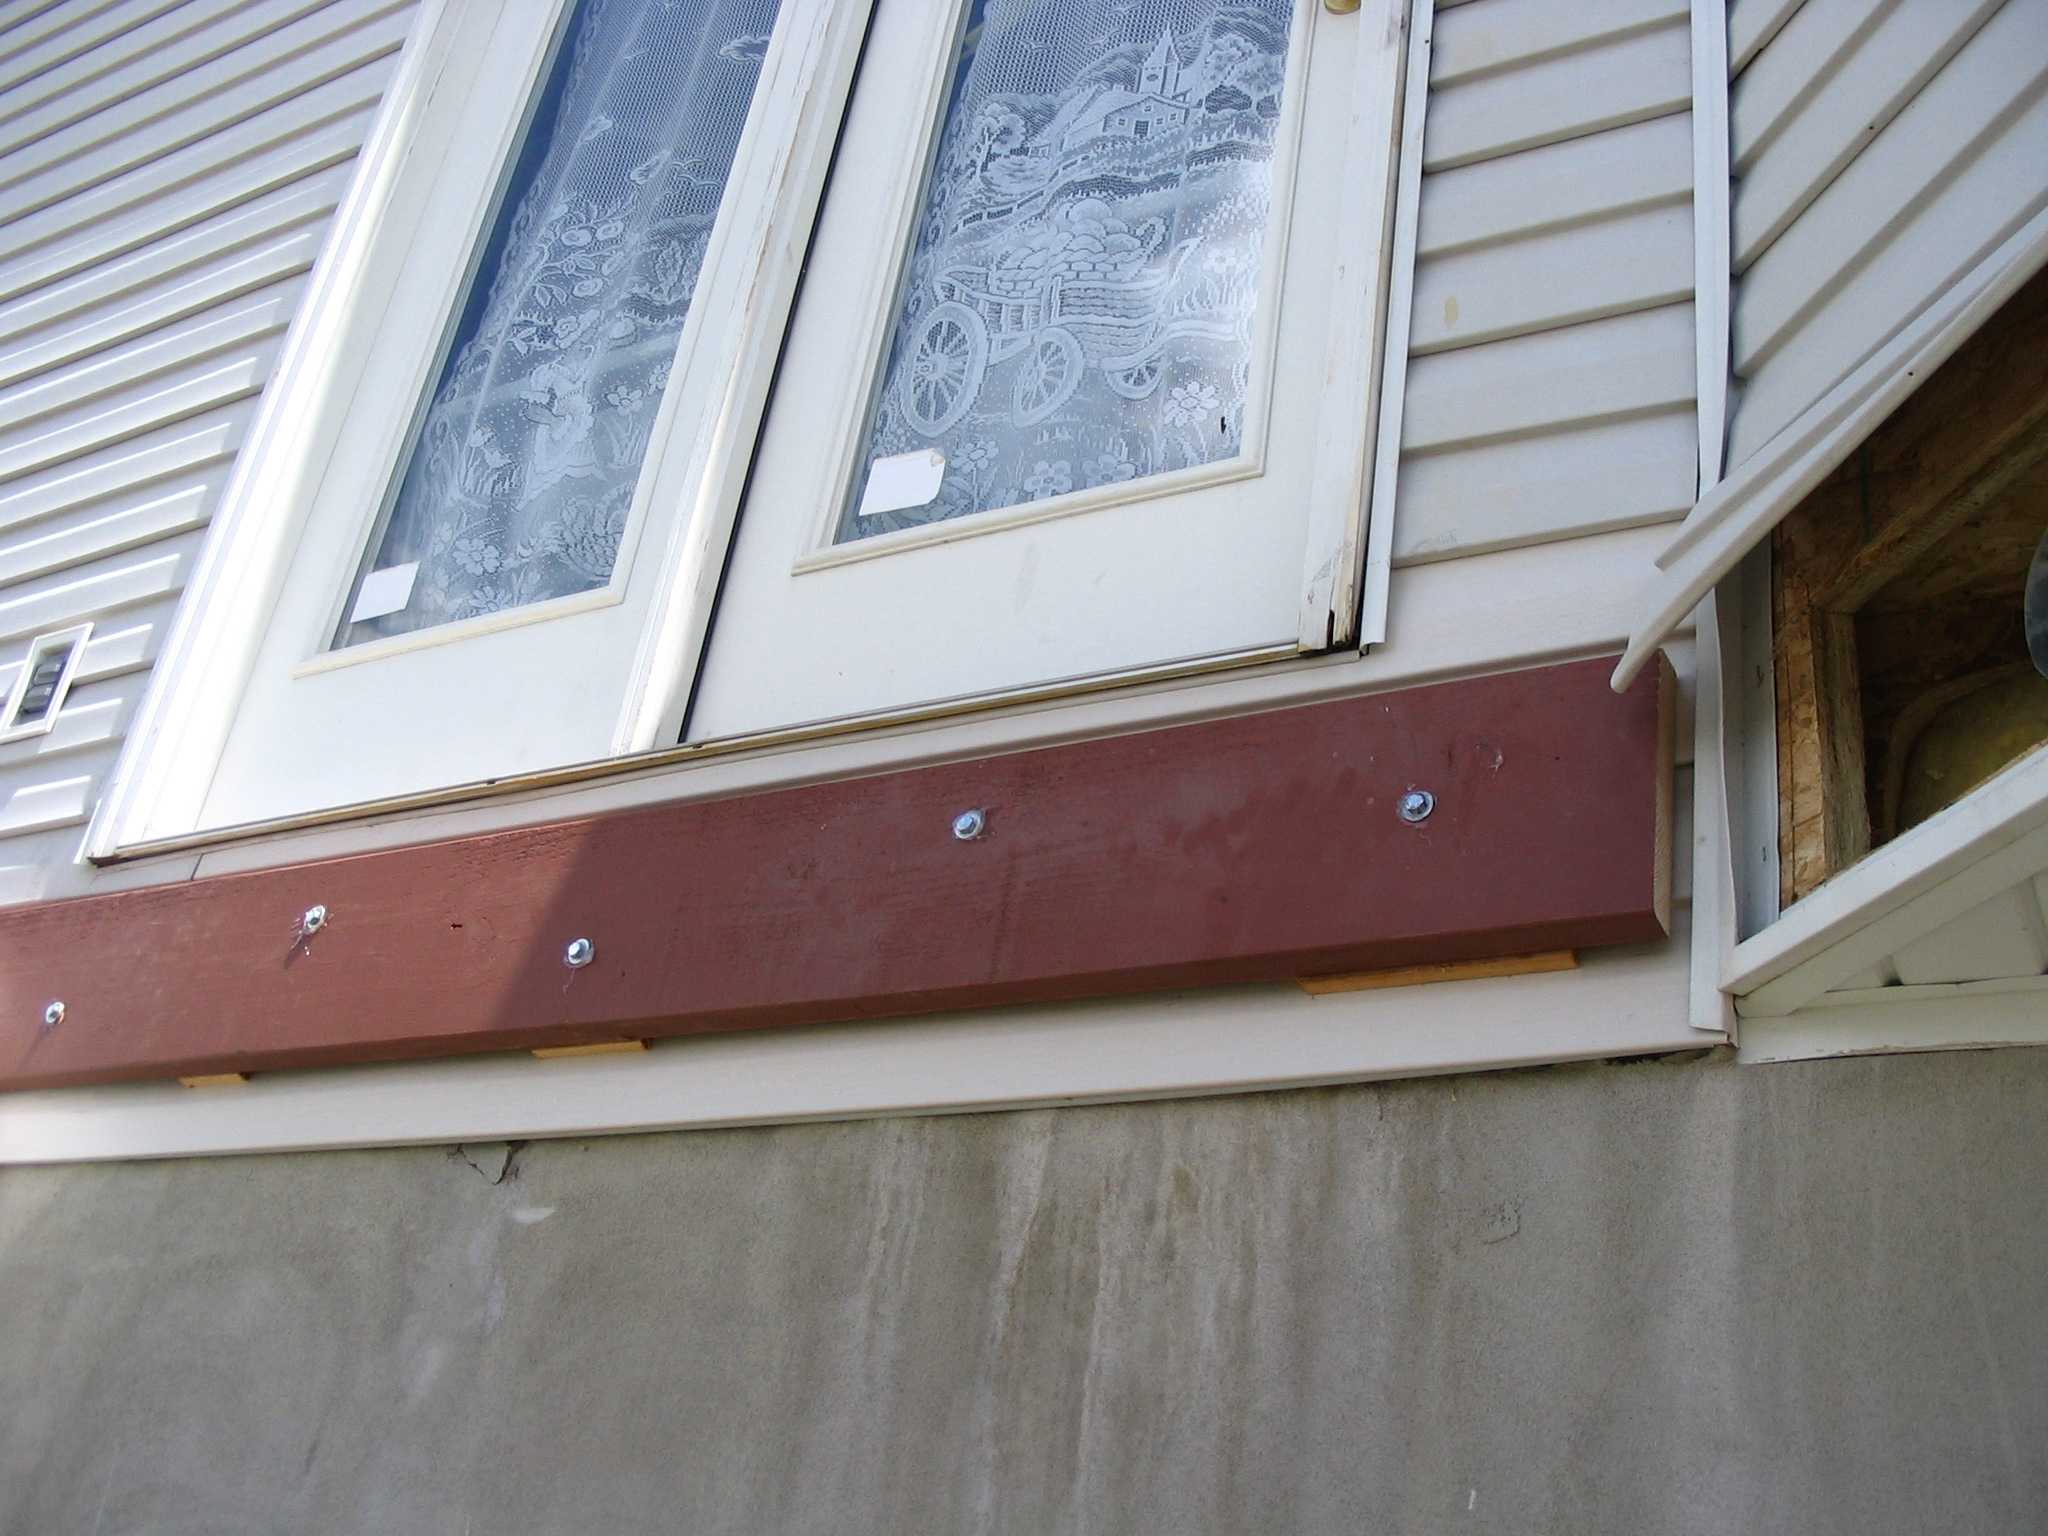
I replaced the rotted OSB facia and Brandon and I got the new siding up to
cover and protect the structure underneath the door. With Julene we got the two
ledger boards up and anchored. The ledger boards sit on 1" × 2" cedar
shims to hold them slightly off the siding allowing water to sheet down the
siding unimpeded. The shims are spaced using silicone caulking to hold them
prior to screwing the ledger board every couple of feet far from siding seams.
In the details, they may be seen protruding slightly below the ledger: there is
a matching shim the next course (fold) up so that the ledger bears solidly and
plumb. The hole for each lag screw was drilled and filled with silicon caulking
so that, it is hoped, the screw went in leaving caulking out around it against
the hole in the siding and no water will come in.
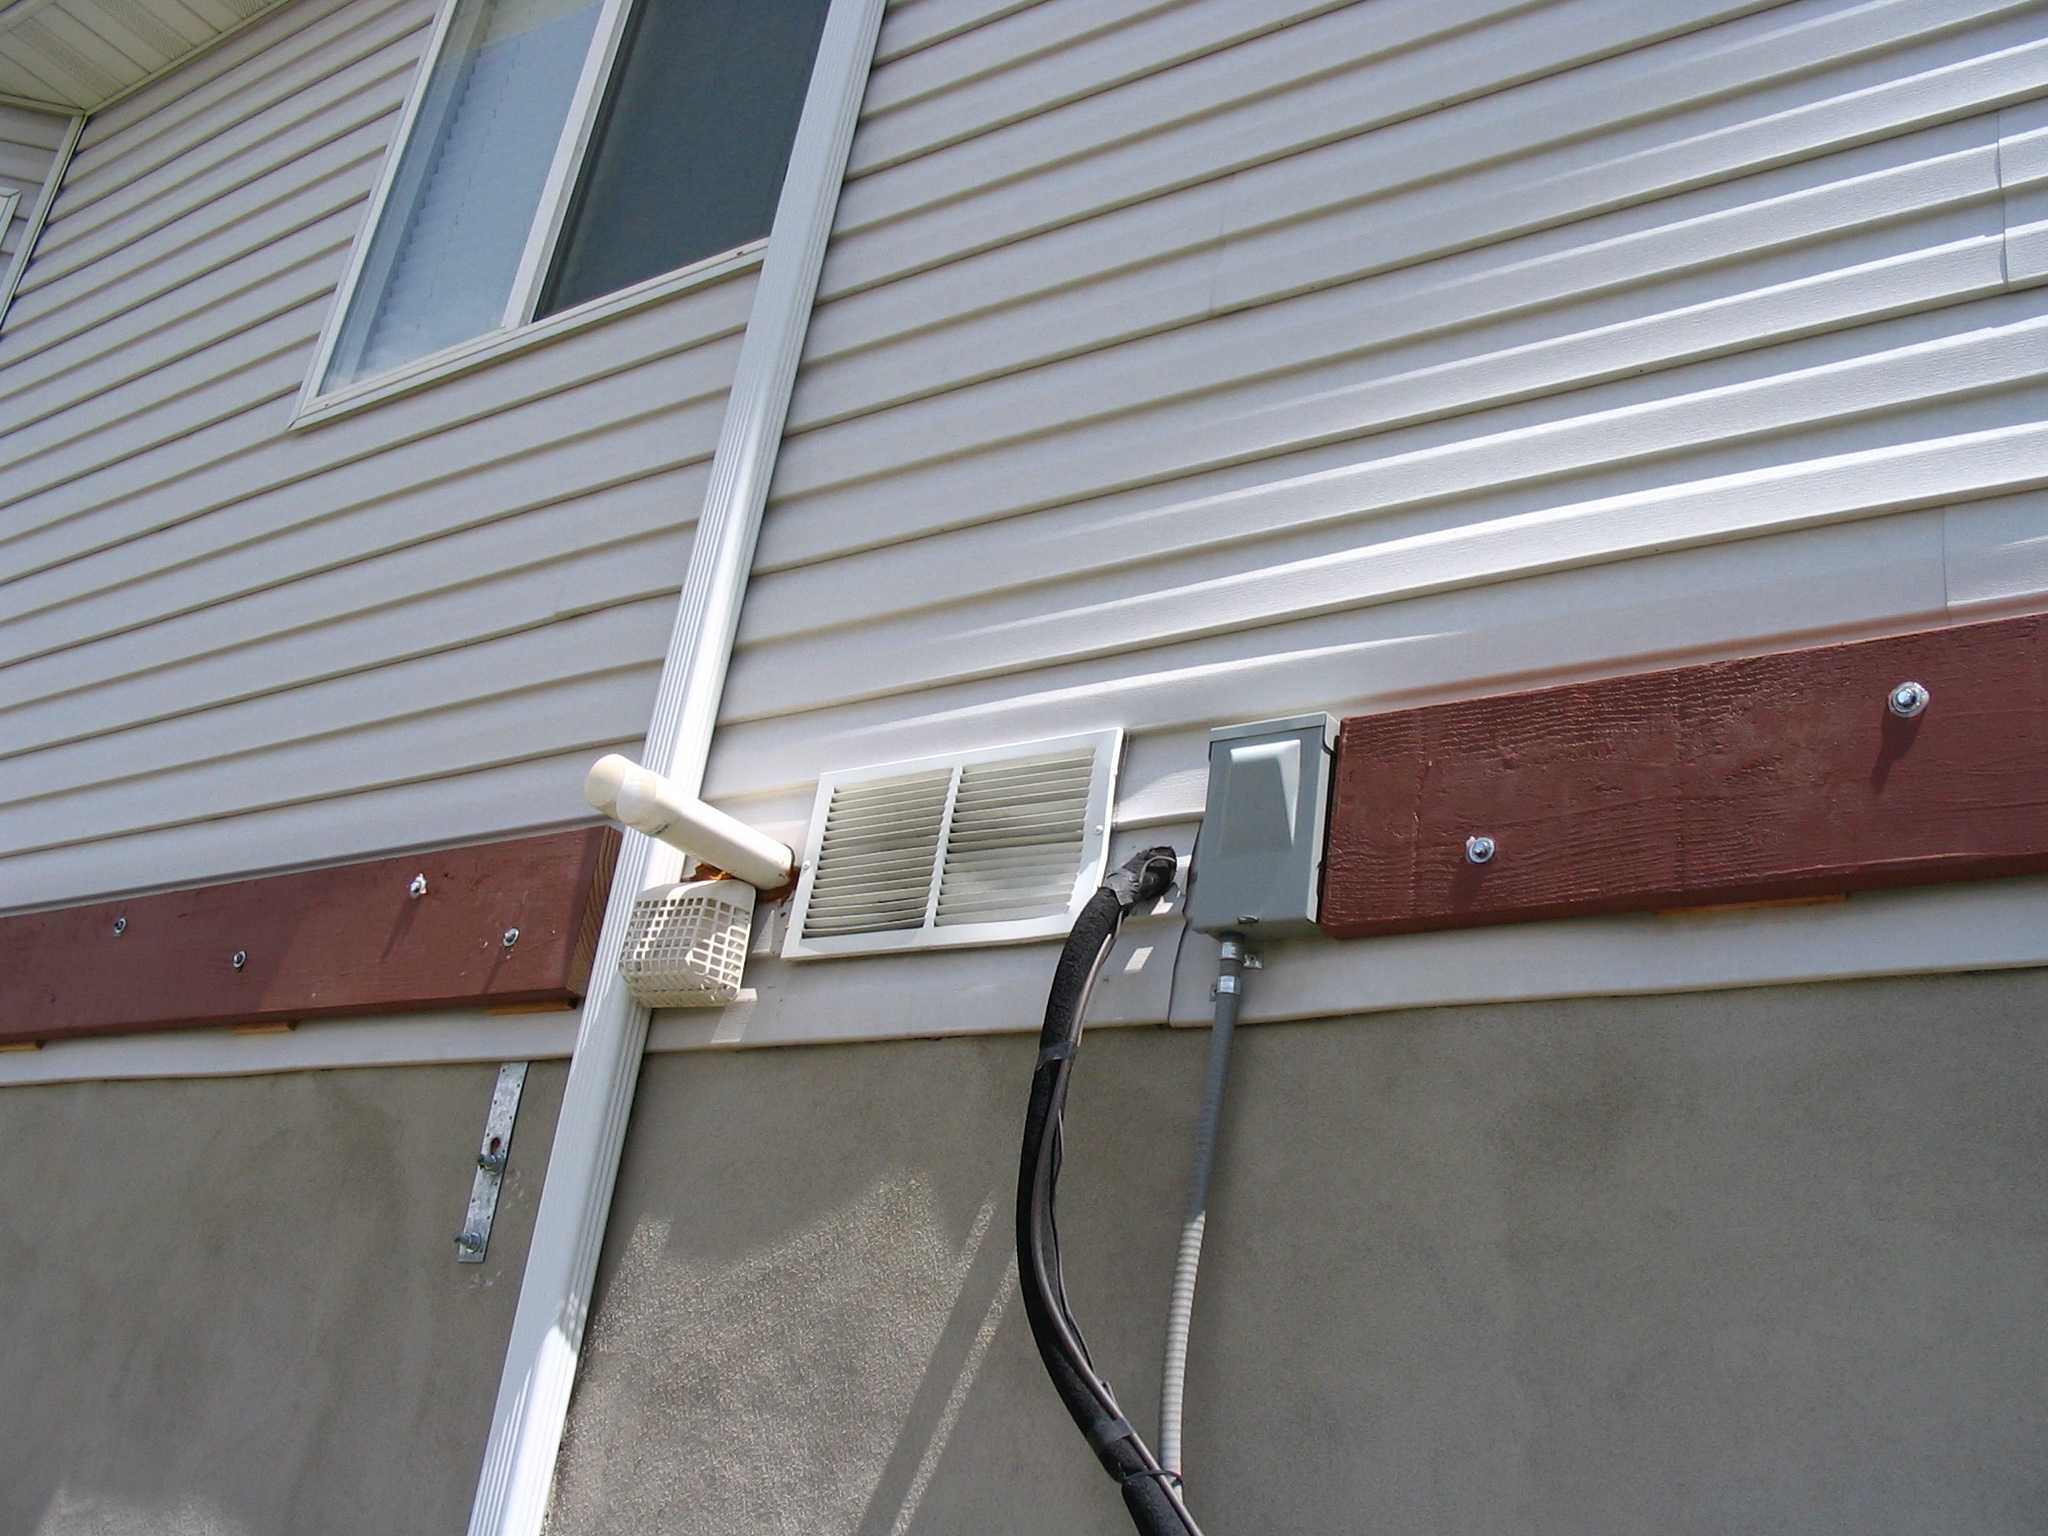
Through the ledger pass a number of services, some so big that I’ll have
to block around them as the ledger cannot continue through them. However, I was
able to route natural gas, water and electricity carefully through the full
ledger without compromising its integrity.
|
|
|
|
|
|
|
|
|
19 May 2007
With Taylor, Brandon and Sam to help out, I was able to get two posts
up more or less plumb, one-third of the thickness of a beam across to hold
them relative to each other, and a joist inserted and anchored to the beam
to hold it all together. I just couldn’t figure out how I could do
this myself.
|
|
|
|

|
|

|
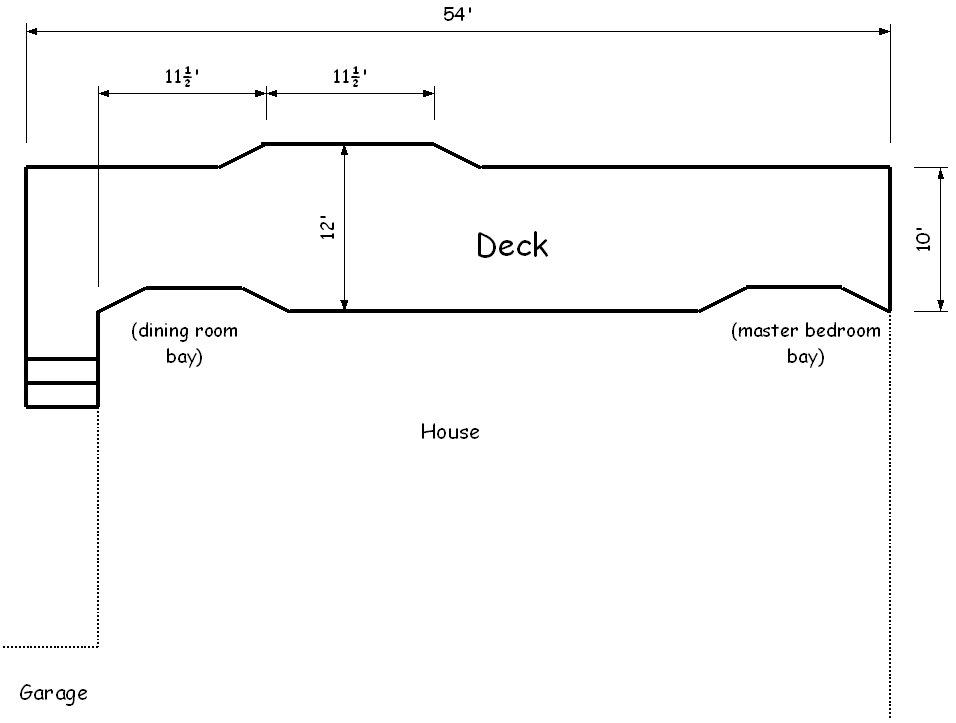
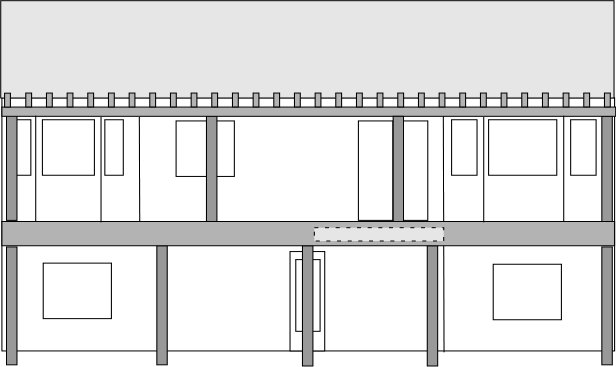
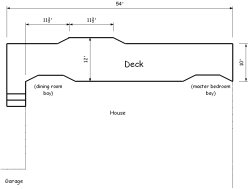
Ledger boards: 10" nominal × lengths noted in photos.
No ledger boards around bays; bay tear-out and joists cantilevered (add
12" to joist length). Joists under bays will be 12' while most of the others
will be 10'. Between the 6" × 6" posts, we’ll bay-out the deck
similarly to Holland’s and put in 12' joists.
Joists 10".
Steps to top, south side must be custom slung because of post options.
Watch for hose bib.
These were begun in 2005, two years before getting underway. At least at first
this was a disjointed list of resources, suggestions and significant points
to consider in no particular order.
This assumes no beam or girder, but an end cap or band joist ledger holding all
joist ends opposite from the house ledger board. However, these are just random
notes for ultimately, we’re probably going to do a beam.
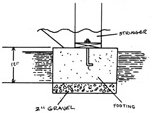
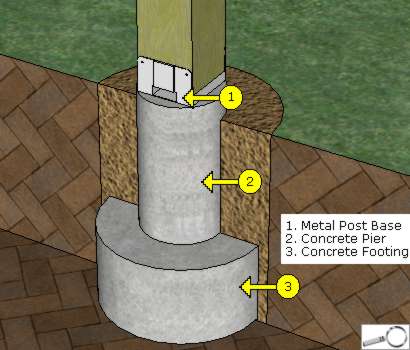
For the footings...
Consider locating the main two (whether for the full deck or only sections of
it), putting up the structure including the joists, then locating the
intervening footings for greater accuracy. This especially solves the
"doesn’t fall evenly on a joist" complaint.
After you have decided on the placement of the ledger, in regard to both its height and its location on the wall, you are ready to install it.
Choose a good straight piece of ledger stock (usually the same size as the
joists) and cut it to the proper length. Again, this is the total length of the
deck less 3". Now you can drill holes in the ledger for the lag screws or bolts
that will hold the ledger to the house. These holes are drilled with a bit that
is 1/8" larger than the actual screws so that you will have a little play for
adjustments. Usually the holes are in pairs, one on top of the other, every
30", or staggered singly every 15" (see preconstruction photos of original deck
ledger board). Be sure that all holes are drilled at least 1” or more from the
edge of the board for proper holding. You may want to check with the local code
to see if there are any regulations concerning the location of these lag
screws.
The size of the hole is important. The diameter is usually about 16", but check
your local code. More importantly the depth of the hole is often regulated by
code. Distances of 12" - 60" are the range, depending on the frost level in
your area (the colder the climate, the deeper the hole).
Once you have determined the diameter and depth, simply dig your needed holes,
being sure to dig good, straight (not sloping) walls. Dig until you hit stable
undisturbed soil that will not settle. Never backfill a hole with loose dirt
before pouring concrete. This compacts and causes settling.
Tip: Mix cement and aggregate as dry as possible for a stronger concrete.
Tip: Keep the concrete damp while hardening for a stronger pour. This can be
done by sprinkling water on the pour as it dries or by laying wet cloths across
the top.
And, preseal the ledger board heavily.